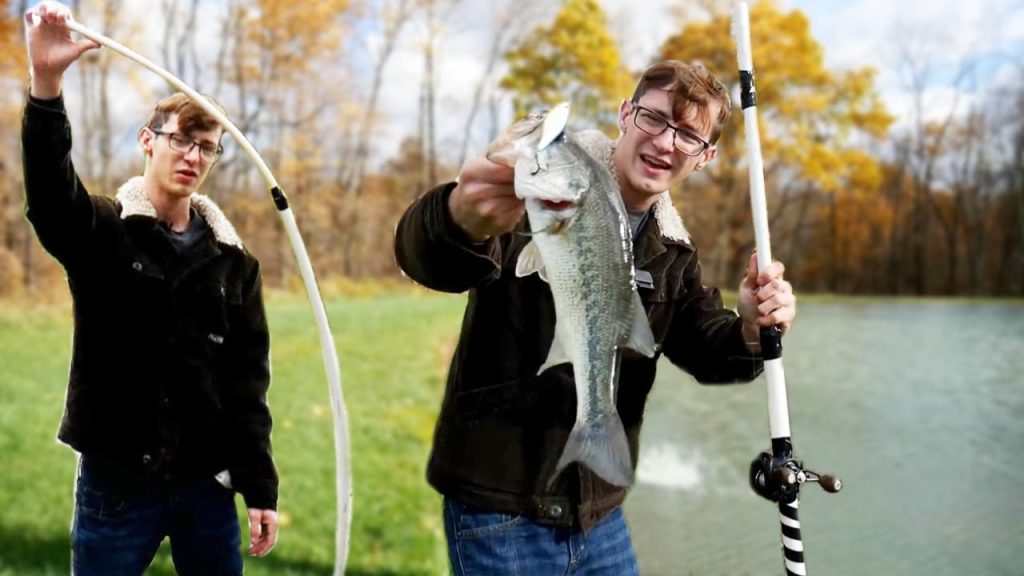
Have you ever wanted to catch your own fish with a fishing rod you made yourself? Making a homemade fishing rod is easier than you think.
With just a few simple materials and some basic steps, you can create a rod that feels personal and works great. Imagine the pride you’ll feel when you reel in your first catch using a rod you built with your own hands.
Ready to learn how? Keep reading, and you’ll discover how to turn ordinary items into your very own fishing tool. Your next fishing trip could be more rewarding than ever!

Credit: www.littlegeniusworkshop.com
Choosing The Right Materials
Building a homemade fishing rod can be a fun project. Selecting the right materials is key to its success.
With the right choices, your fishing rod will be durable and effective.
Selecting The Rod Blank
The rod blank is the backbone of your fishing rod. Choose one that fits your fishing style.
- Graphite: Lightweight and sensitive, ideal for feeling fish bites.
- Fiberglass: Sturdy and flexible, good for beginners.
- Composite: A mix of both, offering a balance of sensitivity and strength.
Picking The Handle Material
The handle material affects comfort and grip. Consider where you will be fishing.
| Material | Feature |
| Cork | Light and comfortable |
| EVA Foam | Durable and affordable |
| Wood | Classic look, less common |
Choosing The Guides And Reel Seat
Guides and reel seats ensure smooth line flow and secure the reel. Choose high-quality options.
For guides, stainless steel or ceramic is best. A graphite reel seat is both strong and light.
Gathering Essential Tools
Making a homemade fishing rod is fun and rewarding. First, you need to gather the right tools. This helps you build a strong and working rod.
Tools make the process easier and ensure better results. Some tools are basic and must-have. Others are optional but helpful.
Basic Tools Needed
These tools are essential to start making your fishing rod. Without them, the work will be difficult or impossible.
- A sturdy stick or bamboo for the rod blank
- Sandpaper to smooth the rod surface
- Strong fishing line for the guide wraps
- Glue or epoxy to fix parts together
- Scissors or a sharp knife for cutting
- Measuring tape or ruler for exact lengths
Optional Tools For Better Results
These tools are not required but can improve your rod’s quality. They help with precision and durability.
| Tool | Use |
| Rod Dryer | Dries the rod evenly after gluing |
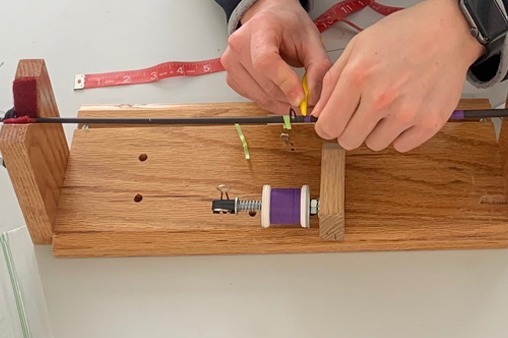
| Thread Wrapping Jig | Keeps thread tight and neat on guides |
| Heat Gun | Speeds up drying of epoxy or glue |
| Fine Brushes | Applies glue or finish smoothly |
| Wire Cutters | Snips wire for guides cleanly |
Preparing The Rod Blank
Preparing the rod blank is the first important step in making a fishing rod. The rod blank is the main part that gives the rod its strength and flexibility.
Taking time to prepare it well will help you build a strong and smooth fishing rod. This includes measuring, cutting, sanding, and shaping the blank.
Measuring And Cutting
Start by measuring the length of your rod blank. The length depends on the type of fishing you want to do.
Use a tape measure to get an exact length. Mark the spot where you will cut with a pencil or tape.
- Measure twice to avoid mistakes
- Use a fine saw or rod cutter for a clean cut
- Cut slowly to prevent splintering
Sanding And Shaping
After cutting, sand the rod blank to smooth rough edges. This helps prevent damage to your hands and fishing line.
Use fine-grit sandpaper and sand evenly along the rod. Shape the blank if needed to fit your design or guides.
- Start with medium grit sandpaper to remove rough spots
- Finish with fine grit for a smooth surface
- Check the rod for any sharp points or splinters
Attaching The Handle
Attaching the handle is a key step in making your homemade fishing rod. It gives you control and comfort while fishing. Proper fitting and securing will make the handle last longer.
Below are two main parts: fitting the handle to the blank and securing it with adhesive. Follow these carefully for a strong hold.
Fitting The Handle To The Blank
First, check the handle size and shape. It should fit the rod blank snugly without gaps. You may need to sand the inside of the handle or the blank tip to get a perfect fit.
- Test fit the handle on the rod blank.
- Mark any areas where it is too tight or loose.
- Use fine sandpaper to adjust the handle or blank.
- Clean dust from both parts before final fitting.
Securing With Adhesive
Use a strong adhesive to bond the handle to the rod blank. Epoxy or strong wood glue works well. Apply glue evenly inside the handle and on the blank tip.
| Adhesive Type | Dry Time | Strength |
| Epoxy | 5-30 minutes | Very strong |
| Wood Glue | 30 minutes to 1 hour | Strong |
| Super Glue (Cyanoacrylate) | Seconds | Moderate |
After applying glue, push the handle onto the blank firmly. Rotate slightly to spread glue evenly. Wipe off excess glue immediately. Let it dry fully before use.
Installing Guides
Installing guides is an important part of making your fishing rod. Guides help control the line and improve casting. Proper installation makes your rod strong and easy to use.
This section explains how to position the guides and how to wrap them securely on the rod.
Positioning The Guides
Place the guides evenly along the rod’s length. Start near the handle and space them closer near the tip. The number of guides depends on the rod’s length.
Align the guides in a straight line. This helps the fishing line move smoothly during casting and reeling.
- Start with the largest guide near the handle
- Place smaller guides evenly towards the tip
- Keep all guides aligned on the same side
- Space guides closer near the rod’s tip for better control
Wrapping And Securing Guides
Use strong thread to wrap the guides onto the rod. Start wrapping a few inches before the guide foot. Wrap tightly and evenly to hold the guide in place.
After wrapping, apply a thin layer of clear epoxy or rod finish. This protects the thread and keeps the guide secure while fishing.
- Use nylon or polyester thread for wrapping
- Wrap the thread tightly around the guide foot
- Cover the thread with epoxy to seal and protect it
- Allow the epoxy to dry fully before using the rod
Finishing Touches
After building your fishing rod, the finishing touches protect it and improve its look. These steps help make your rod strong and ready for fishing.
Two important parts of finishing are applying an epoxy coating and letting it cure. Each step needs care to get the best results.
Applying Epoxy Coating
Epoxy coating seals the rod and protects it from water and damage. Use a clean brush to apply a thin, even layer along the entire rod.
- Mix the epoxy resin and hardener as instructed.
- Work in a well-ventilated area to avoid fumes.
- Apply the epoxy smoothly to avoid bubbles.
- Cover all parts, especially joints and wraps.
- Rotate the rod slowly to spread the epoxy evenly.
Curing And Drying Time
Curing lets the epoxy harden and bond to the rod. Drying time depends on temperature and humidity.
| Condition | Recommended Time |
|---|---|
| Room temperature (70°F / 21°C) | 24 hours |
| Warm environment (80°F / 27°C) | 12-18 hours |
| High humidity | Longer than 24 hours |
| Cold environment (below 60°F / 15°C) | Over 48 hours |
Do not touch or move the rod during curing. After full drying, your fishing rod will be ready for use.
Testing Your Fishing Rod
After making your fishing rod, you need to test it. Testing ensures your rod is strong and works well.
Testing helps find any problems before you start fishing. It makes sure your rod is safe and ready.
Checking Flexibility And Strength
Hold your rod and bend it slowly. The rod should bend without cracking or breaking.
Flexibility lets the rod absorb fish pulls. Check if the rod returns to its straight shape easily.
- Bend the rod gently from the tip
- Look for any cracks or weak spots
- Make sure it feels strong but flexible
- Test bending several times to check durability
Attaching The Reel And Line
Secure the reel tightly to the rod handle. The reel must not move or wiggle during use.
Thread the fishing line through the guides. Make sure the line flows smoothly without catching.
- Place the reel in the reel seat
- Tighten the reel seat screws firmly
- Pass the line through all rod guides
- Check the reel spins freely
- Pull the line to test strength and smoothness

Credit: m.youtube.com
Credit: lakeladyrods.com
Frequently Asked Questions
What Materials Are Needed To Make A Homemade Fishing Rod?
You need a sturdy rod or pole, fishing line, guides, reel seat, and grips. Use durable, lightweight materials for better performance and comfort.
How Do I Attach Guides To My Fishing Rod?
Secure guides with strong thread and epoxy resin. Space them evenly along the rod to ensure smooth line flow and better casting accuracy.
Can I Use Recycled Materials For A Fishing Rod?
Yes, recycled materials like bamboo, old poles, or parts from broken rods work well. They save money and promote eco-friendly fishing practices.
How Long Does It Take To Make A Homemade Fishing Rod?
Making a rod typically takes a few hours to a day. Time varies based on skill, materials, and drying time for adhesives.
Conclusion
Making a homemade fishing rod is a fun and rewarding project. You learn about materials and how they work together. It saves money and gives you a unique tool. Fishing with a rod you built feels special. Start with basic supplies and follow steps carefully.
Practice makes the rod stronger and easier to use. Enjoy the process and the time outdoors. This simple craft brings joy and patience. Try it yourself and see how it feels. Happy fishing!