Imagine having your very own ice skating rink right in your backyard. You don’t need to wait for winter or travel far to enjoy the fun and magic of skating.
Creating a homemade ice skating rink is easier than you think, and it can bring hours of joy for you, your family, and friends. In this guide, you’ll discover simple steps and insider tips to build your rink quickly and keep it skating-ready all season long.
Ready to turn your outdoor space into a winter wonderland? Let’s get started!
Credit: www.familyhandyman.com
Choosing The Right Location
Pick a flat, shaded spot to keep the ice smooth longer. Avoid areas with direct sunlight or strong winds for better freezing.
Choosing the right location for your homemade ice skating rink is crucial. A well-chosen spot ensures a smooth and enjoyable skating experience. Several factors influence the ideal location. Let’s explore these key considerations.Flat And Level Surface
A flat and level surface is essential. Uneven ground can cause water to pool unevenly. This leads to an uneven ice surface. Check your yard for any slopes or bumps. Use a long board to test the levelness. Adjust with soil or sand if needed. A smooth foundation results in better skating.Sunlight And Shade Considerations
Sunlight affects ice quality. Too much sun can melt the ice quickly. Choose a spot with a good balance of sun and shade. Look for areas that get morning sun. Afternoon shade helps preserve the ice. Trees and buildings can offer natural shade. Keep these factors in mind to maintain optimal ice conditions.Access To Water Source
Easy access to a water source is vital. You’ll need water to fill and maintain your rink. Consider the distance from your hose or faucet. A nearby water source saves time and effort. Ensure the hose can reach your rink easily. Proper planning makes the ice-making process smoother.Gathering Materials And Tools
Before you start building your homemade ice skating rink, gathering the right materials and tools is essential. The quality of these items will directly affect the rink’s durability and how smoothly your skating experience goes. Let’s look at what you need to collect to set yourself up for success.
Liner Options
Your rink liner holds the water and creates the ice surface, so choosing the right one matters. Heavy-duty plastic liners, typically 6 to 10 mil thick, work best to prevent leaks and tears. You might also find specialized rink liners designed for ice rinks, offering better durability and easier setup.
Think about the size of your rink and buy a liner that’s slightly larger to cover the frame fully and allow for some overlap. Don’t underestimate the importance of a smooth liner—wrinkles can cause uneven ice.
Framing Materials
Building a sturdy frame is crucial to hold the water and keep the rink’s shape. Most people use wood boards, like 2×6 or 2×8 lumber, because they are strong and easy to work with. Pressure-treated wood is a smart choice since it resists moisture better.
If you want a simple frame, straight boards with corner brackets work well. For a more professional finish, you can add plywood panels inside the frame to support the liner and prevent bulging.
Essential Tools
Having the right tools on hand will make your rink-building process much smoother. Basic tools include a drill, hammer, saw, measuring tape, and level. These help you cut and assemble the frame accurately.
Don’t forget a staple gun or a strong adhesive to secure the liner to the frame. Also, keep a garden hose nearby for filling your rink and a flat shovel or rake to smooth the ice surface as you build it up.
Preparing The Site
Preparing the site for your homemade ice skating rink sets the foundation for a smooth and enjoyable skating experience. Taking the time to carefully prepare the area ensures the ice will form evenly and last longer throughout the winter season. Let’s dive into the essential steps that get your rink ready for action.
Clearing Debris
Start by removing all leaves, sticks, rocks, and any other debris from the area. These can create bumps or holes in the ice, making skating unsafe and frustrating. Use a rake or broom to sweep the surface clean, paying close attention to corners and edges where debris tends to gather.
Think about the last time you skated on rough ice—didn’t it ruin the fun? Keeping the site debris-free helps you avoid that problem from the start.
Leveling The Ground
Once cleared, check if the ground is level. Uneven surfaces cause water to pool unevenly, leading to weak spots in the ice. Use a long board and a level tool to find any high or low spots.
If you spot bumps, dig them down a bit. For dips, fill in with soil or sand and pack it tightly. Your goal is to create a flat surface where water will freeze evenly and provide a smooth skating surface.
Setting Up The Frame
Next, build a sturdy frame to hold the water in place. Wooden planks or plastic barriers work well. Secure them firmly into the ground to prevent shifting as the water freezes and expands.
I once underestimated the frame strength, and the sides bowed out, causing leaks. Don’t skip reinforcing the corners with stakes or braces—your rink will thank you with less maintenance and better ice quality.

Credit: www.egrimesdirect.com
Installing The Liner
Installing the liner is a key step in creating a homemade ice skating rink. The liner holds the water and shapes the rink’s surface. A well-installed liner prevents leaks and keeps the ice smooth.
Laying The Liner Smoothly
Start by spreading the liner flat over the rink frame or ground. Avoid wrinkles and folds to create an even base. Smooth out the liner by pulling gently from the center toward the edges. Use your hands or a soft broom to press the liner down evenly. Clear away debris or sharp objects before laying the liner to prevent damage.
Securing The Edges
Keep the liner in place by anchoring the edges firmly. Use heavy objects like bricks or sandbags around the perimeter. Alternatively, attach the liner to the rink frame with clips or staples. Make sure the edges are tight but not stretched too thin. Secure edges prevent the liner from shifting during filling and freezing.
Preventing Leaks
Inspect the liner carefully for holes or tears before filling. Patch small holes with waterproof tape or a liner repair kit. Check seams where liner sections meet and seal them well. Consider placing a protective ground cloth under the liner to reduce puncture risk. A leak-free liner keeps water contained and ice solid for longer skating sessions.
Filling And Freezing The Rink
Filling and freezing your homemade ice skating rink is where the magic truly begins. This process sets the stage for a smooth, durable ice surface that can handle countless hours of skating fun. Paying attention to details during this phase ensures your rink lasts longer and stays safer for everyone.
Filling With Water
Use clean, cold water to fill your rink. Tap water usually works well, but if your water is hard or contains minerals, consider using filtered water to prevent cloudy ice.
Fill the rink slowly to avoid damaging the liner or creating uneven surfaces. A garden hose with a spray nozzle lets you control the flow gently. Stop filling once the water reaches about 2-3 inches deep.
Have you noticed how still water freezes clearer? Letting the water settle before freezing helps reduce bubbles and impurities, resulting in a smoother skating surface.
Maintaining Cold Temperatures
Keeping your rink frozen depends on maintaining consistent cold temperatures. Aim for nighttime lows below 20°F (-6°C) for the best freezing conditions.
Use a weather app to track the temperature and plan your freezing schedule accordingly. If a warm spell is coming, cover your rink with a tarp at night to protect the ice and retain cold air.
Consider adding a windbreak around the rink. It reduces heat loss from wind and helps the ice freeze more evenly. Have you checked the microclimate around your yard? Small changes in wind and sun exposure can make a big difference.
Building Up Ice Layers
Building your ice in layers helps create a strong, smooth surface. Start by freezing the initial thin layer—around 1/4 inch thick—before adding more water.
Once the first layer is solid, add another thin layer of water. Repeat this process, letting each layer freeze completely. This layering prevents cracks and weak spots in the ice.
Patience pays off here. Rushing to add thick layers can trap air pockets or cause uneven freezing. How often can you check your rink during freezing? Frequent checks help you catch and fix problem spots early.
Credit: www.lifeisaparty.ca
Maintaining The Ice Surface
Maintaining the ice surface is key to enjoying a smooth skating experience. Proper care keeps the rink safe and fun. Regular upkeep prevents damage and extends the ice’s life.
Removing Snow And Debris
Clear snow often to avoid rough patches. Use a plastic shovel or broom to gently remove snow. Avoid metal tools that can scratch the ice. Pick up leaves, sticks, and dirt to keep the surface clean.
Smoothing The Ice
Fill a watering can with clean water. Pour water slowly over the ice to fill small holes and cracks. Spread the water evenly for a smooth finish. Let the ice freeze fully before skating again. This process helps maintain a flat, slick surface.
Repairing Cracks
Small cracks can worsen without care. Use a spray bottle to mist water inside cracks. Let the water freeze to seal them. For bigger cracks, pour water carefully and freeze in layers. Check the surface often to spot new cracks early.
Safety Tips For Skating
Skating on a homemade ice rink can be incredibly fun, but safety should always be your top priority. Without the right precautions, you risk accidents that can turn a joyful day into a painful experience. Taking a few simple steps can help ensure everyone enjoys the ice with confidence and care.
Proper Gear
Your safety begins with the right equipment. Always wear a helmet designed for ice sports to protect your head from falls. Gloves, knee pads, and elbow pads provide extra protection, especially for beginners.
Choose skates that fit well; loose or tight skates increase the chance of injury. Don’t forget to dress warmly in layers—cold muscles are more prone to strains. Have you checked your gear recently to make sure it’s in good condition?
Supervision And Rules
Never skate alone, especially if children are involved. Having an adult supervise can prevent risky behavior and step in quickly if someone falls. Set clear rules for the rink, such as no roughhousing or speeding.
Mark off boundaries to keep everyone within a safe area. You might find it helpful to explain these rules before anyone steps on the ice. How will you make sure everyone follows these guidelines?
Emergency Preparedness
Keep a first aid kit nearby to handle minor cuts or bruises immediately. Know the location of the nearest phone in case you need to call for help. It’s a good idea to have a plan if someone falls through thin ice or suffers a serious injury.
Practice staying calm and acting quickly—it can make all the difference. Have you discussed emergency steps with your group before skating?
Enhancing Your Rink Experience
Enhancing your homemade ice skating rink makes every visit special. Thoughtful touches create a fun and cozy atmosphere. Simple changes can improve safety and enjoyment for all skaters.
Lighting Options
Good lighting extends skating hours into the evening. String lights add charm and provide soft light. LED floodlights offer bright, clear light for better visibility. Solar-powered lights save energy and work well outdoors. Position lights to avoid glare on the ice surface. Choose warm white bulbs for a welcoming feel.
Adding Seating And Warmth
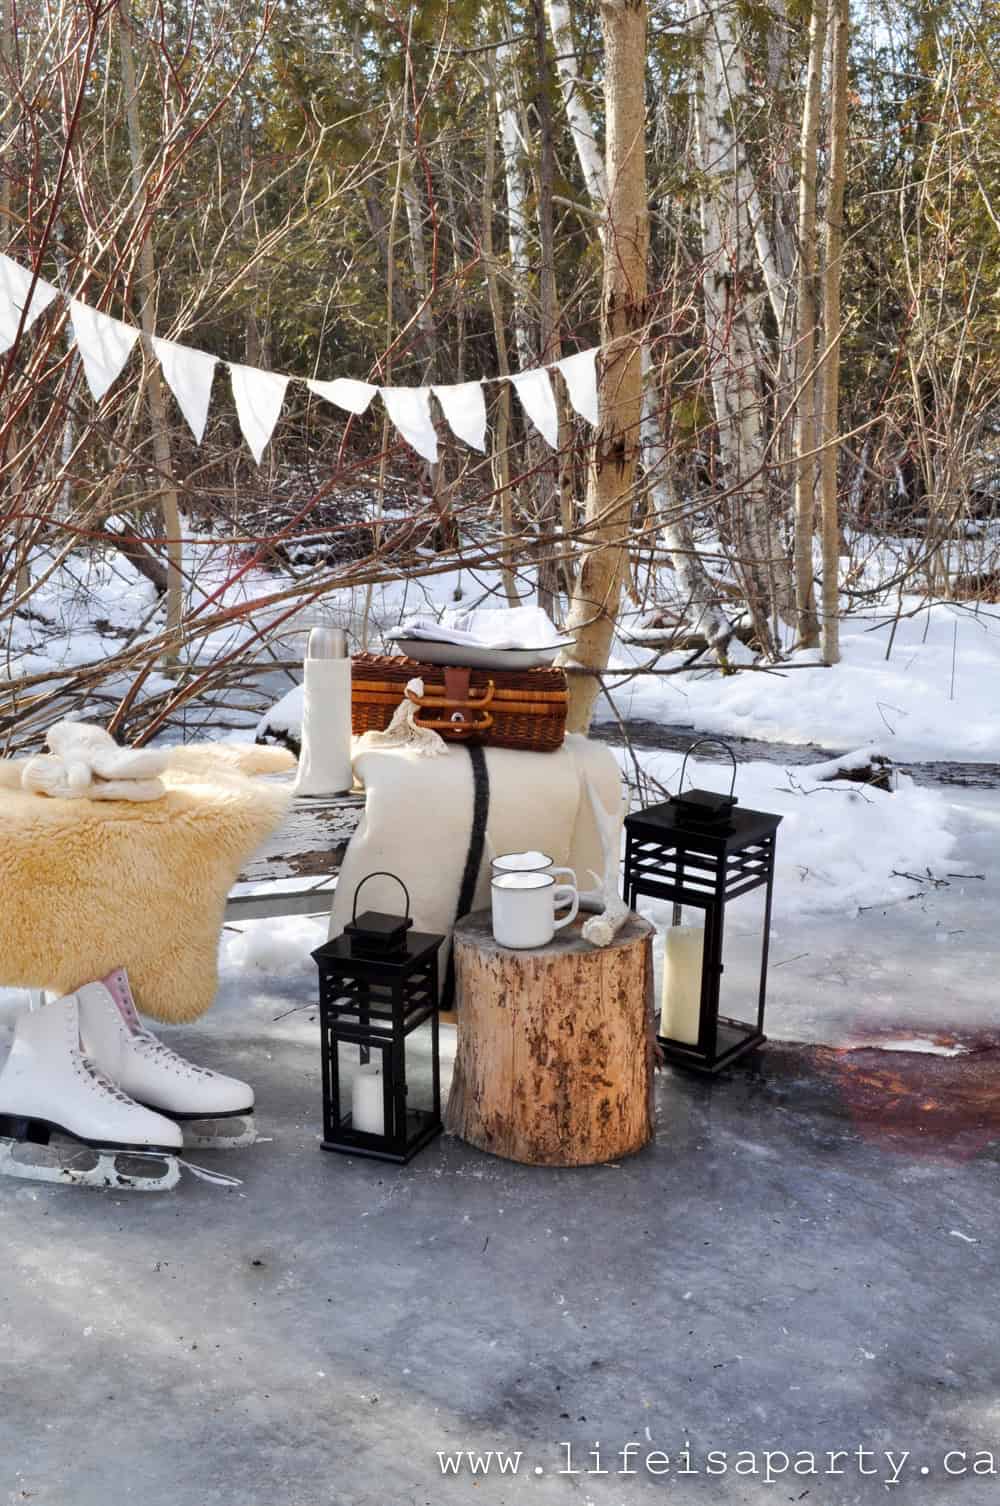
Comfortable seating invites skaters to rest between sessions. Use benches or foldable chairs near the rink edge. Add cushions or blankets for extra warmth. Place a fire pit or outdoor heaters nearby for cozy heat. Keep a basket of warm gloves and hats close by. A small table can hold hot drinks and snacks.
Organizing Skating Activities
Plan simple games to keep everyone entertained. Set up cones for slalom or obstacle courses. Organize relay races or skating tag for groups. Use music to create a lively mood on the ice. Schedule theme days like “80’s night” or “family fun day.” Encourage safe skating rules to prevent accidents.
Frequently Asked Questions
How Do I Prepare The Ground For A Homemade Ice Rink?
To prepare the ground, choose a flat area and clear debris. Level the surface and pack the snow tightly. This creates a solid base for the ice to freeze evenly and remain smooth for skating.
What Materials Are Needed To Build An Ice Skating Rink?
You need plastic sheeting, wooden boards for framing, water, and a flat surface. Additional items include a hose, sand or sawdust for sealing, and tools like a hammer and nails.
How Long Does It Take To Freeze The Rink?
Freezing usually takes 24 to 48 hours in temperatures below 20°F (-6°C). Weather conditions and water depth can affect freezing time, so check ice thickness before skating.
How Can I Maintain Smooth Ice On My Rink?
Regularly remove snow and use a shovel or broom to smooth rough spots. Spray water to fill cracks and refreeze. Consistent maintenance keeps the ice safe and enjoyable.
Conclusion
Creating a homemade ice skating rink brings joy to winter days. It takes patience, space, and the right materials. Once built, it offers fun for family and friends alike. Remember to keep the ice smooth and safe to skate. Enjoy the fresh air and simple pleasure of skating at home.
This project can make cold months more exciting. Give it a try and watch your winter transform. Simple steps lead to great memories outdoors.