Have you ever wondered how to create a simple yet eye-catching table tent that grabs attention? Whether you’re planning a party, promoting a special offer, or organizing an event, a well-made table tent can make all the difference.
In this guide, you’ll discover easy steps to make your own table tent quickly and effectively. By the end, you’ll have a professional-looking display that draws eyes and sparks interest—without spending a fortune or needing special skills. Ready to impress your guests or customers?
Let’s get started!
Materials Needed
Making a table tent is easy and fun. You need some basic materials to create a neat and sturdy table tent.
This guide will help you gather the right supplies for your project.
Paper And Cardstock Options
Choose paper that is thick enough to stand up on its own. Cardstock works best because it is strong and durable.
You can use different colors or textures to make your table tent look nice.
- Standard white cardstock (80-110 lb)
- Colored cardstock for decoration
- Glossy or matte photo paper for a shiny look
- Recycled paper for an eco-friendly option
Cutting Tools
Use sharp tools to cut your paper cleanly. This helps your table tent look professional.
Pick tools that you are comfortable using and that give precise cuts.
- Scissors for simple cutting
- Craft knife for detailed shapes
- Paper trimmer for straight edges
- Cutting mat to protect surfaces
Decorative Supplies
Decorate your table tent to make it stand out. Use supplies that add color and style.
Keep decorations simple and neat to avoid cluttering the design.
- Markers or colored pens for drawing
- Stickers or stamps for patterns
- Glue or double-sided tape for attaching items
- Ribbons or washi tape for borders
Credit: www.canva.com
Choosing The Right Design
Making a table tent requires careful design choice. Your design affects how people perceive your message.
Consider your goals and audience before settling on a design. A good design makes your table tent effective.
Simple Vs. Complex Shapes
Simple shapes are easy to make and cost less. Complex shapes can grab more attention.
Think about the message you want to convey. Choose a shape that supports it.
- Simple shapes: rectangles, triangles
- Complex shapes: stars, custom cutouts
Size Considerations
The size of your table tent matters. It should fit well on the table and be easy to read.
Large table tents may overwhelm the space. Small ones might not be visible enough.
- Standard sizes: 4×6 inches, 5×7 inches
- Custom sizes based on table space
Theme And Style Ideas
Choose a theme that matches your event or brand. A consistent style makes your table tent look professional.
Use colors and fonts that align with your overall theme. This creates a cohesive look.
- Event themes: weddings, business meetings
- Style ideas: modern, classic, playful
Step-by-step Cutting Guide
Making a table tent starts with careful cutting. You need to measure, mark, and cut the material correctly. This guide will help you create a neat and sturdy table tent.
Follow each step to ensure your table tent looks professional and stands well on any surface.
Measuring And Marking
Use a ruler or measuring tape to get accurate sizes. Mark the edges clearly with a pencil or light marker. Precise marks help you cut straight lines and fit folds correctly.
- Measure the height and width of your table tent
- Mark the base, sides, and fold lines
- Double-check all measurements before cutting
Cutting Techniques
Choose a sharp cutting tool like a craft knife or scissors. Cut slowly along the marked lines to avoid mistakes. Clean cuts make folding easier and the final product neater.
- Use a cutting mat to protect your surface
- Follow the marked lines carefully
- Keep your hand steady for straight cuts
- Trim any rough edges after cutting
Creating Fold Lines
Fold lines help your table tent stand upright. Score the fold lines lightly with a blunt tool or craft knife. This makes folding clean and prevents cracks or breaks.
- Use a ruler to guide your scoring
- Score only lightly to avoid cutting through
- Fold gently along the scored lines
- Press folds firmly to keep shape
Folding And Assembling
Making a table tent involves careful folding and assembling. Proper steps help the tent stand well on any surface.
This guide shares tips for folding, using adhesives, and keeping the tent stable.
Proper Folding Tips
Fold the table tent along the creases clearly marked on the paper. Make sure each fold is crisp and clean.
Use a ruler or a flat edge to press the folds. This helps the tent keep its shape better.
- Fold slowly to avoid tears
- Press each crease firmly
- Align edges carefully before folding
- Check folds match the template lines
Using Adhesives
Choose the right adhesive to hold your table tent together. Glue sticks or double-sided tape work well.
Apply adhesive evenly to avoid lumps. Press glued parts firmly and hold them until dry.
- Use glue stick for quick drying
- Double-sided tape adds clean edges
- Avoid excess glue to prevent mess
- Let glue dry completely before use
Ensuring Stability
Make sure your table tent stands steady. Check that all parts fit tightly and the base is flat.
Test the tent on a flat surface. Adjust folds or adhesive if it wobbles or leans.
- Align edges to create a balanced base
- Reinforce weak spots with extra tape
- Use thicker paper for better support
- Keep the tent dry to maintain shape
Adding Personal Touches
Table tents stand out more with personal details. Adding your style makes them unique and eye-catching.
Simple decorations can change how people see your message. Use ideas that fit your theme and mood.
Handwritten Elements
Handwriting adds warmth and personality to table tents. It feels more friendly and special than printed text.
Use colorful pens or markers to write titles or notes. Try different writing styles like cursive or bold letters.
- Write names or greetings by hand
- Add small drawings or doodles
- Use calligraphy for an elegant look
- Highlight important info with bright ink
Stickers And Embellishments
Stickers and small decorations make table tents fun and lively. They add texture and color without much effort.
Choose stickers that match your event or message. Embellishments like ribbons or buttons give a 3D effect.
- Use themed stickers for holidays or parties
- Add glitter or shiny embellishments
- Glue small beads or buttons
- Attach tiny bows or ribbons
Printing Custom Designs
Custom printing lets you add logos, photos, or artwork. It gives a clean and professional look to your table tents.
Create your design on a computer. Print on good paper to keep colors bright and details sharp.
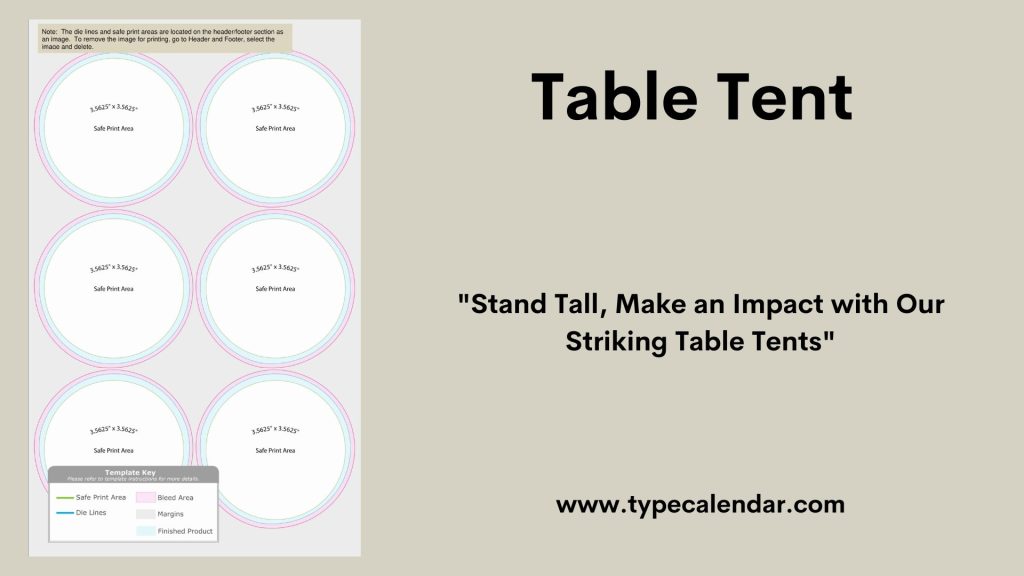
- Use templates for easy layout
- Add your brand or event logo
- Include images that show your theme
- Print multiple copies for consistency
Common Mistakes To Avoid
Making a table tent can be easy if you avoid common errors. Mistakes can ruin the look and function of your table tent.
Watch out for small issues that can cause big problems later. Fixing these mistakes early saves time and materials.
Misaligned Cuts
Cutting the paper or card unevenly causes the tent to look crooked. Misaligned cuts make the tent unstable on the table.
Use a ruler and sharp cutting tool to keep lines straight. Measure twice before cutting to avoid mistakes.
- Always cut on a flat surface
- Hold the ruler firmly while cutting
- Use a fresh blade for clean cuts
- Check alignment before each cut
Weak Adhesion
If glue or tape is weak, the tent will fall apart easily. Weak adhesion makes the tent less durable and less neat.
Choose strong glue or double-sided tape. Press the glued parts firmly and let them dry before using the tent.
- Use glue designed for paper or card
- Apply glue evenly to avoid lumps
- Clamp or press pieces until dry
- Do not rush before glue sets
Incorrect Measurements
Wrong measurements cause the tent to be too big or too small. This leads to poor fit and balance on the table.
Measure carefully and write down the sizes before cutting. Check the size fits your table and the intended display area.
- Use a ruler or measuring tape
- Note down each measurement clearly
- Double-check measurements before cutting
- Consider the thickness of the material
Creative Uses For Table Tents
Table tents are small, folded cards that stand on tables. They are useful tools for sharing information in many settings.
You can use table tents to guide guests, highlight products, or share important messages. They are easy to make and very versatile.
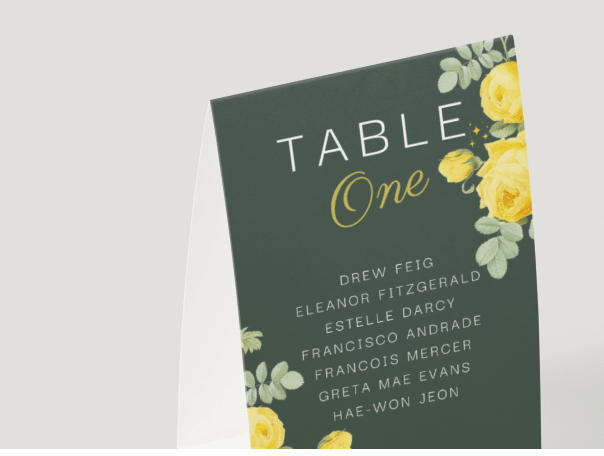
Event Signage
Table tents work well as signs during events. They help direct people and provide useful information without needing extra staff.
- Show directions to different areas
- List event schedules and times
- Display speaker names and topics
- Provide safety or health guidelines
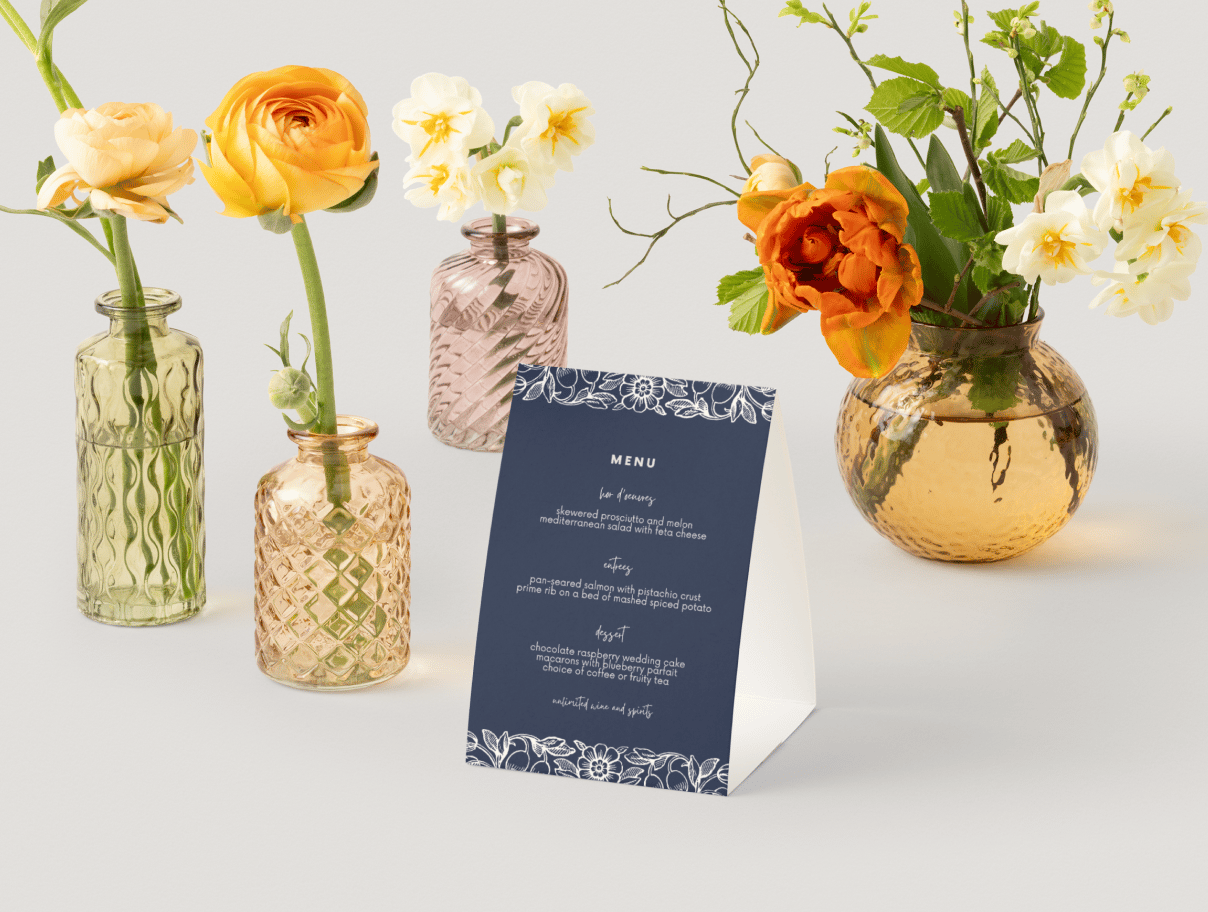
Menu Displays
Restaurants and cafes use table tents to show menu items or specials. They catch the customer’s eye and make ordering easier.
| Type | Example |
| Daily Specials | Soup of the day, dessert offers |
| New Items | Seasonal drinks, new dishes |
| Happy Hour | Discount times and prices |
Promotional Materials
Businesses use table tents to promote sales or new products. These small cards can fit on counters or desks for easy viewing.
- Highlight discounts or coupons
- Advertise upcoming events
- Show customer testimonials
- Display social media handles
Credit: www.canva.com
Credit: www.canva.com
Frequently Asked Questions
What Materials Are Needed To Make A Table Tent?
To make a table tent, you need cardstock or thick paper, scissors, glue or tape, and a ruler. Optional materials include markers or printed designs for decoration.
How Do I Fold A Table Tent Correctly?
Fold the cardstock in half to create a triangle or tent shape. Ensure edges align neatly for stability and clear display.
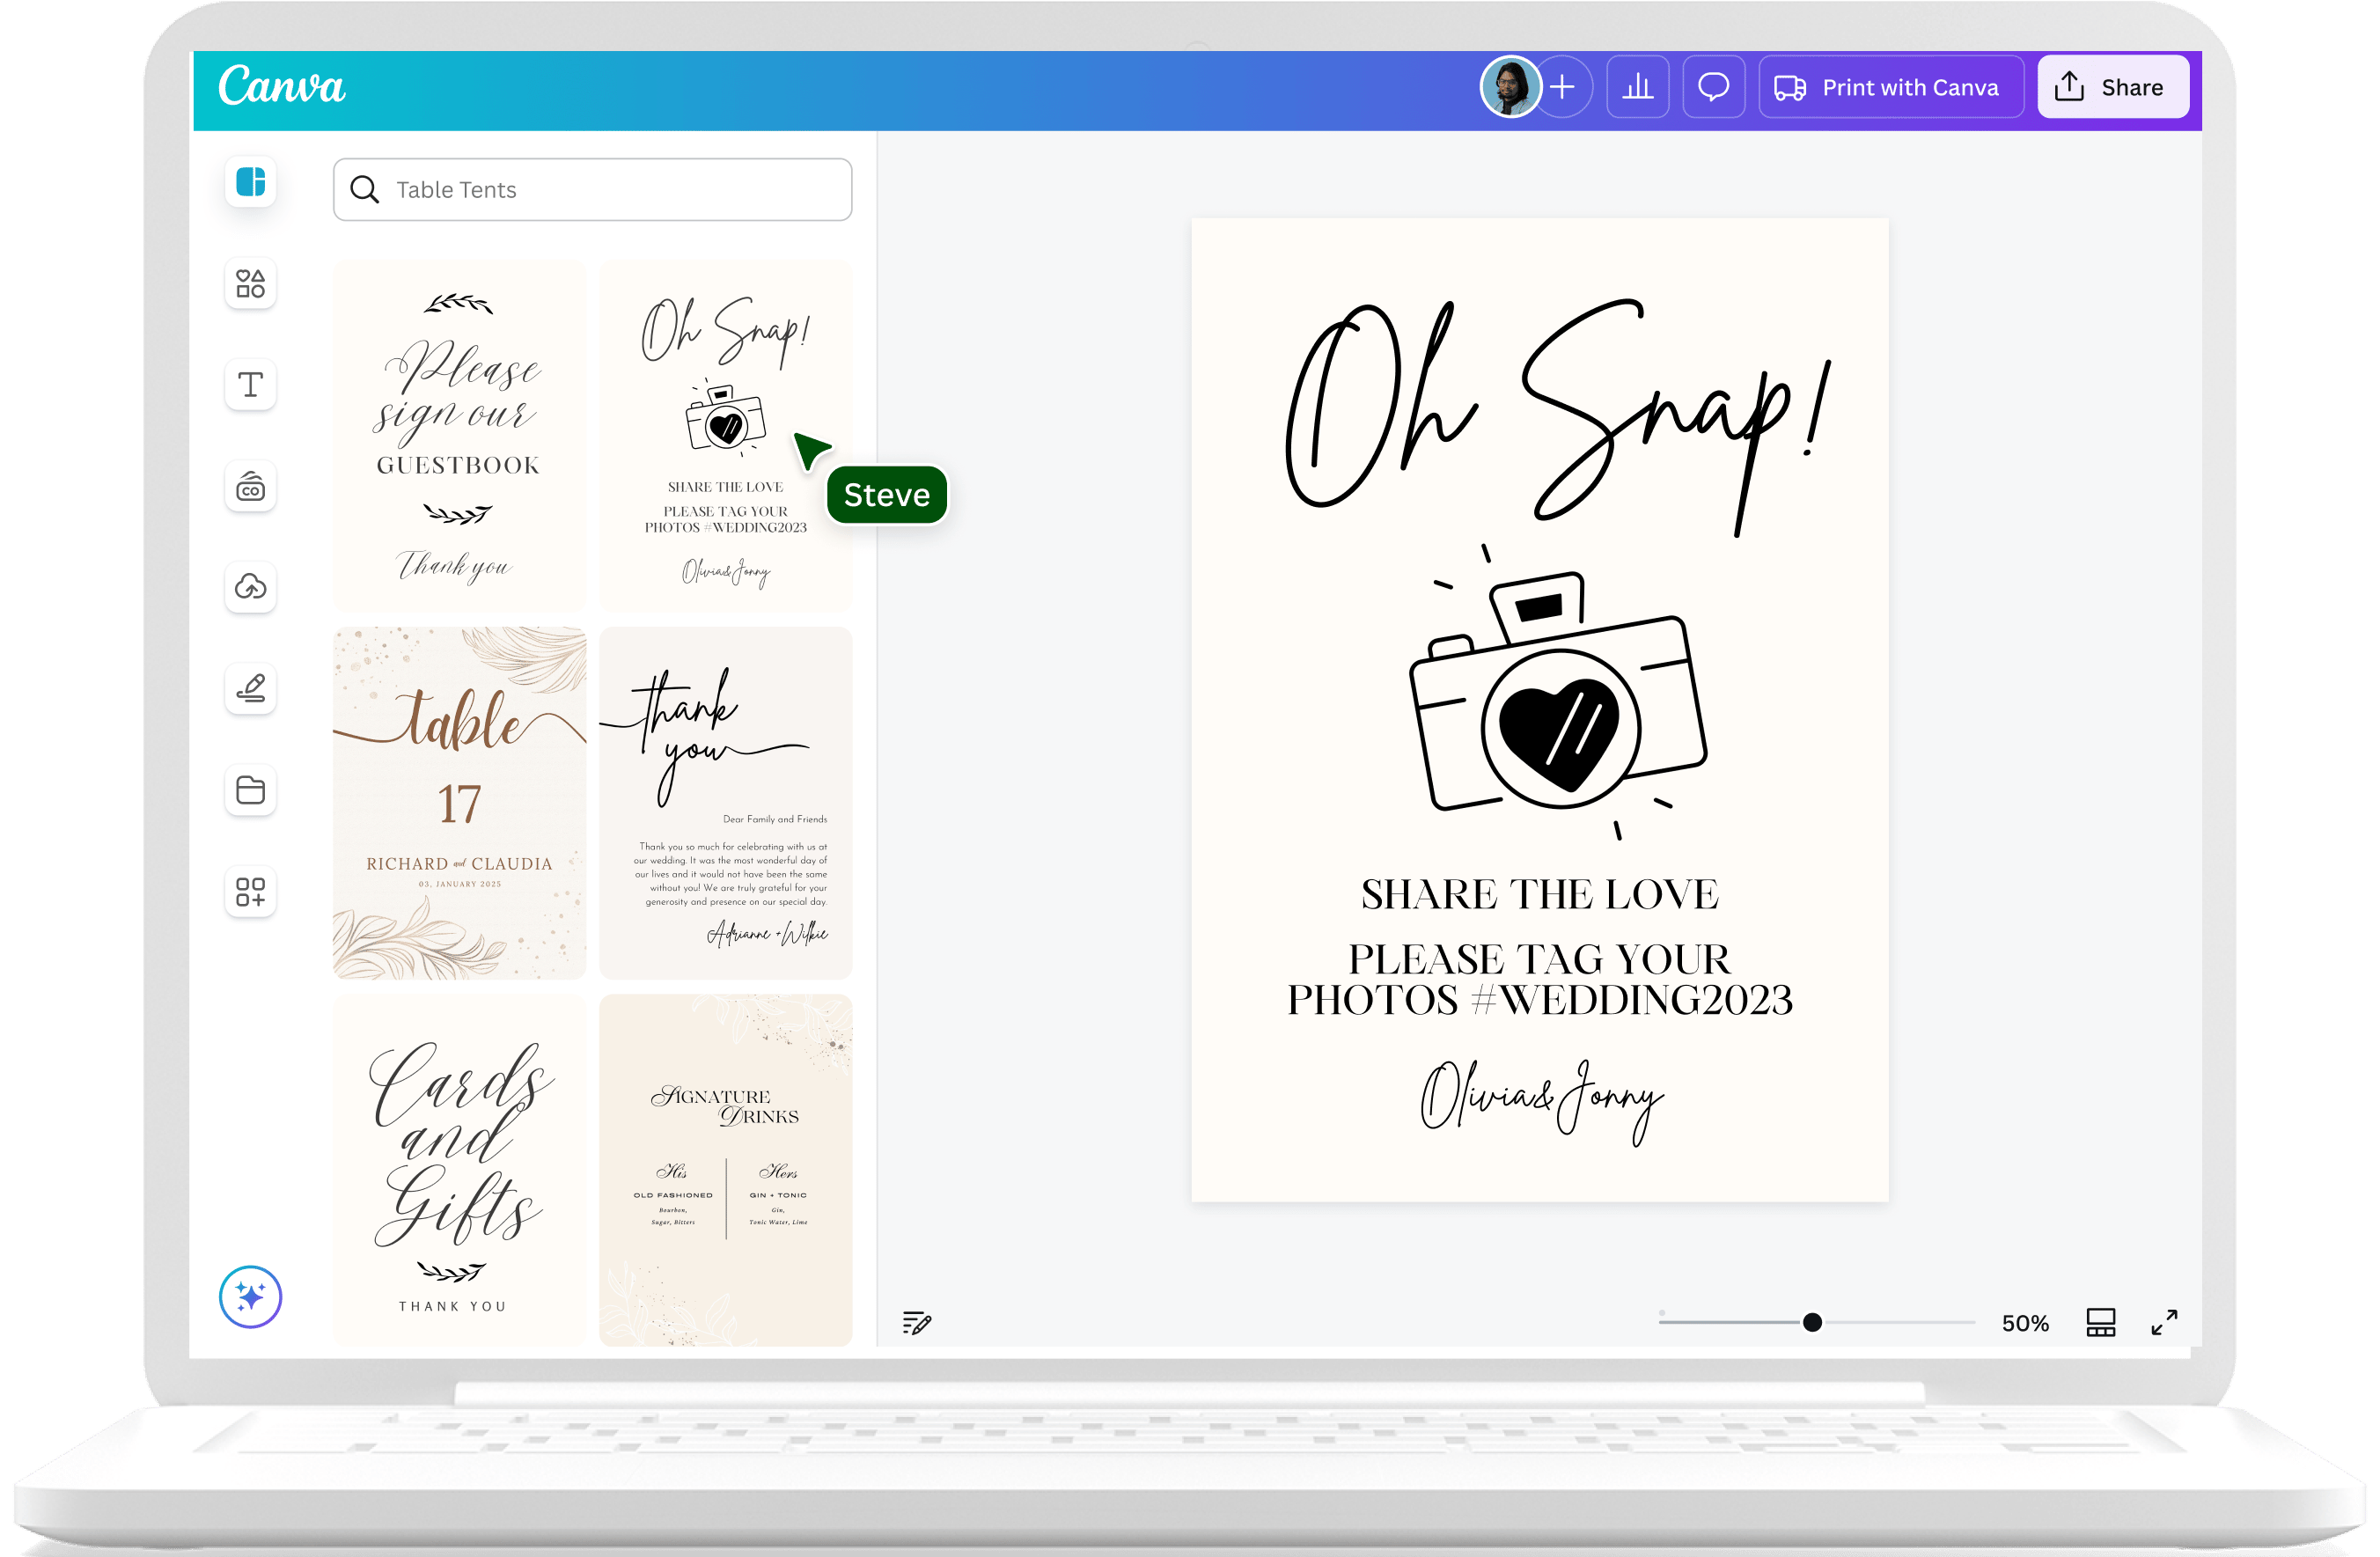
Can I Customize My Table Tent Design?
Yes, you can customize with colors, logos, text, or images. Personalization makes the table tent attractive and relevant to your event.
How Long Does It Take To Make A Table Tent?
Making a simple table tent takes about 10 to 15 minutes. Complex designs may take longer depending on customization and materials.
Conclusion
Making a table tent is simple and fun. You only need a few materials and steps. Create your design clearly to catch attention. Cut and fold carefully for a neat look. Use your table tent to share messages or promote events.
It adds a personal touch to any space. Try making different styles for variety. Enjoy crafting and see how it changes your table. Small projects like this bring big smiles. Give it a try today!