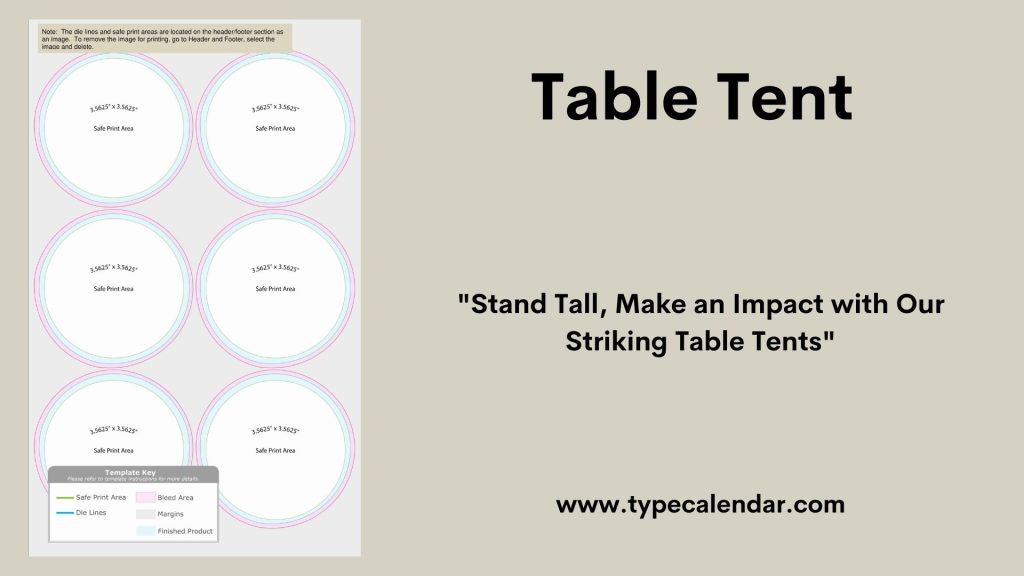
Are you looking to create a professional-looking table tent quickly and easily? Whether it’s for a meeting, event, or your small business, making a table tent in Word is simpler than you think.
In this guide, you’ll discover step-by-step instructions that anyone can follow—no design skills needed. By the end, you’ll have a polished table tent ready to impress your guests or customers. Ready to make your message stand out? Let’s get started!
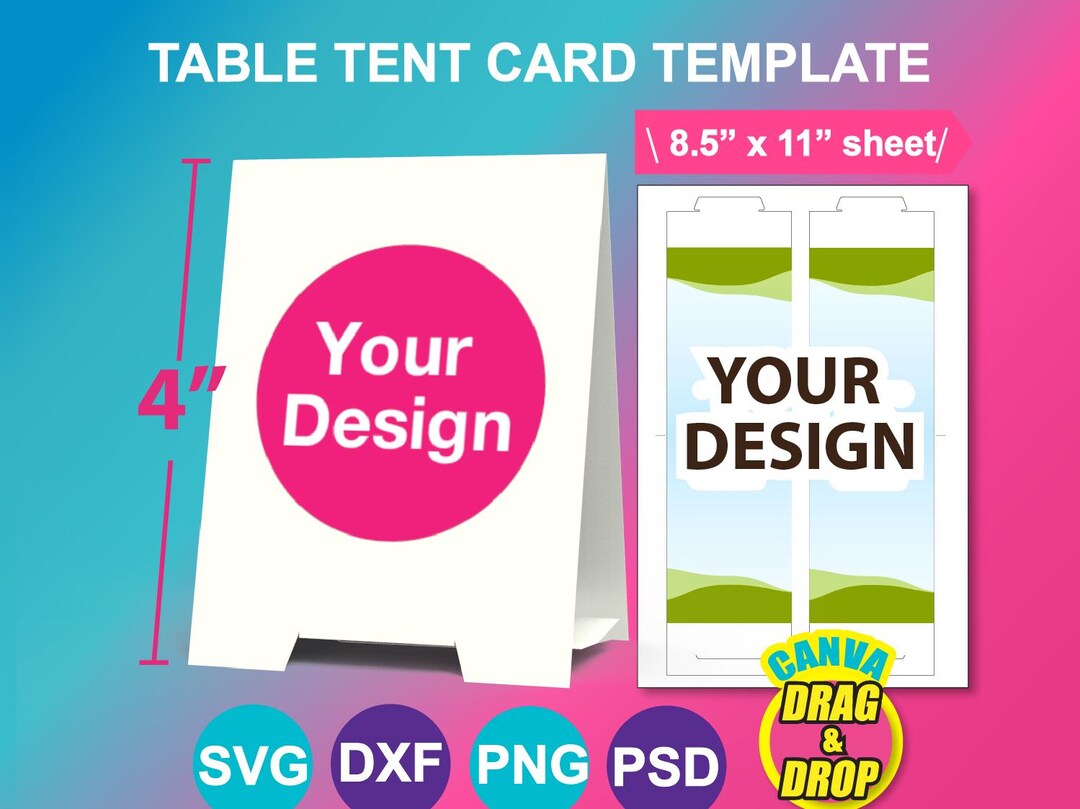
Credit: www.etsy.com
Materials Needed
Making a table tent in Word is easy. You need some simple materials to start.
These materials help you design and print your table tent quickly and clearly.
Computer With Microsoft Word
You need a computer with Microsoft Word installed. Word lets you create and format your table tent.
Choose the right template or start from scratch in Word.
Printer
A printer is important to print your table tent design. Use a color printer for better look.
Make sure the printer has enough ink and paper before printing.
Cardstock Paper
Use cardstock paper for your table tent. It is thicker and stands up well on tables.
- Standard paper may fold or flop over
- Cardstock holds shape better
- Choose white or colored cardstock
Scissors Or Paper Cutter
You need scissors or a paper cutter to trim your printed table tent. Cut along the edges carefully.
A paper cutter gives straight lines and a clean finish.
Ruler And Bone Folder (optional)
A ruler helps measure and fold your table tent evenly. A bone folder makes sharp, clean folds.
These tools improve the look but are not required.

Credit: www.youtube.com
Setting Up The Document
Making a table tent in Word starts with setting up your document. The right setup helps your table tent look neat and fit the paper well.
This guide explains how to choose page orientation and adjust margins for your table tent.
Choosing Page Orientation
Page orientation is how your page is turned. You can pick portrait or landscape. Landscape works best for table tents because it fits the shape better.
To change orientation, go to the Layout tab and select Orientation. Choose Landscape to make your table tent wider than it is tall.
Adjusting Margins
Margins are the blank spaces around your page. Setting small margins gives you more space for your design.
In the Layout tab, click Margins. Choose Narrow or Custom Margins. Set all margins between 0.3 and 0.5 inches for a balanced look.
- Top margin: 0.3 inches
- Bottom margin: 0.3 inches
- Left margin: 0.5 inches
- Right margin: 0.5 inches
Creating The Table Tent Shape
Making a table tent in Word is simple and fun. You can use it for parties or events. Let’s start with creating the shape.
Follow these easy steps to make your own custom table tent.
Inserting A Text Box
A text box helps to form the basic structure of your table tent. You can add text and images inside it.
- Open Microsoft Word and start a new document.
- Go to the “Insert” tab in the menu.
- Click on “Text Box” and choose “Simple Text Box”.
Resizing And Positioning
Adjust the size and position to fit your needs. This ensures your table tent stands correctly.
Resize the text box by dragging the corners. Place it at the center of your page.
| Action | Description |
| Resize | Drag the corners of the text box |
| Position | Move to the center of the page |

Credit: www.reddit.com
Designing The Table Tent
Designing a table tent in Word is simple. You can make it look professional with a few tools. Focus on text, images, colors, and borders.
This guide helps you add and format text, insert images or logos, and apply colors and borders to your table tent.
Adding Text And Formatting
Start by typing your message inside a text box. Use clear fonts and sizes for easy reading. Bold or italicize important words to highlight them.
- Choose simple fonts like Arial or Calibri
- Set font size between 14 and 18 points
- Use bold for headings or key points
- Align text to center or left for balance
- Keep sentences short and clear
Inserting Images Or Logos
Adding images or logos makes your table tent attractive. Insert pictures that match your message. Resize them to fit well inside your design.
| Image Type | Use | Tips |
| Logo | Brand identity | Place at top or bottom |
| Photo | Visual appeal | Keep small and clear |
| Icon | Highlight features | Use simple icons |
Applying Colors And Borders
Colors and borders help your table tent stand out. Choose colors that match your brand or theme. Add borders to separate sections clearly.
Color Tips:
- Use contrasting colors for text and background
- Keep colors consistent with your brand
- Avoid too many bright colors
Border Tips:
- Use solid or dotted lines
- Keep border thickness moderate
- Use borders to frame important text
Duplicating And Printing
Creating multiple table tents in Word is easy with duplicating and printing. This helps save time and paper.
Learn how to copy your design for many tents and set print options correctly.
Copying For Multiple Tents
To make several table tents, copy your original tent on the same page. This way, you can print many at once.
- Click on the table tent design to select it.
- Press Ctrl + C (Cmd + C on Mac) to copy.
- Click where you want the copy to appear.
- Press Ctrl + V (Cmd + V) to paste the duplicate.
- Repeat until you have enough tents on the page.
Setting Print Options
Adjust print settings to fit all tents on one page and avoid wasting paper.
| Print Setting | Recommended Option |
| Paper Size | Letter or A4 |
| Orientation | Landscape |
| Margins | Narrow or Custom |
| Scaling | Fit to Page |
| Copies | One (multiple tents already on page) |
Folding And Finishing Touches
Making a table tent in Word is simple once you know how to fold it well. Proper folding and finishing give your table tent a neat look.
This guide covers tips for scoring and folding your paper. It also explains how to use stands or supports for stability.
Scoring And Folding Tips
Scoring helps make clean folds in your paper. Use a blunt tool like a bone folder or the back of a butter knife.
Score along the fold lines before folding. This prevents cracking and keeps edges sharp.
- Place your paper on a flat surface
- Mark fold lines lightly with a pencil
- Run the scoring tool gently along the lines
- Fold the paper carefully along the scored lines
Using Stands Or Supports
Table tents may need extra support to stand well. You can add stands or supports to keep them upright.
Try folding a small strip of paper into a triangle shape. Attach it inside the tent as a stand.
- Cut a strip about 1 inch wide
- Fold it into a triangle or rectangle shape
- Glue or tape it inside the table tent’s base
- Test the tent’s stability on a flat surface
Frequently Asked Questions
How Do I Create A Table Tent In Word?
Open Word, insert a table with two columns and rows. Design content, then fold and print. This creates a simple table tent.
Can I Customize Table Tents In Microsoft Word?
Yes, Word allows font, color, and image customization. Adjust table size and layout for a unique, professional table tent design.
What Paper Size Is Best For Table Tents In Word?
Use standard letter size (8. 5×11 inches) paper. It fits most printers and folds easily into table tents without resizing issues.
How Do I Print Double-sided Table Tents In Word?
Set your printer to double-sided or manually print odd pages, then flip and print even pages. This ensures correct table tent folding.
Conclusion
Creating a table tent in Word is simple and quick. Just follow the clear steps shared here. You can add text, images, and colors to make it stand out. Practice a few times to get comfortable with the tools. Use your table tents for events, menus, or promotions.
This skill saves money and time on printing. Try it today and see how easy it can be. Keep experimenting to improve your designs. Making table tents in Word fits many needs and looks professional.