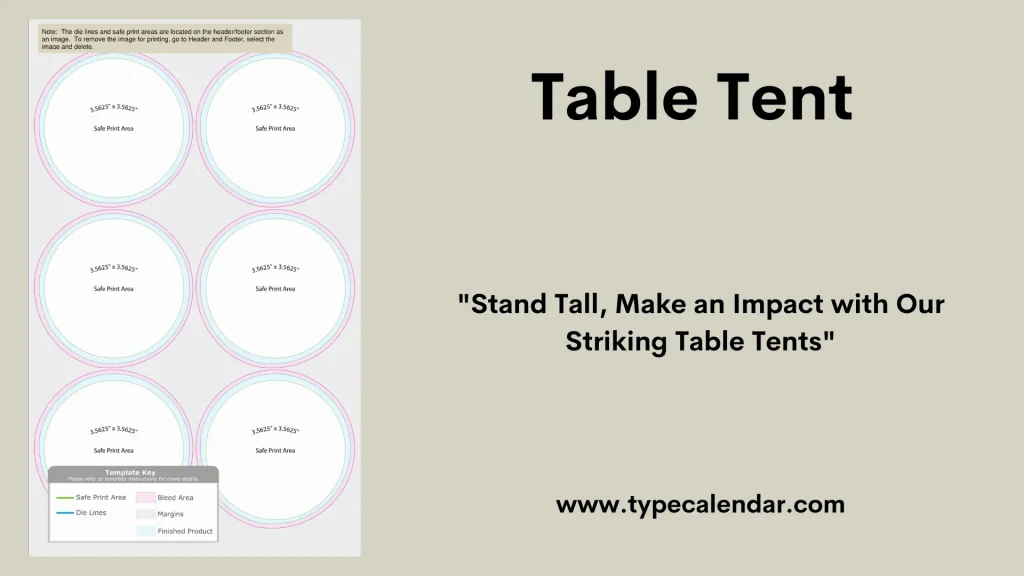
Looking to create eye-catching table tents that grab attention and boost your message? You’re in the right place.
Whether you want to promote a special offer, share important information, or add a personal touch to your event, making your own table tents is easier than you think. In this guide, you’ll discover simple steps and helpful tips that will turn plain paper into powerful little signs.
Ready to impress your guests and make your message stand out? Let’s get started!
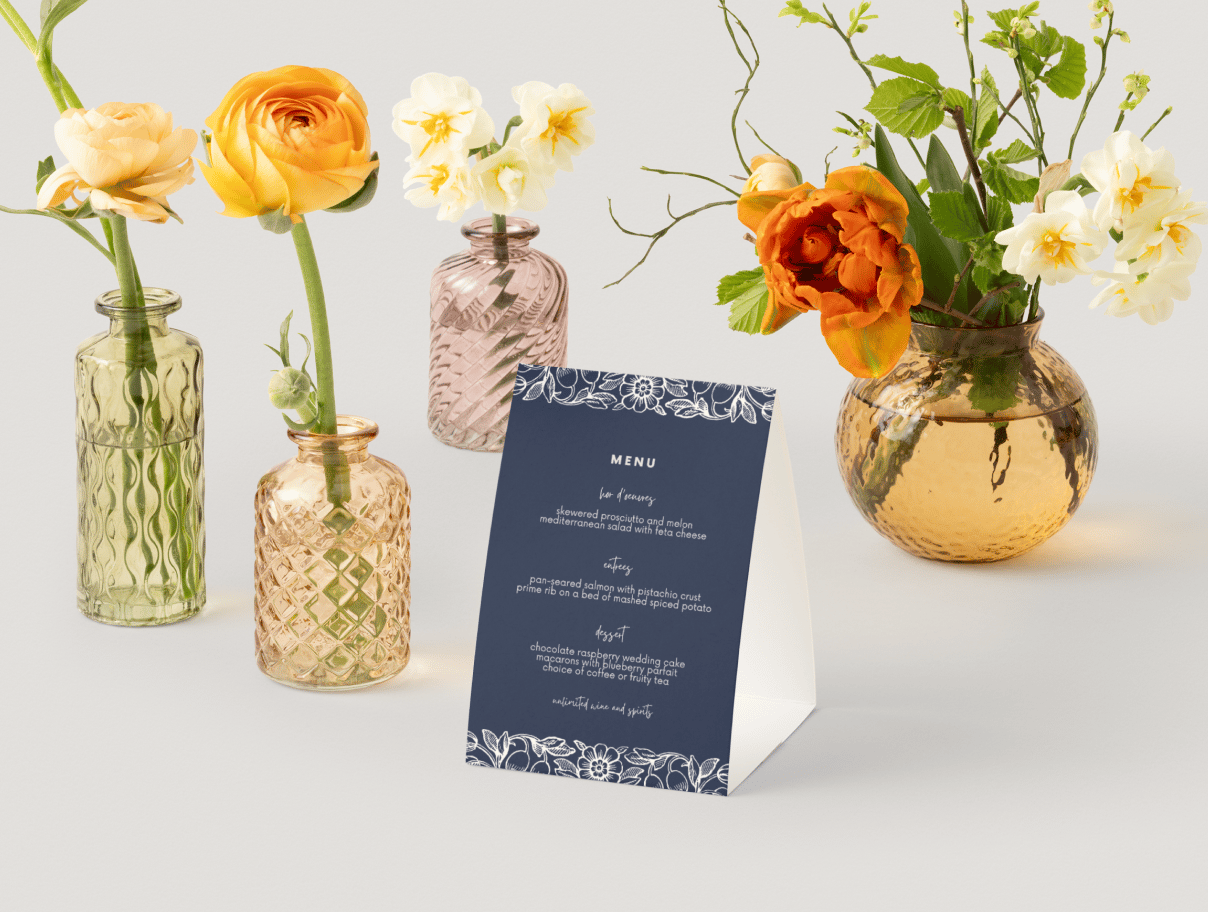
Credit: www.canva.com
Materials Needed
Making a table tent is simple with the right materials. You need sturdy paper and some basic tools. These will help you create a clean and lasting design.
Gathering your supplies before you start will save time. This guide will list what you need for each step.
Paper And Cardstock Options
Choose paper that is thick enough to stand up but easy to fold. Cardstock is a popular choice for table tents because it is firm and durable.
- Standard cardstock (65-110 lb weight)
- Matte or glossy finish paper
- Colored cardstock for a vibrant look
- Recycled paper for an eco-friendly option
- Specialty textured paper for style
Cutting Tools And Accessories
Cutting tools make clean edges and precise shapes. Use accessories that help hold and crease paper.
| Tool | Purpose |
|---|---|
| Paper cutter or scissors | Cut paper to size |
| Ruler | Measure and guide cuts |
| Bone folder or scoring tool | Create crisp folds |
| Glue or double-sided tape | Secure parts together |
| Cutting mat | Protect surfaces while cutting |
Design Supplies
Add designs and text to make your table tent stand out. Use supplies that are easy to work with and look good.
- Markers or pens for hand-drawn details
- Printed templates or stickers
- Stamps and ink pads for patterns
- Colored pencils or crayons
- Ribbons or small embellishments for decoration
Choosing The Right Size
Selecting the correct size for a table tent is important. It affects visibility and space on the table.
Consider the purpose and location when choosing the size. This ensures it fits well and catches attention.
Standard Table Tent Dimensions
Standard sizes are popular for a reason. They work well in most settings and are easy to find.
- 4″ x 6″ – Common for menus and promotions.
- 5″ x 7″ – Offers more space for detailed information.
- 8.5″ x 11″ – Suitable for larger tables or events.
Adjusting Size For Different Purposes
Adjusting the size of your table tent can make it more effective. Different purposes may require different sizes.
| Purpose | Recommended Size |
| Wedding | 5″ x 7″ |
| Trade Show | 8.5″ x 11″ |
| Cafe | 4″ x 6″ |
Design Tips
Creating a table tent that looks good and is easy to read helps you share your message well. Good design makes people notice your table tent quickly.
Simple design choices can make your table tent stand out. Use fonts, colors, images, and space smartly to keep it clear and attractive.
Selecting Fonts And Colors
Choose fonts that are easy to read from a distance. Avoid fancy fonts that can confuse readers. Use two fonts at most to keep it simple.
Pick colors that match your brand or theme. Use contrast between text and background for better visibility. Dark text on a light background works best.
- Use bold fonts for headings
- Keep body text simple and clear
- Limit colors to two or three
- Ensure high contrast for readability
Adding Images And Logos
Include images and logos to make your table tent more interesting. Use high-quality pictures that match your message. Place logos where they are easy to see but do not overpower the text.
Keep images small enough to not take up too much space. This helps keep the focus on your main message while still showing your brand.
- Use clear, simple images
- Place logos at the top or bottom corners
- Keep image size balanced with text
- Avoid cluttering the design with too many images
Balancing Text And White Space
Leave enough empty space around text and images. White space makes your table tent look clean and easy to read. Avoid filling every inch with content.
Break text into short sections or bullet points. This helps readers find important information fast. Balance text size with space to create a neat layout.
- Use margins and padding around text
- Keep paragraphs short and clear
- Use bullet points for key details
- Keep a simple, open layout
Step-by-step Assembly
Making a table tent is easy if you follow clear steps. This guide helps you build one with simple tools and materials.
You will learn how to cut, fold, glue, and finish your table tent for a clean look.
Cutting And Folding Techniques
Start by measuring your paper or card stock carefully. Use a ruler and pencil to mark where to cut.
Cut along the lines with scissors or a craft knife for straight edges. Fold the paper at the correct points to form the tent shape.
- Measure twice before cutting
- Use a metal ruler for straight folds
- Score the fold lines lightly for crisp bends
- Fold gently to avoid tearing the paper
Gluing And Securing The Tent
Apply glue to the tabs or edges that will attach to each other. Use a glue stick or craft glue for best results.
Press the glued parts firmly together. Hold them in place until the glue dries to keep the tent stable.
- Use a small amount of glue to avoid mess
- Align edges carefully before pressing
- Hold glued parts for at least 30 seconds
- Let the glue dry fully before moving the tent
Final Touches
Check your table tent for any loose parts or uneven folds. Trim any rough edges for a neat appearance.
Add decorations or text if needed. Place the tent on a flat surface to display it properly.
- Trim excess paper carefully
- Smooth out any wrinkles or creases
- Add labels or designs with markers or stickers
- Test stability before use
Creative Variations
Table tents are great for sharing messages on tables. You can make them more fun and unique. Try different ideas to catch attention.
Changing the shape, adding interactive parts, or using both sides can make your table tents stand out. These creative touches make your message clear and interesting.
Using Different Shapes
Most table tents are simple triangles or rectangles. Using other shapes can make yours unique. Shapes like circles, stars, or hexagons add style.
Different shapes also fit different themes. For example, a heart shape works well for romantic events. A hexagon can look modern and clean.
- Circle shapes create a soft, friendly feel
- Stars can highlight special offers
- Hexagons add a modern look
- Hearts suit romantic or holiday themes
Incorporating Interactive Elements
Interactive elements make your table tent more fun. Guests can touch, flip, or move parts. This keeps people engaged longer.
Examples include pull tabs, sliding panels, or scratch-off areas. These features create curiosity and invite interaction.
- Pull tabs reveal hidden messages
- Sliding panels show more details
- Scratch-off spots add surprise offers
- Flip sections can change the message
Double-sided Designs
Double-sided table tents show messages on both sides. This is good for places where people sit on both sides of the table.
Use one side for the main message and the other for extra info. This doubles your space without adding bulk.
- Front side for promotions or headlines
- Back side for details or contact info
- Both sides can have different colors
- Use contrasting fonts for readability
Tips For Durability
Making a table tent that lasts means focusing on strong materials and smart design. Durability helps your table tent stay neat and useful over time.
Two important ways to improve durability are laminating the paper and reinforcing weak points. These steps protect the tent from damage and wear.
Laminating Options
Laminating covers your table tent with a thin plastic layer. It helps protect from spills, dirt, and tears. You can choose from different laminating methods.
- Cold laminating sheets are easy to use and do not require heat.
- Hot laminating machines melt plastic film onto the paper for strong protection.
- Self-adhesive laminating films stick directly without a machine.
- Spray laminates add a waterproof coating but may need multiple layers.
Choose a laminating method that fits your tools and how long you want the tent to last.
Reinforcing Weak Points
Weak points like folds and edges can wear out quickly. Reinforcing these areas adds strength and helps the tent hold its shape.
| Weak Point | Reinforcement Tip |
| Folds | Use clear tape on both sides to prevent tearing |
| Edges | Trim uneven edges and add corner protectors |
| Base | Glue extra cardboard for a firm stand |
| Joints | Use strong glue or staples for better hold |
Uses And Placement Ideas
Table tents are small folded cards that stand on tables. They show important information in a clear way.
People use table tents in many places. They help share messages, offers, or directions easily.
Event And Restaurant Displays
At events, table tents show schedules or speaker details. They help guests find what they need quickly.
Restaurants use table tents to display menus or specials. They catch customers’ attention during meals.
- Show event agendas or session times
- Highlight food or drink specials
- Promote upcoming events or offers
- Display safety guidelines or reminders
Home Organization And Decor
Table tents can organize home spaces. Use them to label storage boxes or shelves.
They also add a personal touch to home decor. Write quotes or small notes on them.
- Label pantry items or craft supplies
- Mark garden plants or seeds
- Show reminders or motivational quotes
- Use as place cards for family meals
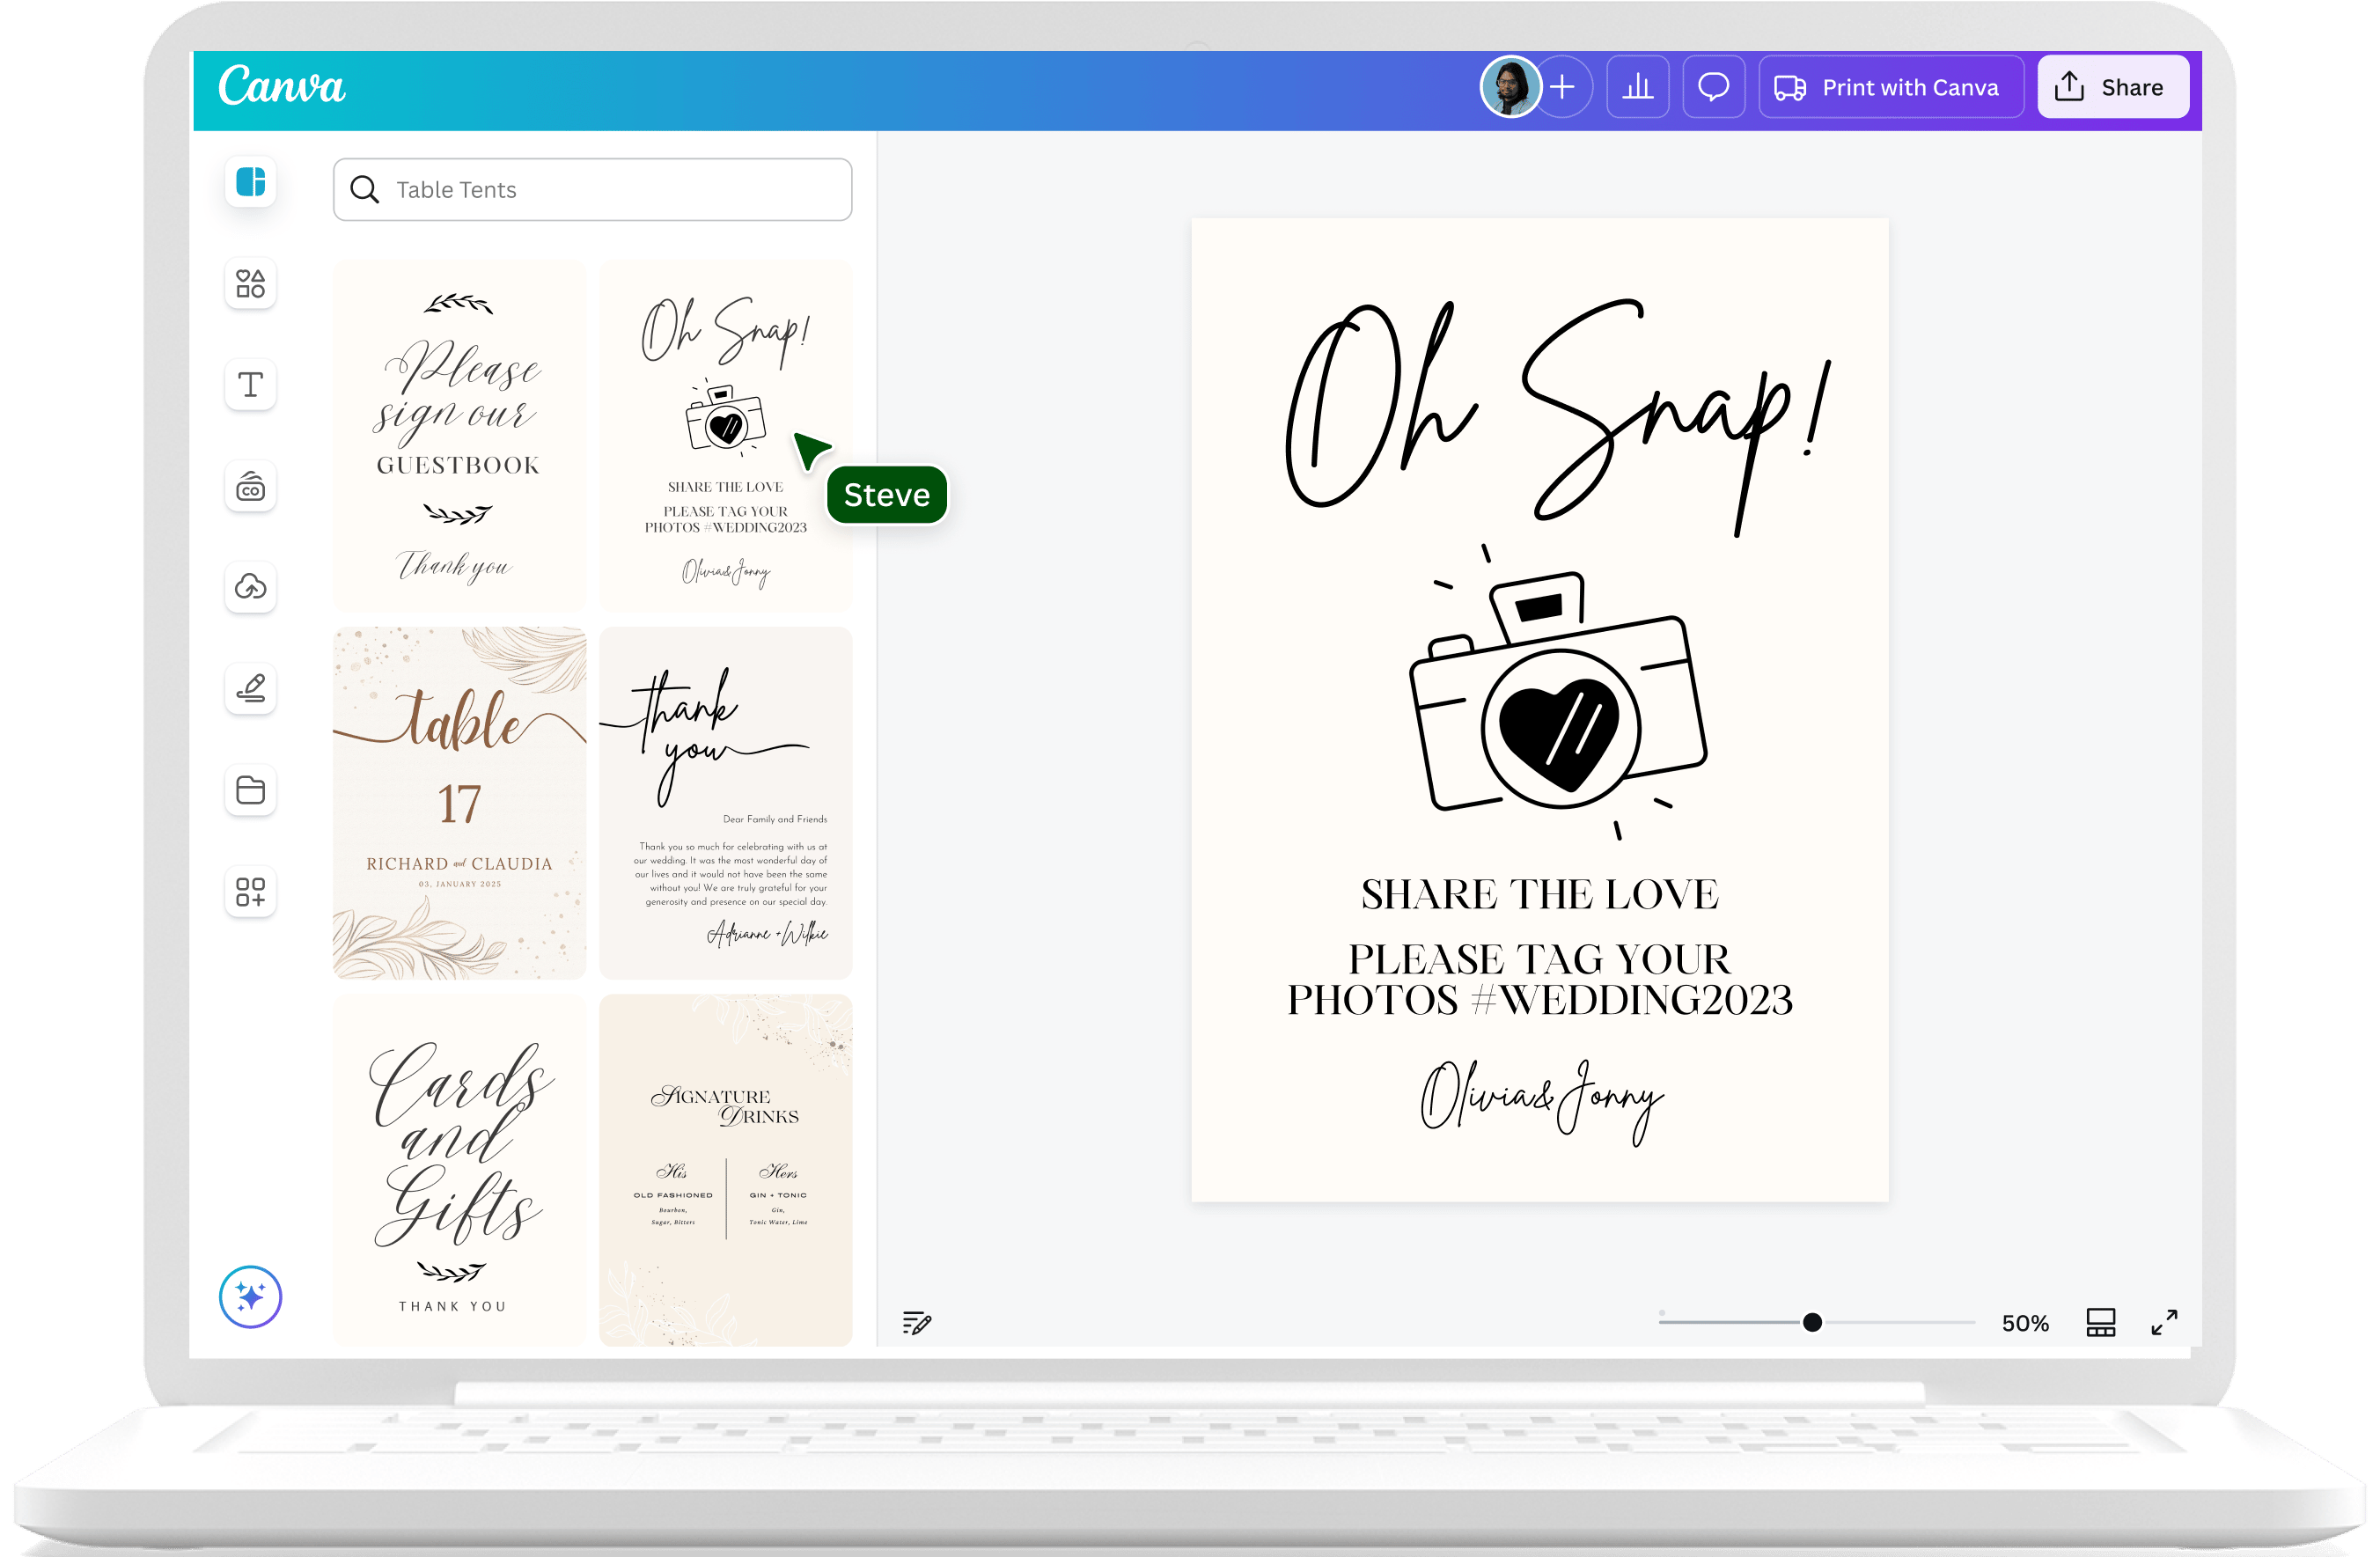
Credit: www.canva.com
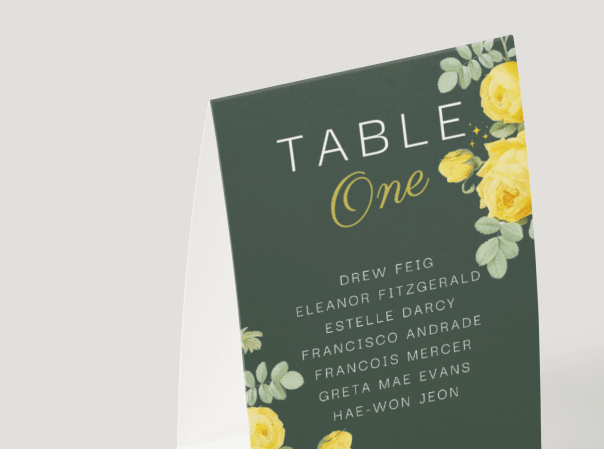
Credit: www.canva.com
Frequently Asked Questions
What Materials Are Needed To Make A Table Tent?
You need cardstock or thick paper, scissors, glue, and markers. Optional items include a ruler and decorative stickers for a polished look.
How Do You Fold A Table Tent Correctly?
Fold the cardstock in half to create a triangle shape. Ensure the edges align neatly for stability and a professional appearance.
What Designs Work Best For Table Tents?
Simple, bold designs with clear text work best. Use contrasting colors to grab attention and convey your message effectively.
Can I Customize Table Tents For Events?
Yes, customize with event details, logos, and colors. Personalized tents enhance branding and provide useful information to guests.
Conclusion
Making a table tent is simple and fun. You only need a few materials and steps. This craft helps organize spaces and share messages easily. Try different shapes and designs to fit your style. Practice a couple of times to get better results.
Table tents can be used at parties, meetings, or restaurants. Start creating your own today and enjoy the process. It adds a personal touch to any table setting. Keep it neat and clear for best effect. You will feel proud of your handmade table tent.