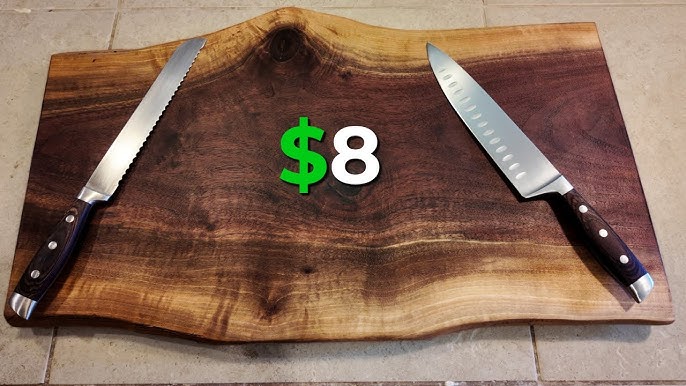
Are you ready to create your own wood cutting board that’s both beautiful and practical? Making a cutting board by hand is easier than you might think, and it gives you a unique kitchen tool you can be proud of.
Imagine slicing your favorite meals on a board you built yourself—strong, smooth, and made just the way you like it. In this guide, you’ll discover simple steps and insider tips that will turn raw wood into a stunning cutting board.
Let’s get started and bring your woodworking skills to life!
Choosing The Right Wood
Choosing the right wood is very important when making a cutting board. The wood must be safe, strong, and easy to clean.
Some woods are better than others for cutting boards. You need to know which types work best for your project.
Hardwoods Vs Softwoods
Hardwoods come from trees that lose their leaves each year. They are usually dense and strong. Softwoods come from trees that keep their needles all year.
Hardwoods are better for cutting boards. Softwoods can get scratched and cut easily. Hardwoods last longer and protect your knives.
- Hardwoods are dense and tough
- Softwoods are softer and less durable
- Hardwoods resist cuts and scratches
- Softwoods can absorb water and stain
Best Wood Types For Cutting Boards
Some wood types are popular for cutting boards because they are safe and strong. These woods do not dull knives quickly.
- Maple is hard and has a tight grain
- Walnut is strong with a dark color
- Cherry is durable and looks nice
- Beech is hard and easy to clean
Avoid woods that are too soft or have open pores. Open pores can trap bacteria and stains.
Wood Grain And Durability
Wood grain affects how long your cutting board will last. Tight grain woods resist cuts and water better.
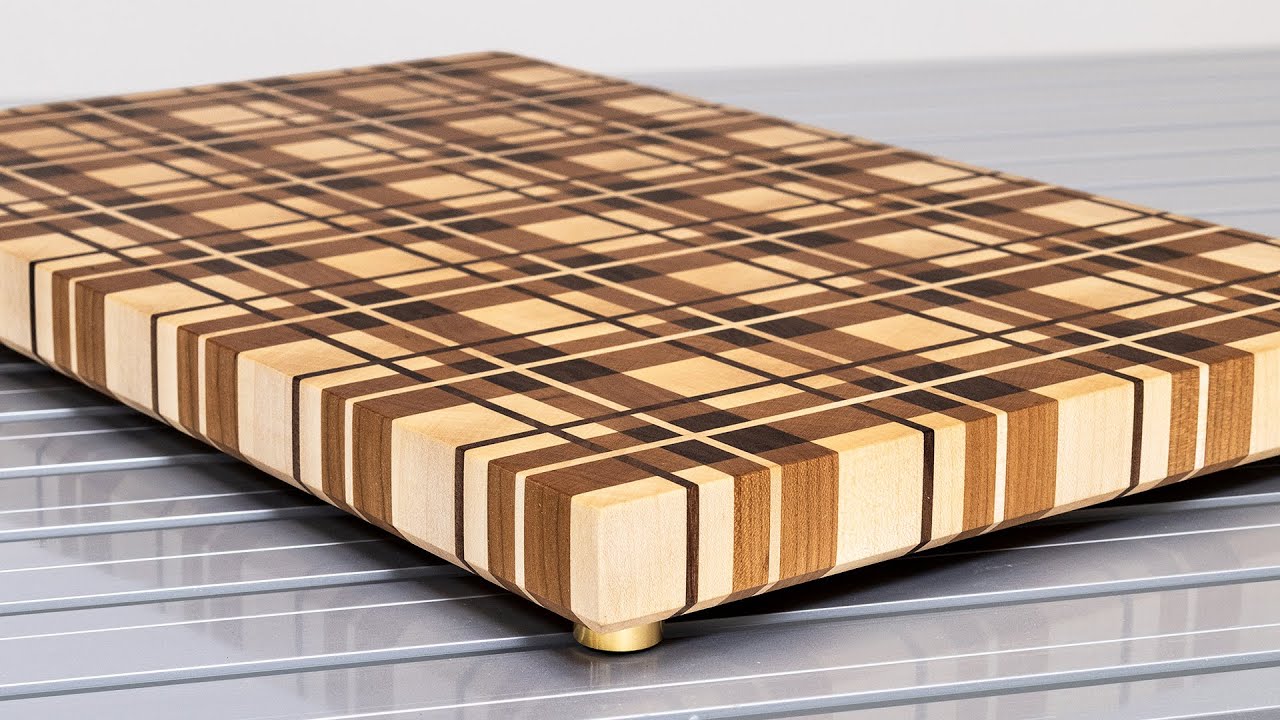
End grain boards are more durable. They show knife marks less and are gentle on knives. Face grain boards are less durable but easier to make.
- Tight grain means fewer gaps
- End grain absorbs cuts better
- Face grain shows cuts more
- Durable wood lasts longer

Credit: www.findbuytool.com
Gathering Essential Tools
Making a wood cutting board needs the right tools. These tools help you cut, smooth, and finish the board well.
Before starting, gather all the necessary tools. This makes your work easier and safer.
Cutting And Shaping Tools
You need tools to cut and shape the wood into a board. These tools help you get the right size and shape.
Common tools include saws and chisels. They let you make smooth cuts and remove extra wood.
- Table saw for straight cuts
- Jigsaw for curves and shapes
- Chisels for fine shaping
- Clamps to hold wood steady
- Measuring tape and square for accuracy
Sanding Equipment
Sanding smooths the wood surface. It removes rough spots and prepares the board for finishing.
Use different sandpaper grits to get a smooth finish. Start with coarse grit and move to fine grit.
- Orbital sander for fast sanding
- Sandpaper sheets in 80, 120, and 220 grits
- Hand sanding block for edges
- Vacuum or brush to clear dust
Finishing Supplies
Finishing protects the wood and makes the board safe for food use. It also improves the look of the wood.
Choose finishes that are food-safe and easy to apply. Apply several coats for best results.
- Food-safe mineral oil
- Beeswax or butcher block conditioner
- Clean cloths for applying finish
- Small brush for hard-to-reach areas
Preparing The Wood
Preparing the wood is the first step to making a cutting board. You need to handle the wood carefully for a smooth finish.
Good preparation helps the cutting board last longer and look better. This section covers measuring, cutting, and smoothing the wood.
Measuring And Marking
Measure your wood pieces precisely before cutting. Mark the lines clearly using a pencil and a ruler or square tool. Accurate marks guide your cuts.
- Use a tape measure for length and width
- Mark straight lines with a carpenter’s square
- Double-check measurements before marking
- Mark both sides of the wood for better guidance
Cutting To Size
Cut the wood carefully along the marked lines. Use a saw that fits your skill level and the wood type. Keep your cuts straight and clean.
| Tool | Best Use |
| Hand Saw | Simple cuts for soft wood |
| Table Saw | Precise, straight cuts for hard wood |
| Miter Saw | Cutting angles and crosscuts |
Jointing And Planing
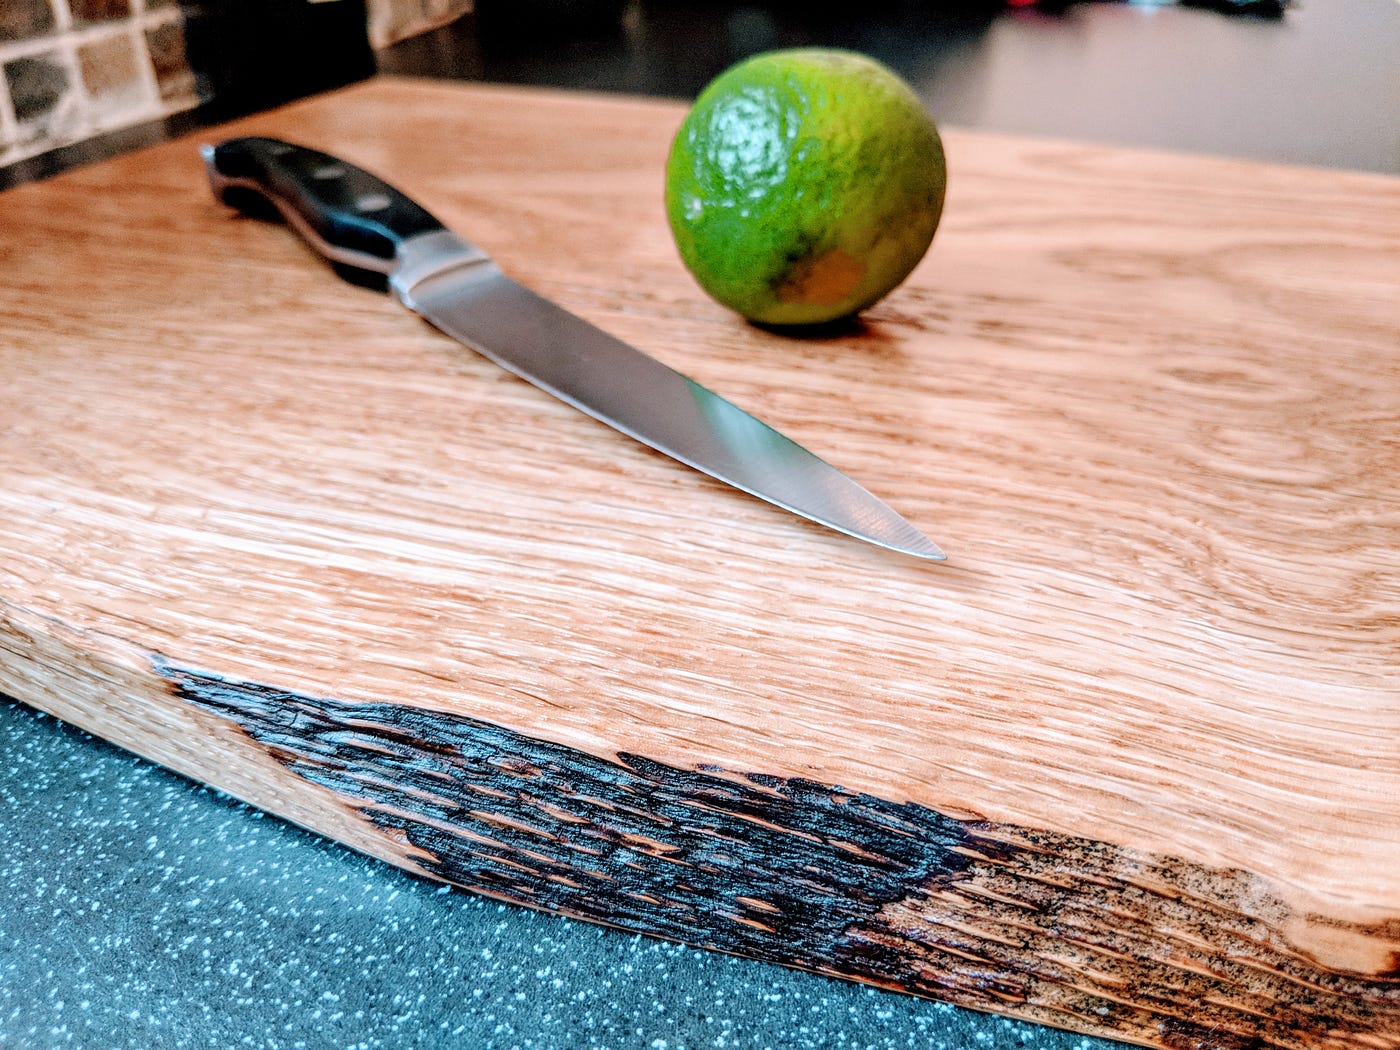
Jointing and planing make the wood edges and surfaces smooth. This step helps the pieces fit tightly together and creates a flat surface.
Follow these tips for jointing and planing:
- Use a jointer to flatten edges
- Run the wood through a planer for even thickness
- Check for flatness using a straight edge
- Smooth rough spots with sandpaper
Credit: medium.com
Assembling The Board
Building a wood cutting board needs careful assembly. Proper joining and securing keep the board strong and smooth.
This part covers gluing the wood pieces, clamping them tight, and checking for any gaps.
Gluing Techniques
Use wood glue that suits your wood type. Spread glue evenly on the edges to avoid weak spots. Apply enough glue but not too much to cause messy squeeze-out.
- Apply a thin, even layer of glue on each joint.
- Use a brush or roller for smooth coverage.
- Press edges together firmly to spread glue inside the joint.
- Remove excess glue with a damp cloth before it dries.
Clamping For Stability
Clamping holds the wood pieces tight while the glue dries. Use clamps that fit your board size and shape.
| Clamp Type | Best For | Notes |
|---|---|---|
| Bar Clamps | Long boards | Even pressure along edges |
| Pipe Clamps | Adjustable length | Good for wider boards |
| Corner Clamps | Right-angle joints | Hold corners steady |
Apply clamps evenly spaced. Tighten clamps just enough to hold pieces without squeezing out all glue.
Checking For Gaps
Gaps weaken the board and ruin its look. Check joints closely after clamping.
- Look for light showing through joints.
- Feel for uneven edges with your fingers.
- Use a scraper to fill small gaps with glue or wood filler.
- Re-clamp if you find big gaps before glue dries.
Shaping And Sanding
Shaping and sanding are important steps for making a smooth wood cutting board. These steps help make the edges safe and the surface ready for use.
Careful sanding also protects the wood and brings out its natural beauty. Follow simple methods to get the best results.
Rounding Edges
Rounding the edges of your cutting board makes it safer and easier to handle. Use a router or sandpaper to shape the corners smoothly. Avoid sharp corners that can cause splinters or injuries.
Smoothing Surfaces
After shaping, smooth the surface to remove rough spots and marks. Start with a coarse sandpaper and move to finer grits. This step prepares the wood for finishing and use.
- Use an orbital sander or sanding block
- Sand along the grain of the wood
- Check for any uneven areas and sand again
- Remove dust with a clean cloth after sanding
Progressive Sanding Grits
Using the right sanding grits in order helps get a smooth, even finish. Start with coarse grit to shape and remove marks. Then use medium and fine grits to polish the wood.
| Sanding Grit | Purpose |
| 80-100 | Remove rough edges and shape |
| 120-150 | Smooth surface after shaping |
| 220-320 | Final polishing for smooth finish |
Applying The Finish
Applying the right finish protects your wood cutting board. It keeps the wood safe and durable for kitchen use. This guide covers oils and waxes, tips for applying them, and how long to wait before use.
A good finish seals the wood and stops moisture and stains. Food-safe products are important to keep your board safe for cutting food.
Food-safe Oils And Waxes
Choose finishes that do not harm food. Natural oils and waxes are best because they soak into the wood and keep it smooth.
- Mineral oil is clear, non-toxic, and easy to apply.
- Walnut oil hardens and offers good protection but may cause allergies.
- Beeswax creates a smooth, water-resistant layer on the surface.
- Carnauba wax is harder than beeswax and adds a glossy finish.
Application Tips
Clean and dry your board before applying any finish. Use a soft cloth or brush to spread the oil or wax evenly. Work with the grain for best results.
- Apply a generous amount of oil or wax to the board surface.
- Let it soak in for 20 to 30 minutes.
- Wipe off any excess with a clean cloth.
- Repeat the process two or three times for better protection.
- Buff the board to a smooth finish once the last layer dries.
Curing Time
The finish must cure to protect the wood fully. Curing time depends on the product and room temperature.
| Finish Type | Minimum Curing Time | Notes |
|---|---|---|
| Mineral Oil | 24 hours | Reapply monthly for best care |
| Walnut Oil | 48 hours | Longer curing for harder finish |
| Beeswax | 12 hours | Apply thin layers for smooth finish |
| Carnauba Wax | 24 hours | Buff well after curing |
Maintenance Tips
Keeping your wood cutting board in good shape takes some care. Proper maintenance helps it last longer and stay safe for food use.
Learn simple ways to clean, oil, and protect your board from damage. These steps keep your board strong and healthy.
Cleaning And Drying
Wash the board with warm, soapy water right after use. Do not soak it or put it in the dishwasher. Rinse well and dry it quickly.
- Use a sponge or soft brush to clean the surface
- Wipe with a clean towel after rinsing
- Stand the board upright to air dry fully
- Avoid leaving the board wet for a long time
Re-oiling Schedule
Wood boards need oil to stay smooth and prevent cracks. Apply food-safe mineral oil regularly to keep the wood healthy.
| Condition | How Often to Oil |
| New or unused board | Once a week for one month |
| Regular use | Once a month |
| Dry or cracked wood | Apply oil more often |
Avoiding Damage
Protect your board by avoiding harsh tools and extreme conditions. This helps keep it smooth and strong.
- Do not cut with very sharp or serrated knives only on one spot
- Avoid using the board as a hot pan holder
- Keep it away from direct sunlight and heat
- Do not leave it soaking in water or near moisture
Credit: www.youtube.com
Frequently Asked Questions
What Wood Types Are Best For Cutting Boards?
The best wood types for cutting boards are hard, closed-grain woods. Maple, walnut, and cherry are popular choices. They are durable, resist bacteria, and won’t dull knives easily. Avoid softwoods like pine, as they can damage quickly and harbor bacteria.
How Do You Maintain A Wooden Cutting Board?
Maintain your wooden cutting board by regularly cleaning it with mild soap and water. Dry it immediately to prevent warping. Oil the board monthly with food-grade mineral oil to keep it hydrated. Avoid soaking it in water or placing it in the dishwasher.
Can I Use Any Finish On A Cutting Board?
Use only food-safe finishes on cutting boards. Mineral oil and beeswax are excellent choices. They protect the wood and are non-toxic. Avoid finishes like varnish or polyurethane, as they can be harmful if ingested. Regularly reapply the finish to maintain the board’s condition.
How Long Does It Take To Make A Cutting Board?
The time to make a cutting board can vary. Typically, it takes around 2 to 3 hours, excluding drying time. This includes cutting, sanding, and finishing. Allow extra time for glue or oil to dry. Patience ensures a well-crafted, durable cutting board.
Conclusion
Making a wood cutting board is a rewarding project anyone can try. It takes basic tools, some wood, and patience. Follow the steps carefully and work safely. Your handmade board will last for years and look great. Using your own board adds joy to cooking.
Keep it clean and oiled for best results. Enjoy crafting and showing off your new cutting board to friends. Simple, useful, and satisfying—a perfect DIY project.