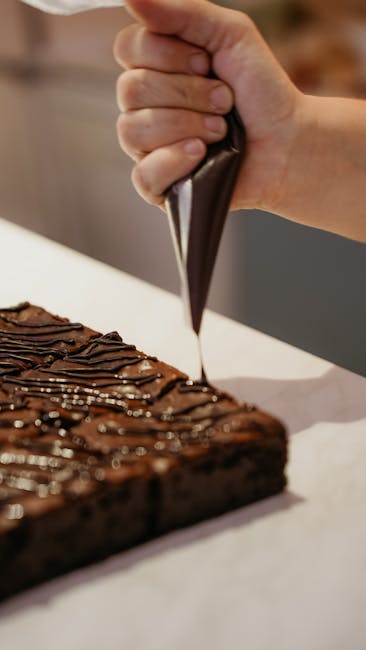
Imagine enjoying rich, gooey brownies that are perfectly portioned and easy to share. What if you could make these delicious treats right in your cupcake pan?
It’s simpler than you think, and the results are amazing. Whether you’re craving a quick snack or planning a party, this method gives you the perfect brownie every time. Keep reading, and you’ll discover how to turn your ordinary cupcake pan into a brownie-making machine that will impress everyone you know.
Ready to make your kitchen smell like chocolate heaven? Let’s dive in!
Choosing The Right Ingredients
Making brownies in a cupcake pan needs good ingredients. Picking the right ones helps you bake tasty and soft treats.
This guide covers the essential ingredients and some optional add-ins to boost flavor.
Essential Ingredients For Brownies
These ingredients create the base of your brownies. Use good quality items for the best results.
| Ingredient | Purpose | Tips |
| Butter | Adds richness and moisture | Use unsalted for better control |
| Sugar | Sweetens and adds texture | Granulated or brown sugar both work |
| Eggs | Bind the ingredients | Use fresh eggs at room temperature |
| Cocoa Powder | Gives chocolate flavor | Choose unsweetened and good quality |
| Flour | Provides structure | All-purpose flour is best for brownies |
| Salt | Enhances flavor | Just a pinch is enough |
| Baking Powder | Helps brownies rise slightly | Use sparingly for fudgy texture |
Optional Add-ins For Flavor
You can add extra items to make your brownies more exciting. These mix-ins bring new tastes and textures.
- Chopped nuts like walnuts or pecans for crunch
- Chocolate chips for extra chocolate bursts
- Dried fruit pieces for a chewy bite
- Vanilla extract for a sweet aroma
- Cinnamon or espresso powder for a flavor boost
Selecting And Preparing The Cupcake Pan
Choosing the right cupcake pan is important for making brownies. The pan affects how evenly brownies bake. Proper preparation stops brownies from sticking.
This guide covers common types of pans and ways to prepare them before baking.
Types Of Cupcake Pans
Cupcake pans come in different materials and sizes. Each type can change how the brownies cook.
- Aluminum pans:These heat quickly and evenly. They are light and easy to handle.
- Non-stick pans:These have a special coating that helps release brownies easily.
- Silicone pans:Flexible and easy to clean. They need careful handling to avoid spills.
- Stainless steel pans:Durable but may heat unevenly. Use greasing to prevent sticking.
Greasing And Lining Tips
Preparing the pan well is key to easy removal and clean-up. Use the right method for your pan type.
| Preparation Method | Best For | Notes |
| Butter or oil greasing | All metal pans | Apply a thin, even layer to avoid sticking. |
| Non-stick spray | Non-stick and metal pans | Use a light spray for even coverage. |
| Paper liners | All pans, especially non-stick | Easy cleanup, but may change brownie shape slightly. |
| Silicone liners | Silicone pans | Reusable and non-stick, fits well in flexible pans. |
Mixing The Brownie Batter
Mixing the brownie batter is an important step when baking brownies in a cupcake pan. The batter needs to be smooth and well combined for even baking.
Good mixing helps the brownies rise evenly and keeps them moist. It also ensures the ingredients are spread out properly.
Step-by-step Batter Preparation
Start by melting the butter and chocolate together until smooth. This creates a rich base for your brownie batter.
Next, beat the sugar into the mixture until it is fully combined. Then add the eggs one at a time, mixing well after each.
- Mix the dry ingredients separately in a bowl.
- Gently fold the dry ingredients into the wet mixture.
- Do not overmix to keep the batter light.
- Stir until the batter is smooth and uniform.
Common Mistakes To Avoid
Adding ingredients all at once can cause lumps in the batter. Mix gradually to avoid this problem.
Overmixing the batter can make the brownies tough. Mix just until the ingredients are combined.
- Do not skip sifting the dry ingredients; it prevents clumps.
- Avoid using cold eggs or butter to keep the batter smooth.
- Do not use the wrong pan size; cupcake pans need less batter.
- Check that the batter is not too thick or too runny.
Filling The Cupcake Pan
Filling a cupcake pan with brownie batter is simple and fun. It helps create perfect brownie bites that are easy to serve.
Using the right amount of batter in each cup is important. This makes sure brownies cook evenly and look great.
Portioning Batter Evenly
Use a spoon or a small scoop to portion the batter. Fill each cupcake cup about two-thirds full. This prevents overflow while baking.
Try to keep the amount of batter the same in every cup. This helps brownies bake evenly and finish at the same time.
- Use a cookie scoop or tablespoon for even portions
- Fill cups about 2/3 full to avoid spills
- Level batter gently with the back of a spoon if needed
- Keep sizes consistent for uniform baking
Adding Toppings Before Baking
Toppings add extra flavor and texture to your brownies. Sprinkle nuts, chocolate chips, or candies on top before baking.
Press toppings lightly into the batter. This stops them from falling off after baking and helps them stick.
- Chopped nuts add crunch
- Chocolate chips make brownies richer
- Mini marshmallows give a soft texture
- Sprinkle toppings evenly on each cup
Baking And Timing
Baking brownies in a cupcake pan is a fun way to make individual treats. The right baking time and temperature help get perfect brownies every time.
Knowing how to check if brownies are done ensures they are moist and not overbaked. This guide explains oven temperature and how to test for doneness.
Optimal Oven Temperature
Set your oven to 350°F (175°C) for baking brownies in a cupcake pan. This temperature cooks them evenly without burning the edges.
- Preheat the oven fully before placing the pan inside.
- Use the middle rack for best heat circulation.
- A lower temperature can make brownies dry and crumbly.
- A higher temperature may burn the outside while leaving the inside raw.
Checking For Doneness
Use simple tests to check if brownies are done baking. These tests help avoid undercooking or overbaking.
| Test | How to Do It | What to Look For |
| Toothpick Test | Insert a toothpick in the center | Few moist crumbs, no wet batter |
| Touch Test | Gently press the top of a brownie | Surface springs back slightly |
| Visual Check | Look at the edges | Edges pull away from the pan slightly |

Credit: thegirlinspired.com
Cooling And Removing Brownies
After baking brownies in a cupcake pan, cooling and removal require care. Proper steps keep brownies moist and intact.
Following the right methods helps you avoid breaking or crumbling your brownies before serving.
Cooling Techniques
Let brownies cool completely in the pan to set their texture. Cooling helps them hold shape when removed.
- Place the cupcake pan on a wire rack after baking.
- Allow at least 20 to 30 minutes for cooling.
- Do not rush with cold water or fridge; let them cool naturally.
- Use a toothpick to check if brownies are set and not wet inside.
Removing Brownies Without Damage
Removing brownies gently prevents cracks and broken pieces. Use tools and methods that protect the shape.
| Method | Details |
| Use a thin knife | Run a knife around each brownie edge to loosen it from the pan. |
| Invert the pan | Turn the cupcake pan upside down on a plate or tray to pop out brownies. |
| Use a toothpick or skewer | Gently push brownies from the bottom to release them without breaking. |
| Cool fully | Ensure brownies are completely cool before removing to avoid crumbling. |
Serving And Storing
Brownies baked in a cupcake pan are easy to serve and share. They make perfect single servings for parties or snacks.
Proper storage keeps your brownies fresh and tasty for days. Follow simple tips to maintain their flavor and texture.
Presentation Ideas
Presenting brownies nicely makes them more inviting. Use simple decorations and serving styles to impress your guests.
- Dust brownies with powdered sugar for a classic look.
- Add a dollop of whipped cream or a small scoop of ice cream.
- Top with fresh berries or chopped nuts for texture.
- Serve on a colorful plate or cupcake liner for fun.
- Arrange brownies in a circle or stack for visual appeal.
Storage Tips For Freshness
Store your brownies properly to keep them moist and soft. Avoid drying out by sealing them well.
| Storage Method | How to Store | Storage Time |
| Room Temperature | Keep in an airtight container | 3-4 days |
| Refrigerator | Wrap in plastic wrap, then place in a container | Up to 1 week |
| Freezer | Wrap individually in foil and place in a freezer bag | Up to 3 months |

Credit: www.noracooks.com
Credit: bakeorbreak.com
Frequently Asked Questions
Can I Use A Cupcake Pan For Brownies?
Yes, you can use a cupcake pan to make brownies. This method creates individual portions that are easy to serve. Adjust the baking time since the smaller size means they cook faster. It’s perfect for parties and gatherings.
How Long To Bake Brownies In A Cupcake Pan?
Brownies in a cupcake pan typically bake for 15-20 minutes. Keep an eye on them to avoid overbaking. Insert a toothpick; if it comes out with a few crumbs, they’re ready. This ensures a fudgy texture.
Do Brownies Stick To Cupcake Liners?
Brownies can stick to liners if not greased properly. To prevent sticking, use non-stick spray or parchment liners. This makes removal easier and keeps the shape intact. Also, allow them to cool slightly before removing.
What Temperature For Cupcake Pan Brownies?
Preheat your oven to 350°F (175°C) for cupcake pan brownies. This temperature ensures even baking and a good texture. Adjust as needed for your specific oven. Always monitor closely to avoid overbaking.
Conclusion
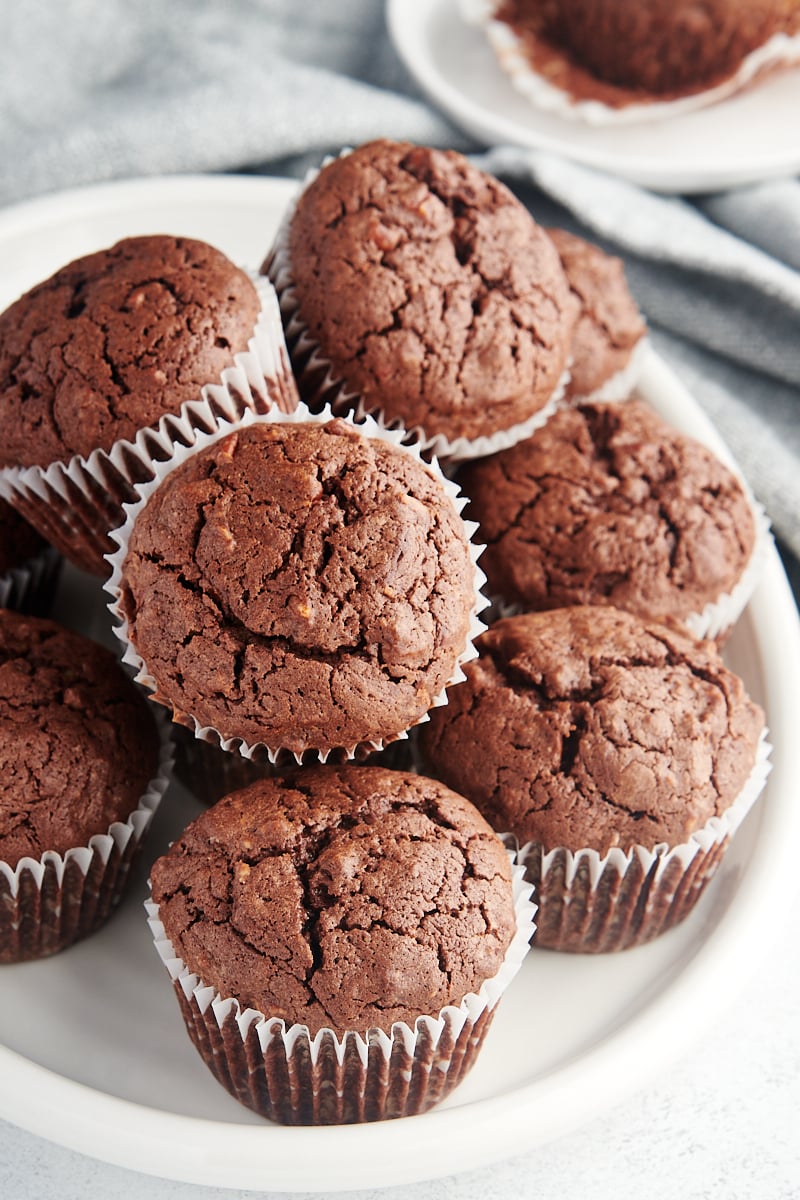
Baking brownies in a cupcake pan makes serving easy and fun. These small treats cook faster than a big pan of brownies. You can add nuts, chocolate chips, or other toppings you like. Perfect for parties or a quick snack.
Try this simple way to enjoy brownies anytime. Your kitchen will smell amazing. Enjoy every bite of these soft, chocolaty cupcakes. Happy baking!