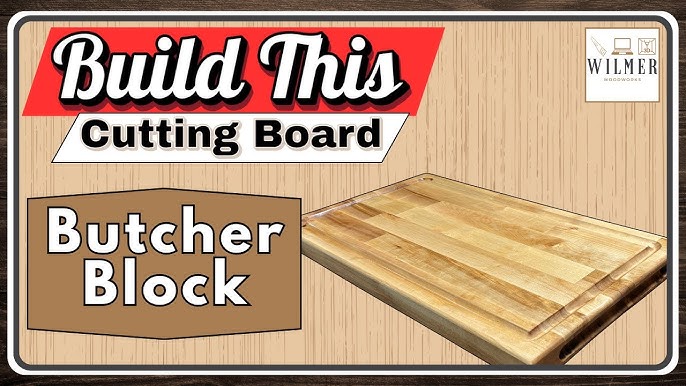
Are you ready to create a beautiful butcher block cutting board that lasts for years? Making your own cutting board is easier than you think, and it gives you a sturdy, stylish piece you can be proud of.
Imagine having a custom board that feels perfect in your hands and adds warmth to your kitchen. In this guide, you’ll discover simple steps and insider tips that anyone can follow. By the end, you’ll have all you need to craft your very own butcher block cutting board—let’s get started!
Choosing The Right Wood
Picking the right wood is key to making a strong cutting board. The wood must be safe, durable, and look good. This guide helps you choose the best wood for your butcher block cutting board.
Not all woods work well for cutting boards. Some woods are too soft or may damage knives. You want wood that lasts and stays safe for food use.
Hardwood Options
Hardwoods are the best choice for butcher block cutting boards. They are tough and resist knife marks. Common hardwoods include maple, walnut, and cherry.
Maple is popular because it is hard and light in color. Walnut is darker and has a rich tone. Cherry is medium hard and offers a warm reddish color.
- Maple: Hard, light, and food safe
- Walnut: Dark, strong, and stylish
- Cherry: Medium hard with warm color
- Beech: Close-grained and durable
- Oak: Very hard but porous
Wood Grain And Durability
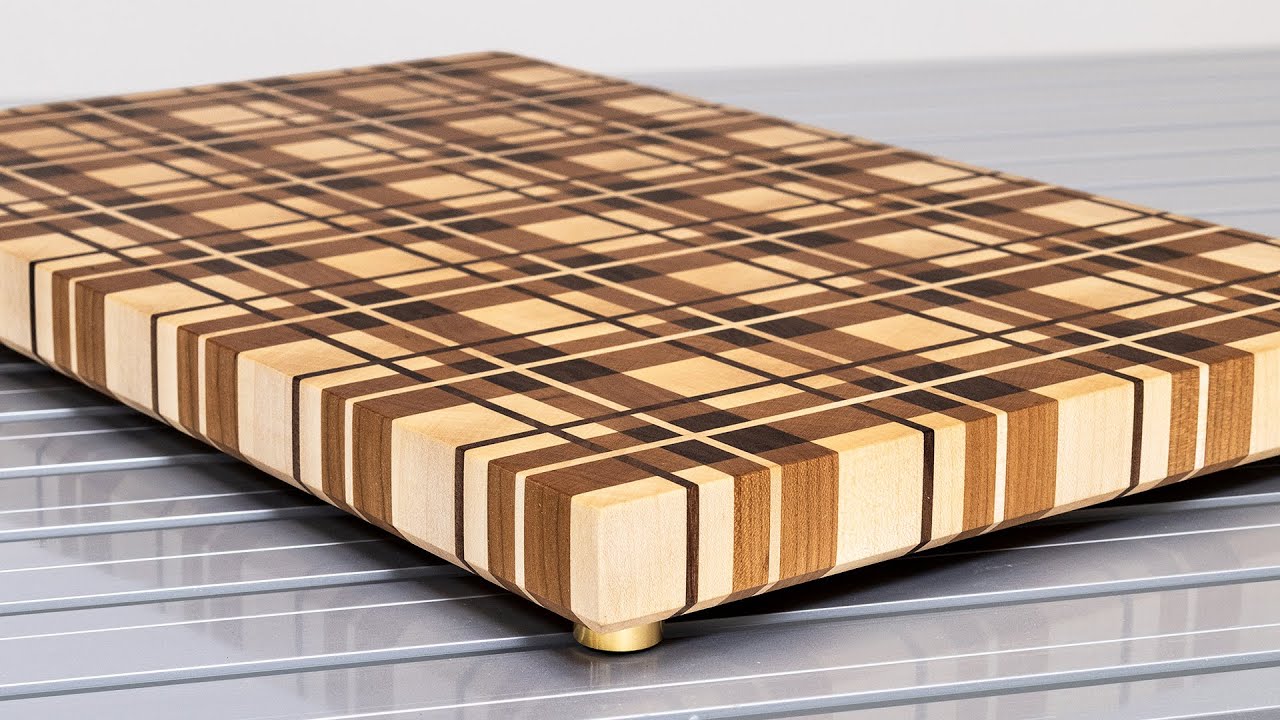
Wood grain affects how the cutting board wears over time. End grain boards last longer and heal knife cuts better. Face grain boards are easier to make but show cuts faster.
Choose wood with tight grain to avoid deep cuts and bacteria buildup. Avoid very porous woods as they absorb moisture and stain easily.
- End grain: More durable and knife-friendly
- Face grain: Less durable but simpler to build
- Tight grain: Resists moisture and bacteria
- Porous grain: Can soak liquids and stain
Sourcing Quality Lumber
Quality lumber ensures your cutting board lasts and looks good. Look for wood that is dry and free of cracks. Avoid wood with knots or defects that weaken the board.
Buy wood from reputable suppliers who sell hardwoods fit for kitchen use. Local sawmills and specialty wood stores often have good options. Check if the wood is untreated and safe for food contact.
- Choose dry, seasoned wood
- Avoid knots and cracks
- Buy from trusted suppliers
- Confirm wood is untreated and food safe
Credit: www.youtube.com
Essential Tools And Materials
Creating a butcher block cutting board requires the right tools and materials. This guide will help you gather everything you need.
With these essentials, you’ll craft a functional and beautiful cutting board.
Cutting Tools
Cutting tools are vital for shaping the wood. A table saw or circular saw is often used.
A miter saw can help with precise cuts. Keep blades sharp for clean edges.
- Table saw
- Circular saw
- Miter saw
- Sharp blades
Sanding Supplies
Sanding smooths the wood surface. Start with coarse sandpaper and finish with fine grit.
An electric sander speeds up the process. Sanding blocks are useful for edges.
- Electric sander
- Coarse sandpaper
- Fine grit sandpaper
- Sanding blocks
Wood Glue And Clamps
Wood glue bonds the pieces together. Use clamps to hold them in place while drying.
Choose waterproof glue for durability. Ensure clamps are tight but not too tight.
- Waterproof wood glue
- Various clamps
- Cloth for excess glue
Finishing Products
Finishing products protect the wood. Mineral oil is a popular choice for its food safety.
Apply several coats for best protection. Beeswax adds a nice sheen.
- Mineral oil
- Beeswax
- Clean cloth
Preparing The Wood Pieces
Preparing the wood pieces is an important part of making a butcher block cutting board. You need to get the wood ready before joining it together.
Careful preparation helps the board last longer and look better. Start by selecting good wood and making sure the pieces fit well.
Measuring And Cutting
Measure the wood pieces carefully to fit the size you want. Use a ruler and pencil to mark the cuts clearly.
Cut the wood pieces straight using a saw. Keep the edges smooth for a clean fit.
- Use a tape measure for accuracy
- Mark each piece with a pencil
- Cut slowly to avoid splintering
- Sand edges after cutting
Arranging The Pattern
Lay out the wood pieces to create the pattern you like. This helps you see how the board will look.
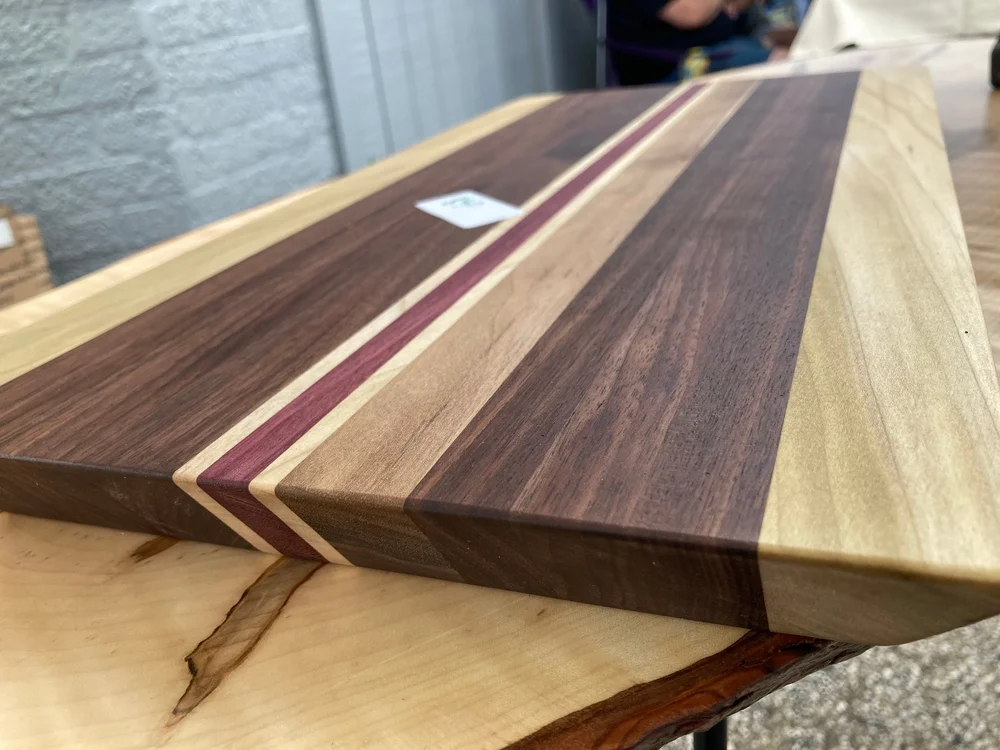
Try different arrangements to mix colors and grain directions. A good pattern makes the board more attractive.
- Place darker and lighter pieces evenly
- Alternate wood grain directions
- Check for any gaps or mismatches
Dry Fitting The Pieces
Before gluing, fit all pieces together without glue. This shows if any pieces need adjustment.
Press the pieces tightly to see if they line up well. Fix any gaps by sanding or trimming.
- Check edges for tight joints
- Make small adjustments if needed
- Ensure the board is flat and even
Credit: www.stumpscustomwood.com
Gluing And Clamping
Gluing and clamping are key steps in making a butcher block cutting board. They hold the wood pieces tightly while the glue dries. This ensures a strong, smooth board.
Using the right glue and clamping methods helps avoid gaps and weak spots. Follow careful steps to get the best results.
Applying Glue Evenly
Spread glue evenly on all surfaces that will join. Use a brush or roller for a thin, even layer. Too much glue causes mess and weak joints.
Make sure every edge has glue. Press the boards together right after gluing to keep them tight.
- Apply glue in a thin, even layer
- Cover all edges fully
- Use a brush or roller for spreading
- Press boards together immediately
Proper Clamping Techniques
Use clamps to hold the glued boards tightly. Place clamps evenly along the board to avoid uneven pressure. Too much pressure can squeeze out glue and cause gaps.
Check the alignment of the boards before tightening clamps fully. Use scrap wood or pads between clamps and board to avoid marks.
- Place clamps evenly along the board
- Apply firm but not excessive pressure
- Use pads to protect wood from clamp marks
- Check board alignment before final tightening
Drying Time Tips
Let the glued board dry fully before removing clamps. Drying time depends on glue type and temperature. Usually, it takes 24 hours.
Keep the board in a warm, dry place during drying. Avoid moving it to keep joints strong and even.
- Wait at least 24 hours for drying
- Keep board warm and dry
- Do not move board while drying
- Follow glue manufacturer’s drying time
Shaping The Board
Shaping the butcher block cutting board is an important step. It makes the board safe and easy to use.
This process includes trimming edges, rounding corners, and adding juice grooves. Each step improves the board’s look and function.
Trimming Edges
Start by trimming the edges to make them smooth and even. Use a saw or a planer to cut off rough parts.
Check all sides to ensure they are straight and the board has the correct size. Sand the edges after trimming.
Rounding Corners
Sharp corners can cause injury or damage. Use a router or sandpaper to round each corner softly.
Round corners give the board a finished look and make it easier to handle. Keep the curve smooth and even on all corners.
Creating Juice Grooves
Juice grooves catch liquids and stop them from spilling off the board. They help keep your kitchen clean.
Use a router with a round bit to carve a groove near the edge. Make the groove about 1/4 inch deep and wide.
- Place the groove about 1/2 inch from the edge
- Keep the groove continuous around the board
- Sand the groove edges to remove rough spots
Sanding For Smoothness
Sanding is key to making a butcher block cutting board smooth. It removes rough spots and prepares the wood for finishing.
Good sanding gives your board a soft feel and helps protect it from damage during use.
Choosing The Right Grit
Use different sandpaper grits to get a smooth surface. Start with coarse grit to remove big marks.
Then switch to finer grits to make the wood very smooth. This prevents scratches on your board.
- Start with 80 or 100 grit for rough sanding
- Use 120 to 150 grit for medium smoothing
- Finish with 220 grit or higher for fine sanding
Sanding Sequence
Sand the board in stages from coarse to fine grit. Always move with the wood grain to avoid scratches.
Take your time sanding edges and corners carefully. They need to be smooth too.
- Start sanding flat surfaces with coarse grit
- Progress to medium grit for even surface
- Use fine grit for final smoothness
- Sand edges gently after the flat parts
- Wipe dust off between grit changes
Checking For Imperfections
After sanding, check the board for rough spots or dents. Run your hand over the surface to feel any bumps.
If you find flaws, sand those areas again with fine grit. Repeat until the board feels smooth all over.
- Look for scratch marks or uneven spots
- Feel for rough or raised areas with your fingers
- Sand problem spots lightly with fine grit paper
- Clean dust before final inspection
Applying Finish
Applying a finish protects your butcher block cutting board from damage. It also makes the surface safe for food contact.
Choosing the right finish and applying it well will keep your board durable and beautiful for years.
Food-safe Oils And Waxes
Use food-safe oils and waxes to finish your cutting board. These finishes keep the wood from drying out.
Common options include mineral oil, beeswax, and walnut oil. Avoid finishes with harmful chemicals.
- Mineral oil is cheap and easy to find.
- Beeswax adds a smooth, protective layer.
- Walnut oil penetrates wood deeply.
Multiple Coats Benefits
Applying several coats strengthens the finish. Each coat adds more protection to the wood.
Multiple coats help seal the wood better and prevent water damage or stains.
- Apply oil or wax evenly for each coat.
- Let each coat dry completely before the next.
- More coats mean longer lasting protection.
Curing And Maintenance
Let the finish cure fully before using the board. This can take several hours or a day.
Regular maintenance keeps the board in good shape. Reapply oil or wax every few weeks.
- Clean the board with mild soap and water.
- Dry it well after washing to prevent cracks.
- Reapply finish to keep wood moisturized.
Tips For Longevity
A butcher block cutting board can last many years with proper care. Keeping it clean and protected helps maintain its beauty and function.
Simple routines and attention to damage can extend the life of your board. Regular refinishing keeps the surface smooth and safe for food.
Cleaning And Care
Clean your butcher block after each use to avoid bacteria and stains. Use mild soap and warm water, then dry it well.
- Wipe with a soft cloth or sponge
- Do not soak or submerge in water
- Apply mineral oil monthly to keep wood hydrated
- Use a food-safe wood conditioner for deeper care
Avoiding Damage
Prevent cuts and cracks by using proper tools and handling. Avoid exposing the board to heat or harsh chemicals.
| What to Avoid | Reason |
|---|---|
| Cutting with very sharp or serrated knives | Can create deep grooves and damage surface |
| Putting board in dishwasher | Heat and water cause warping and splitting |
| Leaving wet for long periods | Wood absorbs water and may crack |
| Using bleach or strong detergents | Harms wood fibers and finish |
Periodic Refinishing
Refinish your butcher block to restore smoothness and protect the wood. Sand the surface lightly and apply oil or wax.
- Sand the board with fine-grit sandpaper
- Wipe away dust with a damp cloth
- Apply a thin layer of mineral oil evenly
- Let oil soak in for several hours or overnight
- Buff with a soft cloth to remove excess oil
- Repeat oil application as needed for best results

Credit: www.youtube.com
Frequently Asked Questions
What Materials Are Needed To Make A Butcher Block Cutting Board?
You need hardwood pieces like maple or walnut, wood glue, clamps, sandpaper, and food-safe finish. These materials ensure durability and safety for food preparation.
How Long Does It Take To Build A Butcher Block Cutting Board?
Building a butcher block cutting board takes about 4 to 6 hours, including drying time for glue. Time varies based on design complexity and finishing steps.
How Do You Properly Finish A Butcher Block Cutting Board?
Apply multiple coats of food-safe mineral oil or beeswax. Let each coat soak in and dry to protect the wood and enhance durability.
Can I Use Any Wood For A Butcher Block Cutting Board?
Hardwoods like maple, walnut, and cherry are ideal due to durability and safety. Avoid softwoods as they dent easily and may harbor bacteria.
Conclusion
Making your own butcher block cutting board is rewarding and fun. You can choose wood that fits your style and needs. Careful sanding and finishing make it smooth and safe. Regular oiling keeps the board strong and lasting. This project gives you a useful kitchen tool and a sense of pride.
Try it step by step, and enjoy the process. Your kitchen will have a unique, handmade cutting board to use every day.