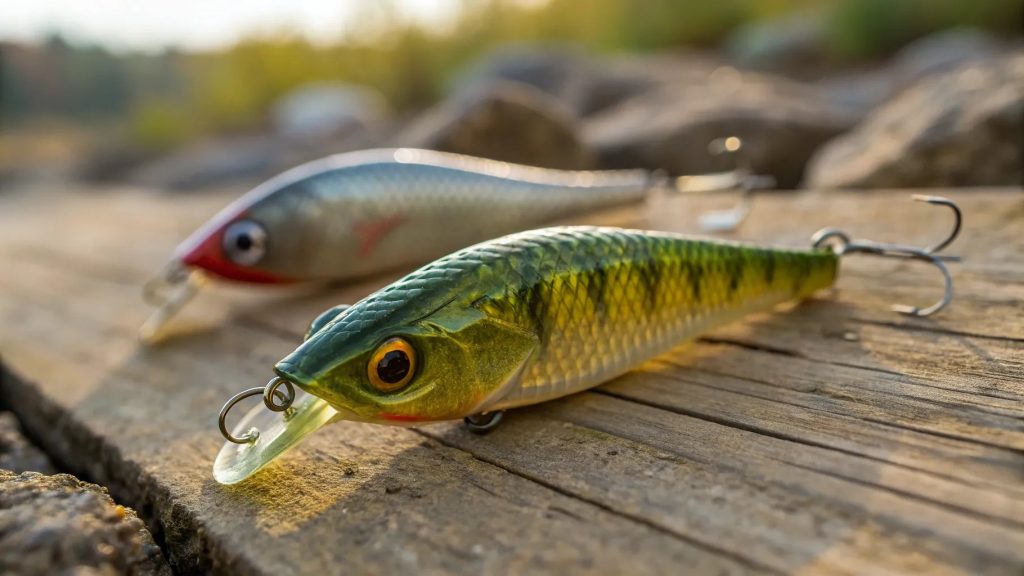
If you’re serious about fishing, making your own fishing lure molds can take your tackle game to a whole new level. Imagine crafting custom lures that perfectly match the fish in your favorite spots.
It’s easier than you think, and once you learn the process, you’ll save money and have complete control over your designs. You’ll discover simple steps to create your own molds at home, even if you’ve never tried it before. Ready to catch more fish with lures you made yourself?
Keep reading—you’re about to unlock a skill that will change your fishing forever.
Materials Needed
Making fishing lure molds needs specific materials and tools. These help create a strong mold for your lures.
Knowing what materials to pick and the tools to use makes the process easier and more accurate.
Choosing Mold Making Materials
Choose mold materials that are safe and easy to work with. Silicone rubber is popular because it captures detail well.
- Silicone rubber for flexibility and detail
- Plaster for quick, cheap molds
- Latex for thin, flexible molds
- Clay for simple prototype shapes
- Resin for strong, durable molds
Essential Tools For The Process
You need some basic tools to make fishing lure molds. These tools help measure, mix, and shape the materials.
| Tool | Use |
| Mixing cups | To mix silicone or resin |
| Stir sticks | To blend materials evenly |
| Mold box | To hold the mold material |
| Release agent | To prevent sticking |
| Measuring scale | To weigh materials correctly |
| Clay modeling tools | To shape the lure model |
Designing Your Lure
Designing a fishing lure is an important step in making lure molds. The shape and details of your lure affect how well it works in water. You need to think about the type of fish you want to catch and the lure style you like.
Good design makes your lure more attractive to fish. It also helps you create a mold that is easy to use and lasts a long time.
Selecting The Lure Shape
Choose a lure shape based on the fish species and fishing conditions. Common shapes include minnows, frogs, and worms. Each shape moves differently in water.
Keep the shape simple if you are new to mold making. Complex shapes can be harder to mold and may cause problems during casting.
- Minnow shapes work well for many fish types
- Frog shapes are good for surface fishing
- Worm shapes attract bass and other bottom feeders
- Spoon shapes reflect light to catch attention
Creating A Prototype
Make a prototype before building the mold. This is a model of your lure that shows its size and shape. You can use clay, wood, or plastic to create it.
Check the prototype for smooth edges and correct details. Test how it moves in water if possible. Fix any problems before making the mold.
- Use clay for easy shaping and quick changes
- Wood gives a solid, smooth surface
- Plastic prototypes can be 3D printed for accuracy
- Paint the prototype to see how colors look
Preparing The Mold
Creating fishing lure molds is a fun project. It helps customize your fishing gear. Preparing the mold is an important step. This guide will help you do it right.
You’ll need to set up your work area and apply release agents. Both are crucial for successful mold making.
Setting Up The Work Area
A clean work area is important. It prevents dust and debris from ruining your mold. Choose a flat, stable surface to work on.
Gather all your materials before you start. This includes your mold box, mixing tools, and safety gear.
- Wear gloves to protect your hands
- Use goggles for eye safety
- Keep a trash bin nearby for waste
Applying Release Agents
Release agents stop your mold material from sticking. They make it easier to remove the finished lure.
Brush a thin layer over the mold area. Ensure even coverage to avoid sticking.
| Materials | Usage |
| Silicone Spray | Easy application |
| Petroleum Jelly | Thicker coverage |
Pouring The Mold Material
Pouring the mold material is an important step in making fishing lure molds. It shapes the mold around the lure model.
Careful pouring helps create smooth and detailed molds for better lures.
Mixing Mold Compound
Mix the mold compound well to get an even texture. Follow the instructions on the package for the right ratio.
Mix slowly to avoid air bubbles, which can cause holes in the mold.
- Use a clean container for mixing
- Measure parts carefully
- Stir gently but thoroughly
- Mix for the recommended time
Pouring Techniques For Accuracy
Pour the mixed compound slowly into the mold box. Start from one corner to reduce bubbles.
Fill the mold until the model is fully covered. Watch carefully to avoid overflow.
- Pour in a thin stream
- Use a stick to guide the flow if needed
- Tap the mold box gently to release trapped air
- Keep the mold steady until the compound sets
Curing And Demolding
Curing and demolding are key steps when making fishing lure molds. Proper curing ensures the mold hardens evenly. Careful demolding keeps the mold intact and ready to use.
Following the right times and methods helps you get strong molds. This guide explains optimal curing times and how to remove the mold safely.
Optimal Curing Times
Curing time depends on the mold material and room conditions. Too short curing can cause soft molds. Too long can make the mold brittle.
| Material | Recommended Curing Time | Temperature |
| Silicone Rubber | 24 to 48 hours | 70°F to 75°F (21°C to 24°C) |
| Polyurethane | 4 to 8 hours | 65°F to 80°F (18°C to 27°C) |
| Latex | 12 to 24 hours | Room temperature |
Keep the mold in a dust-free area. Avoid moving it during curing for best results.
Removing The Mold Safely
Removing the mold too soon can cause damage. Follow these steps to demold safely:
- Check if the mold feels firm and no longer tacky.
- Gently flex the mold edges to loosen it from the master lure.
- Use soft tools like plastic spatulas if needed, avoid sharp objects.
- Pull the mold slowly and evenly to avoid tears.
- Clean the mold with mild soap and water after removal.
- Let the mold air dry completely before storing or using.
Handle the mold with care to extend its life and maintain shape.

Credit: www.reddit.com
Finishing Touches
After creating your fishing lure molds, finishing touches are key. These steps help ensure your molds work well and last longer.
Careful finishing improves the shape and quality of your fishing lures. It also makes the molding process smoother.
Trimming Mold Edges
Trim the edges of your mold to remove extra material. Clean edges help the mold fit tightly and prevent leaks.
Use a sharp knife or fine sandpaper. Cut slowly and check the edges often to keep them even.
- Remove any rough or uneven parts
- Keep edges smooth for easy assembly
- Check for gaps that could cause leaks
- Work carefully to avoid damage
Testing The Mold With Resin
Test your mold by pouring resin inside it. This shows if the mold holds shape and does not leak.
Pour a small amount of resin and let it cure. Check the lure for details and smoothness.
- Use clear or colored resin
- Fill mold slowly to avoid air bubbles
- Let resin cure fully before removing
- Inspect lure for defects or rough spots
- Fix mold if resin leaks or shape is off
Tips For Perfect Results
Making fishing lure molds takes care and patience. Using the right methods helps you get clear, strong molds.
Follow these tips to avoid errors and keep your molds in good shape for many uses.
Avoiding Common Mistakes
Many errors happen when people rush or skip steps. Watch out for these issues to get the best molds.
- Clean your model carefully before making the mold.
- Use the right silicone or rubber for your mold type.
- Mix the silicone well to avoid bubbles inside the mold.
- Pour the silicone slowly from one spot to reduce air pockets.
- Let the mold cure fully before removing the model.
- Avoid touching the mold surface with dirty hands.
Maintaining Your Molds
Proper care extends your mold’s life and keeps it working well. Store and clean them right after use.
| Care Tip | Why It Helps |
| Wash with warm water and mild soap | Keeps mold clean and free of debris |
| Dry completely before storing | Prevents mold damage and mold growth |
| Store in a cool, dry place | Avoids warping and silicone breakdown |
| Use mold release spray before casting | Protects mold surface and eases casting |
| Check for tears or cracks regularly | Fix small damage before it worsens |

Credit: www.youtube.com
Credit: www.battlbox.com
Frequently Asked Questions
What Materials Are Best For Fishing Lure Molds?
Silicone and aluminum are top materials for fishing lure molds. Silicone is flexible and easy to use. Aluminum offers durability and heat resistance. Both provide precise shape replication, ensuring quality lures every time you cast your line.
How Do I Create A Fishing Lure Mold Step-by-step?
Start by sculpting your lure prototype. Next, build a mold box around it. Pour silicone or chosen material into the box. Allow it to cure fully. Finally, remove the prototype to reveal the mold cavity ready for casting.
Can I Reuse Fishing Lure Molds Multiple Times?
Yes, fishing lure molds made from silicone or aluminum can be reused many times. Proper cleaning and storage extend mold life. Reusability ensures consistent lure production and saves you money on materials and tools.
How Do I Prevent Air Bubbles In Lure Molds?
To avoid air bubbles, mix silicone slowly and thoroughly. Use a vacuum chamber if available to degas the mixture. Pour silicone gently into the mold box, starting from one corner to push air out. This results in smooth, bubble-free molds.
Conclusion
Creating fishing lure molds takes patience and careful steps. Follow each part clearly to get good results. Use the right materials and tools for safety and success. Practice will help improve your skills over time. Making your own molds can bring fun and save money.
Try different shapes to find what works best. Keep learning and enjoy the process of crafting. Your custom lures can make fishing more exciting and personal.