
Have you ever wanted to catch more fish by using lures that are made just the way you like? Making your own fishing lures can give you that edge.
When you create lures yourself, you control the size, color, and action—tailoring them perfectly to the fish you want to catch. Imagine the satisfaction of reeling in a big catch with something you crafted by hand. In this guide, you’ll learn simple steps to make effective fishing lures that work.
Keep reading, and soon your tackle box will have custom lures that stand out on the water.

Credit: www.amazon.com
Choosing Materials
Choosing the right materials is key to making effective fishing lures. Each material affects the lure’s look and how fish respond.
Focus on materials that match your fishing style and the fish you want to catch. This guide covers wood, plastic, hooks, eyes, paints, and finishes.
Types Of Wood And Plastic
Wood and plastic are the base of many lures. Wood floats well and feels natural in water. Plastic can be shaped easily and lasts long.
- Balsa Wood:Light and easy to carve, good for floating lures.
- Cedar Wood:Strong and water-resistant, ideal for durable lures.
- Polycarbonate Plastic:Clear and tough, perfect for hard-bodied lures.
- ABS Plastic:Durable and easy to paint, used in many commercial lures.
Selecting Hooks And Eyes
Hooks and eyes connect the lure to the line and catch the fish. Choose sizes and styles that fit your lure design.
| Part | Material | Use |
| Hooks | Steel or stainless steel | Strong and rust-resistant for catching fish |
| Eyes | Plastic or glass | Attract fish and add realism to lures |
| Split Rings | Stainless steel | Connect hooks and allow movement |
Paints And Finishes
Paints and finishes protect your lure and make it look lifelike. Use non-toxic, waterproof options.
Common paints and finishes:
- Acrylic paint: Dries fast and shows bright colors.
- Epoxy resin: Adds shine and protects paint.
- Clear varnish: Seals the lure from water damage.
Basic Tools Needed
Making fishing lures requires some simple tools. These tools help you cut, shape, drill, sand, and paint the lure parts. You do not need expensive equipment to start.
Gathering the right tools makes the process easier and more fun. Here are the basic tools you need for each step.
Cutting And Shaping Tools
Cutting and shaping tools help you create the basic shape of your fishing lure. You can work with wood, plastic, or metal using these tools.
- Hobby knife or utility knife for detailed cuts
- Small saw or coping saw for bigger shapes
- Files and rasps to smooth edges and shape curves
- Sandpaper in various grits for final smoothing
Drilling And Sanding Equipment
Drilling holes and sanding surfaces is important to prepare your lure for hooks and paint. Use precise and steady tools for this work.
| Tool | Purpose |
| Pin vise or small drill | Make holes for hooks and eyes |
| Drill bits (small sizes) | Fit for different hole sizes |
| Sandpaper blocks | Even sanding on flat or curved surfaces |
| Rotary tool with sanding attachments | Speed up sanding and shaping |
Painting Supplies
Painting gives your lure color and shine. You need good brushes and paints made for wood or plastic.
- Acrylic paints in various colors
- Fine paintbrushes for detail work
- Masking tape to create patterns
- Clear coat spray or varnish for protection
- Palette or mixing tray
Designing Your Lure
Designing a fishing lure is an important step in making your own fishing gear. A well-designed lure attracts the fish you want to catch. This guide covers key points to help you design an effective lure.
Focus on the shape, size, and color patterns. Also, think about the fish species you want to catch. These factors make your lure more appealing to fish.
Sketching Shapes And Sizes
Start by drawing different shapes for your lure. Shapes affect how the lure moves in water. Small lures work for small fish, while bigger lures attract larger fish.
- Spoon-shaped lures reflect light and flash.
- Minnow shapes mimic small fish swimming.
- Frog or insect shapes work for surface fishing.
- Vary lure length from 2 to 6 inches.
Considering Fish Species
Different fish like different lure types. Knowing your target fish helps you design the right lure. Size, shape, and movement must match fish habits.
| Fish Species | Preferred Lure Shape | Common Lure Size |
| Trout | Minnow or small spoon | 2 to 3 inches |
| Bass | Frog or crankbait | 3 to 5 inches |
| Pike | Large minnow or spinner | 4 to 6 inches |
| Perch | Small jigs or grubs | 1 to 2 inches |
Color Patterns That Work
Colors attract fish by matching their food or standing out. Use bright colors in murky water and natural colors in clear water. Contrast helps fish see the lure better.
- Silver and white mimic small baitfish.
- Chartreuse and bright orange work in dark water.
- Green and brown blend with weeds and plants.
- Red can imitate injured prey.
Tip:Test your lure colors in different water conditions. Adjust colors to improve visibility and attraction.
Shaping The Lure Body
Shaping the lure body is an important part of making fishing lures. The shape affects how the lure moves in water.
Good shaping makes your lure more attractive to fish. You can shape the body by carving, sanding, and adding details.
Carving Techniques
Carving is the first step to shape the lure body. Use a sharp knife or carving tool to cut the wood or foam.
Start with rough cuts to get the basic shape. Then carve smaller parts to refine the form. Always carve away from your hands for safety.
- Use a pencil to draw the shape before carving
- Remove large chunks first, then smaller pieces
- Keep the lure balanced for better water action
Sanding For Smoothness
Sanding makes the lure surface smooth. It removes rough spots left from carving.
Start with coarse sandpaper to shape, then use finer grit for smoothness. Sand evenly to keep the shape steady.
- Use 80-120 grit sandpaper for rough sanding
- Use 220-400 grit sandpaper for fine smoothing
- Sand in one direction to avoid scratches
Adding Details
Details make your lure look more real and catch fish better. Add eyes, scales, and fins with small tools.
Use a fine knife or a wood burner to create patterns. Paint or use markers to add colors and highlights.
- Carve small grooves for scale texture
- Attach small plastic or metal eyes
- Paint details after sanding for best results
Painting And Finishing
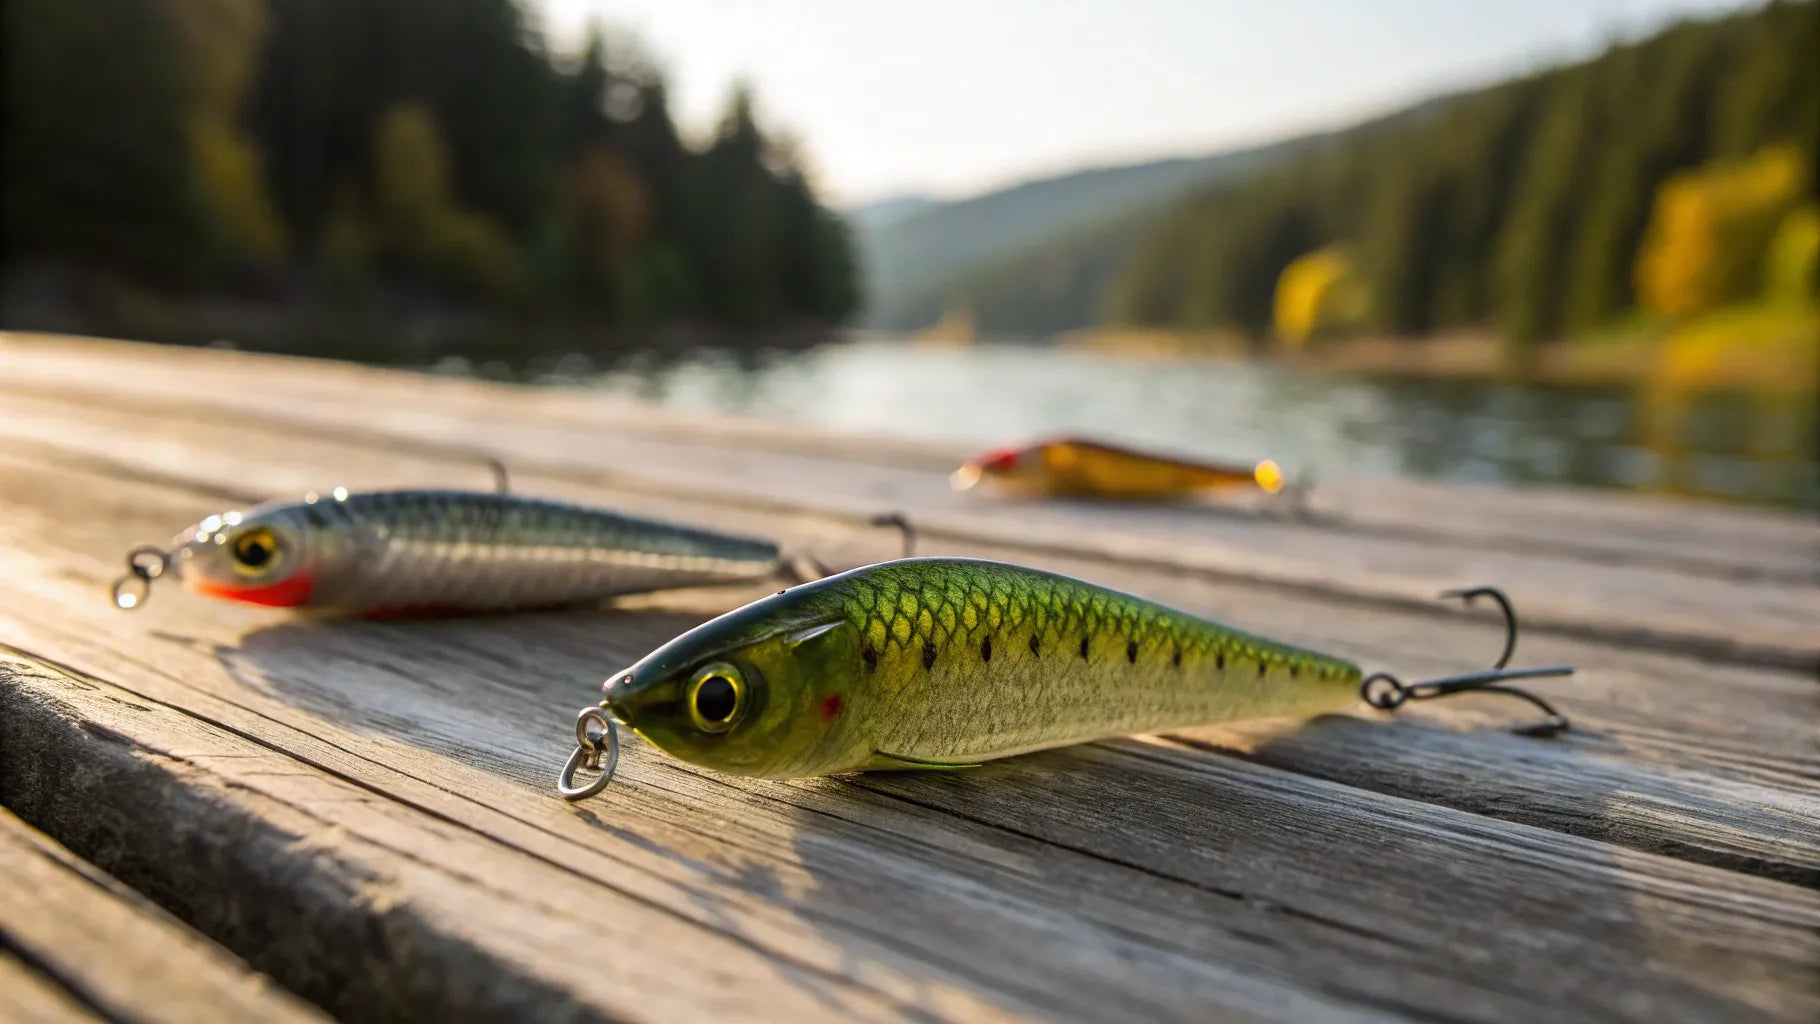
Painting and finishing fishing lures add beauty and realism. Good paint jobs attract more fish.
Use proper techniques to make your lures last longer and look better. Pay attention to each layer.
Base Coats And Layering
Start with a smooth base coat to cover the lure. This helps paint stick and shows true colors.
- Sand the lure lightly to remove rough spots.
- Apply a primer to protect the material.
- Spray a solid base color evenly over the lure.
- Let the base coat dry completely before adding more layers.
- Use thin layers to avoid drips and runs.
Adding Realistic Patterns
Realistic patterns make your lure look like real bait fish. Use stencils or freehand techniques.
| Pattern | Description | Tools |
| Stripes | Thin lines along the body | Fine brush or tape |
| Spots | Random dots or shapes | Sponges or dotting tools |
| Scales | Overlapping shapes | Mesh or stencil |
| Gradients | Color fades from light to dark | Airbrush or spray paint |
Layer these patterns carefully to avoid muddy colors. Let each pattern dry before the next.
Applying Protective Coats
Protective coats shield paint from water and damage. They keep your lure shiny and durable.
Follow these tips for protective coatings:
- Use clear epoxy or polyurethane for a hard finish.
- Apply thin coats to prevent runs.
- Allow full curing time between coats.
- Sand lightly between coats for smoothness.
- Store lures in a dry place after finishing.
Credit: www.battlbox.com
Attaching Hardware
Attaching hardware is a key part of making fishing lures. It helps the lure work well in water.
You need to add hooks, eyes, and rings carefully. This makes the lure strong and balanced.
Securing Hooks And Eyes
Hooks and eyes must be tightly fixed to the lure body. Loose parts can cause the lure to fail.
Use strong glue or epoxy for extra hold. Screw eyes into pre-drilled holes to avoid splitting.
- Drill holes slightly smaller than the eye diameter
- Apply epoxy inside the hole before inserting the eye
- Let glue dry fully before attaching hooks
- Check for any wiggle or looseness
Balancing The Lure
Balance helps the lure move naturally in water. Poor balance can make it swim wrong or spin.
Add weights inside or outside the lure to keep it even. Test the lure in water to check balance.
- Place weights near the center of the lure
- Adjust weight placement for desired swimming action
- Use small amounts of lead or steel weights
- Rebalance after attaching hooks and rings
Adding Split Rings
Split rings connect hooks to the lure. They add flexibility and reduce hook damage.
Choose the right size split rings to fit hooks and eyes. Open them carefully to avoid damage.
- Use pliers to open and close split rings
- Attach rings between hooks and eye screws
- Ensure rings move freely without binding
- Replace bent or rusty split rings promptly
Testing Your Lure
Testing your fishing lure is key to ensure it moves well in water. You need to check how it swims and catches fish.
Try your lure in calm water first. Watch its action closely to see if it looks natural.
Water Testing Techniques
Test your lure in a small pool or tank. Let it sink and then pull it slowly. Notice how it moves.
- Check if the lure floats, sinks, or stays in the middle.
- Observe the wobble or wiggle action when you pull it.
- Try different speeds to see how the lure reacts.
- Look for any spinning or unwanted rolling.
Adjusting Weight And Action
Change the weight to improve balance and swimming style. Add or remove small weights inside the lure.
| Adjustment | Effect |
| Add Weight to Nose | Lure dives deeper |
| Add Weight to Tail | More wobble action |
| Remove Weight | Lure floats higher |
| Shift Weight Sideways | Causes spinning |
Troubleshooting Common Issues
Fix problems to make your lure work better. Check these common issues and solutions.
- If the lure sinks too fast, reduce weight or add buoyant material.
- If it spins uncontrollably, adjust the weight inside evenly.
- If it does not swim well, try changing the lip or fins.
- If the hook gets tangled, reposition or use smaller hooks.
Advanced Techniques
Making fishing lures can be simple or complex. Advanced techniques help create better, more effective lures.
This guide covers using resin and epoxy, adding LED lights, and customizing lures for specific fish.
Using Resin And Epoxy
Resin and epoxy add strength and shine to your lures. They protect paint and add a smooth finish.
Use clear resin to coat lures after painting. Mix resin carefully and apply thin layers to avoid bubbles.
- Sand the lure before applying resin for better adhesion
- Use a heat gun or torch to remove air bubbles
- Apply multiple thin coats for a glossy look
- Let each coat dry fully before adding the next
Incorporating Led Lights
LED lights make your lures visible in dark or deep water. This can attract more fish at night or in murky water.
Choose small waterproof LED lights. Place them inside clear or semi-clear lures. Use small batteries and switches.
- Drill a small cavity inside the lure for the LED
- Seal all openings tightly to keep water out
- Test the light before sealing the lure
- Use colors like green or blue that attract fish
Customizing For Specific Fish
Different fish prefer different lure styles. Customize size, color, and movement to match your target fish.
Research the fish’s habitat and diet. Use that information to design lures that look and move like their food.
| Fish Type | Preferred Lure Size | Best Colors | Lure Movement |
|---|---|---|---|
| Bass | 2-4 inches | Green, brown, white | Wobbles or jerks |
| Trout | 1-3 inches | Orange, yellow, silver | Slow and steady |
| Pike | 3-6 inches | Red, black, white | Fast and erratic |
Safety Tips
Making fishing lures can be fun and creative. Safety must be your top priority while working.
Follow safety tips to protect yourself from injuries and harmful substances.
Handling Tools Safely
Use tools like knives, drills, and saws with care. Always keep your fingers away from sharp edges.
Wear protective gloves and goggles to avoid cuts and eye injuries. Clean tools after use.
- Hold tools firmly and use the right tool for the job
- Keep work area well-lit and tidy
- Store tools in a safe place after work
Working With Chemicals
Chemicals like paints, glues, and solvents can be dangerous. Use them in a well-ventilated area.
Wear a mask and gloves to avoid breathing fumes or skin contact. Follow the instructions on labels.
- Keep chemicals away from children and pets
- Do not mix chemicals unless instructions say so
- Wash hands after handling chemicals
Proper Storage
Store all tools and chemicals safely after use. Keep items in their original containers with labels.
Use locked cabinets for chemicals and sharp tools. Store in a cool, dry place to prevent damage.
- Keep storage areas organized and clean
- Check expiration dates on chemicals regularly
- Dispose of old or unused chemicals properly

Credit: fishgenix.com
Frequently Asked Questions
What Materials Do I Need To Make Fishing Lures?
You need wood or plastic, hooks, paint, eyes, and split rings. Basic tools include a knife, sandpaper, and glue. These materials help create durable, attractive, and effective lures for various fishing conditions.
How Do I Shape A Fishing Lure Effectively?
Start by sketching the lure shape on wood or plastic. Use a knife or saw to cut it out. Sand the edges smooth for a natural movement in water. Proper shaping improves lure action and fish attraction.
What Paint Works Best For Homemade Fishing Lures?
Use waterproof acrylic or enamel paint for durability. These paints resist water and maintain color underwater. Apply multiple thin coats for a smooth, realistic finish. Proper painting ensures your lure stays attractive longer.
How Can I Add Realistic Details To My Fishing Lures?
Add eyes, scales, and reflective tape for realism. Use fine brushes for patterns and textures. These details mimic real baitfish, increasing your lure’s effectiveness. Realistic lures attract more fish by triggering natural instincts.
Conclusion
Making your own fishing lures is fun and rewarding. It lets you try different shapes and colors. You learn what fish like best. Each lure you create can catch more fish. Practice will help you improve your skills fast. Keep experimenting and enjoy your time by the water.
Crafting lures adds a special touch to fishing trips. Simple tools and patience go a long way. Start small, stay curious, and watch your catches grow.