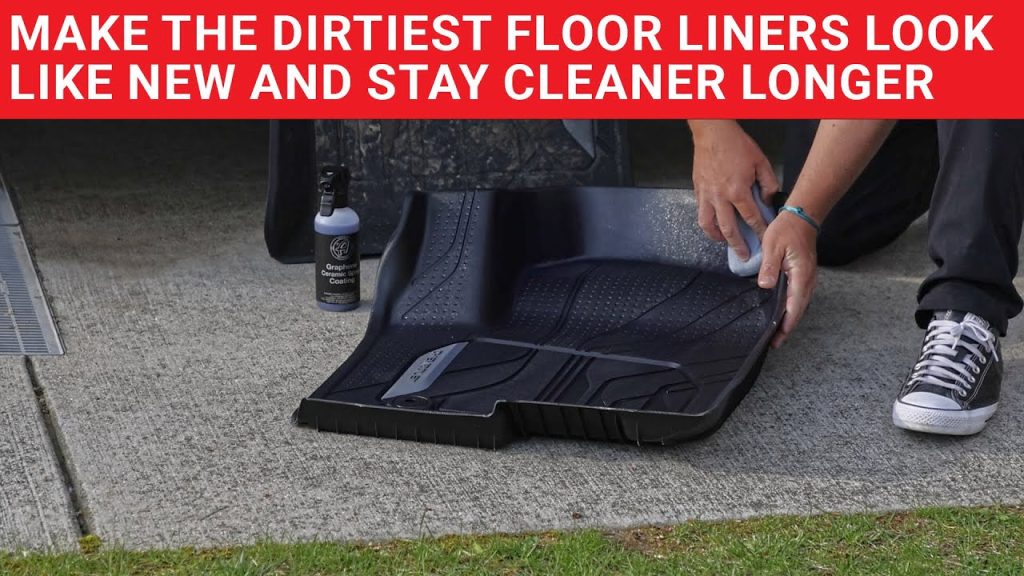
Are you tired of dirty, worn-out floor mats ruining the look of your car’s interior? What if you could create your own custom floor mats that fit perfectly and protect your car just the way you want?
Making floor mats for your car is easier than you think, and it can save you money while adding a personal touch. In this guide, you’ll discover simple steps and insider tips to craft durable, stylish mats that keep your car clean and comfortable.
Ready to transform your car’s floor? Let’s get started!
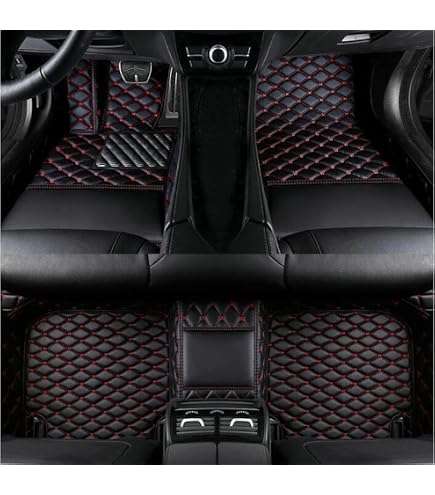
Credit: www.amazon.ca
Materials Needed
Making floor mats for cars is a simple project. You need the right materials to start. This guide helps you gather what you need.
Choosing good materials makes your mats last longer and fit well. Let’s look at what you need.
Choosing The Right Fabric
The fabric is the main part of your floor mats. Pick a fabric that is strong and easy to clean. It should handle dirt and water well.
Common fabrics for car mats include carpet, rubber, and vinyl. Carpet looks nice but can get dirty. Rubber and vinyl are easy to clean and last long.
- Carpet: soft and stylish but harder to clean
- Rubber: durable, water-resistant, and easy to wash
- Vinyl: tough and simple to maintain
Essential Tools
You need a few tools to cut and shape the mats. These tools help you make clean edges and a good fit.
- Measuring tape to get the right size
- Sharp scissors or a utility knife for cutting fabric
- Marker or chalk to mark cutting lines
- Strong adhesive or sewing kit to join parts
- Non-slip backing material to keep mats in place
Optional Accessories
You can add extras to make your mats better. These accessories improve safety and style.
- Edge binding tape to protect and finish edges
- Rubber heel pads to stop wear in high-use spots
- Velcro strips to hold mats firmly in place
- Custom logos or patterns for a unique look
Measuring Your Car Floor
Making custom floor mats for your car begins with taking the right measurements. Accurate sizing ensures the mats fit well and protect your car’s floor.
This guide helps you measure your car floor correctly before cutting and sewing your mats.
Taking Accurate Dimensions
Start by removing old floor mats and cleaning the car floor. Use a tape measure to get precise dimensions of the floor area. Measure length and width at several points to cover the whole space.
- Measure from the front to the back edge of the floor.
- Measure from the left to the right side of the floor.
- Note any curves or raised areas that need to be covered.
- Write down all measurements clearly for reference.
Marking Key Areas
Use masking tape or chalk to mark important points on the car floor. This helps when cutting the mat material to fit perfectly.
| Key Area | Purpose | How to Mark |
| Pedal Area | Allow space for pedals | Draw outline with tape |
| Seat Base | Fit around seat supports | Mark edges with chalk |
| Door Edge | Cover full width | Place tape along door edge |
Creating A Template
Making a floor mat for your car starts with a good template. A template helps you cut the mat to fit perfectly.
Using a template saves time and avoids mistakes when cutting the material.
Using Paper Or Cardboard
Paper or cardboard works well for making a template. They are easy to cut and shape.
First, place the paper or cardboard on the car floor. Trace around the edges carefully with a pencil.
- Use thick paper or thin cardboard for durability
- Mark the front, back, and sides clearly
- Cut out the shape with scissors or a craft knife
Adjusting For Curves And Edges
Car floors often have curves and edges that can change the mat shape. Adjust your template to fit these areas.
Fold or bend the paper or cardboard along curves. Trim small parts to match the shape better.
- Check the fit by placing the template in the car
- Make small cuts to fit around pedals and seat rails
- Smooth out edges to prevent gaps
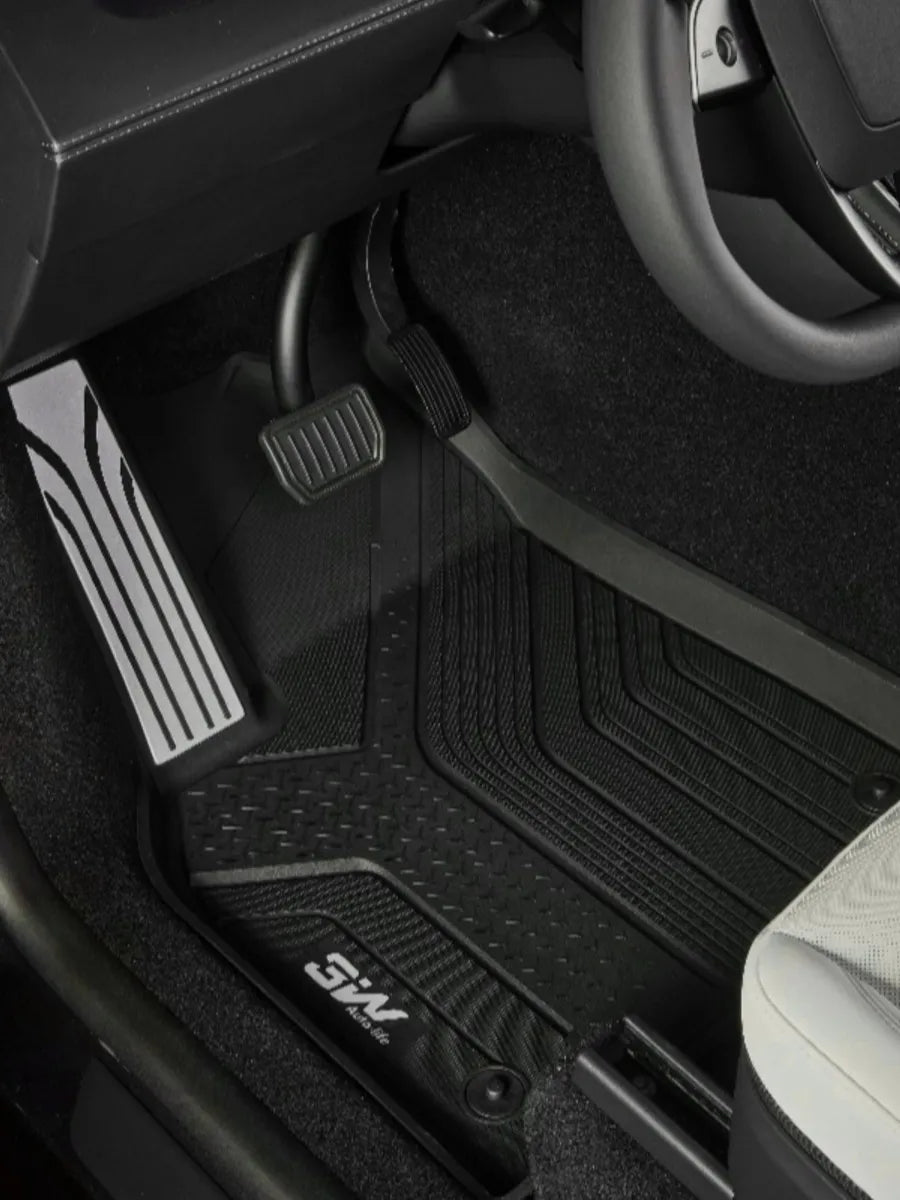
Credit: 3wliners.com
Cutting The Fabric
Cutting the fabric is an important step when making floor mats for cars. It helps ensure the mats fit perfectly and look neat. You need to work carefully to avoid mistakes.
This guide covers how to transfer your template to the fabric and tips for cutting it precisely. Follow these steps to get clean edges and a good fit.
Transferring Template To Material
Place your paper template on the fabric flat and smooth. Use fabric chalk or a pencil to trace around the template. Make sure the fabric is on a hard, flat surface to keep the shape accurate.
- Secure the template with pins or weights to prevent slipping.
- Trace slowly and carefully around all edges.
- Double-check the traced lines before cutting.
Tips For Precise Cutting
Use sharp fabric scissors for the cleanest cuts. Cut on a flat surface and follow the traced lines closely. Avoid lifting the fabric too much to keep the shape true.
| Tip | Reason |
| Use sharp scissors | Prevents jagged edges |
| Cut slowly along the line | Improves accuracy |
| Keep fabric flat | Maintains correct shape |
| Leave a small seam allowance | Allows for sewing and fitting |
Assembling The Mats
Assembling floor mats for cars needs careful work. You put all parts together to make a strong mat.
This step includes sewing edges and adding materials to stop slipping. It makes the mat last longer and stay in place.
Sewing Techniques
Sewing joins different layers of the mat. Use strong thread to hold pieces tightly. Sewing also shapes the mat.
Use a sewing machine for straight and even stitches. Sew around the edges to keep layers from coming apart.
- Use heavy-duty thread for strength
- Sew in straight lines for neat edges
- Double stitch edges for durability
- Keep stitches close to the edge
Adding Non-slip Backing
Non-slip backing keeps the mat from moving on the car floor. It improves safety and comfort while driving.
Choose a backing material with good grip. Attach it firmly to the back side of the mat using glue or sewing.
- Use rubber or foam backing for grip
- Cut backing to match mat size
- Apply strong adhesive evenly
- Press backing firmly until dry
Customizing Your Mats
Customizing floor mats for cars lets you add a personal touch. You can change the look to fit your style.
Adding colors, patterns, or logos makes your mats unique. This guide shows simple ways to do it.
Adding Colors And Patterns
Choose colors that match your car interior or your taste. Use fabric paint or colored materials for the mats.
Patterns can be simple stripes or complex shapes. You can use stencils or stamps to create patterns easily.
- Pick colors that do not fade easily
- Use waterproof paint for durability
- Try geometric or floral patterns
- Apply patterns on small areas for subtle style
Incorporating Logos Or Designs
Adding logos or designs makes mats more personal or professional. You can use heat transfer or embroidery.
Choose clear and simple logos for best results. Make sure the design fits the mat size well.
- Print logos on transfer paper for heat pressing
- Use embroidery for a high-quality look
- Place logos near the edges or center
- Test designs on scrap material first
Installing And Maintaining
Installing floor mats correctly helps keep your car clean and safe. Maintaining them extends their life and keeps your car looking good.
Follow simple tips for placing and caring for your car floor mats. This guide covers proper placement and cleaning advice.
Proper Placement In Car
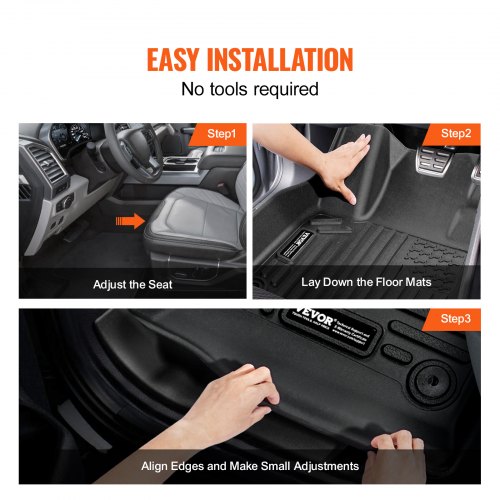
Place floor mats so they cover the foot area completely. Make sure they do not block pedals or move around while driving.
- Fit mats to match your car’s floor shape.
- Use mats with anchors or grips to prevent sliding.
- Check that mats do not touch gas, brake, or clutch pedals.
- Replace worn or damaged mats promptly.
Cleaning And Care Tips
Regular cleaning keeps mats free of dirt and moisture. Use the right tools and methods to avoid damage.
| Cleaning Method | When to Use | Notes |
| Vacuuming | Weekly | Removes loose dirt and dust |
| Washing with Soap and Water | Monthly or as needed | Use mild soap and soft brush |
| Air Drying | After washing | Avoid direct sunlight to prevent fading |
| Rubber Mat Care | As needed | Use a hose and scrub brush |
Credit: www.vevor.ca
Frequently Asked Questions
How Do I Choose Materials For Car Floor Mats?
Select durable, waterproof materials like rubber, carpet, or vinyl. These materials resist wear and are easy to clean. Consider your climate and car use to pick the best option. Quality materials ensure long-lasting protection and comfort.
What Tools Are Needed To Make Car Floor Mats?
Basic tools include scissors, measuring tape, marker, and adhesive or sewing kit. A cutting mat helps for precise cuts. Optional tools are a heat gun for shaping and non-slip backing for safety. These tools ensure accurate and durable mats.
Can I Customize Car Floor Mats At Home?
Yes, you can customize mats by measuring your car’s floor space. Choose colors, patterns, and add logos or embroidery. DIY kits offer templates for easy cutting. Custom mats improve your car’s interior and provide unique style.
How Do I Ensure Car Floor Mats Fit Perfectly?
Measure your car’s floor area precisely before cutting. Use templates or existing mats as guides. Trim edges carefully and test fit frequently. A proper fit prevents slipping and covers the entire floor area effectively.
Conclusion
Creating car floor mats is simple and rewarding. You can customize them to fit your style and needs. Choose durable materials for lasting results. Measure your car floor carefully for a perfect fit. Cut the material precisely for professional-looking mats.
Add edges or grips for safety. Personalize with colors or patterns. Enjoy the satisfaction of crafting something useful. Your car will look great and stay clean. Follow these steps, and you’ll have mats that impress. Happy crafting!