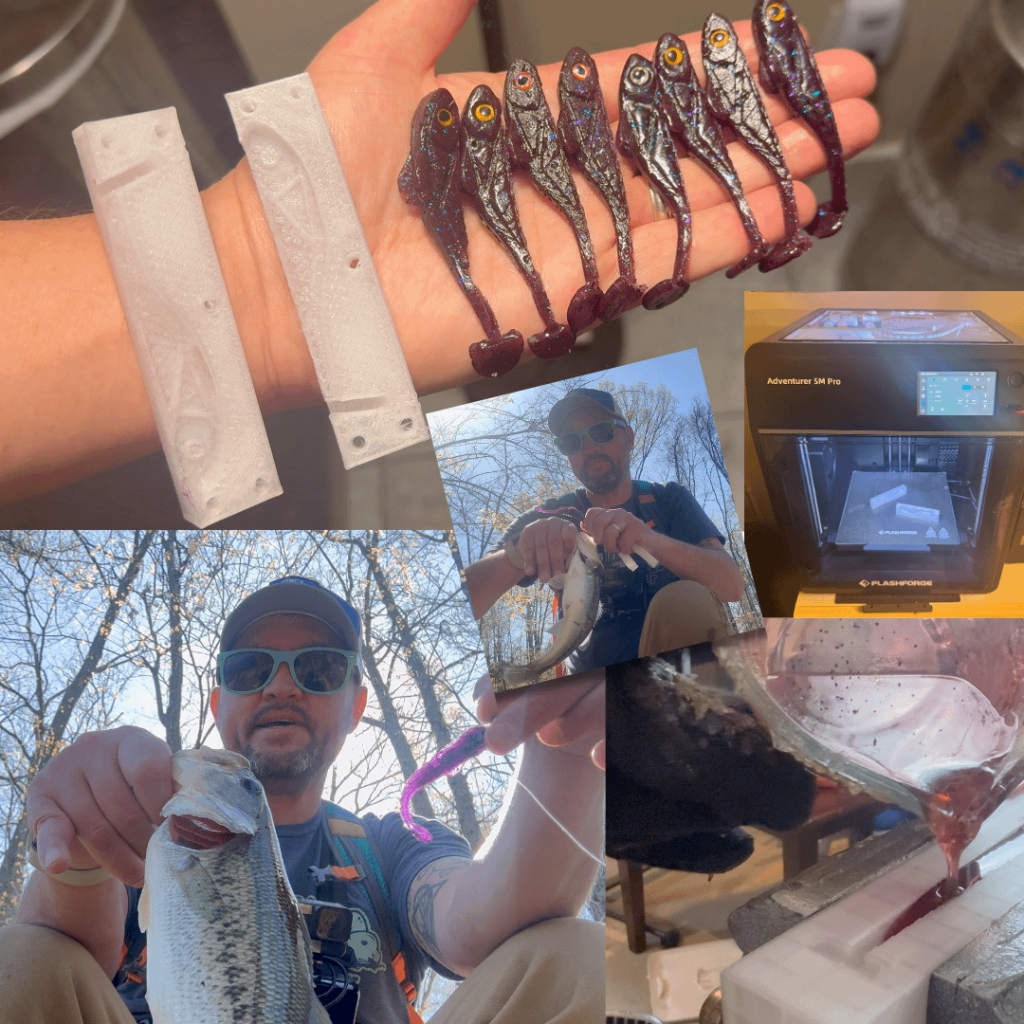
Are you ready to take your fishing game to the next level? Making your own molds for fishing lures lets you create custom designs that catch more fish and stand out on the water.
Imagine having lures shaped exactly how you want, with colors and details that attract even the wariest fish. In this guide, you’ll discover simple, step-by-step methods to craft your own molds easily—no special skills needed. Keep reading, and you’ll soon have the tools to make unique lures that give you an unbeatable edge every time you cast your line.
Choosing The Right Materials
Making molds for fishing lures needs careful material choice. The right materials affect the mold’s quality and durability.
Different mold materials work better for certain lure shapes and types. Picking safe and strong materials helps create good molds.
Types Of Mold Materials
Common mold materials include silicone, latex, and urethane rubber. Each has unique features for lure making.
- Silicone:Flexible, heat-resistant, and easy to use for detailed molds.
- Latex:Affordable and good for simple molds but less durable.
- Urethane Rubber:Strong and lasts longer, but less flexible than silicone.
Selecting Safe And Durable Options
| Material | Durability | Safety | Best Use |
| Silicone | High | Non-toxic | Detailed, long-lasting molds |
| Latex | Medium | May cause allergies | Simple shapes, budget molds |
| Urethane Rubber | High | Use with ventilation | Strong molds, multiple casts |
Choose materials that do not release harmful fumes. Check labels for safety information.
Durability matters if you want to make many lures from one mold. Silicone and urethane rubber are best for that.
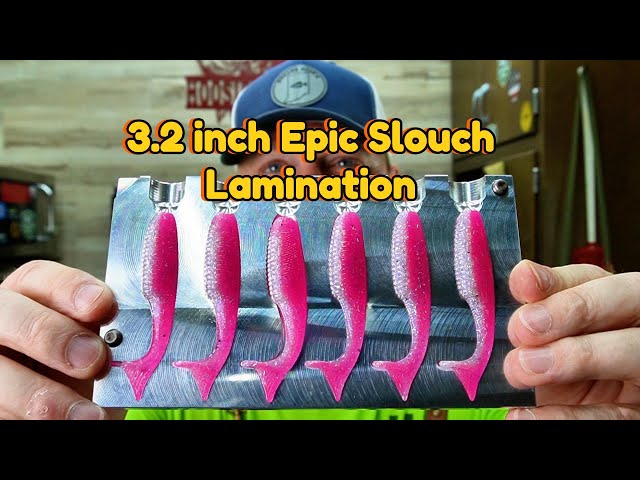
Credit: www.youtube.com
Designing Your Lure Mold
Making a mold for fishing lures starts with good design. This helps you create a mold that fits your fishing needs.
Focus on shaping your lure carefully before making the mold. This guide covers sketching the shape and making a prototype.
Sketching Your Lure Shape
Sketching your lure shape is the first step. It lets you plan the size and details of the lure before making a model.
- Draw the basic outline of your lure on paper.
- Include details like fins, eyes, and hooks.
- Make sure the shape is balanced for good movement in water.
- Use different views: top, side, and front.
- Check that the lure size fits the fish you want to catch.
Creating A Prototype Model
After sketching, build a prototype model. This helps you see how the lure looks and works in real life.
| Material | Use |
| Clay | Easily shaped for detailed designs |
| Wood | Strong and durable for rough shapes |
| Plastic | Good for smooth finishes |
Test the prototype in water to check its movement. Make changes if needed before making the final mold.
Preparing The Mold Container
Making molds for fishing lures is a fun project. You need to prepare the mold container carefully. This guide will help you get started.
Begin by selecting the right mold box. Then, seal and secure the container to prevent leaks. Follow these simple steps for success.
Selecting A Mold Box
The mold box holds the material for your fishing lure mold. Choose a box that is large enough to fit your lure with extra space around it.
You can use plastic, wood, or metal boxes. Make sure the box is clean and dry before use.
- Plastic boxes are lightweight and easy to handle.
- Wood boxes are sturdy and reusable.
- Metal boxes are durable and long-lasting.
Sealing And Securing The Container
Sealing the container prevents leaks during mold making. Use a sealant or tape along the edges of the box.
Secure the mold box tightly. This ensures that the mold material stays in place as it sets.
| Sealant Type | Benefit |
| Silicone | Waterproof and flexible |
| Tape | Quick and easy to apply |
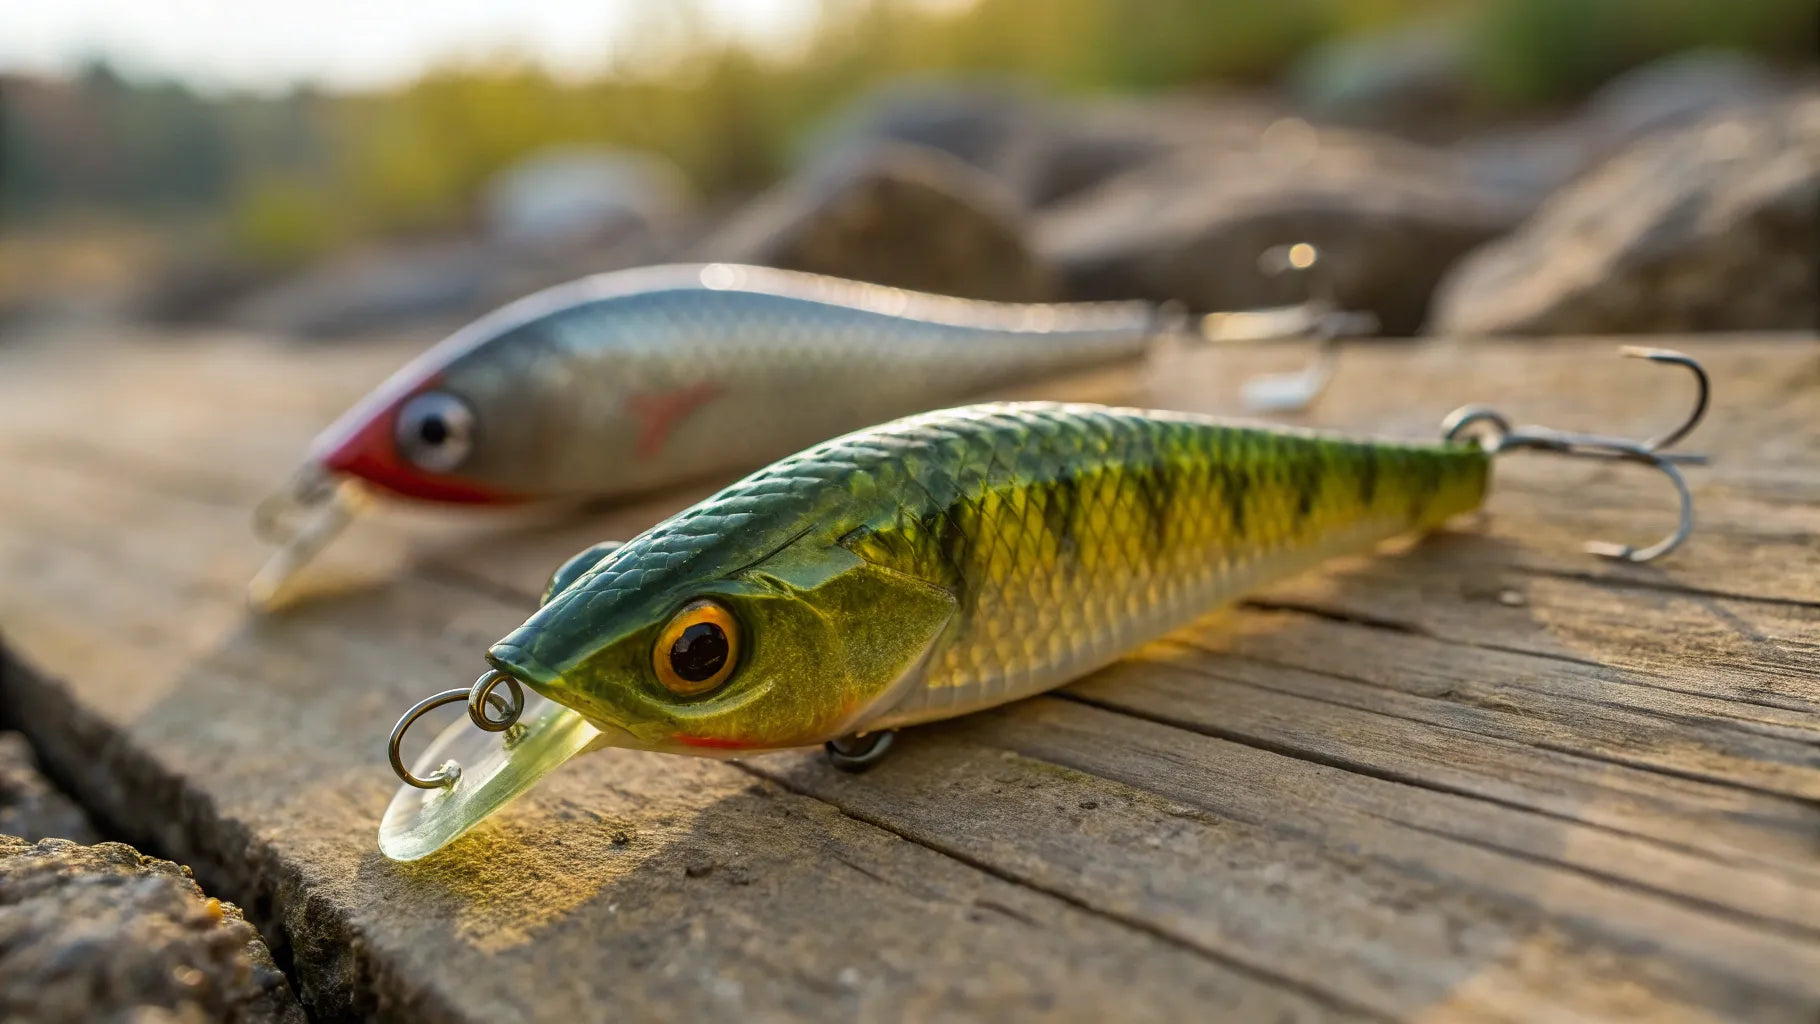
Credit: www.battlbox.com
Mixing And Pouring The Mold Compound
Making molds for fishing lures needs careful mixing and pouring of the mold compound. The right steps help create strong, detailed molds.
This guide covers measuring and mixing ratios and pouring techniques to avoid bubbles in your mold compound.
Measuring And Mixing Ratios
Measure the mold compound parts exactly as the instructions say. Mixing the wrong amounts can make the mold weak or sticky.
| Component | Ratio (by volume) | Tip |
| Part A (Resin) | 1 | Use a clean, dry container for accuracy |
| Part B (Hardener) | 1 | Mix thoroughly but avoid whipping air |
Mix slowly and evenly for at least two minutes. Scrape the sides of the container to blend all parts well.
Pouring Techniques To Avoid Bubbles
Pour the mold compound slowly to reduce air bubbles. Start pouring from one spot and let the liquid flow naturally.
- Pour the compound in a thin stream
- Pour near the mold surface, not from high above
- Use a toothpick to pop any bubbles on the surface
- Tap the mold gently to release trapped air
- Cover the mold to prevent dust contamination
Following these tips helps create smooth, bubble-free molds for your fishing lures.
Demolding And Finishing
After your fishing lure mold cures, you need to take it out carefully. This step is called demolding. It helps keep the mold and lure safe. Finishing the mold makes it ready for use.
Proper demolding and finishing improve the mold’s life. They also ensure your lures come out smooth and detailed.
Removing The Mold Safely
Wait until your mold fully hardens before removing it. Soft molds can tear or lose shape. Gently pull the mold away from the lure model.
Use slow, steady pressure to avoid cracks or breaks. Avoid sharp tools that can damage the mold. If the mold sticks, warm it slightly to soften the material.
- Check mold hardness before removal
- Pull mold slowly and evenly
- Avoid using sharp or metal tools
- Warm mold gently if stuck
Cleaning And Trimming The Mold
Clean your mold to remove dust, debris, or leftover material. Use mild soap and water with a soft brush. Dry the mold completely before trimming.
Trim excess mold material with scissors or a craft knife. Cut carefully to keep the shape and details intact. Smooth edges help with easy casting and release.
- Wash mold gently with soap and water
- Dry mold fully before trimming
- Trim excess material carefully
- Keep edges smooth for better use
Casting Your Fishing Lures
Casting fishing lures requires careful preparation of molds. Good molds help create lures that perform well in water. This guide explains how to cast your own fishing lure molds.
We will cover choosing the right materials and how to pour and set the lure properly. Follow these steps to make strong, detailed lure molds.
Choosing Casting Materials
Select materials that are safe and easy to work with. Silicone rubber is popular for its flexibility and detail. Resin is good for making hard, durable lures.
- Silicone rubber: flexible, captures fine details
- Polyurethane resin: hard, durable finish
- Plaster: affordable but brittle
- Latex: flexible but less durable
Consider the type of lure you want to make. Soft lures need flexible molds. Hard lures require sturdy materials that hold shape well.
Pouring And Setting The Lure
Pour your casting material carefully to avoid air bubbles. These bubbles weaken the lure and spoil its look. Use slow, steady pouring for best results.
| Tip | Reason |
| Mix thoroughly | Prevents weak spots in the lure |
| Pour slowly | Reduces air bubbles |
| Use a release agent | Helps remove lure from mold |
| Let cure fully | Ensures the lure is strong and solid |
After pouring, let the lure set in a stable place. Avoid moving the mold until the material fully hardens. This makes sure the lure keeps its shape.
Troubleshooting Common Issues
Making molds for fishing lures can be tricky. Small problems can ruin your mold and waste materials.
This guide helps you fix common issues. It covers air bubbles and mold imperfections.
Preventing Air Bubbles
Air bubbles weaken the mold and create holes in your lures. Use these tips to avoid bubbles.
- Mix resin slowly to reduce trapped air.
- Pour resin from one spot to let bubbles escape.
- Use a vacuum chamber to remove bubbles before curing.
- Tap the mold gently to bring bubbles to the surface.
- Warm the resin slightly to lower its thickness.
Fixing Mold Imperfections
Imperfections like rough spots or dents affect lure quality. Fix them before using the mold.
| Imperfection | Cause | Fix |
| Rough edges | Incomplete curing | Sand smooth with fine sandpaper |
| Dents or pits | Air bubbles or debris | Fill with resin and sand after curing |
| Sticky surface | Wrong resin mix | Clean with alcohol and recoat |
| Warped shape | Uneven curing or heat | Remake mold carefully controlling temperature |

Credit: www.youtube.com
Tips For Long-lasting Molds
Making molds for fishing lures takes time and effort. Keeping them in good shape saves money and work. This guide shares easy ways to store and care for your molds.
Good storage and regular upkeep help your molds last longer. Follow these tips to protect your molds and get better results each time.
Storage And Maintenance
Store molds in a cool, dry place away from sunlight. Heat and moisture can damage the mold material. Clean molds after every use to remove residue and prevent buildup.
- Use soft cloths to clean molds gently
- Avoid harsh chemicals that can cause cracks
- Keep molds separated to stop them from sticking
- Apply a thin coat of mold release spray before each use
- Check molds for damage regularly and fix small cracks early
Extending Mold Lifespan
Taking extra care during and after casting helps molds last. Follow a simple routine to extend your molds’ useful life.
| Action | Reason | Tip |
|---|---|---|
| Cool molds before storing | Prevents warping from heat | Wait 30 minutes after use |
| Use mold release agents | Protects mold surface | Apply evenly before pouring |
| Store molds flat | Avoids bending and distortion | Use padded storage boxes |
| Inspect molds often | Find damage early | Repair small cracks quickly |
| Keep molds dry | Stops mold growth and corrosion | Use silica gel packs in storage |
Frequently Asked Questions
What Materials Are Best For Making Fishing Lure Molds?
Silicone rubber is ideal for fishing lure molds. It captures fine details and is durable. It also resists heat and is easy to work with. Many anglers prefer it for its flexibility and reusability.
How Do I Prepare The Original Lure For Molding?
Clean the lure thoroughly to remove dirt and oils. Apply a mold release agent to prevent sticking. Secure the lure in a container before pouring silicone. Proper preparation ensures a smooth mold surface.
Can I Use Homemade Molds For Soft Plastic Lures?
Yes, homemade silicone molds work well for soft plastic lures. They replicate details accurately and withstand casting processes. Ensure the mold is fully cured before use to avoid defects in the lure.
How Long Does It Take To Make A Fishing Lure Mold?
Making a mold typically takes 24 to 48 hours. Silicone usually cures within 12 to 24 hours. Additional time is needed for setup and final touches. Patience ensures a high-quality, durable mold.
Conclusion
Making molds for fishing lures can be simple and fun. Start with the right materials and tools. Take your time to shape the mold carefully. Test your mold to ensure it works well. Practice helps you improve your skills. Creating your own molds saves money and allows custom designs.
Enjoy crafting lures that fit your fishing style. Keep experimenting and learning with each mold you make. Your fishing experience will feel more personal and rewarding. Try making molds and see the difference yourself.