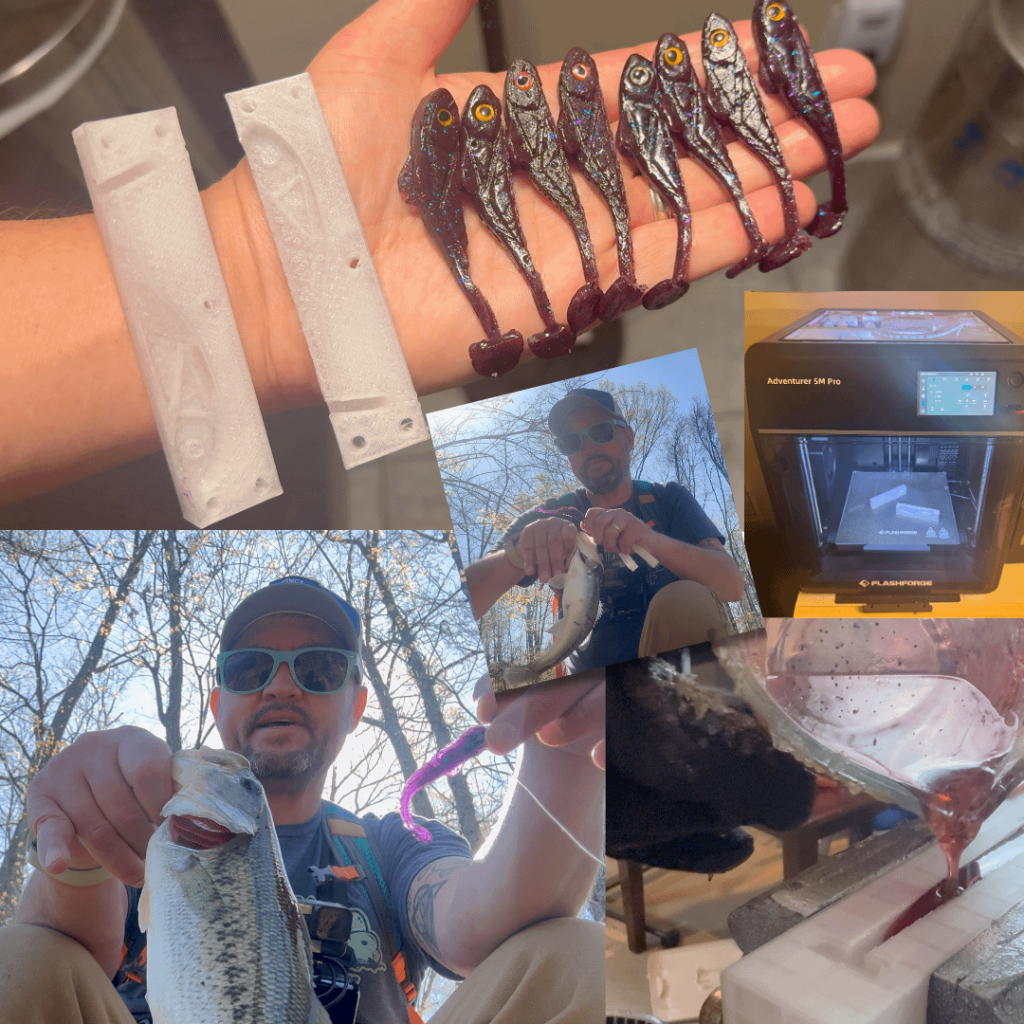
If you’re serious about fishing, you know that the right lure can make all the difference. But what if you could create your own custom lures, designed exactly how you want them?
Making molds for fishing lures lets you do just that. It’s easier than you might think, and once you get the hang of it, you’ll open up a whole new world of possibilities. In this guide, you’ll discover simple steps to make your own molds, save money, and catch more fish with lures crafted by your own hands.
Ready to take your fishing game to the next level? Let’s dive in.
Materials Needed
Making molds for fishing lures needs specific materials and tools. These help shape the lure perfectly.
Choosing the right materials keeps your work safe and easy. It also improves your mold quality.
Essential Tools
You need some basic tools to start making molds. These tools help you shape and handle materials.
- Mold box or container to hold the mold material
- Mixing cups and stir sticks
- Measuring scale for accuracy
- Clay or putty for making the lure model
- Sculpting tools for fine details
- Release agent to prevent sticking
- Protective gloves
Types Of Mold Materials
You can use different materials to make molds. Each material has its own features and uses.
- Silicone rubber: flexible and easy to use, good for detailed molds
- Latex rubber: cheaper but less durable, works for simple shapes
- Polyurethane rubber: strong and fast curing, ideal for many copies
- Plaster: low cost, best for one-time use molds
Safety Gear
Safety gear protects you while working with mold materials. Always wear the right equipment.
- Gloves to protect your hands from chemicals
- Safety glasses to shield your eyes
- Mask or respirator to avoid inhaling fumes
- Work in a well-ventilated area
Credit: www.battlbox.com
Choosing The Lure Design
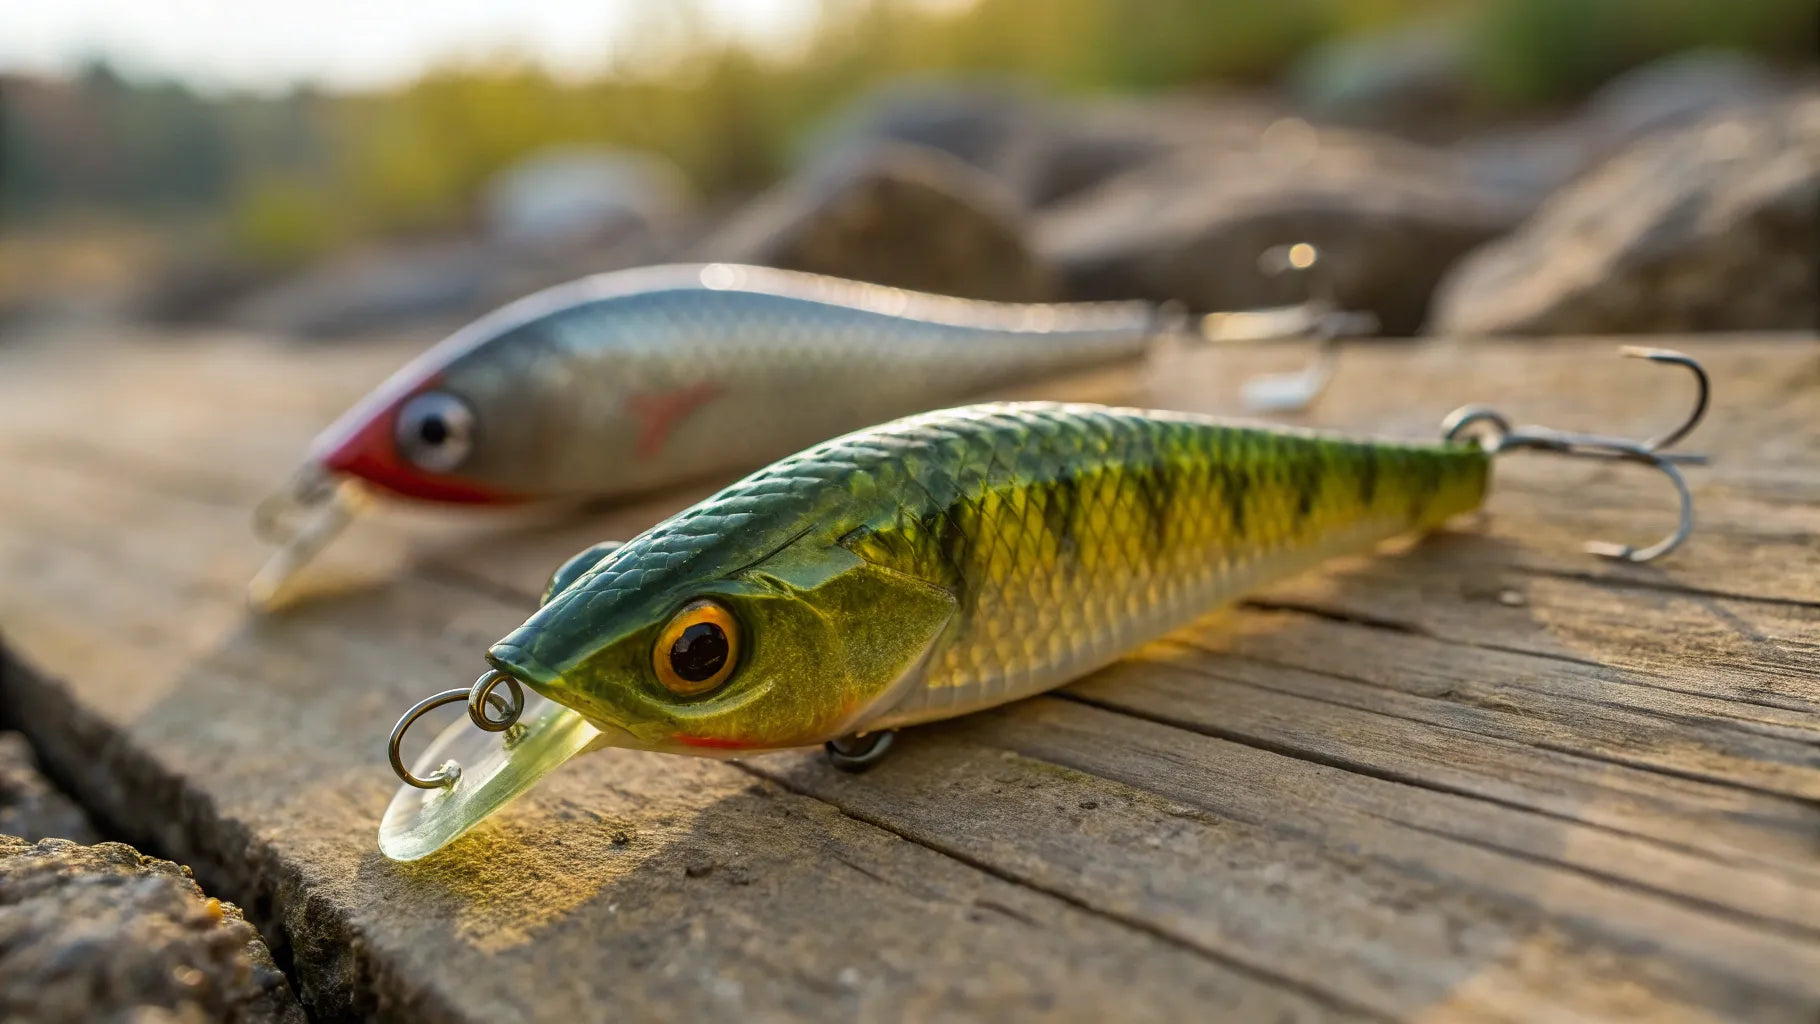
Making molds for fishing lures starts with choosing a good design. The design affects how well the lure works in water.
Focus on a shape and size that match the type of fish you want to catch. The design also affects how easy the mold will be to make.
Selecting A Prototype
Choose a prototype that you can copy to make the mold. It can be a real lure or a handmade model. The prototype must be smooth and detailed.
- Check the size to fit your fishing needs.
- Look for clear details that will show in the mold.
- Pick a shape that moves well in water.
- Use a prototype that is sturdy and easy to handle.
Design Considerations
Think about how the lure will be used and how to make the mold. The design affects the mold’s complexity and durability.
| Design Feature | Effect on Mold | Fishing Benefit |
| Simple Shape | Easy to mold and clean | Good for beginners |
| Detailed Texture | Needs careful mold work | Attracts fish visually |
| Hollow Body | Complex mold needed | Mimics real bait movement |
| Multiple Colors | Requires separate paint steps | More realistic lure |
Preparing The Prototype
Making a mold for fishing lures begins with a clean and well-prepared prototype. This step is crucial for creating a detailed and durable mold. It ensures the final lure shape is accurate and free of defects.
Focus on cleaning the prototype and attaching necessary parts to make pouring the mold material easier. These actions help in producing a smooth molding process without air bubbles or leaks.
Cleaning And Sealing
Start by cleaning the prototype to remove dust, grease, or oils. Use warm soapy water and a soft brush for best results. Dry the prototype completely before sealing it.
- Wash the prototype with mild soap and water.
- Use a soft cloth or brush to remove dirt gently.
- Rinse thoroughly and dry with a lint-free towel.
- Apply a thin coat of sealing spray or varnish.
- Let the sealant dry fully to protect the prototype surface.
Sealing helps prevent the mold material from sticking to the prototype. It also protects delicate details and ensures a smooth mold release.
Attaching A Pouring Cup
The pouring cup guides the mold material into the mold box. Attach it firmly to avoid leaks and air pockets. Use strong tape or glue that will not dissolve in the mold material.
| Material | Purpose | Notes |
| Plastic cup | Pouring mold material | Easy to attach and remove |
| Masking tape | Seal edges | Prevents leaks |
| Hot glue | Secure cup firmly | Strong bond, quick drying |
Place the pouring cup at the highest point of the prototype. This placement lets the mold material flow evenly and avoids trapping air inside the mold.
Credit: www.battlbox.com
Building The Mold Box
Making a mold box is key to creating molds for fishing lures. It holds the silicone or material used to form the mold. The box must fit the prototype well and keep the mold material from leaking.
This guide covers how to pick the right container and how to secure the prototype inside the box. Follow these tips for a smooth mold-making process.
Selecting The Mold Container
Choose a container that fits your lure prototype with some space around it. The box should be made of a material that silicone won’t stick to, like plastic or glass. It also needs to be sturdy and leak-proof.
- Pick a container slightly bigger than the lure by at least 1 inch on all sides.
- Use plastic or glass containers for easy release of the mold.
- Ensure the container is deep enough to cover the lure fully with silicone.
- Check that the container has smooth edges to avoid silicone leaks.
Securing The Prototype
Hold the lure prototype firmly in place inside the mold box. It should not move when you pour the mold material. Use simple tools or materials to fix the lure in position.
| Method | Details | Tips |
| Double-sided tape | Stick the lure to the box bottom | Use small pieces to avoid residue |
| Hot glue | Apply a small dot on the base | Glue must dry before pouring |
| Clay base | Press lure into soft clay | Use non-oily clay for best hold |
Mixing And Pouring Mold Material
Making molds for fishing lures needs careful mixing and pouring of materials. This process shapes the mold and affects its quality.
Follow simple steps to measure, mix, and pour the mold material correctly. This will help you get a clean and strong mold.
Measuring And Mixing
Measure the mold material parts exactly as the instructions say. Use a clean container and a precise scale or measuring cup.
Mix the parts slowly and carefully. Stir well to combine them evenly. Avoid fast stirring to reduce air bubbles.
- Use a digital scale for accuracy
- Mix for at least 2-3 minutes
- Scrape the container sides while mixing
- Stir gently to avoid bubbles
Pouring Techniques
Pour the mixed material slowly into the mold frame or around your lure model. Start from one corner and let the material flow.
Pouring gently helps the material fill small details and reduces trapped air. Avoid pouring from high above the mold.
- Pour close to the mold surface
- Use a thin stream, not a splash
- Fill the mold gradually
- Keep the mold still during pouring
Eliminating Air Bubbles
Air bubbles can cause holes or weak spots in molds. Remove bubbles by tapping or vibrating the mold after pouring.
You can also use a toothpick to pop bubbles on the surface. Some people use a vacuum chamber or pressure pot for better results.
- Tap mold gently on a flat surface
- Use a toothpick to pop surface bubbles
- Work in a dust-free area
- Consider vacuum or pressure if available
Curing The Mold
Curing the mold is a key step in making fishing lure molds. It helps the mold gain strength and shape.
Proper curing affects how well your mold works and how long it lasts.
Curing Time And Conditions
Curing times vary depending on the material used for your mold. Most silicone molds take about 24 hours to cure fully.
- Keep the mold at room temperature, around 70°F (21°C).
- Avoid direct sunlight or heat sources during curing.
- Maintain a dry area to prevent moisture from affecting the mold.
- Do not move or disturb the mold until curing completes.
Checking Mold Readiness
Test the mold gently to check if it has cured well. The surface should feel firm but flexible.
| Test Method | Expected Result |
| Touch Surface | Not sticky or soft |
| Bend Slightly | Flexible without cracking |
| Press Gently | Returns to shape quickly |
| Look for Color Change | Consistent color, no wet spots |
Removing The Mold
After your mold material has fully set, it is time to remove the mold. This process must be done carefully to avoid damage. Removing the mold correctly helps keep its shape and detail.
Two main steps are involved in removing the mold: separating the mold box and extracting the prototype. Follow these steps slowly for best results.
Separating The Mold Box
First, gently take apart the mold box. The mold box holds the mold material and prototype in place. Removing the box carefully stops the mold from breaking.
Use your hands or soft tools to loosen the sides of the box. Avoid using sharp tools that can cut the mold material.
- Press the edges of the mold box gently
- Remove any screws or fasteners if used
- Lift the sides away slowly
- Keep the mold stable as the box is removed
Extracting The Prototype
Once the mold box is removed, take out the original fishing lure or prototype. This step reveals the hollow mold cavity used to cast lures.
Pull the prototype out carefully. Do not force it or bend the mold. If the prototype sticks, gently wiggle it free to avoid damage.
- Hold the mold steady with one hand
- Grip the prototype firmly but gently
- Pull straight out to avoid warping the mold
- Check the mold for any leftover material
Using The Mold For Casting
Using a mold to cast fishing lures lets you make many copies easily. The mold holds the shape while the lure material hardens.
Follow simple steps to prepare the mold, pour the material, and remove the lure safely. This helps you get good results every time.
Preparing The Mold
Clean the mold before use to remove dust and dirt. This stops marks on your lures. Use a soft cloth and mild soap if needed.
Apply a mold release spray or oil inside. This helps the lure come out easily after casting. Make sure to cover all inside surfaces.
- Clean mold with soft cloth
- Use mild soap if dirty
- Apply mold release evenly
- Let mold dry before pouring
Pouring The Lure Material
Mix your lure material well according to instructions. Use resin, plastic, or metal depending on your design.
Pour the material slowly into the mold to avoid air bubbles. Fill the mold completely to get the right shape and size.
- Mix material thoroughly
- Pour slowly to reduce bubbles
- Fill mold to the top edge
- Avoid spilling outside the mold
Demolding The Lure
Wait until the lure material hardens fully. Check the recommended curing time for best results.
Gently open the mold and remove the lure. Use soft tools if needed to avoid damage. Be careful not to break the lure or mold.
- Wait for full curing
- Open mold carefully
- Use soft tools to help release
- Handle lure gently to avoid breaks
Troubleshooting Common Issues
Making molds for fishing lures can be tricky. Problems often occur during the process.
This guide helps you fix common mold problems and avoid damage to your molds.
Fixing Mold Imperfections
Small flaws in molds can cause poor lure shapes. Fix these issues quickly for better results.
- Fill air bubbles with silicone putty to smooth the surface.
- Use fine sandpaper to remove rough edges or bumps.
- Apply a thin coat of mold release spray to prevent sticking.
- Check for cracks and seal them with liquid silicone adhesive.
- Let repairs dry completely before using the mold again.
Preventing Mold Damage
Protect your molds to make them last longer. Simple care steps avoid costly damage.
| Common Cause | Prevention Tip |
| Overheating | Use low temperature materials and avoid direct heat. |
| Improper Storage | Store molds in a cool, dry place away from sunlight. |
| Rough Handling | Handle molds gently and avoid dropping or bending. |
| Contamination | Clean molds after each use to remove residue. |

Credit: www.youtube.com
Maintaining And Storing Molds
Proper care of your fishing lure molds extends their life. Good maintenance keeps the molds ready for use. Storing molds correctly prevents damage and warping.
These tips focus on cleaning after use and proper storage. Follow them to keep your molds in top shape for many fishing trips.
Cleaning After Use
Clean your molds right after you finish using them. Removing resin or leftover materials stops build-up. Use soft tools to avoid scratches.
- Rinse molds with warm water to soften residue
- Use a mild soap and a soft brush for cleaning
- Do not use harsh chemicals or abrasive pads
- Dry molds completely with a soft cloth or air dry
- Check for any leftover bits in corners and crevices
Proper Storage Tips
Store molds in a cool, dry place away from sunlight. Keep them flat or in a way that avoids bending. Proper storage stops damage and helps molds keep their shape.
| Storage Tip | Reason |
| Keep molds away from direct sunlight | Prevents warping and material breakdown |
| Store molds flat on a shelf or in a drawer | Maintains shape and avoids bending |
| Use airtight containers or bags | Keeps dust and moisture out |
| Label molds for easy identification | Saves time and reduces handling |
Frequently Asked Questions
What Materials Are Best For Making Fishing Lure Molds?
Silicone rubber is ideal for mold making. It captures fine details and is durable. It also resists wear from repeated use, ensuring your molds last longer.
How Do You Prepare The Original Lure For Mold Making?
Clean the lure thoroughly and remove any dirt. Apply a mold release agent to prevent sticking. This ensures easy removal and a smooth mold surface.
Can I Make Molds For Fishing Lures At Home?
Yes, with basic tools and silicone rubber, you can make molds at home. Follow safety guidelines and work in a well-ventilated area for best results.
How Long Does It Take To Cure A Fishing Lure Mold?
Curing time varies by silicone type but usually ranges from 4 to 24 hours. Check the product instructions for exact curing times to ensure a perfect mold.
Conclusion
Making molds for fishing lures takes patience and care. Follow each step clearly and work slowly. Using the right materials helps you get strong, detailed molds. Practice will improve your skills over time. You can create different shapes and sizes for your lures.
This process saves money and lets you customize your fishing gear. Try making molds for your favorite lure designs. Enjoy crafting and catching fish with your handmade lures. Keep learning and experimenting to get better results every time.