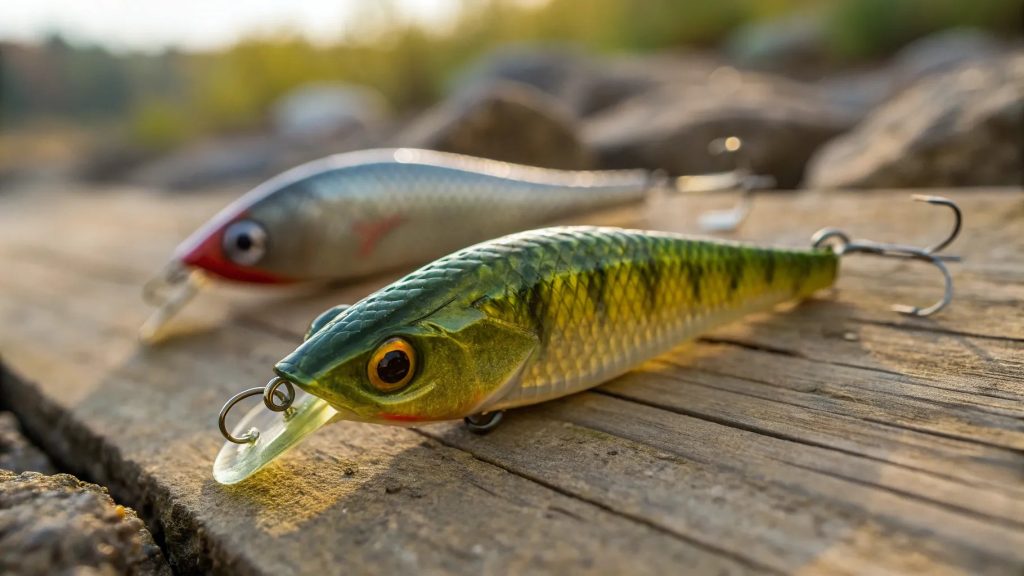
Imagine casting your line into the water, confident that your lure will attract the fish you’re after. Creating your own soft plastic fishing lures can give you that edge.
It’s not just about the thrill of the catch; it’s about crafting something unique that meets your specific needs. But where do you start? Making soft plastic fishing lure molds at home is simpler than you might think, and it opens up a world of possibilities for customizing your tackle.
Whether you’re an experienced angler or just starting out, learning how to make these molds can transform your fishing game. You’ll discover the satisfaction of using lures tailored to your style, and you might even find a new hobby along the way. Dive into this guide, and let’s explore how you can craft the perfect lures for your next fishing adventure.
Credit: www.battlbox.com
Materials Needed
Making soft plastic fishing lure molds is a fun and useful skill. You need specific materials to create good molds that last.
This guide explains the main materials you need before starting your mold-making project.
Types Of Silicone For Molds
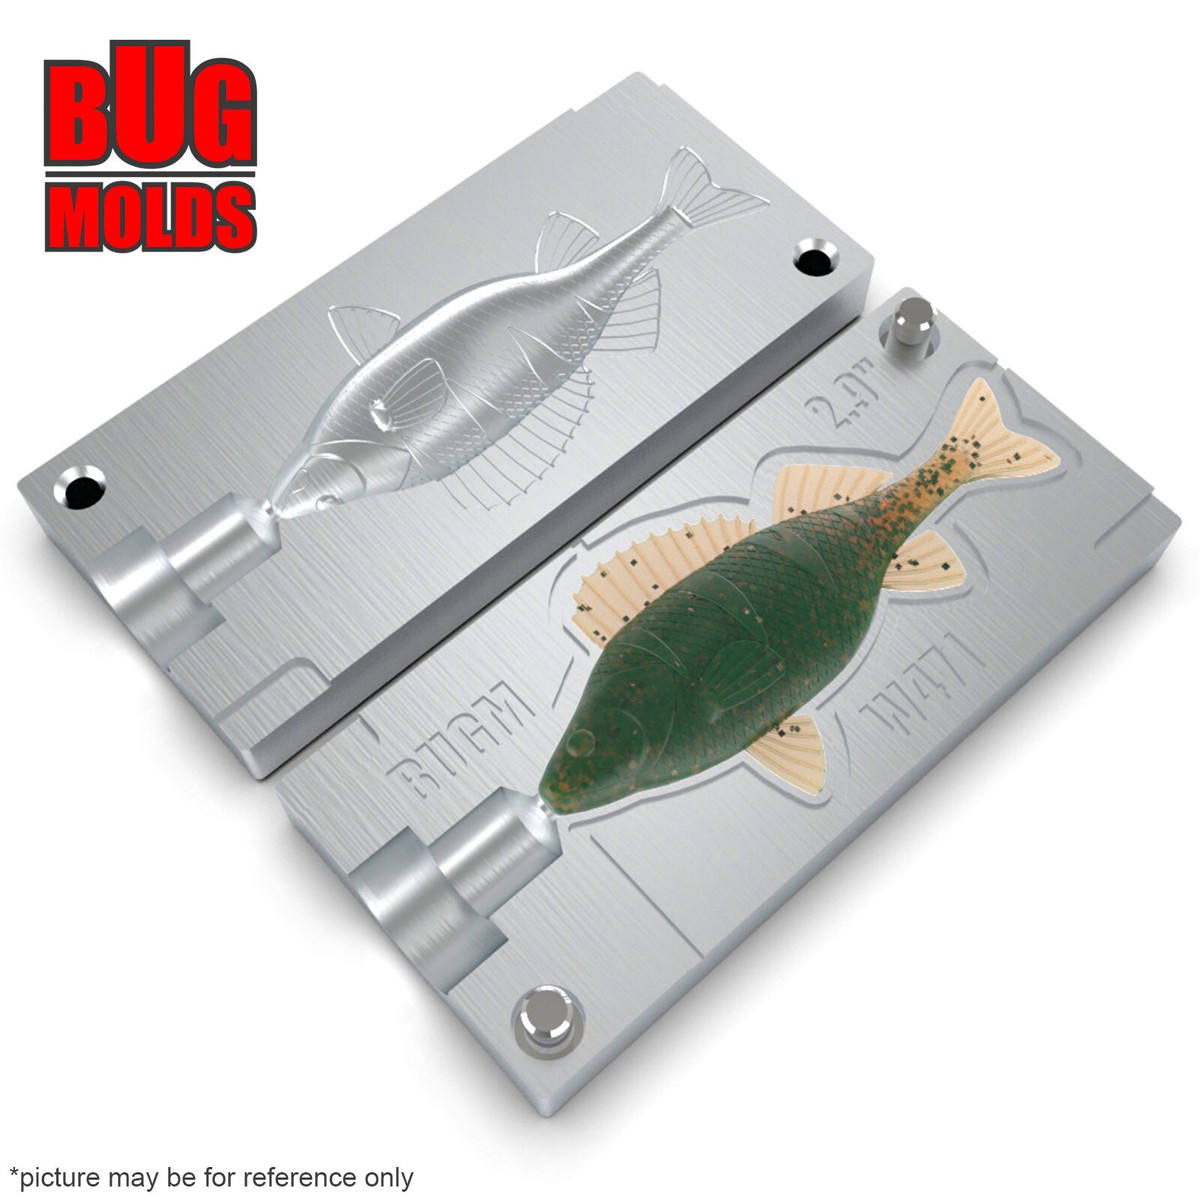
Silicone is the main material used for making fishing lure molds. It is flexible and captures details well.
There are different types of silicone you can use for molds. Each type has its strengths.
- Tin-Cure Silicone:Easy to use and fast curing. Good for simple molds.
- Platinum-Cure Silicone:More durable and safe for food contact. Best for detailed molds.
- High-Temperature Silicone:Used if you plan to pour hot plastic. It resists heat well.
Essential Tools
You need some basic tools to make molds cleanly and accurately. These tools help you work with silicone and shapes.
- Mixing cups for silicone and other materials
- Stir sticks to mix silicone well
- Mold box or container to hold your silicone
- Clay or modeling putty to create the original lure shape
- Measuring scale for accurate silicone ratios
- Utility knife or scissors to cut molds after curing
- Plastic gloves to keep hands clean
Safety Gear
Safety is important when working with silicone and tools. Use proper gear to protect yourself.
- Disposable gloves to protect your skin from chemicals
- Safety glasses to shield your eyes from splashes
- Face mask if working in a place with poor ventilation
- Protective apron or old clothes to avoid stains
Credit: www.ebay.ca
Choosing Your Lure Design
Choosing the right design for your soft plastic fishing lure molds is important. The design affects how easy it is to make the mold and how the lure will move in water.
Think about the shape and size of the lure. This will help you decide the best mold design for your fishing needs.
Simple Vs. Complex Shapes
Simple shapes are easier to mold and require less time. They often work well for beginners or quick projects.
Complex shapes have more details and curves. These shapes can attract fish better but need more skill and care to make the mold.
- Simple shapes: fast to make, less detail
- Complex shapes: slow to make, more detail
- Simple shapes: good for beginners
- Complex shapes: need careful molding
Size And Detail Considerations
Size affects how the lure moves and how easy it is to cast. Larger lures need bigger molds and more plastic material.
Details like fins, eyes, or scales add realism but can make mold making tricky. Small details may not show well in soft plastic.
- Large lures need bigger molds and more plastic
- Small lures are easier to cast and handle
- Details make lures look real but add mold complexity
- Too much detail may not show in soft plastic
Preparing The Master Lure
Preparing the master lure is an important part of making soft plastic fishing lure molds. The master lure is the original model used to create the mold. It needs to be clean and ready for molding.
This guide will explain how to clean, seal, and attach a pouring spout to your master lure. These steps help create a smooth mold that lasts a long time.
Cleaning And Sealing
Start by cleaning the master lure well. Remove dirt, dust, and oils that can ruin the mold. Use soap and water or rubbing alcohol to clean it. Let it dry fully before moving on.
After cleaning, seal the lure surface. Sealing stops the mold material from sticking to the lure. Use a clear spray sealer or brush on a thin layer of varnish. Let the sealer dry completely before using the lure.
- Clean with soap and water or rubbing alcohol
- Dry the lure fully
- Apply a clear sealer or varnish
- Let the sealer dry completely
Attaching A Pouring Spout
A pouring spout helps pour silicone or other mold materials easily. Attach a small tube or a piece of plastic to the lure. Use strong glue to fix it in place. Make sure it is tight and sealed well.
The spout should be at the highest point of the mold box. This placement allows the mold material to flow smoothly over the lure. Check for leaks before pouring the mold material.
- Attach a small tube or plastic piece
- Use strong glue for a tight fit
- Place spout at the highest point
- Check for leaks before pouring
Mixing Silicone Mold Compound
Making soft plastic fishing lure molds needs careful mixing of silicone mold compound. Good mixing helps create strong and detailed molds.
Mixing the silicone right prevents problems like weak molds or bubbles. Learn how to measure and mix the compound well.
Measuring And Mixing Ratios
Check the instructions on your silicone kit to find the right mixing ratio. Usually, it is parts by weight or volume.
Use a clean scale or measuring cups. Measure each part carefully to keep the right balance.
- Mix Part A and Part B exactly as the instructions say
- Use a digital scale for best accuracy
- Mix small batches to avoid waste
Avoiding Air Bubbles
Air bubbles can weaken your mold and ruin details. Mix slowly and gently to avoid trapping air.
After mixing, let the silicone sit for a few minutes. This helps bubbles rise and pop before pouring.
- Stir slowly with a flat stick or spatula
- Tap the container gently on a surface to release bubbles
- Pour silicone in a thin stream to reduce bubbles
Pouring Silicone Over The Lure
Pouring silicone over your lure is a key step in making soft plastic fishing lure molds. This process captures all the details of the lure to create a perfect mold.
Careful preparation and pouring ensure the mold holds its shape and lasts a long time.
Setting Up The Mold Box
Start by choosing a box that fits your lure with a little extra space. The box holds the silicone while it sets around the lure.
Seal the box edges to stop leaks. Use clay or tape to close any gaps. Place the lure in the box, making sure it does not touch the sides or bottom.
- Pick a box slightly bigger than your lure
- Seal all edges and corners tightly
- Fix the lure in place without touching walls
- Leave space for silicone to cover the lure fully
Pouring Techniques
Mix the silicone carefully following the instructions. Pour slowly to avoid air bubbles. Start pouring from one corner and let the silicone flow over the lure.
Tapping the mold box gently helps release trapped air. Pour until the lure is fully covered with at least half an inch of silicone above it.
- Mix silicone thoroughly before pouring
- Pour slowly from one side to reduce bubbles
- Tap the mold box softly to remove air pockets
- Cover lure completely with enough silicone thickness
Curing And Demolding
Curing and demolding are key steps in making soft plastic fishing lure molds. Proper curing ensures the mold sets well. Careful demolding keeps the mold intact for reuse.
Follow the right times and techniques to get the best results. Rushing can cause damage or weak molds.
Cure Time Expectations
Cure time varies by material and temperature. Most silicone molds need 24 hours to fully cure. Some quick-cure silicones can set in 6 to 12 hours.
- Check manufacturer instructions for exact cure times.
- Keep molds in a dry, dust-free place during curing.
- Avoid moving the mold while curing to prevent defects.
- Cooler temperatures slow down curing; warmer speeds it up.
Removing The Mold Carefully
Demolding requires patience to avoid tearing or warping the mold. Soft plastic molds are flexible but still delicate.
| Tip | Why It Matters |
| Gently pull the mold edges away first | Prevents stretching or tearing |
| Use a release agent before pouring | Makes mold removal smoother |
| Do not force the mold off the original model | Avoids damage to both mold and model |
| Inspect mold for air bubbles or weak spots | Ensures mold lasts longer |
Testing The Mold
Testing your soft plastic fishing lure mold is important before making many lures. It helps you see if the mold works well and if the final lure looks right. This step saves time and materials in the long run.
Try casting a few lures to check the shape, size, and details. Look for any issues like bubbles or weak spots. Fixing these early makes your molds more reliable.
Casting Your First Lure
Start by heating the soft plastic until it melts. Pour it carefully into the mold cavity. Let the plastic cool and harden fully before opening the mold.
- Use a heat source like a microwave or hot plate
- Stir the melted plastic gently to avoid air bubbles
- Fill the mold slowly to prevent spills
- Allow enough cooling time for a firm lure
- Open the mold carefully to avoid damage
Troubleshooting Common Issues
| Issue | Cause | Solution |
| Air Bubbles | Pouring too fast or stirring too much | Pour slowly and stir gently |
| Soft or Sticky Lure | Insufficient cooling time | Let the lure cool longer |
| Incomplete Shape | Mold not filled fully | Fill mold completely and check for leaks |
| Warped Lure | Removing lure too soon | Wait until plastic is fully hardened |
| Sticky Mold | Old or dirty mold surface | Clean mold and use mold release spray |

Credit: www.leoalmanac.org
Maintaining Your Mold
Keeping your soft plastic fishing lure molds in good shape helps you make better lures. Clean and store your molds carefully to avoid damage.
Proper care extends the life of your molds and saves money on replacements. Learn easy tips to clean and store them.
Cleaning Tips
Clean your molds after each use to remove residue. This stops buildup that can change the mold’s shape and texture.
- Use warm water and mild soap to wash the mold.
- Gently scrub with a soft brush to avoid scratches.
- Rinse well to remove all soap traces.
- Dry the mold completely with a soft cloth.
- Avoid harsh chemicals that can weaken the mold material.
Storage Recommendations
Store your molds in a cool, dry place away from sunlight. Proper storage prevents warping and damage.
| Storage Tip | Reason |
| Keep molds flat or hanging | Prevents warping or bending |
| Avoid stacking heavy items on molds | Stops permanent dents or cracks |
| Use airtight containers if possible | Keeps dust and moisture out |
| Store away from direct sunlight | Prevents material from becoming brittle |
Frequently Asked Questions
What Materials Are Best For Making Soft Plastic Lure Molds?
Silicone is the most popular material for soft plastic lure molds. It captures fine details and is flexible. It allows easy removal of the lure without damage. Other materials like latex or rubber can also be used but may lack durability.
How Do I Prepare The Mold Before Pouring Plastic?
Clean the mold thoroughly to remove dust and debris. Apply a mold release agent to prevent sticking. Ensure the mold is completely dry before pouring the soft plastic. Proper preparation leads to better shaped and easier-to-remove lures.
Can I Reuse Soft Plastic Lure Molds Multiple Times?
Yes, soft plastic lure molds made from silicone are reusable. They can withstand multiple pours without losing detail. Proper care, like cleaning and storing in a cool place, extends mold life. Reusing molds saves time and materials in lure making.
What Temperature Should Soft Plastic Be Poured At?
Pour soft plastic at around 200°F to 250°F (93°C to 121°C). This temperature ensures smooth flow without burning the plastic. Avoid overheating to prevent mold damage. Always follow the plastic manufacturer’s recommended pouring temperature for best results.
Conclusion
Making soft plastic fishing lure molds takes some care and patience. Start with the right materials and tools. Follow each step slowly to avoid mistakes. Test your molds often to get good results. Keep practicing to improve your skills. This way, you can create lures that work well and last long.
Enjoy the process and have fun fishing with your own lures. The effort you put in will pay off on your next fishing trip.