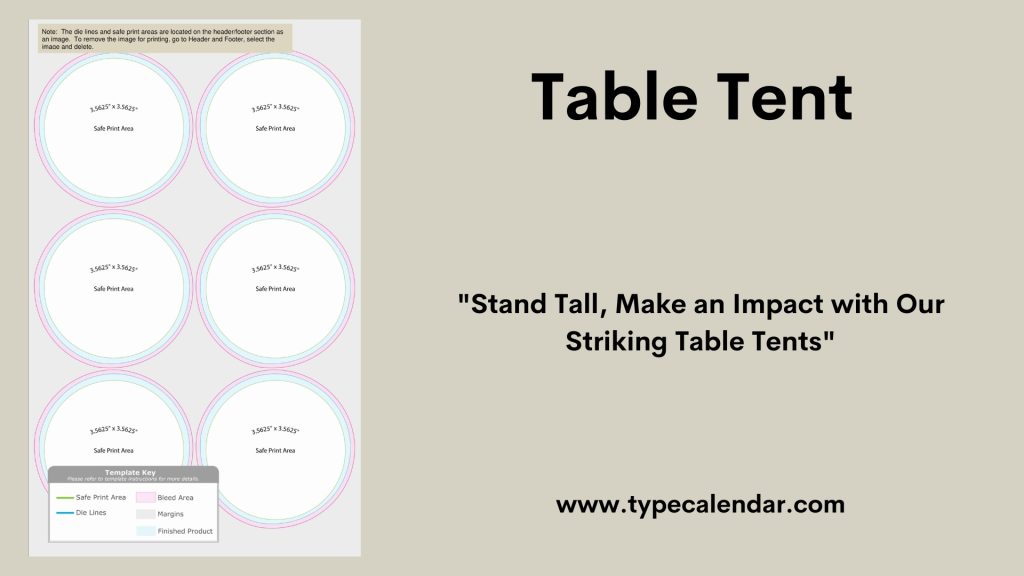
Are you looking for a simple way to grab attention and share important information right on your table? Table tents are the perfect solution.
Whether you’re hosting an event, running a restaurant, or setting up a display, making your own table tents can save you money and give you full control over the design. In this guide, you’ll discover easy steps to create eye-catching table tents that stand out and get noticed.
Keep reading, and you’ll learn how to make your tables speak for themselves!
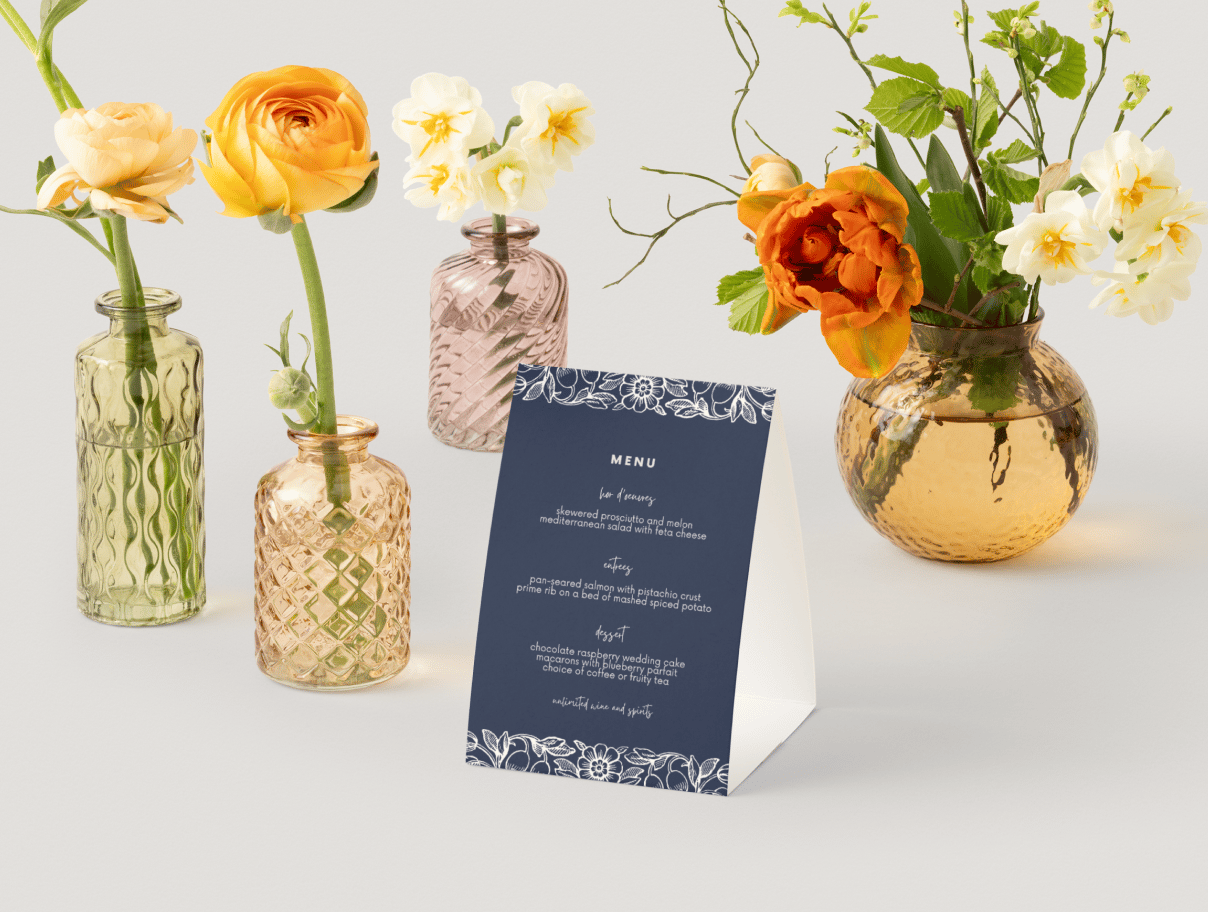
Credit: www.canva.com
Materials Needed
Making table tents is easy with the right materials. These items help you create strong and attractive displays.
Gather these basic supplies before starting your project to ensure smooth crafting.
Paper And Cardstock Options
Choose paper or cardstock that is thick enough to stand on its own. Cardstock gives more durability than regular paper.
- Matte or glossy cardstock
- Colored or white paper
- Recycled or standard paper
- Textured cardstock for a unique look
Cutting Tools
Use sharp tools to cut clean edges on your table tents. Proper cutting makes folding easier and neat.
- Scissors for simple cuts
- Craft knives for precise edges
- Paper trimmers for straight lines
- Cutting mats to protect surfaces
Adhesives And Fasteners
Stick or join parts of your table tents securely. Use adhesives that dry clear and fast.
- Glue sticks for quick bonding
- Double-sided tape for clean attachment
- Hot glue for stronger hold
- Staplers or paper clips for temporary fixes
Decorative Supplies
Add decorations to make your table tents stand out. Choose simple supplies for easy customization.
- Markers and colored pencils
- Stickers and stamps
- Ribbon or washi tape
- Printed images or logos
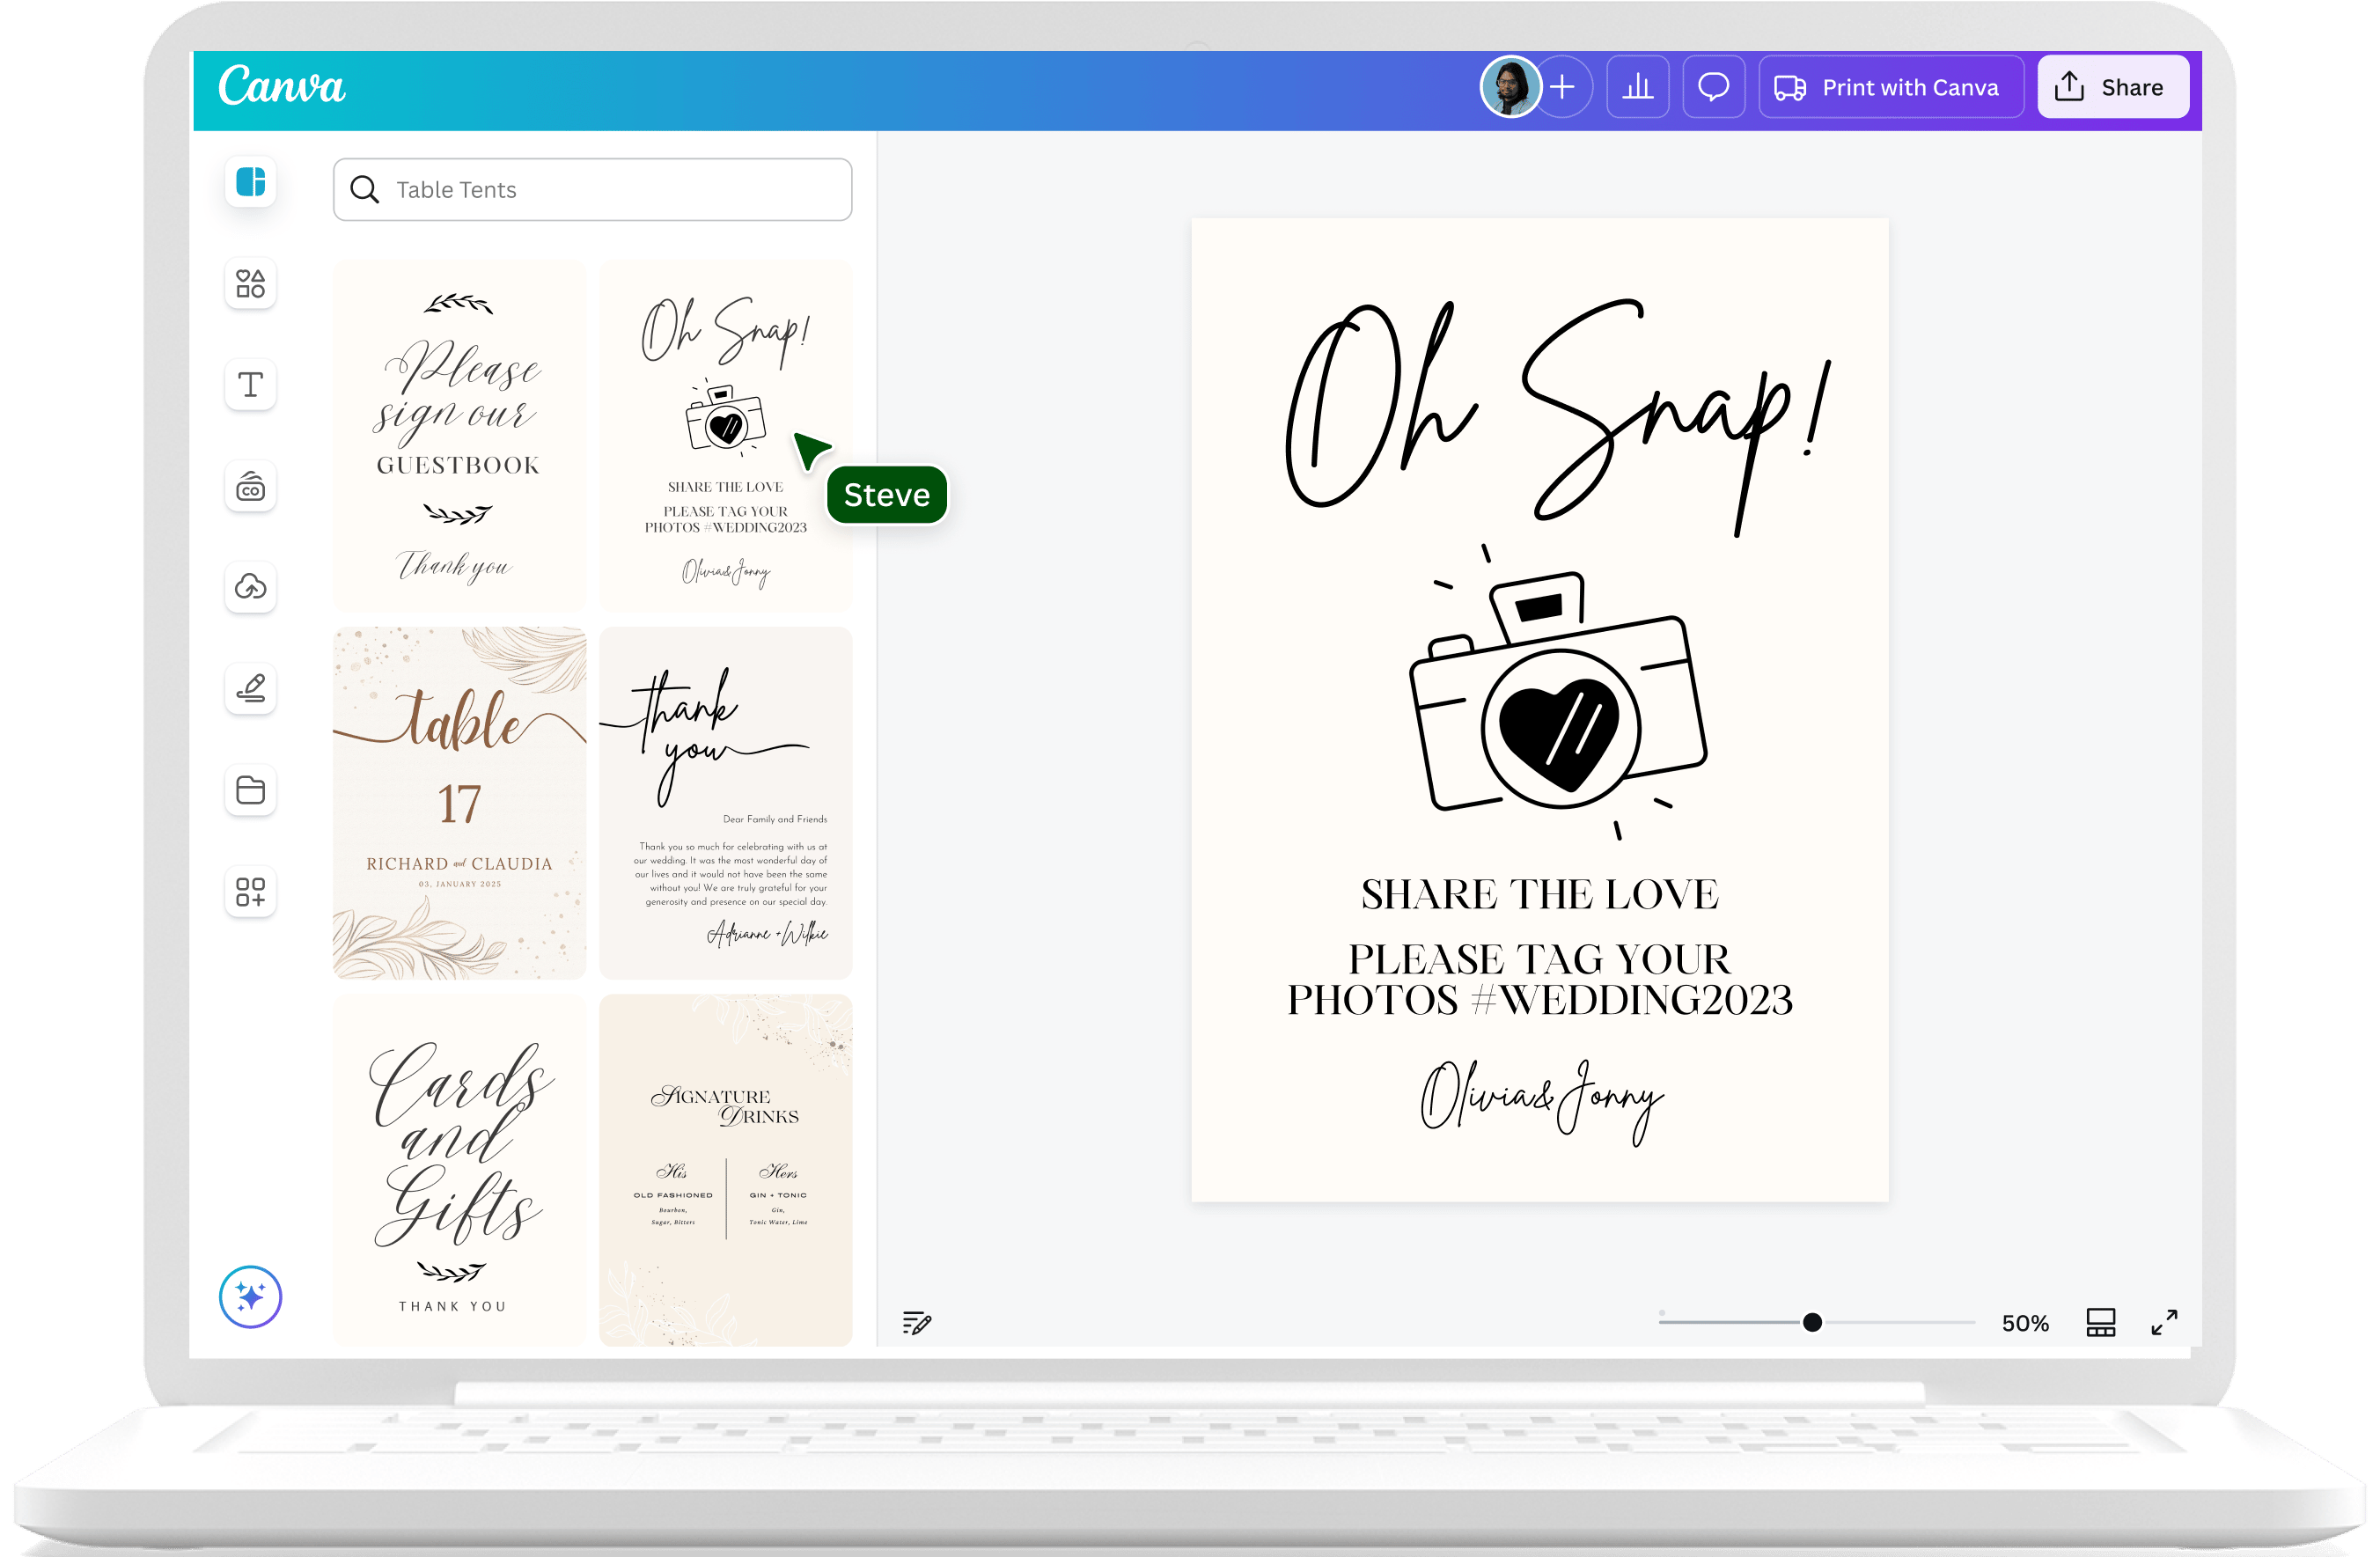
Credit: www.canva.com
Design Ideas
Table tents are small but powerful tools to share messages. Good design makes them stand out and easy to read.
Try different styles to find what fits your space and purpose best. Use shapes, colors, fonts, and images to catch attention.
Simple Layouts
Clear and clean layouts help people understand your message quickly. Use simple shapes like rectangles or triangles for easy folding.
- Keep text short and focused
- Use bold headings for key points
- Leave enough white space for a neat look
- Align text to improve readability
Creative Shapes
Try shapes beyond the usual triangle or rectangle. Unique shapes can draw more eyes to your table tent.
Using Colors And Fonts
Colors and fonts set the mood and tone for your table tents. Choose combinations that match your message and brand.
| Element | Tips |
| Colors | Use contrasting colors for text and background |
| Fonts | Pick easy-to-read fonts with clear sizes |
| Highlight | Use color or bold to emphasize key words |
Adding Images And Logos
Images and logos help create brand identity and add visual interest. Use high-quality graphics that do not clutter the design.
- Place logos in corners or top areas
- Use images that relate to your message
- Keep visuals balanced with text
Step-by-step Assembly
Creating table tents can be a simple task if you follow the steps carefully. These tents are great for events and gatherings.
Below, we will guide you through the assembly process. Each section covers an important step.
Measuring And Cutting
Accurate measurements ensure your table tents stand correctly. Use a ruler or measuring tape for this step.
- Measure the desired height and width of your tent.
- Mark these measurements on your cardstock or paper.
- Use scissors to cut along the marked lines carefully.
Folding Techniques
Folding is crucial to make your table tent stable. Proper folds ensure it stands upright.
- Fold the cut sheet in half horizontally.
- Crease the fold well to maintain shape.
- Open the fold and create two diagonal folds from each corner to the center crease.
Securing The Tent Structure
Secure the folded sections to keep the tent in place. This step is important for durability.
Apply adhesive tape or glue to the inner edges where folds meet. Hold for a few seconds to ensure a strong bond.
Final Touches
The final touches personalize your table tent. You can add designs or text for a unique look.
| Decoration | Materials |
| Stickers | Colorful stickers, labels |
| Text | Markers, pens |
| Paint | Acrylic paint, brushes |
Tips For Durability
Table tents are great for showing information or promotions. Making them last longer saves money and effort.
Use strong materials and protect your table tents from damage. This guide shares easy tips for durability.
Laminating Options
Laminating table tents adds a clear layer that protects from spills and dirt. It also stops paper from tearing.
You can choose from glossy or matte laminates. Glossy shines and makes colors pop. Matte reduces glare and looks smooth.
- Hot laminating uses heat to seal the plastic on paper
- Cold laminating uses adhesive sheets without heat
- Self-adhesive laminates are easy to apply at home
Reinforcing Edges
Edges of table tents get worn out fast. Adding extra support makes them stronger and prevents bending.
Use tape, corner protectors, or fold edges to add thickness. These help keep the shape and avoid damage.
- Clear packing tape adds a protective layer on edges
- Metal or plastic corner guards stop wear at corners
- Folding edges inward creates a firm border
Weatherproofing Methods
Table tents used outdoors need weatherproofing. This protects against rain, sun, and wind damage.
Use waterproof materials and sealants. These keep the tents dry and prevent fading from sunlight.
- Use waterproof cardstock or plastic sheets for printing
- Apply clear waterproof spray to repel water
- Seal edges with waterproof glue or tape
Display Ideas
Table tents add charm and information to any table setting. They catch the eye and help share messages clearly.
Choosing the right way to display table tents can make your event or space look neat and inviting.
Table Arrangement Tips
Place table tents where guests can see them easily. Avoid cluttering the table with too many items.
- Center tents near plates or menus
- Keep tents upright and stable
- Use matching colors to fit your theme
- Space tents evenly across the table
- Pair tents with small decorations for balance
Using Stands Or Holders
Stands and holders keep table tents steady and add a stylish touch. They come in many shapes and materials.
| Type | Material | Best Use |
|---|---|---|
| Metal Clip Stand | Metal | Formal events |
| Acrylic Holder | Plastic | Casual settings |
| Wooden Base | Wood | Rustic themes |
| Cardboard Fold | Paper | Temporary use |
Lighting Enhancements
Good lighting helps table tents stand out and be easy to read. Use soft lights to avoid glare.
Lighting Tips:
- Place tents near natural light sources
- Use small LED spotlights or fairy lights
- Avoid placing tents in shadows
- Consider backlit holders for a glowing effect
Common Mistakes To Avoid
Making table tents is simple but requires attention. Avoiding errors helps your tents look neat and last longer.
Learn what common mistakes to watch out for. Fixing these will improve your table tents’ quality.
Incorrect Measurements
Wrong size is a common problem. If the measurements are off, the tent may not stand or fit the table.
- Measure the space on the table before cutting paper.
- Double-check width and height before folding.
- Use a ruler or measuring tape for accuracy.
- Remember to add extra space for folds and glue areas.
Weak Adhesive Choices
Choosing the wrong glue weakens your table tents. They may fall apart or look messy.
| Adhesive Type | Use For | Not Good For |
| Glue Stick | Paper to paper | Heavy or glossy materials |
| Double-sided Tape | Clean and quick bonding | Thick or textured paper |
| Liquid Glue | Strong hold on many surfaces | Can cause wrinkles if too wet |
| Hot Glue | Heavy materials | Thin paper (may burn or wrinkle) |
Overcrowding Design Elements
Too many words or images make the tent hard to read. Keep your design clear and simple.
- Limit text to key points only.
- Use clear fonts and enough space between lines.
- Choose one or two images that match your message.
- Leave blank space to avoid clutter.

Credit: www.vistaprint.com
Frequently Asked Questions
What Materials Do I Need To Make Table Tents?
You need cardstock or thick paper, scissors, a ruler, markers or printers, and glue or tape. Optional items include decorative stickers.
How Do I Fold Table Tents Correctly?
Fold the paper in half lengthwise, then fold the bottom edges toward the center. Ensure sharp creases for stability.
Can I Customize Table Tents For Events?
Yes, customize table tents with colors, fonts, and graphics relevant to your event theme or brand.
What Size Is Ideal For Table Tents?
A common size is 4×6 inches or 5×7 inches. Choose a size that fits your table and content.
Conclusion
Making table tents is simple with clear steps and basic materials. You only need paper, scissors, and creativity to start. These tents help share messages or decorate tables easily. Try different designs to find what fits best. Use bright colors and clear fonts for better reading.
Now, you can create your own table tents at home or work. Enjoy adding a personal touch to your events or spaces!