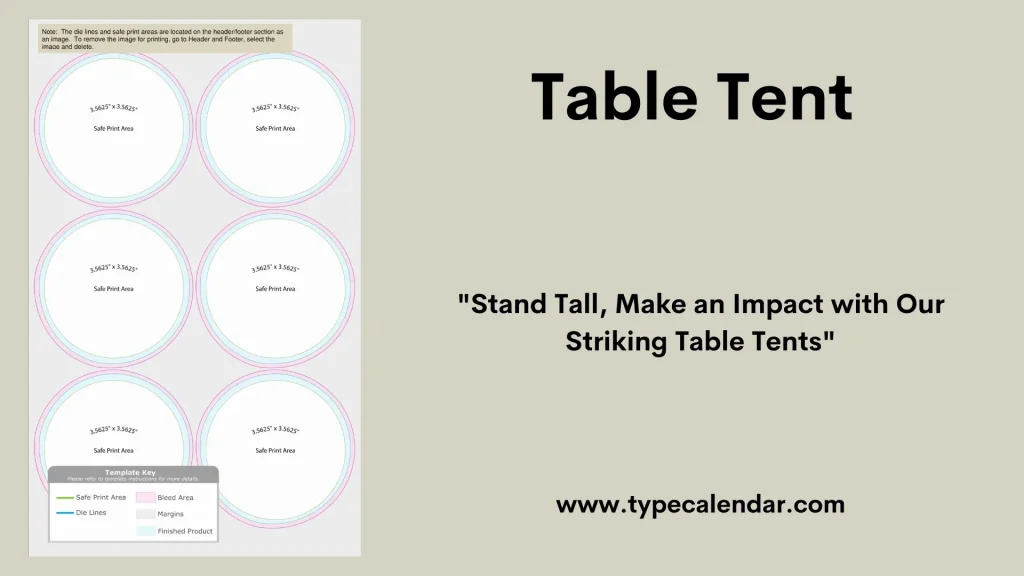
Are you looking to create professional-looking tent cards quickly and easily? Whether it’s for a meeting, party, or event, making tent cards in Word is simpler than you think.
You don’t need fancy software or design skills—just a few easy steps in a program you already have. In this guide, you’ll discover how to design, customize, and print your own tent cards that stand out and grab attention. Ready to impress your guests or clients with your creativity?
Let’s get started!
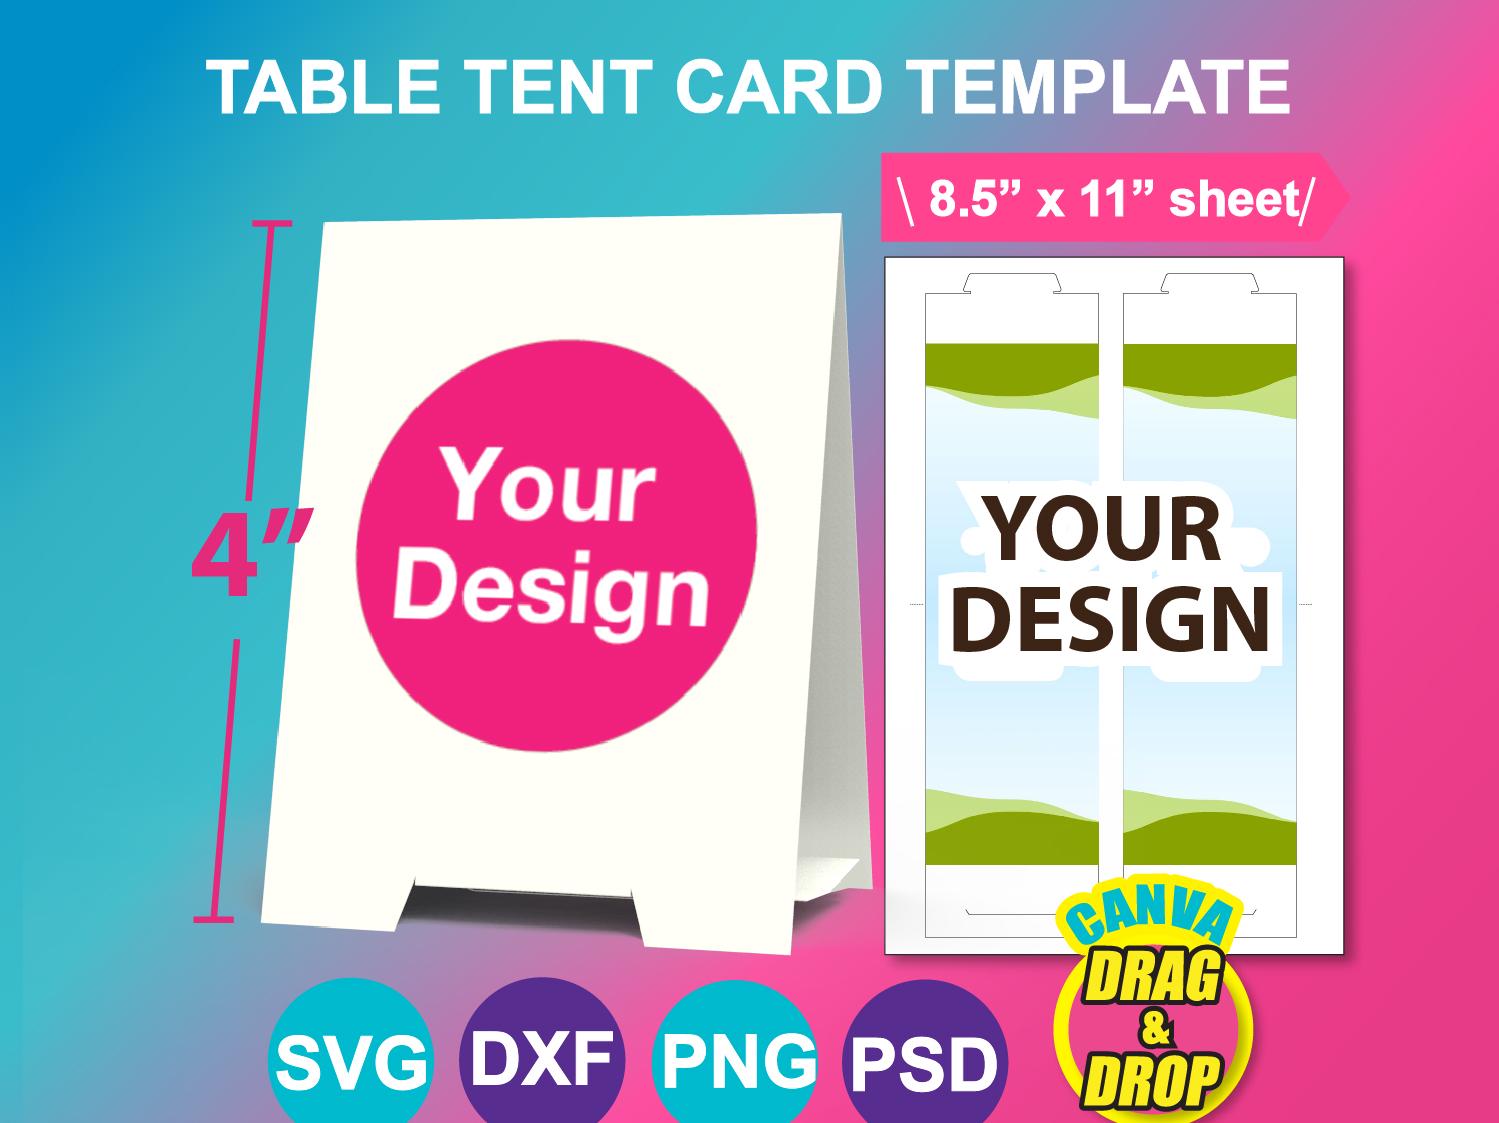
Credit: www.etsy.com
Choosing The Right Template
Making tent cards in Word is easy if you pick the right template. Templates help you save time and create neat designs. You can use built-in templates or start with a blank one.
Choosing the right template depends on your needs. Let’s look at options for built-in templates and blank templates.
Using Built-in Templates
Word has many built-in templates for tent cards. These templates have ready-made layouts and styles. You can find them by searching for “tent card” in the template gallery.
- Open Word and click “New”.
- Type “tent card” in the search box.
- Choose a template that fits your event or style.
- Click “Create” to open the template.
- Replace the sample text with your own information.
Using built-in templates is fast and easy. You get a professional look without much work.
Customizing Blank Templates
Sometimes you want to design your tent card from scratch. Word lets you start with a blank template. This option gives you full control over the design.
| Customization Option | Benefit |
| Set custom page size | Fits your exact card dimensions |
| Add shapes and text boxes | Create unique layouts |
| Insert images and logos | Personalize with branding |
| Use different fonts and colors | Match your event theme |
Customizing blank templates takes more time but allows complete creativity. You can make the tent card look exactly how you want.
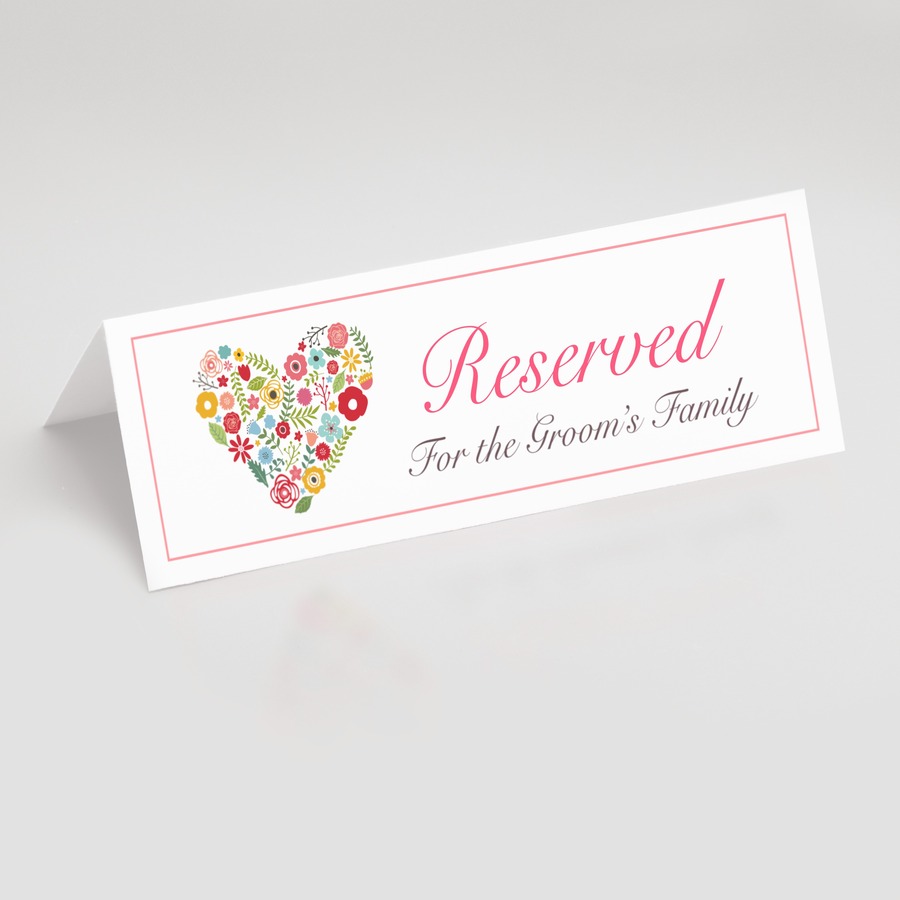
Credit: www.hamster.ca
Setting Up Page Layout
Setting up the page layout is important for making tent cards in Word. It helps the card fit the paper correctly. You can change the page size, margins, and orientation to match your design.
This guide covers how to adjust page size and configure margins and orientation in Word. These settings give your tent cards a neat and professional look.
Adjusting Page Size
To make tent cards, you must set the right page size. Word lets you customize the size to fit your card dimensions. This step ensures your card prints correctly on the paper.
- Open Word and go to the “Layout” tab.
- Click on “Size” to see paper size options.
- Select “More Paper Sizes” at the bottom.
- Enter your card width and height in the custom size fields.
- Click “OK” to apply the new page size.
Configuring Margins And Orientation
After setting the page size, adjust the margins and page orientation. Margins control the blank space around your card. Orientation changes the page from portrait to landscape or vice versa.
| Setting | How to Change | Purpose |
|---|---|---|
| Margins | Go to “Layout” > “Margins” > “Custom Margins” | Set space around text and edges |
| Orientation | Go to “Layout” > “Orientation” > Choose “Portrait” or “Landscape” | Control card’s direction on the page |
Designing The Tent Card
Designing a tent card in Word lets you create a neat and clear display. You can add text, images, and colors to make it stand out.
This guide shows how to insert text boxes, add images, and apply colors and fonts for your tent card design.
Inserting Text Boxes
Text boxes help place your message exactly where you want it on the tent card. You can resize and move them easily.
- Go to the Insert tab and click on Text Box.
- Choose a simple text box style or draw your own.
- Type your message inside the box.
- Drag the box to position it on the card.
- Use the handles to resize the box as needed.
Adding Images And Graphics
Images make your tent card more attractive and help show important details. You can add logos, icons, or photos.
| Action | How to Do It |
| Insert Picture | Click Insert > Pictures, then choose your file. |
| Resize Image | Drag the corners to make the image smaller or larger. |
| Move Image | Click and drag the picture to a new spot. |
| Wrap Text | Select image, click Layout Options, choose Square or Tight. |
Applying Colors And Fonts
Colors and fonts set the mood and style of your tent card. Pick colors that fit your theme and fonts that are easy to read.
Try these tips:
- Use the Home tab to select font style and size.
- Highlight text and pick a color from the Font Color menu.
- Choose Fill Color for text box backgrounds from the Drawing Tools.
- Keep contrast high for readability, like dark text on a light background.
Creating The Tent Card Fold
Making tent cards in Word is easy with the right fold. The fold lets your card stand on its own. This guide helps you create a neat fold.
You will learn how to prepare your design for both sides and align the fold lines properly.
Duplicating Design For Both Sides
To make a tent card, you need the same design on both sides. This helps your card look good from every angle. Start by creating your design on one side.
Next, copy the design and place it on the other side of the page. Make sure both sides are the same size and shape.
- Design the front side first
- Copy and paste the design to the back side
- Flip the back design horizontally for correct alignment
- Ensure both sides match in size
Aligning Fold Lines
Fold lines tell you where to bend the card. Correct placement makes the tent card fold perfectly. Use Word’s ruler or grid to find the center of your page.
Draw a light line where you want the fold. This line helps when you fold your printed card. Make sure the fold line is exactly between the two designs.
- Use ruler or grid for center alignment
- Draw a fold line between both designs
- Keep the fold line light and thin
- Check the fold line matches on front and back
Finalizing And Printing
After creating your tent card design in Word, you need to finalize it before printing. This step helps you avoid mistakes and ensures your card looks good.
Printing tent cards needs care to get the best results. Choosing the right paper and printer settings is important for a professional look.
Previewing The Design
Look at your tent card design closely before printing. Check for spelling errors and alignment issues. Make sure images and text fit well on the card.
Use Word’s print preview feature to see how the card will look. This preview shows if the design fits the page and folds correctly.
Choosing Paper Type
Select the right paper to make your tent cards strong and clear. Thick paper or cardstock works best. It stands up well on tables.
- Use cardstock with at least 200 gsm for durability
- Glossy paper gives a shiny, professional finish
- Matte paper reduces glare and is easy to write on
Printing Tips For Best Results
Set your printer to the highest quality for sharp text and images. Use the correct paper size and orientation in print settings.
- Print a test page to check colors and alignment
- Allow ink to dry fully before folding
- Use a ruler or scoring tool to fold cleanly
- Avoid using low ink cartridges to prevent streaks
Troubleshooting Common Issues
Creating tent cards in Word can be simple, but sometimes problems arise. This guide helps you fix common issues quickly.
We focus on two main problems: misalignment and print quality. Follow the tips to get perfect tent cards every time.
Dealing With Misalignment
Misalignment happens when the text or images do not line up on the card. This can ruin your tent card’s look.
- Check your margins and page setup in Word.
- Use gridlines or rulers to place elements precisely.
- Preview your layout in Print Preview before printing.
- Adjust the position of text boxes or images manually.
- Test print on plain paper to see if alignment is correct.
Fixing Print Quality Problems
Print quality issues can include blurry text, faded colors, or streaks. These problems affect the final look of your tent cards.
| Problem | Cause | Solution |
| Blurry Text | Low printer resolution | Set printer to high-quality mode |
| Faded Colors | Low ink or toner | Replace or refill ink cartridges |
| Streaks on Paper | Dirty print heads | Run printer cleaning cycle |
| Paper Jams | Wrong paper type or loading | Use recommended paper and reload correctly |

Credit: www.reddit.com
Frequently Asked Questions
How Do I Create Tent Cards In Word Easily?
Open Word, select “New,” then search for “Tent Card” templates. Choose a template, customize text and images, then print.
What Paper Size Is Best For Tent Cards In Word?
Use standard letter size (8. 5 x 11 inches) paper. This size folds neatly into a tent card shape.
Can I Add Images To Tent Cards In Word?
Yes, insert images by clicking “Insert” > “Pictures. ” Resize and position them as needed on your card.
How Do I Fold Tent Cards After Printing?
Fold the printed sheet in half vertically. Crease sharply to form a stable tent card.
Conclusion
Creating tent cards in Word is simple and fun. Start by selecting the right template. Customize with your text and images. Adjust the size to fit your needs. Print on sturdy paper for best results. Tent cards add a personal touch to events.
They help guests find their seats easily. With these steps, your tent cards will look professional. Practice makes perfect, so keep trying. Soon, you’ll create tent cards with ease. Enjoy your next event with your homemade tent cards.