
Are you ready to create your very own wood cutting board? Imagine having a custom piece in your kitchen that’s not only practical but also full of character and charm.
Making a wood cutting board might sound tricky, but with the right steps, you can craft one that’s durable, beautiful, and perfectly suited to your style. In this guide, you’ll discover simple techniques and insider tips that make the process easy and enjoyable.
Keep reading, and by the end, you’ll be confident in turning raw wood into a stunning kitchen essential you’ll be proud to use every day.

Credit: www.youtube.com
Choosing The Right Wood
Choosing the right wood is important for making cutting boards. The wood must be safe, strong, and last a long time. Some woods work better than others for this purpose.
This guide explains which woods are best, which to avoid, and what to know about wood grain and durability.
Best Wood Types For Cutting Boards
Hardwoods with tight grains are best for cutting boards. They resist cuts and do not damage knives. Popular choices include maple, walnut, and cherry. These woods are dense and safe to use.
- Maple: Very hard and has a fine grain
- Walnut: Dark wood with good durability
- Cherry: Smooth texture and strong
- Beech: Hard and light in color
- Teak: Resistant to moisture and bacteria
Avoiding Toxic Or Soft Woods
Some woods are unsafe or too soft for cutting boards. Avoid woods that release toxins or have open grains that trap food.
- Pine: Soft and can absorb liquids
- Cedar: Can cause allergies and is soft
- Oak: Has large pores and may split
- Poplar: Too soft for heavy use
- Walnut (black): Check for allergies, but generally safe
Wood Grain And Durability
The wood grain affects how the board wears over time. End grain boards last longer and heal cuts better. Face grain boards are easier to make but show knife marks quickly.
| Grain Type | Description | Durability |
| End Grain | Wood fibers stand upright | High – cuts close between fibers |
| Face Grain | Wood fibers run horizontally | Medium – shows cuts quickly |
| Edge Grain | Wood fibers run vertically | Good – durable and easier to clean |

Credit: www.youtube.com
Tools And Materials Needed
Making wood cutting boards requires specific tools and materials. Getting the right items helps you create a strong and safe board.
This guide lists essential tools, safety gear, and wood finishes to prepare you for the project.
Essential Tools For Beginners
These tools help you shape, smooth, and join the wood pieces for your cutting board.
- Table saw or circular saw for cutting wood pieces
- Jointer or hand plane to flatten edges
- Random orbital sander for smooth finishing
- Clamps to hold pieces together while gluing
- Wood glue for strong bonds
- Measuring tape and square for accuracy
- Chisels for small adjustments
- Sandpaper of various grits for final smoothing
Recommended Safety Gear
Safety gear protects you from dust, cuts, and loud noise while working with wood.
| Safety Gear | Purpose |
|---|---|
| Safety glasses | Protect eyes from wood chips and dust |
| Ear protection | Reduce noise from power tools |
| Dust mask or respirator | Prevent inhaling fine wood dust |
| Work gloves | Protect hands from splinters and cuts |
| Apron | Keep clothes clean and add protection |
Types Of Wood Finishes
Finishes protect your cutting board and make it safe for food contact.
- Mineral oil: Non-toxic and easy to apply
- Beeswax: Adds a natural shine and water resistance
- Coconut oil: Food-safe and prevents drying
- Tung oil: Hardens the wood and resists water
- Walnut oil: Nourishes wood and adds color
Preparing The Wood
Preparing the wood is an important first step in making wood cutting boards. Proper preparation ensures the board is safe and durable.
Good preparation helps the wood last longer and look better after use. It also makes the board easier to clean.
Measuring And Marking
Start by measuring the size you want for your cutting board. Use a ruler or tape measure for accuracy.
Mark the wood with a pencil or a marking tool. Draw clear, straight lines to guide your cuts.
- Measure twice to avoid mistakes
- Use a square tool for straight lines
- Mark both sides if needed
Cutting The Wood To Size
Use a saw to cut the wood along the marked lines. Choose a saw that fits the wood thickness.
Cut slowly and carefully to keep the edges straight. Smooth edges make the board look better.
- Use a clamp to hold the wood steady
- Wear safety glasses for protection
- Check the cut with a ruler before finishing
Sanding Techniques For Smoothness
Sanding removes rough spots and splinters from the wood surface. Start with coarse sandpaper and move to finer grits.
Sand all sides and edges until the wood feels smooth. Proper sanding helps protect your hands during use.
- Begin with 80-grit sandpaper
- Progress to 120-grit, then 220-grit for smooth finish
- Sand in the direction of the wood grain
Assembling The Cutting Board
Making a wood cutting board starts with assembling the pieces. This step joins all parts into a solid board.
Careful assembly ensures a durable and attractive cutting board you can use for years.
Choosing A Design Style
Pick a design that fits your style and skill level. Simple patterns are easier for beginners.
You can choose strip, checkerboard, or random block designs. Each gives a different look.
- Strip: long wood pieces side by side
- Checkerboard: squares arranged like a chessboard
- Random block: mixed shapes and sizes
Gluing And Clamping
Apply wood glue evenly on each edge before joining pieces. Use a glue that works well with wood.
Clamp the board tightly to hold pieces together while drying. Keep clamps even to avoid gaps.
- Use enough glue for a strong bond
- Tighten clamps but do not crush wood
- Leave clamps on for at least one hour
- Clean excess glue before it dries
Ensuring A Flat Surface
After glue dries, check if the board surface is flat. A flat board is safe and looks better.
Use a planer or sanding tools to level the surface. Sand evenly on all sides.
- Start with coarse sandpaper
- Progress to finer grits for smoothness
- Check flatness with a straight edge
- Remove all glue spots before finishing
Finishing Touches
After shaping your wood cutting board, the final steps make it safe and beautiful. These touches protect the wood and add useful features.
Careful finishing helps your board last longer and stay hygienic in the kitchen.
Applying Food-safe Oils
Apply food-safe oil to seal the wood and prevent cracking. Oils like mineral oil soak into the wood and keep it hydrated.
- Use a clean cloth to rub oil into the surface.
- Cover all sides, edges, and corners evenly.
- Let the oil soak for a few hours or overnight.
- Wipe off any extra oil before use.
- Repeat this process regularly to maintain protection.
Adding Handles Or Juice Grooves
Handles make carrying easier, and juice grooves catch liquids to keep counters clean. You can add these features by carving or routing the wood.
| Feature | Purpose | Common Shape |
|---|---|---|
| Handles | Easy carrying | Cut-out or attached grips |
| Juice Grooves | Collects juices from food | Shallow channel around edges |
Final Sanding And Polishing
Sand your board with fine-grit sandpaper to smooth the surface. Polishing removes dust and prepares the board for oiling.
- Start with medium grit to remove rough spots.
- Use fine grit for a smooth finish.
- Clean the board with a damp cloth to remove dust.
- Buff the surface with a soft cloth for shine.
Maintenance Tips
Keeping your wood cutting boards in good shape helps them last longer. Proper care stops cracks and stains.
Follow simple steps for cleaning, drying, and oiling. Avoid damage by handling your board with care.
Cleaning And Drying Properly
Clean your board right after use. Use warm water and mild soap. Avoid soaking it in water.
- Wash with a soft sponge or cloth
- Rinse thoroughly with warm water
- Dry with a clean towel immediately
- Stand the board upright to air dry fully
Reapplying Oil For Longevity
Oiling keeps the wood from drying out and cracking. Use food-safe mineral oil or beeswax.
| When to Oil | How to Oil |
| Every 1-2 months | Apply a small amount evenly with a cloth |
| After heavy cleaning | Let oil soak in for a few hours or overnight |
| When wood looks dry | Wipe off extra oil with a clean cloth |
Avoiding Common Damages
Protect your cutting board from damage by following these simple rules.
- Do not put your board in the dishwasher
- Avoid cutting with very sharp or serrated knives too hard
- Do not leave the board in direct sunlight or heat
- Use both sides of the board to spread wear evenly
- Fix small cracks by sanding and oiling promptly
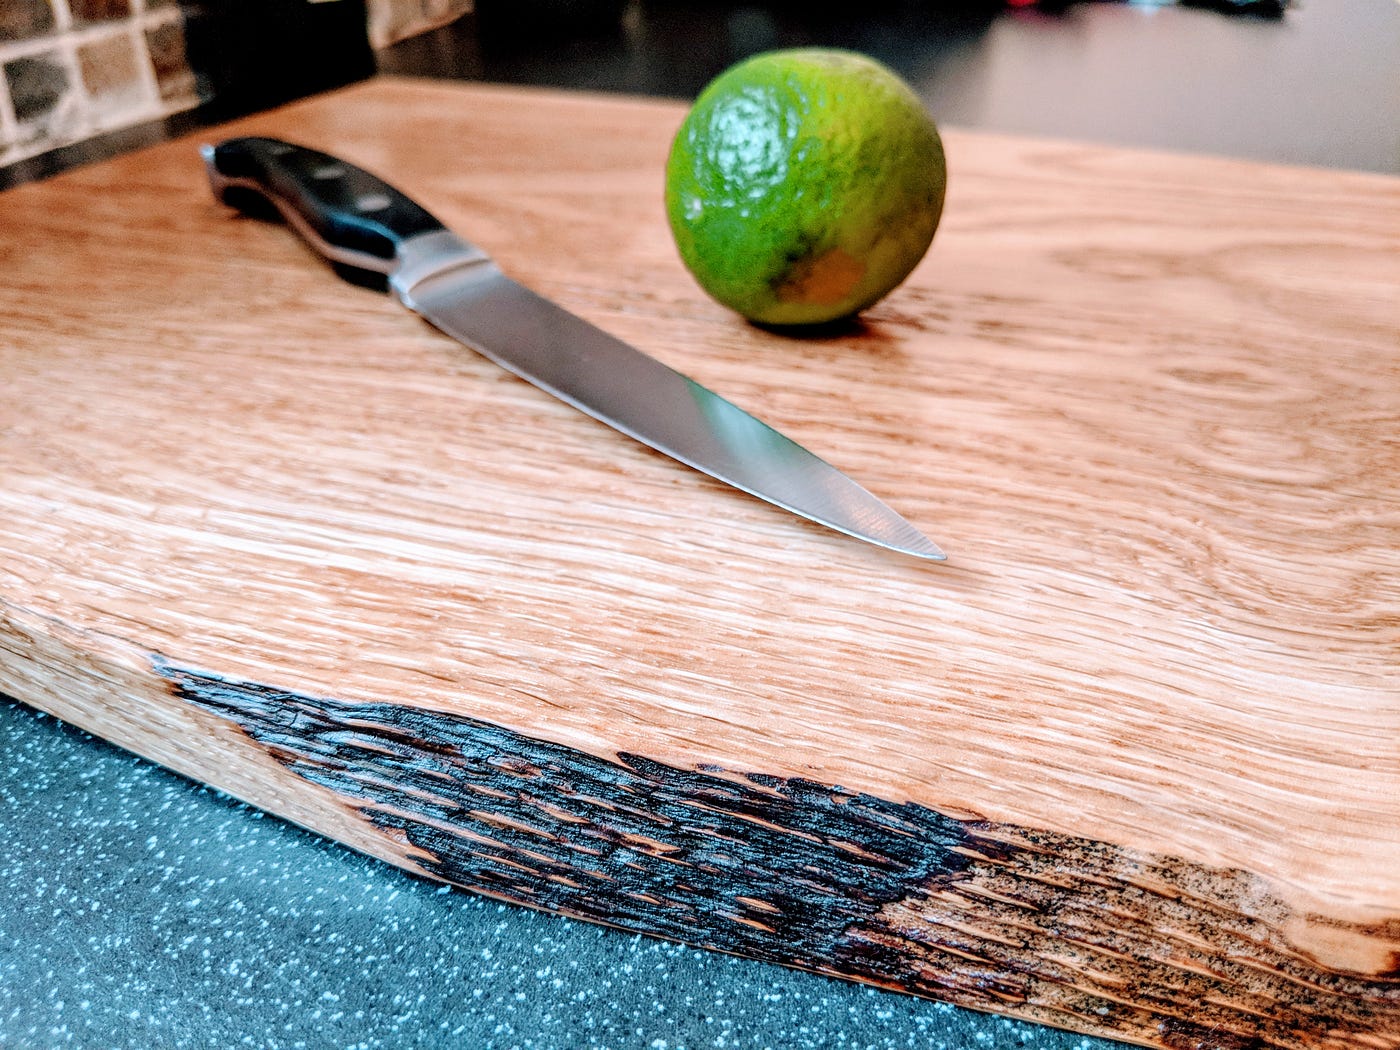
Credit: medium.com
Frequently Asked Questions
What Wood Is Best For Cutting Boards?
The best woods for cutting boards include maple, walnut, and cherry. These hardwoods are durable and resist knife marks. They also have closed grains, preventing bacteria from penetrating. Choosing a wood with natural antibacterial properties further enhances hygiene. Always ensure the wood is sustainably sourced for an eco-friendly choice.
How Do You Maintain Wood Cutting Boards?
To maintain wood cutting boards, clean them with warm soapy water after each use. Avoid soaking them, as it can cause warping. Regularly apply food-grade mineral oil to keep the wood hydrated. This prevents cracking. Store the board in a dry place to prolong its life.
Can You Use Any Wood For Cutting Boards?
Not all woods are suitable for cutting boards. Avoid softwoods like pine, which can easily harbor bacteria and damage knives. Opt for hardwoods with fine grains like maple or walnut. These woods are more durable and sanitary. Always ensure the wood is food-safe and untreated.
How Often Should You Oil Cutting Boards?
Oil your cutting board once a month or when it looks dry. Regular oiling prevents cracking and warping. Use food-grade mineral oil for the best results. Apply a generous amount, let it soak in, and wipe off the excess. This maintenance keeps your board in optimal condition.
Conclusion
Making your own wood cutting board is a simple and fun project. Choose the right wood and tools for the best results. Take time to sand and finish your board carefully. This will make it last longer and look nice.
Using your handmade board adds a special touch to your kitchen. Try this project to enjoy a useful and beautiful item. Keep learning and practicing to improve your skills. Woodworking brings joy and pride with every piece you make. Give it a try, and see the difference!