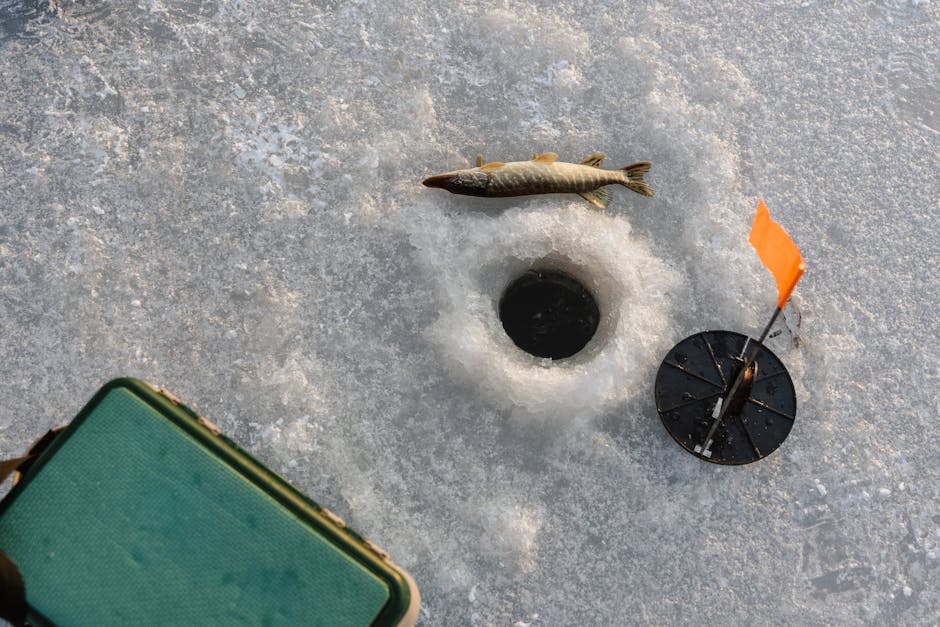
Have you ever wanted to catch fish using a rod you built yourself? Making your own fishing rod can be easier than you think, and it adds a special touch to your fishing trips.
Imagine the pride you’ll feel holding a rod crafted by your own hands. In this guide, you’ll discover simple steps to create a fishing rod that fits your style and needs perfectly. Ready to turn your fishing dreams into reality?
Let’s get started!
Choosing The Right Materials
Making your own fishing rod needs good materials. The right parts make the rod strong and easy to use.
You must pick each piece carefully. This guide helps you choose the best materials for your rod.
Selecting The Rod Blank
The rod blank is the main part of the fishing rod. It is the long, thin piece that bends when you catch fish.
Choose a blank based on the fish you want to catch and where you fish. Blanks come in many lengths and strengths.
- Short blanks work well for small streams and light fish.
- Long blanks help you cast far in big water.
- Light blanks are good for small fish.
- Heavy blanks are strong for big fish.
Picking The Handle And Reel Seat
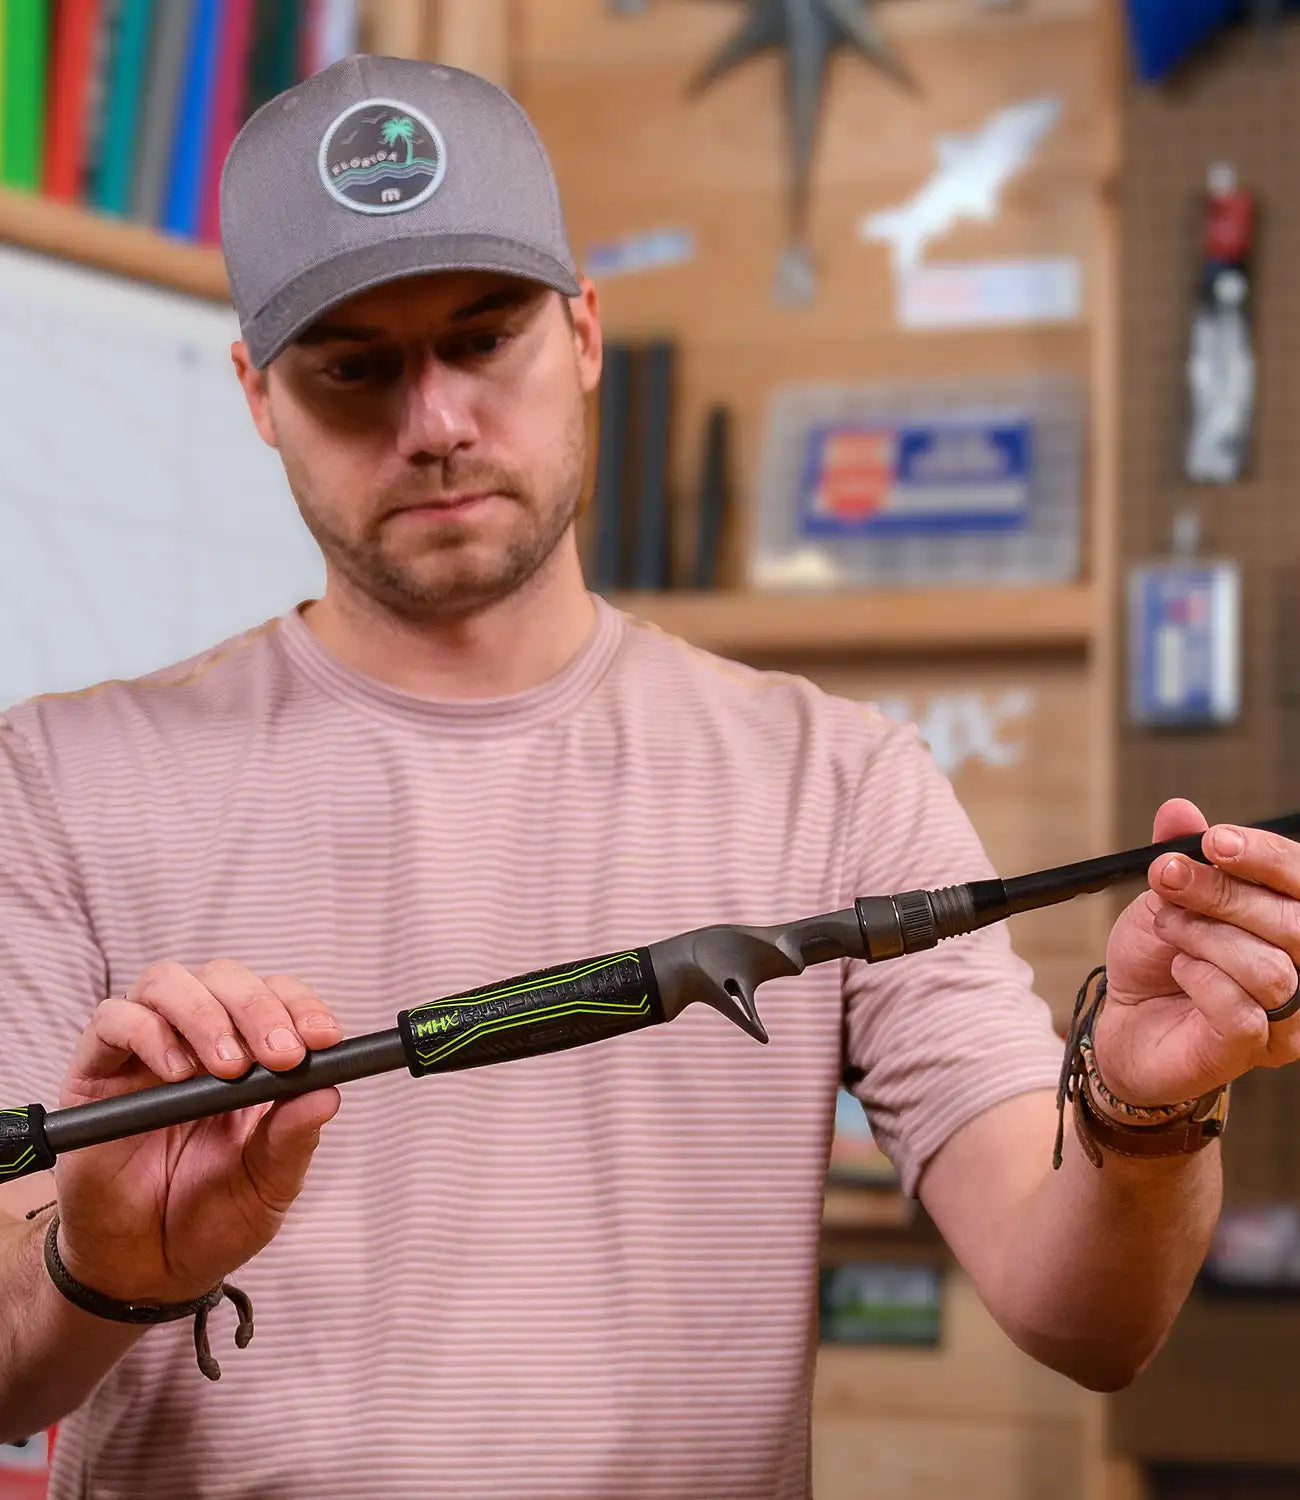
The handle lets you hold the rod comfortably. The reel seat holds the fishing reel in place.
Pick a handle that feels good in your hand. Common materials include cork and foam. Choose a reel seat that fits your reel size.
- Cork handles are light and comfortable.
- Foam handles resist water and last longer.
- Check reel seat size before buying.
- Metal reel seats are strong but heavier.
Choosing Guides And Tip-top
Guides are small rings along the rod. They help guide the fishing line. The tip-top is the guide at the very end.
Select guides that match the rod blank. The tip-top should be strong and smooth to protect the line.
- Light guides reduce rod weight.
- Ceramic inserts protect the line from wear.
- Metal frames add durability.
- Make sure the tip-top fits the rod tip well.
Credit: lakeladyrods.com
Essential Tools For Rod Building
Building your own fishing rod is a fun and rewarding project. To do it well, you need the right tools. These tools help you shape, assemble, and finish your rod.
This guide covers the basic tools and specialized equipment you will need. Having these ready makes the building process easier and more precise.
Basic Tools Needed
Basic tools are common items that you may already have at home. They help with cutting, measuring, and assembling the parts of your fishing rod.
- Measuring tape or ruler for accurate length
- Sharp utility knife or scissors for cutting materials
- Sandpaper to smooth rough edges
- Small files for fine shaping of parts
- Masking tape to hold pieces temporarily
- Clamps to secure parts while glue dries
- Pliers for gripping and bending wire
Specialized Equipment
Specialized equipment is designed specifically for rod building. These tools give you better control and a professional finish.
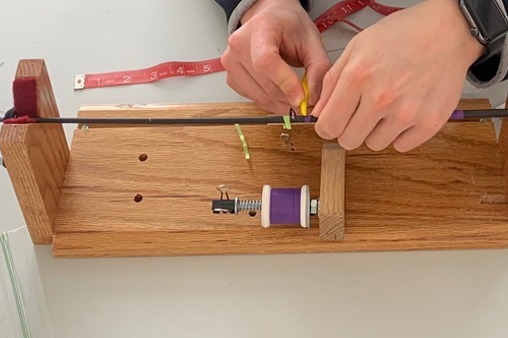
- Rod wrapping jig to hold the rod steady during thread wrapping
- Thread tensioner to keep thread tight and even
- Epoxy curing light or heat source to dry glue faster
- Rod dryer to spin and cure the finish evenly
- Hook keepers to protect the rod guides during work
- Guide alignment tool to place guides perfectly straight
Preparing The Rod Blank
Preparing the rod blank is the first step to making your fishing rod. This part will become the main body of your rod.
You need to measure, cut, sand, and finish the blank carefully for the best results.
Measuring And Cutting
Start by measuring the length of your rod blank. Decide how long you want your fishing rod to be.
Use a tape measure to mark the cutting point on the blank. Make sure the mark is clear and straight.
- Measure twice to avoid mistakes
- Mark the cutting spot with a pencil
- Use a fine saw or rod cutter for a clean cut
- Cut slowly to avoid splintering
Sanding And Finishing
After cutting, sand the edges of the blank to make them smooth. This helps prevent damage and splinters.
Use fine-grit sandpaper and sand gently along the blank. Remove any rough spots or burrs.
- Start with medium-grit sandpaper
- Finish with fine-grit sandpaper
- Wipe the blank clean with a cloth
- Apply a light coat of finish if desired
Credit: mudhole.com
Installing The Handle And Reel Seat
Installing the handle and reel seat is a key part of making your own fishing rod. This step ensures comfort and control while fishing.
Careful fitting and secure attachment will help your rod last longer and perform better on the water.
Fitting The Handle
Start by selecting a handle that fits well in your hand. The handle should feel comfortable and balance the rod properly.
- Test the handle size by holding it in your fishing grip.
- Check that the handle fits the rod blank snugly without gaps.
- Trim the handle if it is too long or does not align with the rod guides.
- Use light sanding to smooth any rough edges for better comfort.
Securing The Reel Seat
The reel seat holds your reel firmly in place. Make sure it is attached tightly to avoid any movement during use.
| Material | Recommended Adhesive | Drying Time |
| Wood | Epoxy Resin | 24 hours |
| Cork | Contact Cement | 1 hour |
| Composite | Polyurethane Glue | 12 hours |
Apply the adhesive evenly inside the reel seat and slide it onto the handle. Wipe away excess glue before it dries.
- Check alignment of the reel seat with the rod guides.
- Use clamps or tape to hold the reel seat firmly while glue cures.
- Allow full drying time before mounting the reel.
Attaching The Guides
Attaching the guides is an important step in making your fishing rod. Guides help the fishing line move smoothly and keep the rod balanced. It is important to place and secure them correctly.
Take your time to space, wrap, and finish the guides well. This will make your rod work better and last longer.
Spacing The Guides
Place the guides along the rod to spread out the pressure evenly. The biggest guide goes near the handle, and the smallest one goes near the tip.
Space the guides closer near the tip and farther apart near the handle. This helps the line flow smoothly and reduces stress on the rod.
- Start with the largest guide about 6 inches from the handle
- Place the next guides about 6 to 8 inches apart
- Use smaller spacing near the tip, about 3 to 4 inches
- End with the smallest guide near the rod tip
Wrapping The Guides
Use strong thread to wrap the guides tightly to the rod. Keep the thread neat and even for a clean look. Wrap several times around the base of each guide.
Make sure the guide is straight and lines up with the rod tip before wrapping. Secure the thread ends by making tight knots or using special thread finishers.
- Start wrapping a few inches before the guide foot
- Wrap tightly around the guide foot and rod
- Keep thread tension even to avoid loose wraps
- Finish with a secure knot or thread finisher
Applying Epoxy Finish
Use epoxy to protect the thread wraps and keep the guides in place. Apply a thin coat evenly over the thread. This adds strength and a smooth finish.
Let the epoxy dry completely before handling the rod. Apply a second coat if needed for extra protection. Avoid bubbles by mixing and applying the epoxy carefully.
- Mix epoxy according to the instructions
- Use a small brush to apply thin coats
- Rotate the rod while epoxy dries to avoid drips
- Apply a second coat if the first is thin
- Wait 24 hours for full curing before use
Curing And Testing The Rod
After shaping your fishing rod, curing and testing are key steps. Curing helps the rod dry properly. Testing makes sure it works well.
These steps protect your rod from damage. They also improve its strength and flexibility for fishing.
Drying Times And Tips
Drying your rod can take from hours to days. The time depends on the materials and weather. Always dry in a cool, dry place.
Avoid direct sunlight to prevent cracking. Keep the rod away from dust and moisture during drying.
- Use a stand to keep the rod straight while drying
- Turn the rod slowly if drying with coatings
- Check dryness by lightly touching the surface
- Patience is important; don’t rush the process
Checking Flexibility And Strength
Test your rod’s flexibility by bending it gently. It should bend without breaking or cracking. This shows good strength and quality.
Check the rod’s strength by applying light pressure along its length. It must return to its original shape after bending.
- Bend the rod slowly, watching for cracks or breaks
- Listen for any unusual sounds while bending
- Make sure the rod feels balanced in your hand
- If the rod feels weak, consider adding more layers or curing time
Customizing Your Rod
Building your own fishing rod lets you make it unique. You can add features that fit your style and fishing needs.
Customizing helps improve comfort and performance. It also makes your rod truly yours.
Adding Personal Touches
Personal touches make your rod stand out. You can decorate the handle or choose special colors for the rod.
Some anglers add their name or a favorite design. This makes the rod feel special and unique.
- Wrap the handle with colored thread or tape
- Use custom decals or paint on the rod blank
- Attach charms or small decorations near the reel seat
- Engrave your name or initials on the handle
Upgrading Components
Better parts can improve how your rod works. You can choose stronger guides or a smoother reel seat.
Upgrading also helps with durability and comfort. Pick parts that fit your fishing style and budget.
- Use stainless steel or ceramic guides for smooth line flow
- Choose a high-quality cork or EVA foam handle for comfort
- Select a reel seat that holds your reel tightly
- Pick flexible but strong rod blanks for better casting
Common Mistakes To Avoid
Making your own fishing rod can be fun and rewarding. Avoiding simple mistakes helps you build a better rod. This guide covers common errors and how to prevent them.
Two common problems are handling materials incorrectly and placing guides in the wrong spots. Learn about these to save time and effort.
Handling Materials Incorrectly
Handling your rod materials with care is important. Rough handling can cause damage that weakens the rod. Here are key mistakes to avoid:
- Using too much force when bending the rod blank
- Dropping or hitting the blank on hard surfaces
- Not cleaning materials before use, causing dirt buildup
- Applying glue unevenly, leading to weak joints
- Ignoring safety gear and risking injury
Improper Guide Placement
Placing the guides incorrectly can reduce casting accuracy and rod strength. Follow this table to avoid common placement errors and their effects.
| Mistake | Effect |
| Too many guides | Increases weight and reduces sensitivity |
| Guides spaced too far apart | Line may snag or tangle easily |
| Guides not aligned straight | Line friction increases, reducing casting distance |
| Using wrong size guides | Line damage and poor casting performance |
Tips For First-time Builders
Building your own fishing rod can be fun and rewarding. It lets you create a rod that fits your style and needs.
This guide gives simple tips for people making their first fishing rod. Follow these to have a smooth experience.
Start Simple
Choose basic materials and tools to begin your project. Avoid complex designs at first.
Using simple parts helps you learn the basics. You can add features later as you gain skill.
- Pick a plain rod blank without many guides
- Use standard reel seats and handles
- Keep the length and action moderate
- Work in a clean, well-lit space
Practice Wrapping Techniques
Wrapping guides and thread neatly is key to a good rod. Practice before working on your real rod.
Try wrapping on a small stick or dowel. This helps you control thread tension and placement.
- Keep thread tight but not too tight
- Make even, close wraps without gaps
- Use a little glue to secure the ends
- Trim excess thread carefully

Credit: anglersresource.net
Frequently Asked Questions
How Do You Start Making A Fishing Rod?
Begin by selecting the right materials, such as a rod blank, guides, and reel seat. Measure and cut the rod blank to your desired length. Attach the guides and reel seat securely. Wrap the guides with thread and apply epoxy for durability.
Finally, assemble the components carefully.
What Materials Do You Need For A Fishing Rod?
To make a fishing rod, you’ll need a rod blank, guides, reel seat, thread, and epoxy. Rod blanks vary in material like fiberglass or graphite. Guides and reel seats should match your rod’s type. Thread and epoxy secure the components, ensuring strength and durability.
Can You Make A Fishing Rod At Home?
Yes, you can make a fishing rod at home with the right materials and tools. You’ll need patience and basic crafting skills. Follow step-by-step instructions to assemble and secure each component. Creating a homemade fishing rod can be a rewarding and cost-effective project.
How Long Does It Take To Make A Fishing Rod?
The time to make a fishing rod varies based on experience and complexity. Beginners may take several hours to a day. With practice, assembly becomes quicker. Allocate extra time for epoxy drying. Rushing the process can affect the rod’s quality and performance.
Conclusion
Making your own fishing rod can be fun and rewarding. You learn about fishing gear and build something useful. It saves money and lets you customize your rod. Start with simple tools and materials you can find. Take your time and enjoy the process.
Soon, you will have a rod ready for your next fishing trip. Try it, and see how satisfying fishing can be with a rod you made yourself. Keep practicing to improve your skills. Happy fishing!