
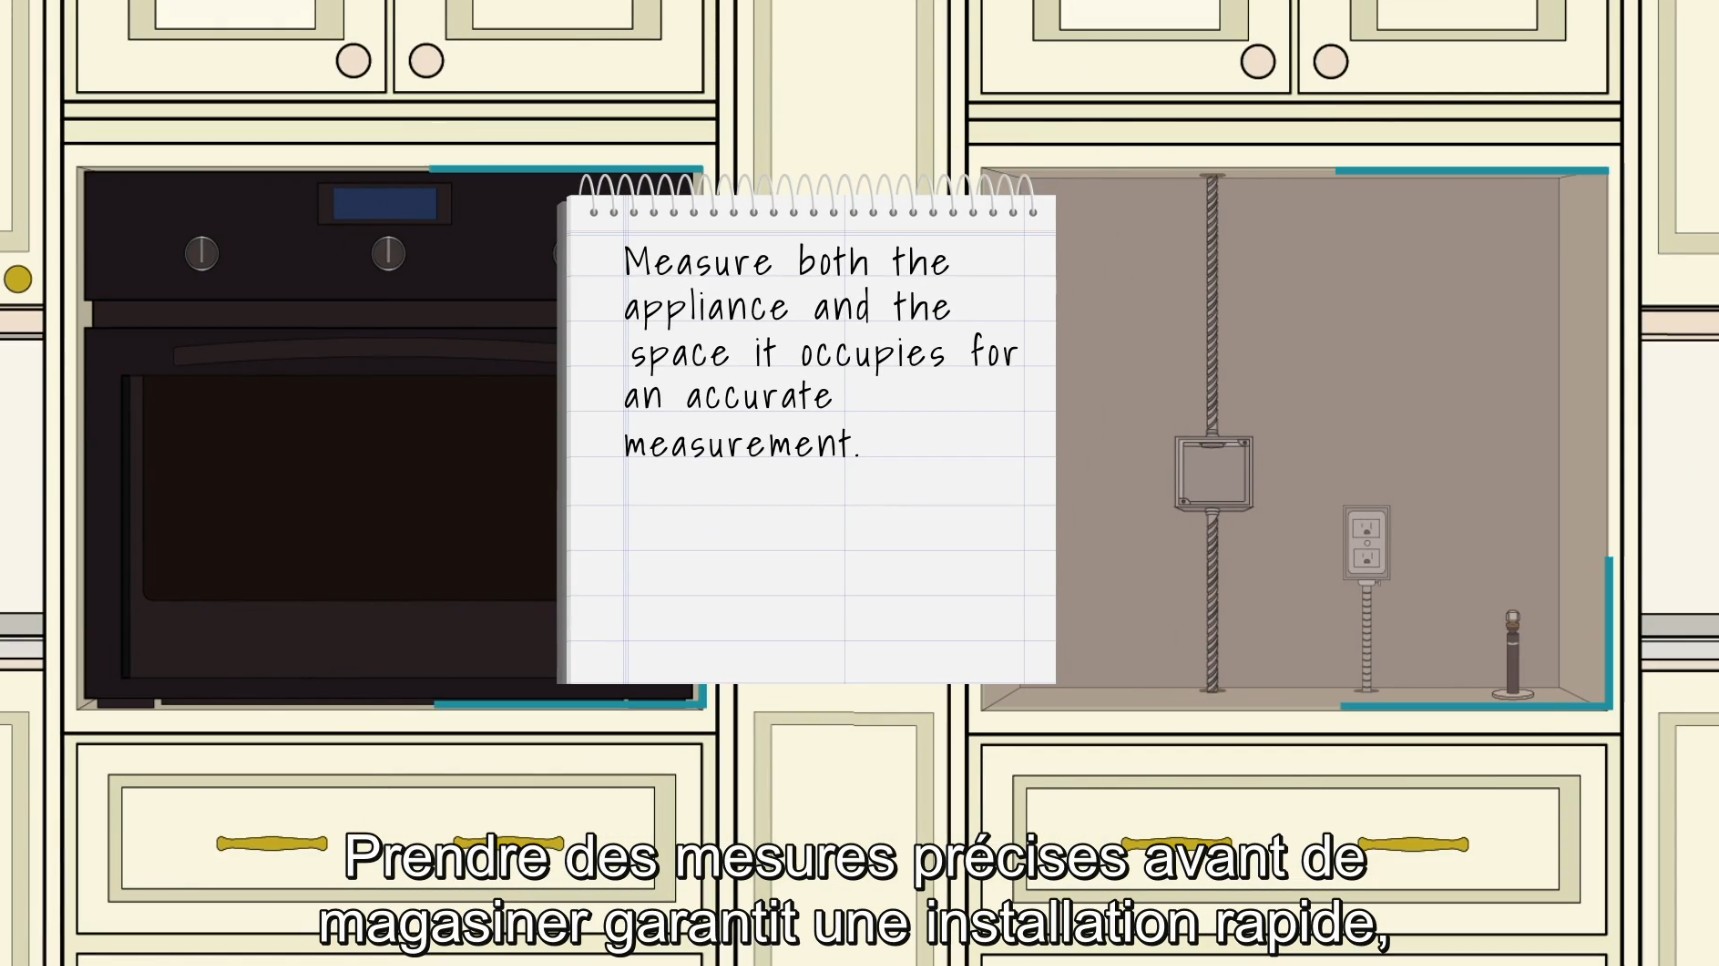
Thinking about upgrading your kitchen with a new wall oven? Before you make that exciting purchase, it’s crucial to get the measurements just right.
Measuring for a wall oven might seem simple, but a small mistake can lead to big problems—like an oven that doesn’t fit or looks out of place. You’ll learn exactly how to measure your space with confidence. By the end, you’ll be ready to pick the perfect wall oven that fits your kitchen seamlessly and makes cooking even more enjoyable.
Let’s get started!
Credit: www.gabrielesbrandsource.ca
Tools Needed
Measuring for a wall oven requires the right tools to get accurate results. Using the proper tools helps ensure your oven fits perfectly.
This guide lists the main tools you need for measuring your wall oven space. Each tool plays a key role in the measuring process.
Tape Measure
A tape measure is essential for measuring the height, width, and depth of the wall oven space. Choose a tape measure that is at least 25 feet long.
Level
A level helps you check if the space is even. This ensures your wall oven will be installed straight and work properly.
Pencil And Paper
Use a pencil and paper to write down your measurements. This keeps your data organized and easy to read.
Stud Finder
A stud finder locates wall studs behind drywall. Knowing stud locations helps plan the oven installation safely.
Calculator
A calculator helps you add or subtract measurements quickly. This is useful when checking clearances or oven dimensions.
- Tape Measure: For length, width, and depth measurements.
- Level: To confirm the space is even.
- Pencil and Paper: To record measurements.
- Stud Finder: To locate studs in the wall.
- Calculator: To do quick math calculations.
Credit: www.kitchenaid.com
Measure Oven Dimensions
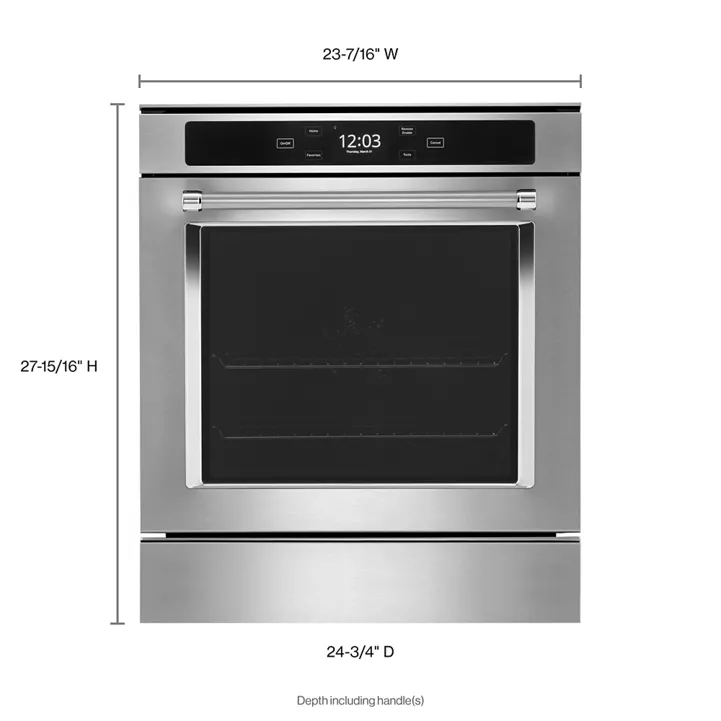
Measuring the space for your wall oven is important. You need to know the exact dimensions. This helps the oven fit perfectly.
Focus on three key measurements: width, height, and depth. Each one affects the installation and use of the oven.
Width
Measure the width of the opening where the oven will go. Use a tape measure and record the distance from one side to the other.
- Measure at the top, middle, and bottom of the space
- Use the smallest measurement as your width
- Leave a little extra space for air circulation if needed
Height
Check the height of the oven space next. Measure from the base to the top edge of the opening.
| Position | Height Measurement |
|---|---|
| Left side | ______ inches |
| Center | ______ inches |
| Right side | ______ inches |
Use the smallest height number to ensure a good fit. This avoids problems during installation.
Depth
Depth is the distance from the front edge to the back of the oven space. Measure this carefully to match the oven’s depth.
Tips for measuring depth:
- Remove any shelves or obstacles from the space
- Use a tape measure from the front edge to the wall
- Check the oven’s required clearance for ventilation
Check Cabinet Space
Measuring your cabinet space helps ensure the wall oven fits well. Take your time to get accurate measurements.
Focus on three key areas: width, height, and depth clearance. Each one affects the oven’s fit and installation.
Width Clearance
Measure the inside width of the cabinet where the oven will go. This space must be wider than the oven’s width.
- Use a tape measure to get the exact width
- Check for any obstacles inside the cabinet
- Make sure the space allows for ventilation gaps
Height Clearance
Height clearance is the vertical space inside the cabinet. This must fit the oven’s height plus any extra space for air flow.
| Measure | Purpose |
| Cabinet Height | Ensure oven fits vertically |
| Oven Height | Match with cabinet height |
| Extra Clearance | Allow space for heat and ventilation |
Depth Clearance
Depth clearance means measuring how far back the oven can go inside the cabinet. The oven’s depth must fit without blocking the door.
To measure depth clearance:
- Measure from the front edge of the cabinet to the back wall.
- Subtract space for door opening and ventilation.
- Confirm the oven depth is less than this space.
Account For Ventilation
Proper ventilation is important when measuring for a wall oven. It helps avoid overheating and keeps your kitchen safe.
Check the space around the oven to make sure air can flow freely. This prevents damage to the oven and nearby cabinets.
Understand Ventilation Requirements
Wall ovens need space for air to enter and exit. This allows heat to escape and stops the oven from getting too hot.
Look at the oven manual for the exact ventilation space needed. This space may be on the sides, top, or back of the oven.
Measure Clearance Space Accurately
Use a tape measure to check the clearance space around the oven area. Make sure to measure:
- The gap between the oven and cabinet walls
- Space above the oven inside the cabinet
- Distance from the back wall to the oven
Use A Ventilation Checklist
| Ventilation Area | Recommended Clearance |
|---|---|
| Side Clearance | 1 to 2 inches |
| Top Clearance | 1 to 3 inches |
| Back Clearance | 1 to 2 inches |
Consider Kitchen Ventilation Systems
Good kitchen ventilation helps remove heat and cooking odors. Check if your kitchen fan or hood works well with the wall oven.
Make sure vents are not blocked by furniture or walls. Clear airflow improves oven safety and performance.
Consider Electrical Requirements
Before installing a wall oven, you must consider its electrical needs. Proper planning helps ensure safety and efficiency.
Wall ovens require specific electrical setups. Understanding these will help you avoid issues during installation.
Check The Voltage
Wall ovens typically need a certain voltage to operate. This is often 240 volts, but you should confirm with your oven’s manual.
- Consult the appliance manual for voltage requirements
- Use a multimeter to verify your home’s voltage
- Hire a professional if needed for electrical assessments
Install The Right Circuit
A dedicated circuit is usually required for wall ovens. This prevents overloads and ensures proper operation.
Understand Wiring Needs
Proper wiring is crucial for the oven’s performance. Make sure wiring meets the electrical codes in your area.
| Component | Recommended Specification |
| Wire Gauge | 10 AWG for 30-amp circuits |
| Breaker Type | Double-pole |
| Voltage | 240V |

Credit: metroappliancesandmore.com
Double Check Measurements
Accurate measurements are crucial when installing a wall oven. Mistakes can lead to costly errors. Double-checking ensures everything fits perfectly.
Use precise tools and follow guidelines to measure your space. This helps in avoiding installation issues later.
Measure The Width
Measure the width of the cabinet opening. Ensure your oven will fit without gaps or tight spots.
- Use a tape measure for accuracy
- Note the measurement in inches or centimeters
- Check multiple points across the width
Measure The Height
Determine the height of the opening. This ensures your wall oven will sit at the right level.
| Measurement Point | Height (in inches) |
| Top to Middle | 28 |
| Middle to Bottom | 30 |
| Entire Height | 58 |
Measure The Depth
Depth measurement is vital for proper oven placement. This avoids any protrusion from the cabinet.
Tips For A Perfect Fit
Measuring for a wall oven is important to get the right size. A perfect fit makes installation easier and keeps your kitchen looking good.
Use simple tools and follow clear steps. This helps avoid mistakes and saves time.
Allow Extra Space
Always add extra space around the oven. This space lets air flow and prevents heat damage to cabinets.
Check the oven size and add about half an inch on each side. This gap also helps with fitting the oven easily.
- Leave at least ½ inch on each side
- Allow space at the top and bottom for ventilation
- Extra space helps if walls are uneven
Use A Level
Use a level tool to check if the space is even. A crooked cutout can cause the oven to sit unevenly.
Place the level horizontally and vertically inside the cabinet space. Adjust the area if it is not level before installing.
- Check side-to-side level
- Check front-to-back level
- Fix uneven spots to avoid gaps
Consult Manufacturer Guidelines
Read the oven’s manual for exact measurements and installation rules. Each brand may have different space needs.
Follow these guidelines for safety and to keep the warranty valid. The manual also shows how to handle electrical and ventilation parts.
- Check cutout dimensions
- Follow ventilation requirements
- Use recommended clearances
- Read electrical connection instructions
Frequently Asked Questions
How Do I Measure Wall Space For A Wall Oven?
Measure the width, height, and depth of the wall space. Include clearance for ventilation and cabinet allowances. Use a tape measure for accuracy. Confirm measurements twice to ensure the oven fits perfectly in the intended spot.
What Tools Are Needed To Measure For A Wall Oven?
You need a tape measure, pencil, and notepad. A level helps check straightness. Optional tools include a step stool for higher cabinets. These tools ensure precise measurements for a perfect oven fit.
Should I Measure The Oven Or The Cabinet First?
Measure the cabinet or wall space first. Oven sizes vary, so knowing space limits helps choose the right oven. Always compare oven dimensions with cabinet measurements before purchase.
How Much Clearance Is Needed Around A Wall Oven?
Most manufacturers recommend 1 to 2 inches clearance on sides and top. Clearance allows proper ventilation and heat dissipation. Check your oven’s manual for exact clearance requirements to avoid installation issues.
Conclusion
Measuring for a wall oven takes careful steps. Start with the height, width, and depth of the space. Check for extra clearance around the oven. Use a tape measure for accuracy. Double-check your numbers before buying. This ensures the oven fits well and works safely.
Taking time to measure right saves future problems. A well-measured space makes installation easier and faster. Now, you are ready to choose the perfect wall oven. Simple, clear, and precise measurements make all the difference.