
Have you ever found yourself in the middle of a recipe, only to realize you don’t have a measuring cup? It can be frustrating, especially when precision matters.
But don’t worry—measuring liquids without a measuring cup is easier than you think. You’ll discover simple, clever methods to get the right amount every time using everyday items you already have at home. Keep reading, and you’ll never have to pause your cooking or baking again because of missing tools.
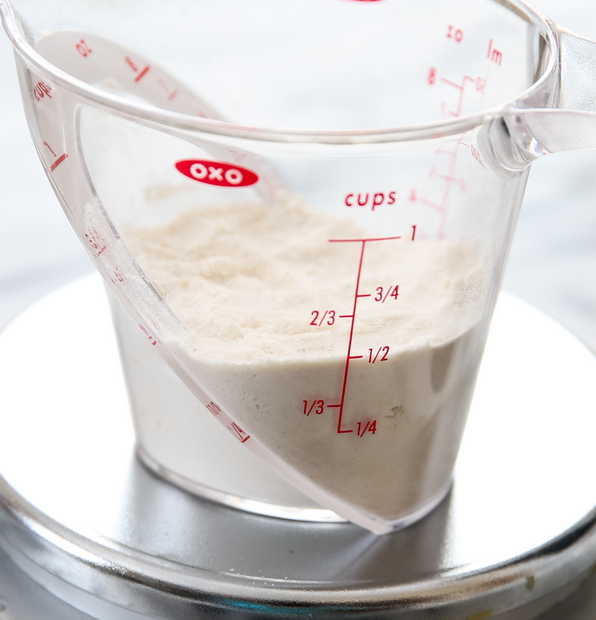
Credit: kirbiecravings.com
Common Household Items To Use
Measuring liquid without a measuring cup is possible using items found at home. These alternatives are helpful when you need to cook or mix drinks quickly.
Below are some common household items that can help you measure liquids accurately enough for most recipes.
Using Spoons For Small Amounts
Spoons are great for measuring small amounts of liquid like extracts, oils, or vinegar. Tablespoons and teaspoons are common sizes in most kitchens.
- 1 tablespoon (tbsp) equals about 15 milliliters (ml)
- 1 teaspoon (tsp) equals about 5 milliliters (ml)
- Use a clean spoon each time to avoid mixing flavors
Measuring With A Standard Glass
A regular drinking glass can help measure larger amounts of liquid. Most glasses hold between 200 and 300 ml of liquid.
| Glass Size | Approximate Volume |
| Small glass | 200 ml |
| Medium glass | 250 ml |
| Large glass | 300 ml |
Utilizing Bottles And Jars
Bottles and jars often have volume markings. You can use these marks or compare them to known measurements.
Here is a simple way to estimate liquid amounts using common containers:
- Use the label on the bottle to check its total capacity.
- Fill the container to the mark closest to the amount needed.
- Use water to test how much liquid fits if no marks exist.
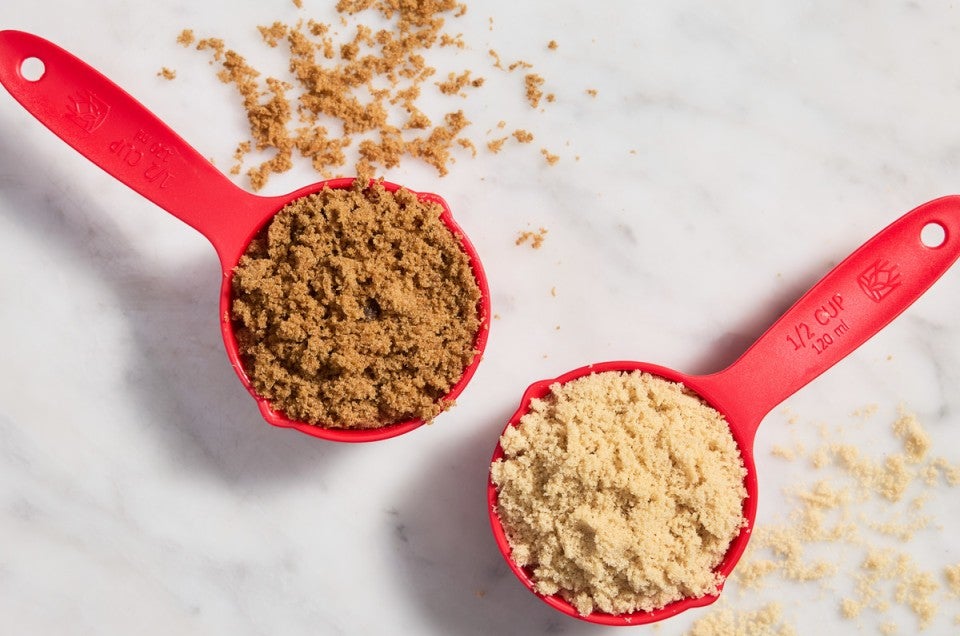
Credit: www.kingarthurbaking.com
Estimating Volume With Visual Cues
Measuring liquids without a measuring cup is easy if you know some simple tricks. You can use everyday objects and visual hints to guess the amount.
These tips help you estimate liquid volume quickly and accurately without special tools.
Marking Levels On Containers
Use a permanent marker or tape to mark liquid levels on containers. This helps you measure the same amount next time.
Start by filling the container with a known amount, then mark the level. Repeat for other amounts if needed.
- Use a glass jar or bottle for easy marking
- Mark levels at 1 cup, 1/2 cup, or other sizes
- Label each mark clearly for quick reference
Using Hand Measurements
Your hands can help measure liquids roughly. Use your palm or fingers to estimate volume without tools.
A cupped hand holds about half a cup of liquid. Two cupped hands can hold about one cup.
- One cupped hand = about 4 ounces (half a cup)
- Two cupped hands = about 8 ounces (one cup)
- Finger tips can measure small amounts like a teaspoon
Comparing To Familiar Objects
Use common objects to guess liquid volume. This method uses items you see every day for easy comparison.
For example, a standard shot glass holds about 1.5 ounces. A soda can holds 12 ounces.
- A tennis ball is about the size of a half cup
- A small juice box holds about 6 ounces
- A coffee mug usually holds 8 to 12 ounces
Diy Measuring Tools
Measuring liquids without a cup is easy with simple tools. You can use items around your home to get accurate amounts.
Learning how to measure with DIY tools helps in cooking and other tasks. It avoids guesswork and saves time.
Creating A Makeshift Measuring Cup
Use containers like jars or bottles to measure liquids. First, find a container with volume marks or use known volume sizes.
- Fill the container with water using a known volume, like a spoon or bottle cap.
- Mark the water level with a waterproof marker or tape.
- Repeat filling and marking to create measurement lines.
- Label each line with the estimated volume in milliliters or cups.
Using String Or Ruler For Volume Estimation
You can estimate liquid volume by measuring container dimensions. Use string or a ruler to get length, width, and height.
| Shape | Measurement Needed | Volume Formula |
| Rectangular Container | Length, Width, Height | Length × Width × Height |
| Cylindrical Container | Radius, Height | π × Radius² × Height |
Measure carefully and use the formulas to calculate volume. This method helps when no measuring tools are available.
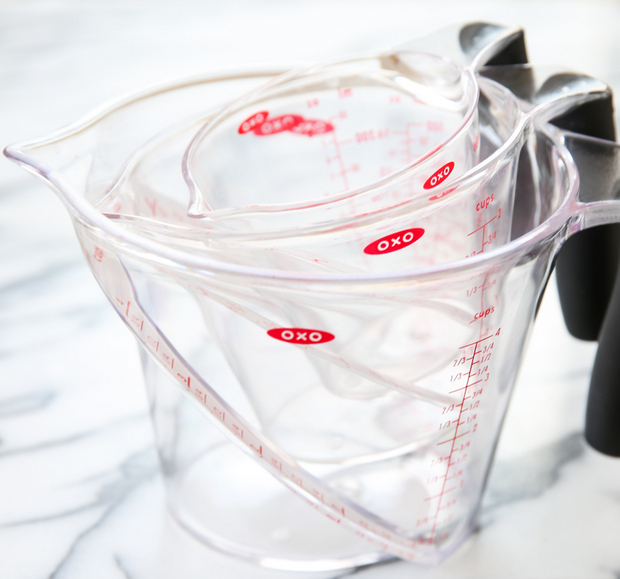
Credit: kirbiecravings.com
Adjusting Recipes Without Exact Measurements
Measuring liquids without a cup can be tricky. You can still cook well by adjusting recipes.
Using common tools and tasting often helps keep your dish balanced and tasty.
Scaling Ingredients Proportionally
When you do not have exact tools, use parts or ratios. For example, one part oil to two parts vinegar.
- Use spoons as a guide: a tablespoon is about 15 ml.
- Count drops for very small amounts.
- Compare liquid amounts by eye using bottles or jars.
- Keep ingredient ratios the same to keep flavor balanced.
Testing And Tasting Techniques
Taste your food as you cook to adjust flavors. Add a little liquid at a time.
| Action | Why It Helps |
| Taste before adding more liquid | Prevents over-diluting flavors |
| Add liquids slowly | Gives control over texture and taste |
| Use your senses | Detect balance of flavors and consistency |
| Adjust seasoning last | Ensures proper salt and spice levels |
Tips For Accuracy And Consistency
Measuring liquids without a measuring cup can be tricky. Using simple tips helps you get it right every time.
Accurate and consistent liquid measurements make your recipes turn out well. Learn how to avoid errors and keep track.
Avoiding Common Mistakes
One common mistake is guessing the amount by eye. This often leads to too much or too little liquid.
Using the wrong container can also cause errors. Thin or curved containers make it hard to see the liquid level clearly.
- Use a clear, straight-sided container for better visibility
- Measure liquids on a flat surface to avoid tilting
- Pour slowly and check the level at eye height
- Use household items like spoons or cups with known volumes
- Double-check your measurement before adding the liquid
Keeping Track Of Measurements
Write down the amounts you use if you measure liquids without tools. This helps you repeat the same results later.
Label containers or use clear marks to remember amounts. This reduces guesswork in future cooking or baking.
- Keep a small notebook for your kitchen measurements
- Mark liquid levels with a permanent marker on containers
- Use measuring spoons or cups you trust as reference
- Note any adjustments you make for next time
- Organize your notes so they are easy to find
Frequently Asked Questions
How Can I Measure Liquid Without Tools?
You can use household items like spoons or glasses. A tablespoon holds about 15 milliliters, and a standard cup is approximately 240 milliliters. Estimating with these items helps in the absence of measuring tools. For larger quantities, use a water bottle marked with measurements.
What Household Items Measure Liquid Accurately?
Spoons and cups are common household items for measuring liquid. A standard tablespoon equals 15 milliliters, while a cup holds about 240 milliliters. These items can help you measure liquid accurately without specialized tools. Always ensure the items are clean and dry before use to maintain accuracy.
Can I Use A Scale For Liquid Measurement?
Yes, you can use a kitchen scale to measure liquids. Weigh the container first, then add the liquid. Convert the weight to volume using the liquid’s density. Water, for example, is 1 gram per milliliter. This method provides a precise measurement for cooking or baking.
What Is A Substitute For A Measuring Cup?
You can use a regular drinking glass as a substitute. A typical glass holds about 240 milliliters, similar to a standard measuring cup. Estimate the amount needed based on this volume. This method is convenient for cooking when a measuring cup isn’t available.
Conclusion
Measuring liquid without a cup is easier than you think. Use common household items like spoons or bottles. Always check the size before you start. Pour slowly to avoid spills and errors. Practice helps you get better each time. These simple tips save time and keep cooking smooth.
Try them next time you cook or bake. You don’t need special tools to measure liquids well. Just a little care and attention.