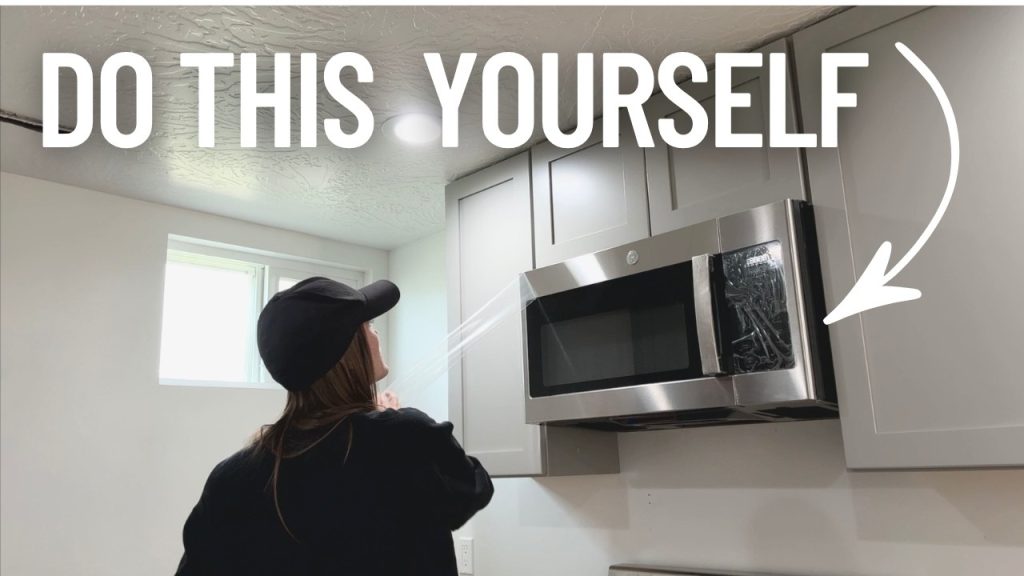
Mounting a microwave oven might seem like a daunting task, but it’s simpler than you think. You don’t need to be a professional to do it yourself.
Imagine having more countertop space and a sleek, modern kitchen look. This guide will show you how to achieve that effortlessly. Whether you’re upgrading your kitchen or replacing an old unit, this step-by-step process is designed with you in mind.
You’ll discover the tools you need, the steps to follow, and some insider tips to make the job easier. Ready to transform your kitchen space? Let’s dive in and mount that microwave oven together!
Choosing The Right Location
Choosing the right location for your microwave oven is key for safety and convenience. The spot should fit the microwave perfectly, allow proper airflow, and have easy access to power. This ensures your microwave works well and lasts longer.
Measuring Space And Clearance
Start by measuring the available space carefully. Check the width, height, and depth of the spot. Leave some extra room around the microwave for air circulation. Most manufacturers recommend at least 3 inches of clearance on all sides.
Make sure the microwave fits without blocking cabinets or doors. Avoid placing it too low or too high. The microwave should be easy to reach and use comfortably.
Considering Ventilation Needs
Microwaves generate heat that must escape. Proper ventilation stops overheating and damage. Check if your microwave vents from the back, top, or front. Place it where vents will not be blocked.
Keep the area around the microwave clear of items. Avoid enclosed spaces without airflow. Good ventilation helps your microwave stay cool and safe.
Checking Electrical Outlet Placement
Locate an electrical outlet near the microwave spot. The cord should reach easily without stretching or bending. Avoid using extension cords for safety reasons.
Confirm the outlet can handle the microwave’s power needs. Use a dedicated circuit if possible. This prevents electrical overload and sparks.
Credit: bhoomihardware.com
Gathering Necessary Tools
Before you start mounting your microwave oven, gathering the right tools is crucial. Having everything ready saves time and prevents unnecessary frustration. It also helps you work more safely and efficiently, ensuring the microwave is securely installed.
Essential Tools List
- Drill:A cordless drill with various drill bits makes screwing into walls much easier.
- Screwdriver:Both Phillips and flat-head screwdrivers are commonly needed.
- Stud Finder:To locate wall studs for secure mounting points.
- Measuring Tape:Accurate measurements prevent misalignment and uneven installation.
- Level:Ensures your microwave is perfectly horizontal.
- Pencil:For marking drill holes clearly.
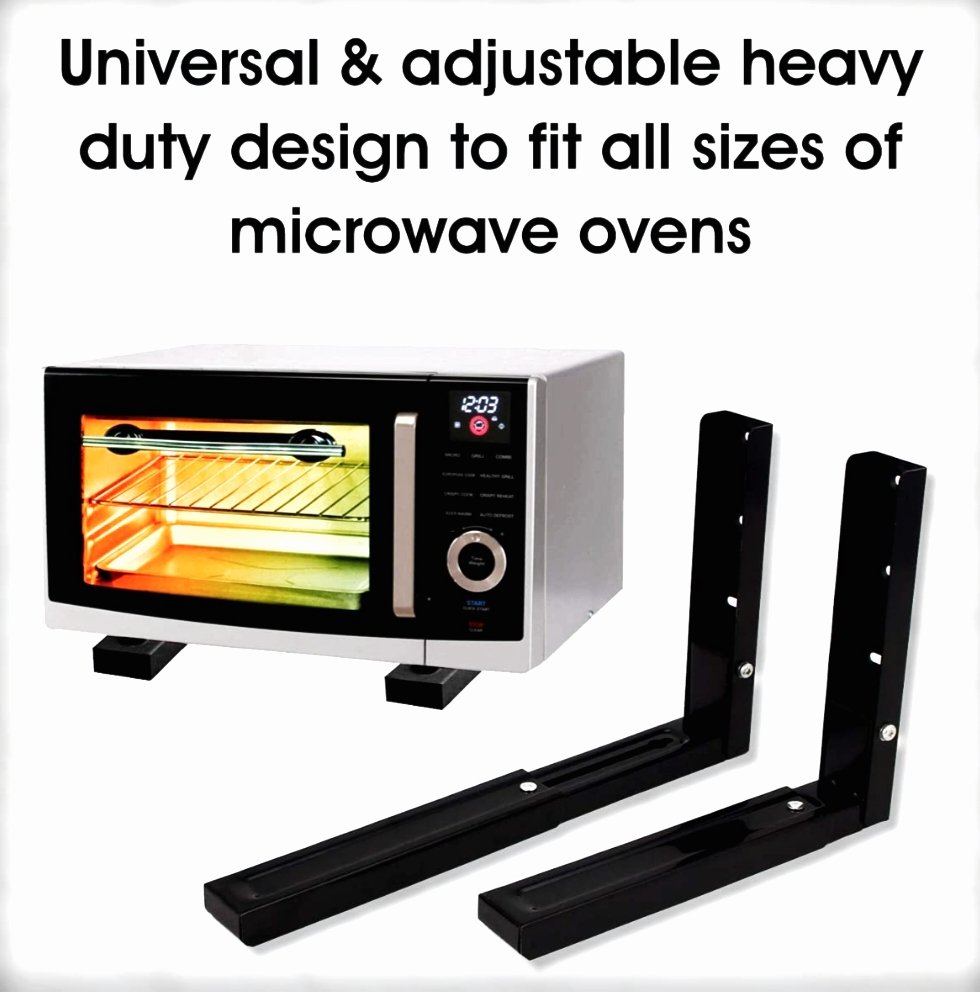
- Socket Wrench:Sometimes required to tighten bolts on mounting brackets.
Missing any of these tools can quickly turn a straightforward job into a frustrating puzzle. I once started mounting a microwave without a stud finder and ended up with a wobbly installation that had to be redone. Avoid that hassle by checking your toolkit carefully.
Safety Gear Recommendations
Safety shouldn’t be overlooked. Wearing the right gear protects you from injuries and accidents. Here’s what you should have:
- Safety Glasses:Protect your eyes from dust and debris when drilling.
- Work Gloves:Help you get a better grip and protect your hands from sharp edges.
- Dust Mask:Useful if you’re drilling into drywall or plaster that creates fine dust.
- Hearing Protection:Consider earplugs if you’re sensitive to noise from power tools.
Have you ever underestimated how much dust or debris flying around can irritate your eyes or throat? Proper safety gear keeps you comfortable and focused on the task. Don’t let minor risks slow down your progress or cause injury.
Preparing The Wall And Cabinet
Preparing the wall and cabinet is crucial before mounting a microwave oven. This step ensures safety and stability for your appliance. Proper preparation also helps avoid damage to your kitchen structures. Focus on accurately marking the mounting points and reinforcing support areas. These tasks lay the foundation for a secure installation.
Marking Mounting Points
Start by measuring the microwave’s mounting bracket. Use a pencil to mark exact spots on the wall and cabinet. Check that the marks align with the microwave’s holes. Use a level tool to keep marks straight and even. Double-check measurements to avoid mistakes. Clear and precise marks guide safe drilling and mounting.
Reinforcing Support Structures
Check the wall and cabinet strength at marked points. Use a stud finder to locate wall studs behind drywall. Mounting into studs provides strong support for heavy microwaves. Add wooden blocks inside the cabinet if needed for extra strength. Secure these blocks firmly with screws. Reinforced supports prevent the microwave from falling or shifting over time.
Installing The Mounting Bracket
Installing the mounting bracket is a critical part of setting up your microwave oven. This bracket holds the appliance securely on the wall, so precise placement and strong attachment are essential. Taking your time during this step prevents future problems like wobbling or uneven mounting.
Aligning And Securing Bracket
Start by locating the studs in your wall using a stud finder. Attaching the bracket directly to studs ensures it can support the microwave’s weight safely.
Hold the bracket against the wall and mark the screw holes with a pencil. Double-check these marks before drilling to avoid mistakes that could weaken the hold.
Use a drill to make pilot holes, which help guide the screws and reduce the chance of splitting the wall material. Secure the bracket firmly with heavy-duty screws, making sure it doesn’t shift as you tighten them.
Ensuring Level Position
Using a level is a simple step that makes a huge difference. Place a spirit level on the bracket’s top edge to check its alignment.
If the bubble isn’t centered, adjust the bracket slightly before fully tightening the screws. Even a small tilt can cause your microwave to sit unevenly, affecting both its look and function.
Take a moment to step back and visually confirm the bracket is straight. Would you want your microwave hanging lopsided every time you use it?
Mounting The Microwave Oven
Mounting a microwave oven requires careful handling and proper installation. This step ensures safety and functionality. Correct mounting saves kitchen space and offers easy access to the appliance. Follow clear steps for a secure setup.
Lifting And Positioning
Start by checking the mounting bracket attached to the wall or cabinet. The microwave must line up with this bracket perfectly. Enlist help to lift the microwave safely. Hold the appliance firmly to avoid slips. Position it close to the bracket but do not force it. Ensure the microwave sits evenly and is level. Adjust as needed before moving to the next step.
Securing The Microwave
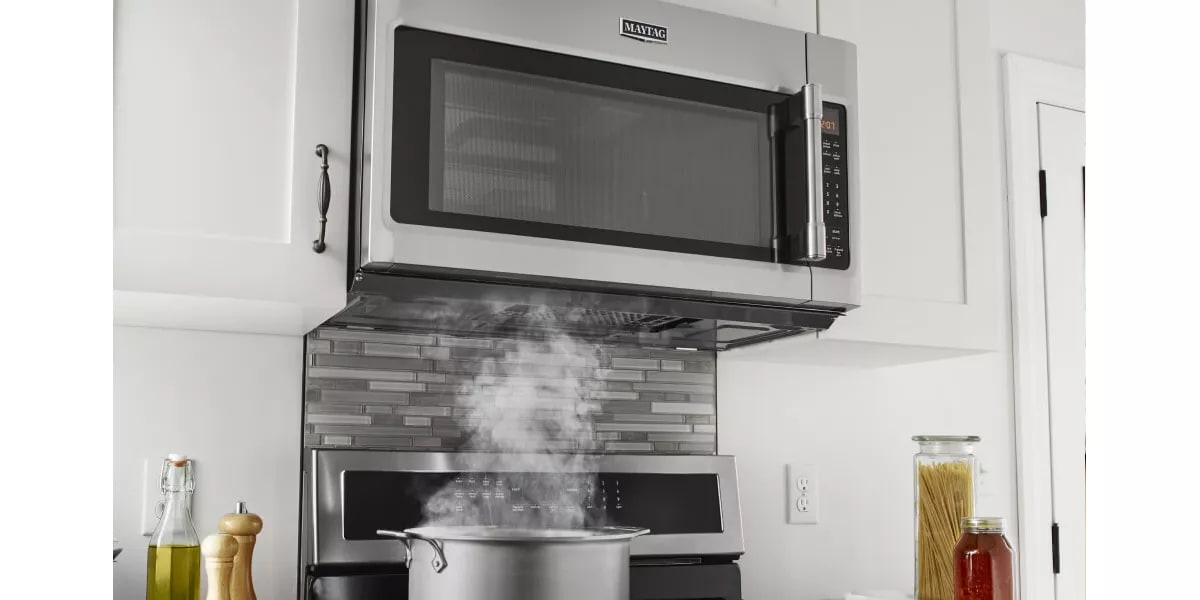
Use screws provided by the manufacturer to secure the microwave to the bracket. Tighten screws evenly to prevent tilting. Double-check that all screws are fully fastened. Connect any electrical wiring according to the manual. Confirm the microwave is stable and does not wobble. Test the door to make sure it opens and closes smoothly. Proper securing keeps the microwave safe during daily use.
Credit: www.maytag.com
Connecting Power And Testing
Connecting power and testing your microwave oven is a crucial step. It ensures the appliance works safely and correctly after installation. Taking care during this phase prevents electrical hazards and appliance damage. Follow these guidelines to plug in and test your microwave properly.
Plugging In Safely
Check the power outlet for damage or loose connections. Use a grounded outlet designed for kitchen appliances. Avoid using extension cords or power strips. Make sure the microwave plug fits securely into the socket. Keep the cord away from water or heat sources. If the cord shows wear, replace it before plugging in.
Running Initial Tests
Turn on the microwave and set a short cooking time, like 30 seconds. Listen for unusual noises or smells. Watch for sparks or flickering lights inside the oven. Test all functions, such as the timer, buttons, and light. Stop immediately if something seems wrong. Unplug and inspect or call a professional for help. Confirm the microwave heats food evenly during the test.
Troubleshooting Common Issues
Mounting a microwave oven can sometimes lead to common issues that need quick solutions. Troubleshooting helps keep the microwave safe and functional. Knowing how to fix these problems saves time and stress.
Addressing Stability Problems
Unstable microwaves can fall or shift, causing damage. Check the mounting bracket for tight screws. Tighten any loose screws using a screwdriver.
Verify that the wall anchors suit the wall type. Use heavy-duty anchors for drywall or masonry. The microwave should sit flush against the wall.
If the microwave wobbles, add support brackets below. These brackets help carry the microwave’s weight. Make sure the brackets are level and firmly secured.
Fixing Electrical Concerns
Electrical issues may cause the microwave to not power on. Confirm the microwave is plugged into a working outlet. Test the outlet with another device to be sure.
Inspect the power cord for visible damage or frays. Replace the cord if it looks worn or broken. Avoid using extension cords, as they can cause power drops.
Check the circuit breaker panel if the microwave won’t start. Reset any tripped breakers connected to the kitchen area. If problems persist, call a licensed electrician.

Credit: www.amazon.ca
Maintenance Tips For Longevity
Keeping your microwave oven mounted safely and functioning well takes more than just a good installation. Regular maintenance helps you avoid unexpected repairs and extends the life of your appliance. Small habits like cleaning and checking the mount can make a big difference over time.
Cleaning Around The Microwave
Grease and dust can build up quickly around your microwave, especially if it’s near your stove. Wipe down the exterior and the mounting bracket regularly using a damp cloth and mild detergent. Avoid harsh chemicals that could damage the finish or the mounting hardware.
Pay special attention to vents and crevices where food particles might hide. Clogged vents reduce airflow, causing your microwave to overheat and shorten its lifespan. Have you noticed any unusual smells or noises? These can be early signs that cleaning is overdue.
Checking Mounting Integrity Regularly
Even a well-mounted microwave can shift slightly over time due to vibrations and weight. Inspect the mounting bracket and screws every few months to ensure everything is tight and secure. Loose mounts can cause your microwave to wobble or, worse, fall.
Look for any signs of rust or wear on the mounting hardware. If you find any damaged parts, replace them immediately to keep your microwave safely in place. How often do you check your microwave’s stability? Making it a routine can prevent accidents and keep your kitchen safe.
Frequently Asked Questions
How Do I Safely Mount A Microwave Oven?
To safely mount a microwave, first locate wall studs for support. Use a mounting bracket and screws provided. Follow the manual’s instructions carefully. Ensure the microwave is level and securely fastened to avoid accidents or damage.
What Tools Are Needed To Mount A Microwave?
You need a drill, screwdriver, measuring tape, level, pencil, and mounting bracket screws. These tools help you mark, drill, and securely attach the microwave to the wall or cabinet.
Can I Mount A Microwave Without A Professional?
Yes, if you follow the instructions carefully and have basic tools. Ensure you find wall studs and properly secure the mounting bracket. If unsure, consulting a professional is safer.
How High Should I Mount A Microwave Oven?
Mount the microwave about 13 to 17 inches above the countertop. This height allows easy access and proper ventilation, ensuring safety and convenience while cooking.
Conclusion
Mounting a microwave oven is easier than it seems. Follow each step carefully to ensure safety. Measure and mark the wall before drilling any holes. Secure the brackets firmly to support the microwave’s weight. Connect the power cord to a nearby outlet without stretching.
Test the microwave after installation to check stability and function. Taking your time helps avoid mistakes and damage. A well-mounted microwave saves space and adds convenience. Enjoy your new setup and the extra kitchen room it brings.