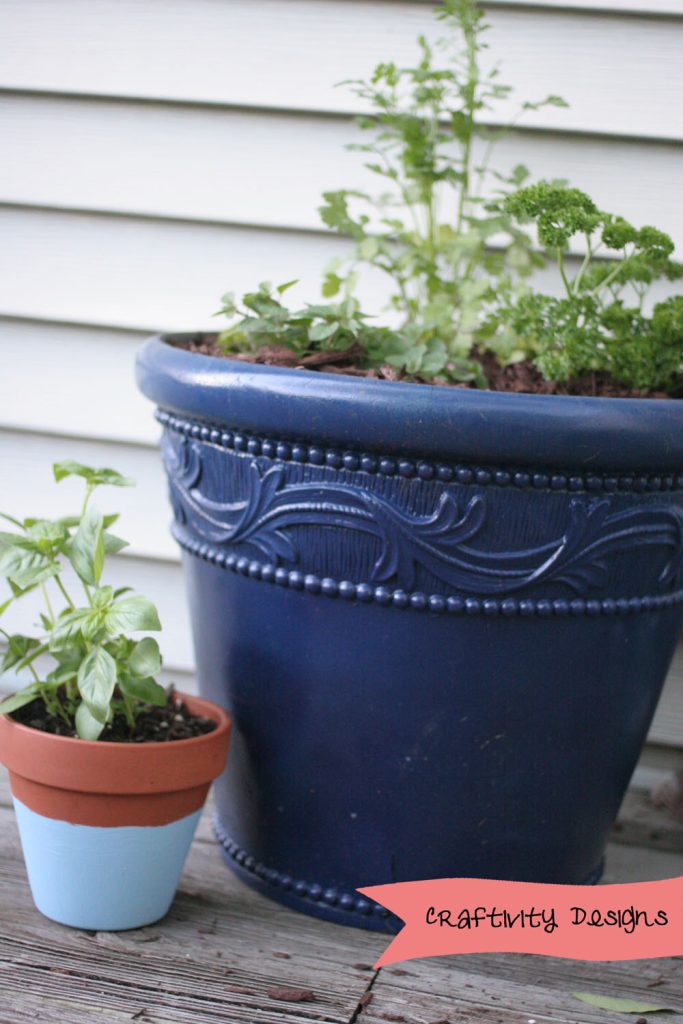
Are your plastic planters looking dull and lifeless? You don’t have to toss them out or spend a fortune on new ones.
With a little effort and the right technique, you can give your planters a fresh, vibrant look that matches your style perfectly. Painting plastic planters might seem tricky, but once you know the steps, it’s easier than you think. Imagine turning those plain containers into eye-catching pieces that brighten your space.
Ready to learn how to transform your plastic planters and make your garden stand out? Let’s dive in!
Choosing The Right Paint
Painting plastic planters can refresh their look and protect them. Picking the right paint is key to a lasting finish.
Not all paints stick well to plastic. Learn about paint types and color choices before starting your project.
Types Of Paint For Plastic
Some paints work better on plastic than others. Choose paint that bonds well and resists peeling.
- Acrylic Paint:Water-based and easy to use. Needs a plastic primer for best results.
- Spray Paint:Made for plastic surfaces. Provides smooth, even coverage.
- Oil-Based Paint:Durable but takes longer to dry. Use with good ventilation.
- Chalk Paint:Offers a matte finish but may require sealing.
Choosing Colors And Finishes
Color and finish affect the planter’s look and feel. Pick options that match your style and space.
| Finish Type | Description | Use |
| Matte | Non-shiny surface, hides imperfections | For a soft, natural look |
| Satin | Low gloss with slight sheen | Easy to clean, good for outdoor planters |
| Glossy | Shiny and reflective finish | Highlights colors, shows wear easily |
| Textured | Rough or patterned surface | Adds grip and visual interest |

Credit: www.youtube.com
Preparing The Planters
Painting plastic planters can make your garden vibrant. Preparation is key for a lasting finish.
Properly preparing the surface ensures the paint sticks well. Follow these steps for the best results.
Cleaning And Drying
Start by cleaning the planter. Remove dirt and dust using soap and water.
Rinse the planter thoroughly to remove any soap residue. Let it dry completely before proceeding.
- Use a soft brush for stubborn dirt
- Ensure no moisture remains on the surface
Sanding For Better Adhesion
Sanding helps the paint stick to the plastic. Use fine-grit sandpaper for this task.
Gently sand the entire surface of the planter. Wipe off any dust with a damp cloth.
- Smooth out any rough spots
- Avoid sanding too hard to prevent damage
Priming The Surface
Priming is essential for plastic planters. Use a primer designed for plastic surfaces.
Apply a thin, even coat of primer. Allow it to dry completely before painting.
- Choose a primer suited for outdoor use
- Ensure full coverage for better paint adhesion
Painting Techniques
Painting plastic planters is a great way to refresh their look. Using the right techniques helps paint stick well and last longer.
This guide covers spray painting, brush application, and how to layer paint with proper drying times.
Using Spray Paint
Spray paint gives a smooth and even finish on plastic planters. It covers large areas quickly and reduces brush marks.
- Clean the planter to remove dirt and grease.
- Shake the spray can for at least one minute.
- Hold the can 8 to 12 inches from the surface.
- Spray in light, even coats moving side to side.
- Allow each coat to dry before applying the next.
Applying With Brushes
Using brushes helps add detail or paint small areas. Choose a brush with soft, synthetic bristles for best results on plastic.
| Brush Type | Best Use |
| Flat synthetic | Large flat surfaces |
| Round synthetic | Edges and corners |
| Foam brush | Smooth finish with minimal strokes |
Layering And Drying Times
Layering paint correctly prevents peeling and cracking. Drying time depends on paint type and weather.
- Apply the first thin layer and let it dry for 30 minutes.
- Add a second thin layer for full coverage.
- Wait at least one hour before adding more layers if needed.
- Let the planter dry completely for 24 hours before use.
Sealing And Protecting
Painting plastic planters looks great, but sealing them is key. Sealants protect paint from water and sun damage.
Proper sealing makes your planter last longer and keeps it looking fresh outside.
Choosing The Right Sealant
Not all sealants work well on plastic surfaces. Pick one that sticks to plastic and protects from moisture.
- Look for clear acrylic sealants for a smooth finish
- Use polyurethane sealants for strong protection
- Avoid wax-based sealants as they peel easily
- Choose waterproof sealants to prevent water damage
- Test the sealant on a small area first
Applying Sealant For Durability
Apply sealant in thin, even coats. Let each coat dry fully before adding another. This builds strong protection.
| Sealant Application Tips | Details |
|---|---|
| Clean Surface | Remove dirt and dust before sealing |
| Use Brush or Spray | Choose method based on sealant type |
| Drying Time | Wait at least 2 hours between coats |
| Number of Coats | Apply 2 to 3 coats for best durability |
| Final Cure | Let planter cure 24 hours before use |
Creative Design Ideas
Painting plastic planters is a fun way to add color and style to your garden or home. You can use simple tools and techniques to make your planters look unique.
Try different patterns and textures or use stencils and tape to create neat designs. These ideas help you decorate planters with ease and creativity.
Adding Patterns And Textures
Patterns and textures give your planter a special touch. You can paint dots, stripes, or shapes with a brush or sponge. Textures add depth and interest.
- Use a sponge to dab paint for a textured effect
- Paint stripes with a small brush for neat lines
- Create polka dots using the end of a paintbrush
- Try zigzag or wave patterns for a dynamic look
Using Stencils And Tape
Stencils and tape help you paint clean shapes and lines. They keep your design sharp and easy to do. You can make stripes, geometric shapes, or letters.
| Material | Use | Tip |
| Painter’s tape | Create straight lines and stripes | Press edges firmly to stop paint bleeding |
| Stencils | Make shapes like stars or leaves | Hold stencil steady or use adhesive spray |
| Foam brush | Apply paint smoothly over stencils | Use light dabs to avoid bleeding |
| Spray paint | Cover large areas quickly | Use in well-ventilated space |

Credit: blog.dixiebellepaint.com
Common Mistakes To Avoid
Painting plastic planters can be simple if you avoid common mistakes. These errors can cause the paint to peel or look uneven.
Knowing what to avoid helps you get a smooth and long-lasting finish on your planters.
Skipping Surface Prep
Not cleaning or sanding the planter before painting causes poor paint adhesion. Dirt and oils stop paint from sticking well.
Always wash the planter with soap and water. Lightly sand the surface to make it rough for better paint grip.
- Use mild soap and water to clean
- Rinse and dry completely
- Sand with fine-grit sandpaper
- Remove dust before painting
Applying Thick Coats
Putting on thick paint layers leads to drips and uneven drying. Thick coats take longer to dry and can peel off.
Apply thin, even coats instead. Let each coat dry before adding the next layer to build good coverage.
- Use light brush or spray strokes
- Apply several thin coats
- Wait between coats
- Avoid heavy paint buildup
Ignoring Drying Times
Not waiting enough time for paint to dry causes smudges and poor finish. Rushing can ruin your work.
Follow the paint manufacturer’s drying instructions. Drying times depend on paint type and weather conditions.
- Check paint label for drying time
- Paint in a dry, well-ventilated area
- Do not touch until fully dry
- Allow extra time in humid weather
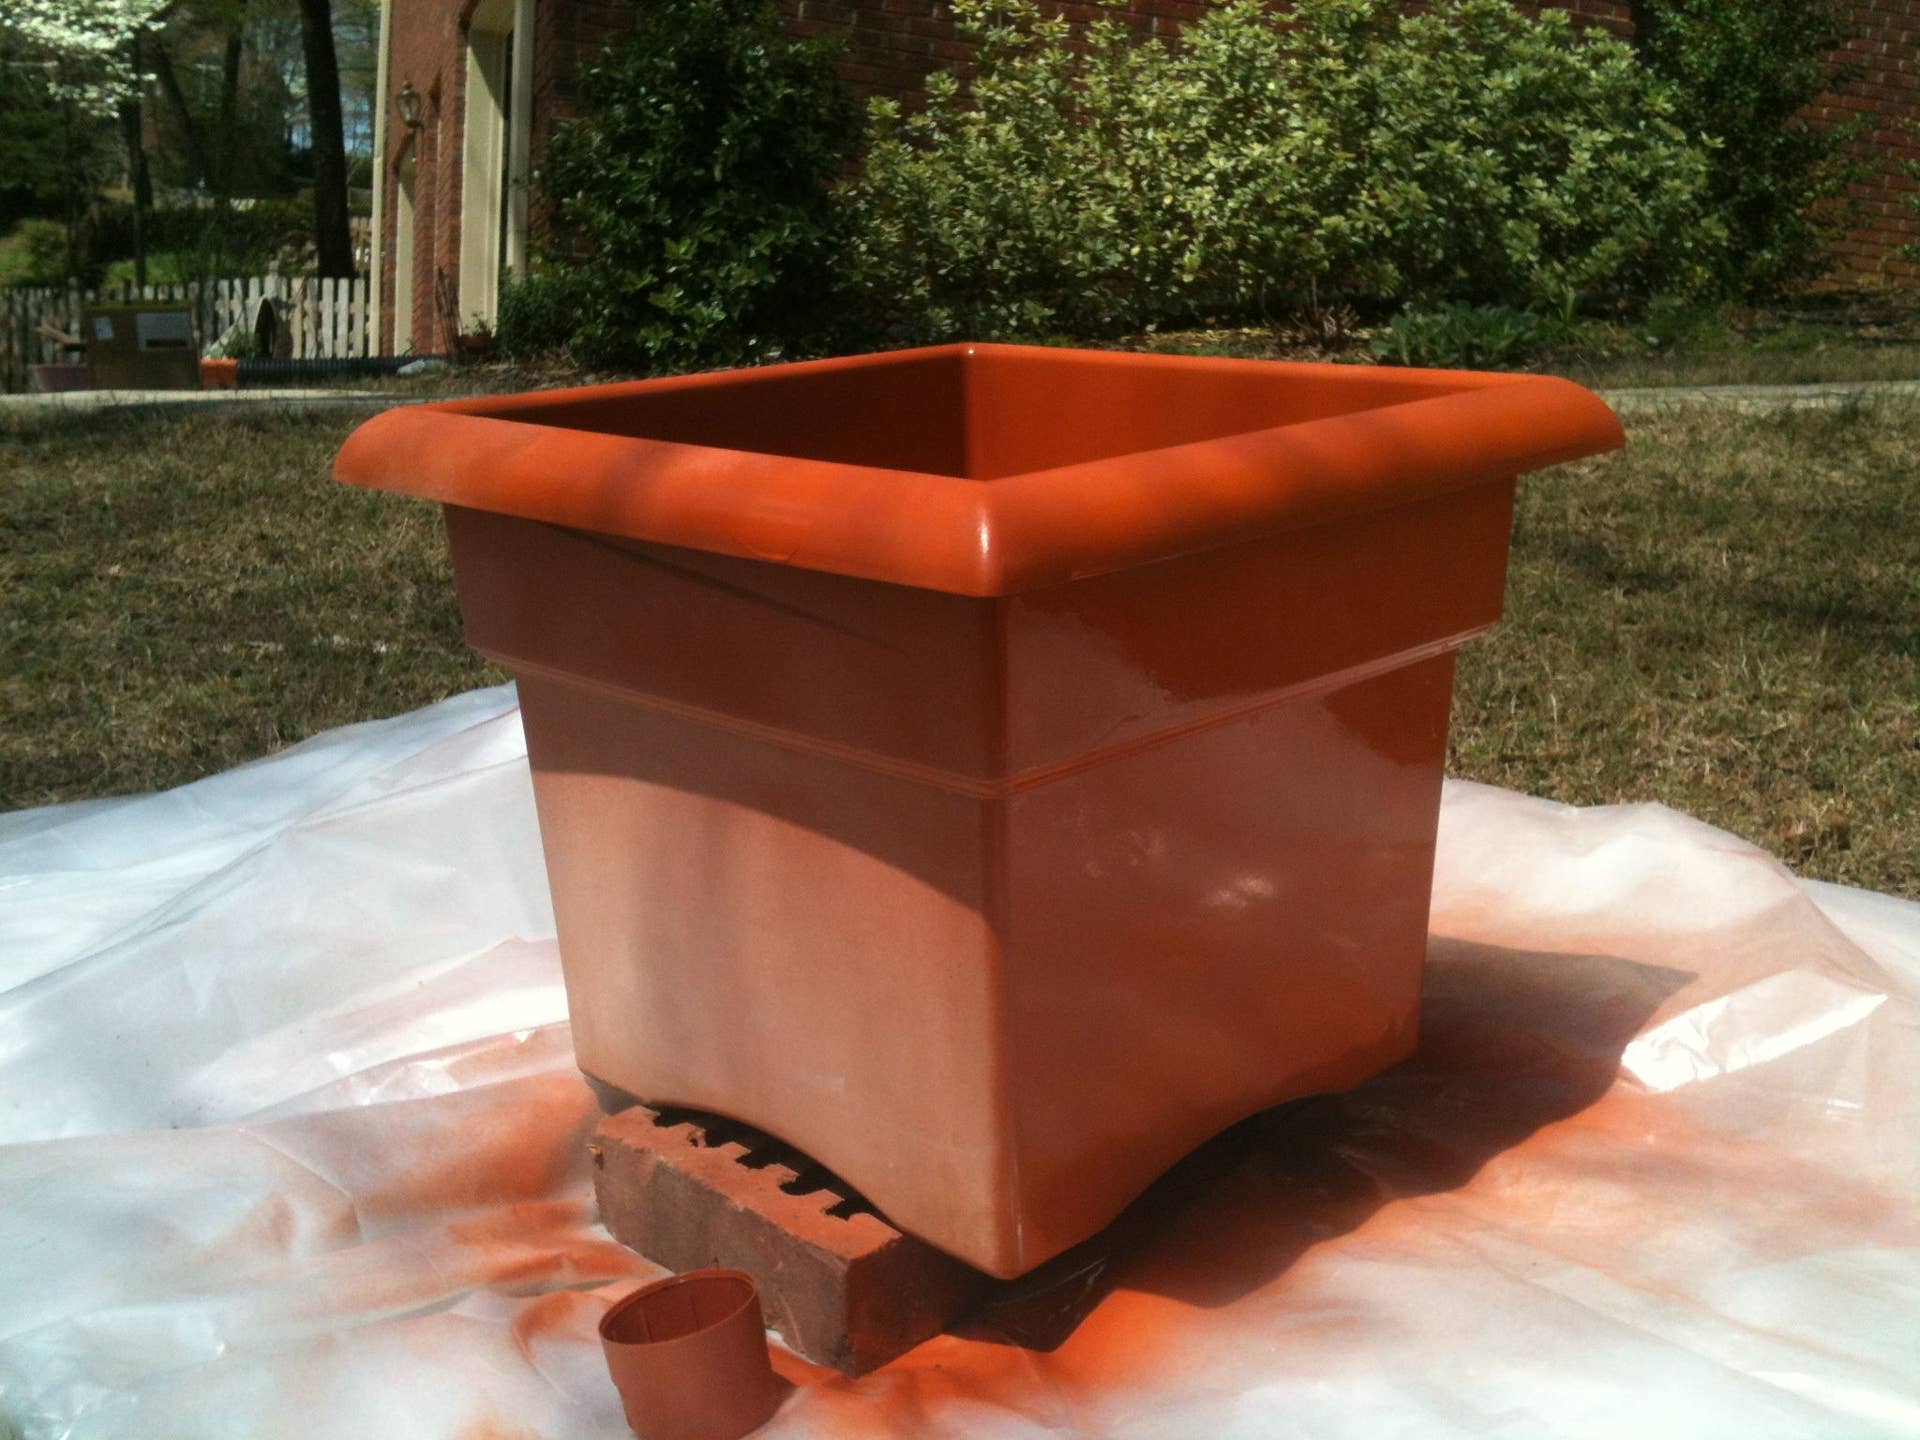
Credit: dengarden.com
Frequently Asked Questions
How Do I Prepare Plastic Planters For Painting?
Clean the planter thoroughly with soap and water. Sand the surface lightly to create texture. Allow it to dry completely before painting.
What Type Of Paint Works Best On Plastic Planters?
Use spray paint or acrylic paint designed for plastic surfaces. These paints adhere well and provide a durable, vibrant finish.
How Many Coats Of Paint Should I Apply?
Apply 2 to 3 thin coats for even coverage. Allow each coat to dry completely before applying the next one.
Can I Use Regular Indoor Paint On Plastic Planters?
Regular indoor paint may peel or chip on plastic. It’s best to use paint specifically formulated for plastic surfaces.
Conclusion
Painting plastic planters can brighten any garden space. Clean the surface well before you start painting. Use the right paint for plastic to ensure it sticks. Let each coat dry fully for best results. Small steps make a big difference in the end.
Personalize your planters with colors that you love. Enjoy the process and watch your planters transform. A little effort brings new life to old items. Try this simple project to refresh your garden today.