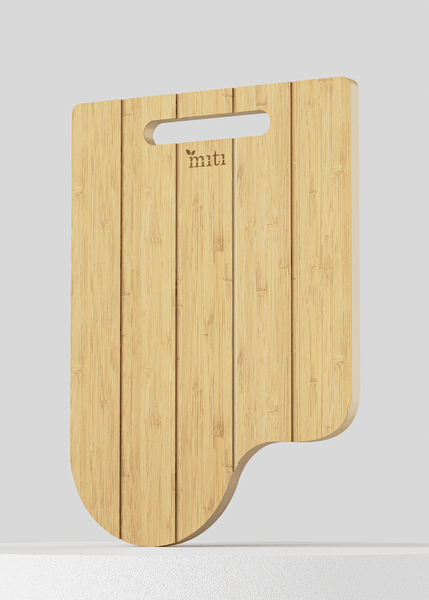
Getting a new wood cutting board is exciting, but before you start chopping away, there’s an important step you can’t skip: prepping it right. If you don’t prepare your board properly, it can absorb moisture, crack, or even harbor bacteria.
But don’t worry—prepping your new wood cutting board is easier than you think. You’ll learn simple, effective steps to protect your board, keep it looking great, and make sure it lasts for years. Ready to get started? Let’s dive in and give your cutting board the care it deserves.
Choosing The Right Wood Board
Choosing the right wood cutting board is important for safety and durability. The type of wood affects how well the board holds up over time.
Size and thickness also matter. A good board fits your kitchen space and your cutting needs.
Types Of Wood For Cutting Boards
Different woods offer various hardness and grain patterns. Hardwoods are best because they resist cuts and bacteria.
- Maple:A common choice. It is hard and has a fine grain.
- Walnut:Dark wood with a smooth surface. It is durable and gentle on knives.
- Cherry:Has a warm color and is fairly hard.
- Bamboo:Technically a grass. It is hard but can be brittle.
- Teak:Contains natural oils that resist water and bacteria.
Size And Thickness Considerations
The size of your cutting board depends on your kitchen space and how you use it. Thickness affects stability and weight.
| Size | Use | Thickness | Comments |
|---|---|---|---|
| Small (10×14 inches) | Light tasks, quick chopping | 0.5 to 0.75 inch | Easy to store and carry |
| Medium (15×20 inches) | Everyday kitchen use | 0.75 to 1 inch | Good balance of space and weight |
| Large (18×24 inches or more) | Big tasks, butchering | 1 to 1.5 inches | Heavy and stable but needs storage room |
Initial Cleaning And Drying
Preparing a new wood cutting board starts with proper cleaning and drying. This process removes dust and protects the wood from damage.
Following correct washing and drying techniques helps keep the board safe and long-lasting.
Washing Techniques
Wash your new wood cutting board gently to avoid harming the surface. Use mild soap and warm water. Avoid soaking the board.
- Use a soft sponge or cloth with mild dish soap
- Rinse with warm water to remove all soap
- Do not put the board in the dishwasher
- Wipe off excess water with a clean towel
- Clean both sides to prevent warping
Proper Drying Methods
Dry the board thoroughly to stop moisture from causing cracks or mold. Air drying is the best choice for wood boards.
| Drying Method | Description |
|---|---|
| Vertical Air Dry | Stand the board upright to allow air circulation on all sides. |
| Use a Dry Towel | Pat the board with a dry towel to remove surface moisture quickly. |
| Avoid Direct Heat | Keep the board away from heaters or sunlight to prevent warping. |
Sanding For A Smooth Surface
Sanding is key to making a new wood cutting board smooth and safe. It removes rough spots and splinters.
A well-sanded board feels nice to touch and is easier to clean. It also helps the wood absorb oil better.
Selecting The Right Grit
Choose sandpaper grit based on the wood surface condition. Start with coarser grit for rough wood.
Use finer grit to smooth the board after initial sanding. This helps create a soft, even finish.
- Start with 80 or 100 grit for rough surfaces
- Move to 120 or 150 grit for medium smoothing
- Finish with 220 grit for a silky surface
Sanding Tips And Tricks
Sanding evenly is important. Sand in the direction of the wood grain to avoid scratches.
Use a sanding block or electric sander for better control. Keep the sandpaper clean to work well.
- Wear a dust mask to avoid breathing wood dust
- Check the surface often to avoid over-sanding
- Use light pressure to prevent uneven spots
- Wipe the board with a damp cloth after sanding

Credit: choppingboards.in
Applying Food-safe Oil
Oiling your new wood cutting board keeps it strong and safe to use. The right oil stops the wood from drying out. It also protects the board from stains and cracks.
Using food-safe oil ensures no harmful chemicals get into your food. This guide will help you pick the best oils and show you how to apply them properly.
Best Oils For Wood Boards
Choose an oil that is safe to eat and easy to apply. Some oils work better than others for wood boards. Here are a few good choices:
- Mineral oil – clear and odorless, it soaks in well and lasts long.
- Coconut oil – natural and smells nice, but can go rancid if not pure.
- Walnut oil – dries hard and protects well, but watch for nut allergies.
- Beeswax mixed with oil – adds extra protection and a smooth finish.
Step-by-step Oiling Process
Follow these steps to apply oil evenly and safely to your board. This will keep your cutting board in great shape for years.
- Wash the board with warm water and mild soap. Let it dry completely.
- Pour a small amount of your chosen oil onto the board’s surface.
- Use a clean cloth or paper towel to spread the oil evenly over all sides.
- Let the board soak in the oil for at least 2 hours or overnight if possible.
- Wipe off any extra oil that does not absorb to avoid sticky spots.
- Repeat the oiling process once a month or when the board looks dry.
| Step | What to Do |
| 1 | Clean and dry the board |
| 2 | Apply a small amount of oil |
| 3 | Spread oil evenly with a cloth |
| 4 | Let oil soak for hours |
| 5 | Wipe off excess oil |
| 6 | Repeat monthly or as needed |
Sealing With Wax
Sealing a new wood cutting board with wax protects the surface. It keeps moisture out and helps the board last longer.
Wax gives a smooth finish and makes cleaning easier. It also keeps the wood looking fresh and natural.
Benefits Of Wax Coating
Wax seals the wood to stop water from soaking in. This prevents cracks and warping. It also reduces stains and odors.
- Protects wood from moisture damage
- Prevents cracks and splits
- Reduces stains and smells
- Keeps the board looking smooth and shiny
- Makes cleaning easier and quicker
How To Apply Wax Properly
Prepare the board by cleaning and drying it well. Use food-safe wax made for cutting boards.
| Step | Action |
| 1 | Rub wax over the entire board surface |
| 2 | Use a soft cloth to spread wax evenly |
| 3 | Let wax sit for 20 to 30 minutes |
| 4 | Buff the board with a clean cloth to shine |
| 5 | Repeat every month or after heavy use |
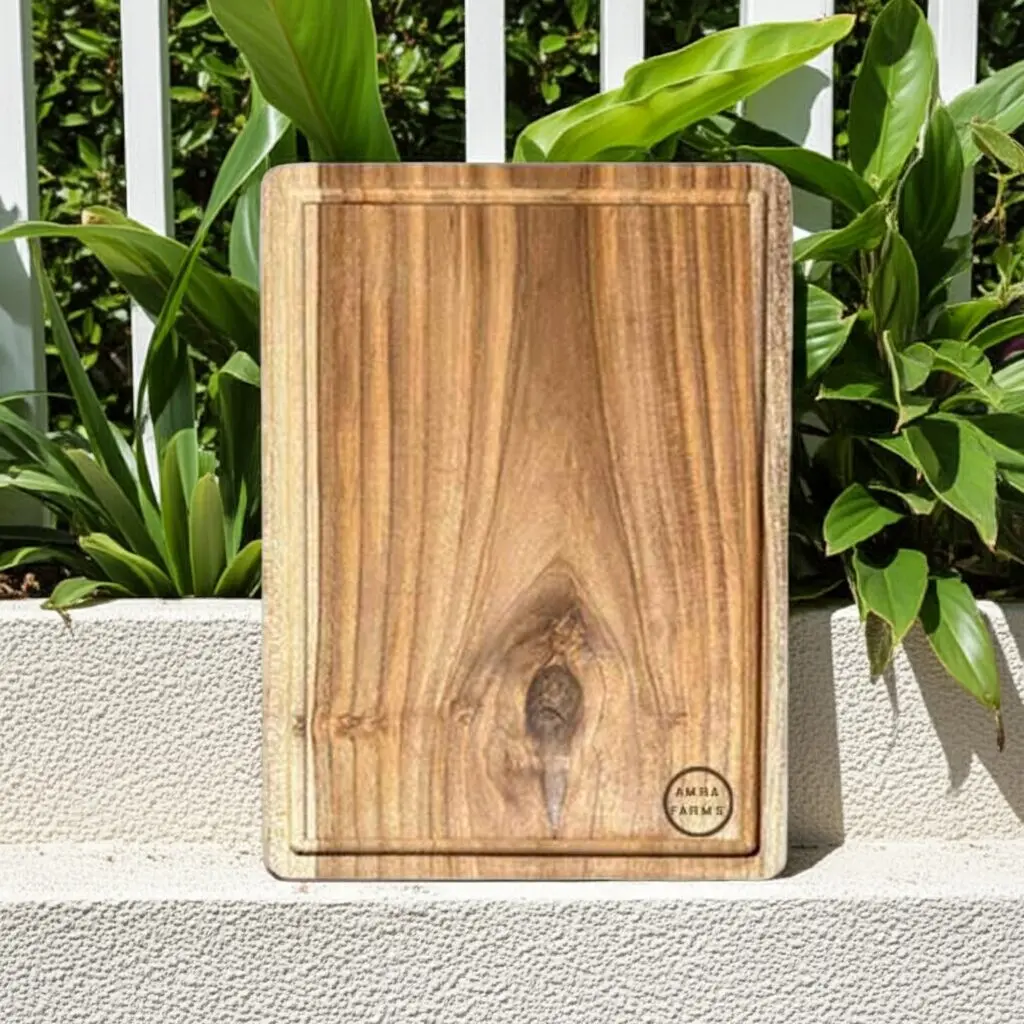
Credit: choppingboards.in
Regular Maintenance Tips
A new wood cutting board needs care to last long and stay safe. Regular maintenance keeps it clean and strong. Simple steps help avoid cracks and stains.
Follow these tips to keep your cutting board in good shape after each use and over time.
Cleaning After Use
Clean your wood cutting board right after using it. This stops bacteria from growing and removes food bits. Use warm water and mild soap. Avoid soaking or putting it in a dishwasher.
- Rinse the board with warm water
- Scrub gently with a soft sponge and mild soap
- Rinse off all soap thoroughly
- Dry with a clean towel immediately
- Stand the board upright to air dry completely
Re-oiling And Waxing Schedule
Oiling and waxing protect your board from drying out and cracking. It also helps repel water and food stains. Keep a regular schedule based on how often you use the board.
| Use Frequency | Oiling | Waxing |
|---|---|---|
| Daily or weekly use | Once a week | Once a month |
| Occasional use | Once a month | Every 2-3 months |
| Rare use | Every 3 months | Every 6 months |
Avoiding Common Mistakes
Preparing a new wood cutting board is simple but needs care. Many people make errors that shorten the board’s life. Learning what to avoid helps keep your board in top shape.
This guide shows common mistakes to skip and tips for handling and storage. Follow these to protect your new board and keep it safe for food use.
What To Skip When Prepping
Some steps are not needed or can harm your board. Avoid these mistakes to keep your wood strong and clean.
- Do not soak the board in water. It can cause warping and cracking.
- Avoid using harsh detergents or bleach. They damage the wood fibers.
- Skip sanding too much. Over-sanding removes protective layers.
- Do not apply vegetable oils. They can turn rancid and smell bad.
- Never use the board for raw meat without proper cleaning afterward.
Handling And Storage Advice
How you use and store your board affects its lifespan. Follow these rules to keep it safe and clean.
| Tip | Why It Matters |
| Dry the board fully after washing | Prevents mold and wood swelling |
| Store the board upright | Allows air circulation to avoid moisture buildup |
| Apply food-grade mineral oil regularly | Keeps wood from drying and cracking |
| Use both sides of the board | Prevents uneven wear and warping |
| Keep the board away from heat sources | Stops the wood from drying out too fast |
Credit: www.thekitchn.com
Frequently Asked Questions
How Do I Clean A New Wood Cutting Board?
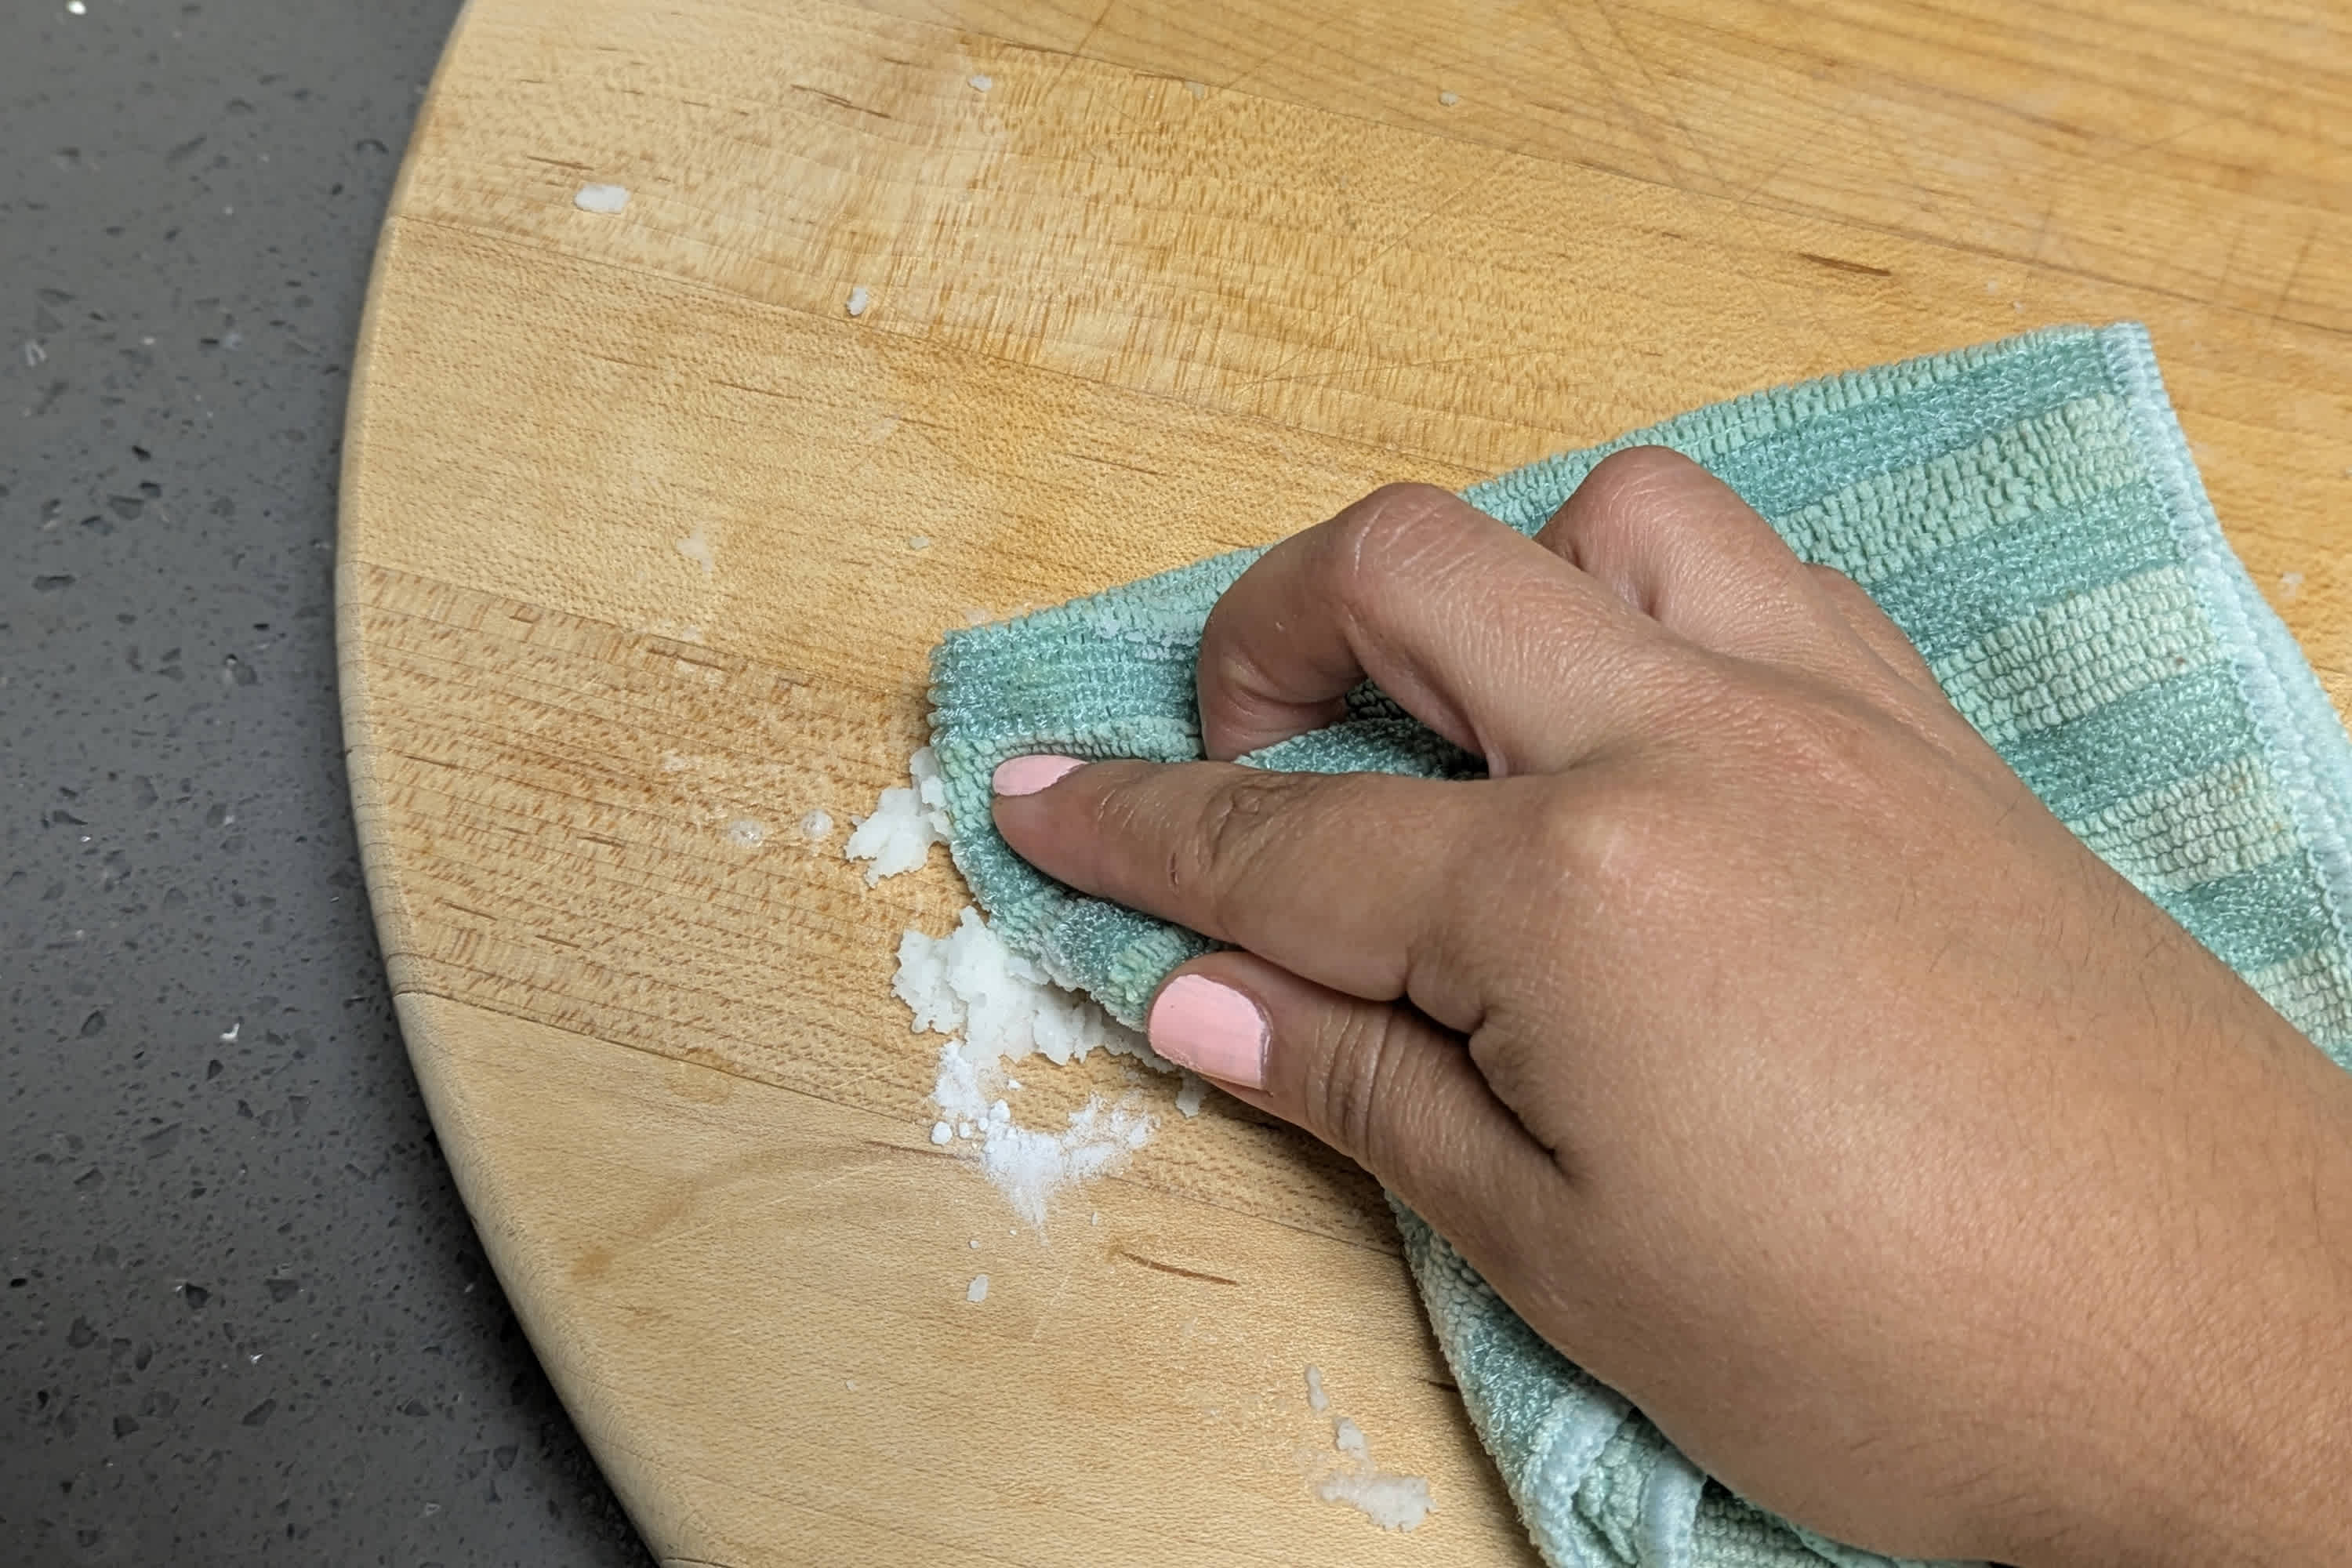
To clean a new wood cutting board, use warm water and mild soap. Rinse thoroughly and dry with a towel. Avoid soaking it in water. For deeper cleaning, sprinkle salt or baking soda, scrub, and rinse. Regular cleaning helps prevent bacteria growth and maintains the board’s quality.
Can I Oil A Cutting Board Immediately?
Yes, oiling immediately is recommended. Use food-grade mineral oil. Apply generously and let it absorb overnight. This process helps in sealing the wood, preventing cracks, and extending the board’s lifespan. Regular oiling, every few weeks, keeps the board in optimal condition and enhances its appearance.
What Oil Is Best For Wood Cutting Boards?
Food-grade mineral oil is best for wood cutting boards. It’s safe, odorless, and penetrates deeply. This oil effectively seals the wood, preventing moisture absorption and cracking. Regular application enhances the board’s durability and maintains its smooth surface, making it a preferred choice among chefs and home cooks.
How Often Should I Oil My Cutting Board?
Oil your cutting board every 3-4 weeks. Frequency depends on usage and environment. Regular oiling prevents drying and cracking. For heavy use, consider oiling more frequently. Keeping the board well-oiled enhances its durability, appearance, and performance, ensuring it remains a reliable kitchen tool.
Conclusion
A new wood cutting board lasts longer with proper care. Clean it well before first use. Apply mineral oil to protect and seal the wood. Let the oil soak in fully. Repeat oiling regularly to keep the board strong. Avoid soaking the board in water.
Dry it quickly after washing. These simple steps keep your board fresh and safe. Enjoy cooking with your well-prepped cutting board every day. Easy care leads to great results.