
Are you overwhelmed with a bountiful apple harvest or simply want to enjoy the crisp taste of apples all year round? Freezing apples is a fantastic solution!
Imagine the convenience of reaching into your freezer and grabbing perfectly preserved apples for pies, smoothies, or snacks whenever you desire. This guide will show you how to prepare apples for freezing in a way that locks in their flavor and nutritional benefits.
Stick with us, and you’ll discover the secrets to keeping your apples fresh and delicious, even months later. Ready to make your apple stockpile last? Let’s dive in!
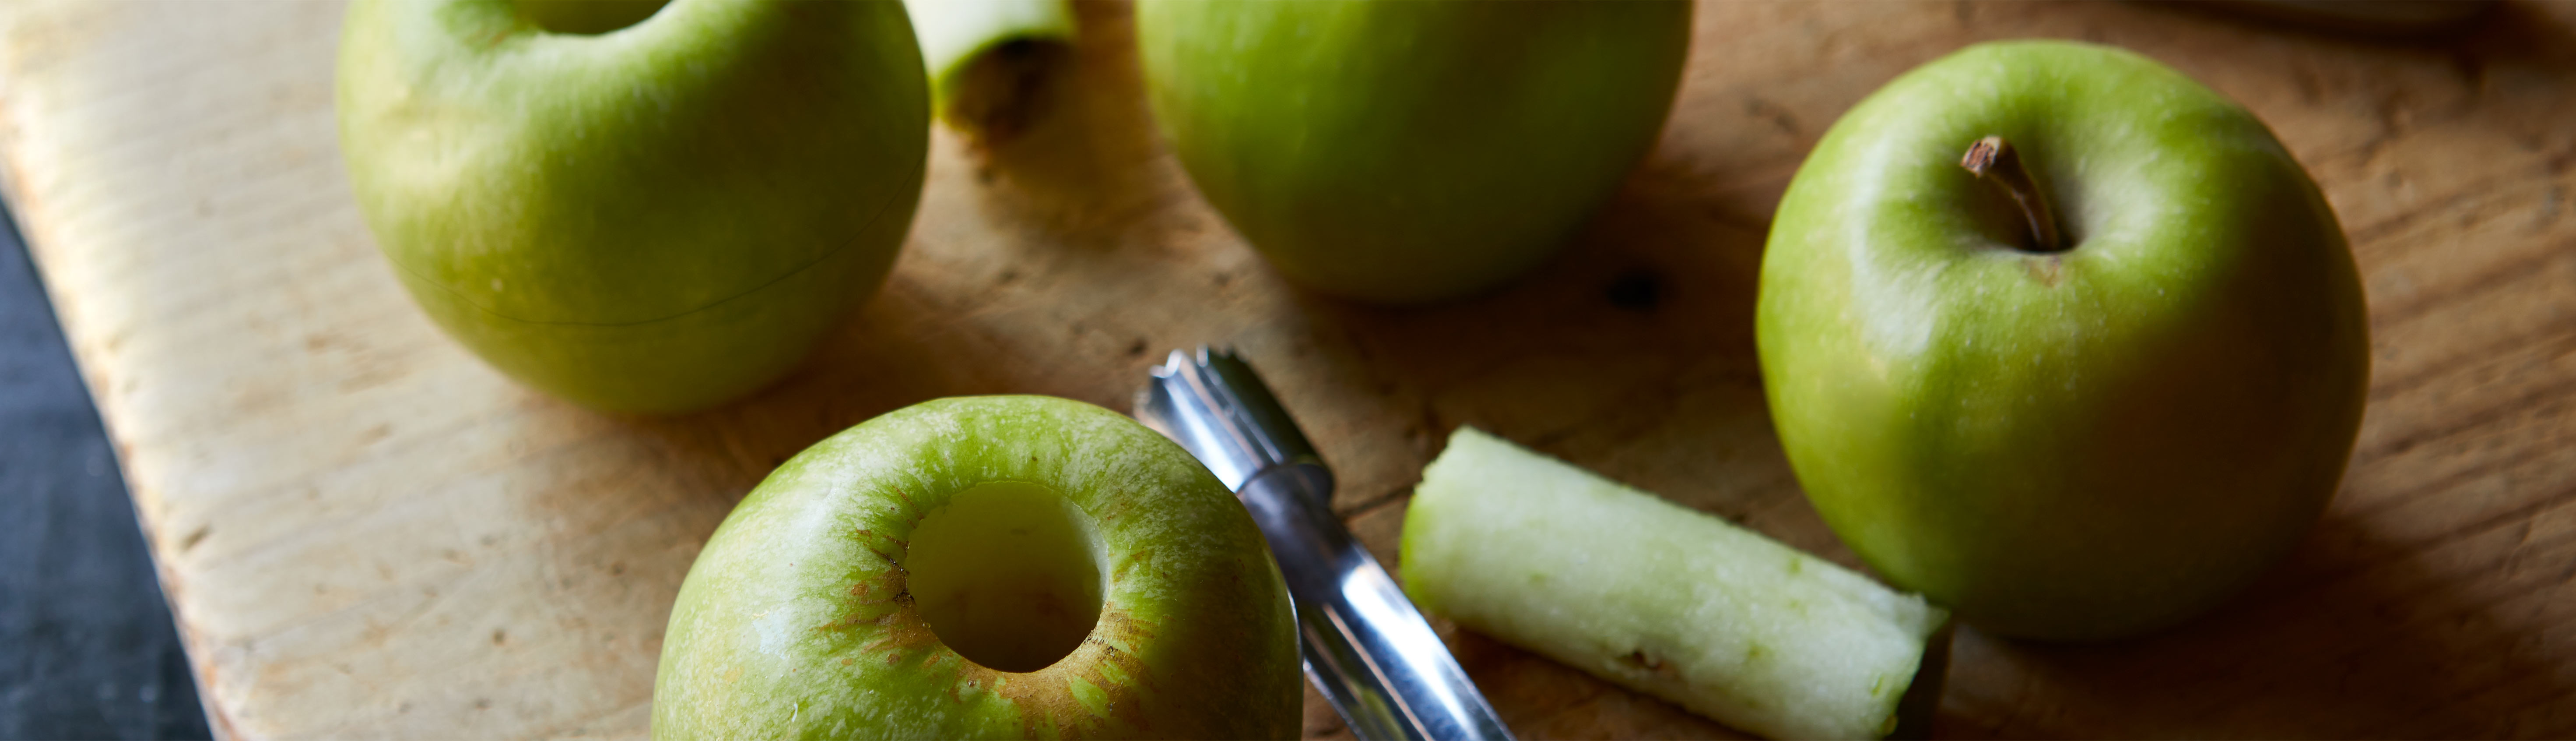
Credit: realfood.tesco.com
Choosing The Right Apples
Choosing the right apples is crucial when preparing them for freezing. The texture and flavor of your frozen apples depend heavily on the variety and freshness you select. Picking the best apples ensures your frozen fruit tastes just as good months later.
Best Apple Varieties For Freezing
Not all apples freeze equally well. Some keep their shape and flavor better after freezing and thawing.
- Granny Smith:These tart apples hold their texture and are perfect for pies or cooking after freezing.
- Fuji:Sweet and crisp, Fuji apples retain their flavor well, making them great for snacking or baking.
- Honeycrisp:Known for their juicy crunch, they freeze nicely but may become a bit softer.
- Gala:Sweet and mild, Gala apples freeze well for sauces and desserts.
Think about how you plan to use your frozen apples. Will you bake with them, blend them into smoothies, or use them in sauces? This will guide your variety choice.
Selecting Fresh And Firm Apples
Freshness plays a big role in the quality of frozen apples. Always choose apples that feel firm to the touch, without soft spots or bruises.
Look for apples with smooth, unblemished skin and a fresh aroma. Avoid any fruit that shows signs of decay or shriveling.
Have you ever frozen apples only to find they turned mushy or bland? Picking the freshest apples can prevent that disappointment.
Washing And Peeling
Preparing apples for freezing begins with proper washing and peeling. Clean apples ensure no dirt or chemicals remain. Peeling helps maintain texture and flavor after freezing. Both steps are essential for the best results.
Rinsing Apples Thoroughly
Start by rinsing apples under cold running water. Use your hands to rub the surface gently. This removes dirt, dust, and pesticide residues. Avoid using soap or detergent, as they can leave harmful residues. A soft brush can help clean stubborn spots.
Rinse each apple individually for better cleaning. Pat dry with a clean towel before peeling. Proper rinsing prevents bacteria growth during freezing.
Peeling Techniques For Freezing
Peeling apples before freezing improves texture and taste. Use a sharp vegetable peeler or a small knife. Peel thinly to avoid wasting apple flesh. Remove all skin, as it can become tough after freezing.
Peel apples over a bowl to catch the peels. This keeps your workspace clean. If you prefer, cut apples into slices or chunks after peeling. Use lemon juice on peeled apples to prevent browning.
Slicing And Coring
Slicing and coring apples correctly is key to preserving their texture and flavor during freezing. The way you cut your apples can impact how they freeze and thaw, so taking a little extra time here will pay off later. Let’s look at how to make your slices uniform and remove cores quickly without wasting any fruit.
Cutting Uniform Slices
Uniform slices freeze evenly, preventing some pieces from becoming mushy while others stay hard. Aim for slices about 1/4 inch thick to maintain a good balance between texture and quick freezing.
Use a sharp knife or a mandoline slicer to keep each piece consistent. If you’ve ever frozen uneven slices, you know how frustrating it is to end up with a mix of textures after thawing.
- Start by washing and drying your apples thoroughly.
- Cut the apple in half vertically, then slice each half into even pieces.
- Try to keep your slicing angle steady to avoid varying thickness.
Removing Cores Efficiently
Removing cores quickly saves you time and reduces waste. A good coring tool or even a sharp paring knife can help you get the job done fast.
Instead of cutting out the core after slicing, core the whole apple first. This approach keeps your slices intact and makes the process smoother.
- Place the apple stem-side up on a cutting board.
- Use an apple corer to push straight through the center.
- If you don’t have a corer, carefully cut around the core with a knife.
Have you noticed how a quick and neat core removal speeds up your entire freezing prep? It’s a simple trick that makes a big difference when handling large batches.
Preventing Browning
Apples turn brown quickly after cutting due to oxidation. This natural process happens when the apple’s flesh reacts with oxygen in the air. Preventing browning keeps apples looking fresh and tasty before freezing. Simple treatments stop this color change and maintain the apple’s flavor and texture.
Using Lemon Juice Or Ascorbic Acid
Lemon juice is a natural way to stop browning. It contains citric acid and vitamin C, which slow down oxidation. To use, dip apple slices in lemon juice for a few minutes. Drain them well before freezing.
Ascorbic acid powder, also called vitamin C powder, works in a similar way. Dissolve the powder in water and soak apple pieces for about 5 minutes. This method is great for large batches and keeps apples bright.
Soaking Methods To Keep Apples Fresh
Soaking apple slices in water helps prevent air contact and slows browning. Cold water works best. Sometimes, adding a small amount of salt or honey to the water improves the effect.
- Salt water: Use ½ teaspoon salt per cup of water. Soak apples for 3-5 minutes. Rinse before freezing to remove salt taste.
- Honey water: Mix 2 tablespoons honey with 1 cup water. Soak apple slices for 5 minutes. This adds a subtle sweetness and protects color.
After soaking, dry the slices well with paper towels. This step stops extra moisture from forming ice crystals in the freezer.
Blanching Options
Blanching is a simple but powerful step that can make a big difference when preparing apples for freezing. It helps maintain the apple’s texture, color, and flavor during storage. Understanding the blanching options available allows you to choose the best method for your kitchen setup and apple variety.
Benefits Of Blanching Apples
Blanching stops enzymes that cause browning and spoilage. This keeps your frozen apples looking fresh and tasting better after thawing.
It also helps preserve the apple’s firmness, so you won’t end up with mushy fruit when you cook or bake later. Have you ever noticed how some frozen apples become soggy? Blanching can prevent that.
Additionally, blanching reduces the risk of bacterial growth during freezing, making your apples safer to eat.
Quick Blanching Steps
- Bring a large pot of water to a boil.
- Prepare a bowl of ice water to cool the apples immediately after blanching.
- Slice or quarter your apples as desired.
- Drop the apple pieces into boiling water for about 1 to 2 minutes. Keep an eye on timing—over-blanching can soften the fruit too much.
- Use a slotted spoon to transfer the apples to the ice water bath to stop the cooking process.
- Once cooled, drain the apples thoroughly before packing them for freezing.
Would you consider blanching a time-saver rather than an extra step? It might feel like an added task, but the payoff in quality is worth it.
Freezing Techniques
Freezing apples keeps them fresh and tasty for months. Choosing the right freezing technique helps keep the apple’s texture and flavor. Using proper methods avoids clumping and freezer burn. Here are two simple ways to freeze apples effectively.
Flash Freezing For Individual Pieces
Flash freezing stops apple pieces from sticking together. Spread peeled and sliced apples in a single layer on a baking sheet. Make sure pieces do not touch each other. Place the sheet in the freezer for 2 to 4 hours. Once frozen solid, transfer pieces to a freezer bag or container. This method keeps pieces separate and easy to use later. It is perfect for adding apples to smoothies or baking.
Using Freezer Bags And Containers
Use freezer bags or airtight containers to store apples. Choose bags that are thick and made for freezing. Remove as much air as possible before sealing. Label the bags with the date and type of apple. Containers with tight lids work well for sliced or chopped apples. For best results, blanch apple slices in boiling water for 1-2 minutes before freezing. This helps preserve color and taste. Store apples flat in the freezer to save space and keep them fresh longer.
Labeling And Storage
Proper labeling and storage are key to keeping frozen apples fresh and easy to use. Clear labels help identify the apples quickly. Good storage practices prevent freezer burn and maintain taste. Follow simple steps to organize your frozen apples well.
Properly Labeling Frozen Apples
Use a permanent marker to write on freezer bags or containers. Include the type of apple and freezing date. This helps track how long the apples have been stored.
- Write the apple variety clearly, like “Granny Smith” or “Fuji”.
- Note the freezing date in month/day/year format.
- Use easy-to-read handwriting or printed labels.
- Place labels on the flat side of bags for better visibility.
Optimal Freezer Storage Tips
Store apples in airtight containers or heavy-duty freezer bags. Remove as much air as possible to avoid ice crystals.
- Keep apples flat in the freezer for even freezing.
- Store at 0°F (-18°C) or lower for best results.
- Avoid overfilling the freezer to allow air circulation.
- Group similar items together to find apples faster.

Credit: urbanblisslife.com
Thawing And Using Frozen Apples
Thawing and using frozen apples is simple and convenient. Proper thawing keeps the fruit’s texture and flavor intact. Using frozen apples can add freshness to many dishes. Knowing how to thaw and cook with them makes your meals tastier and reduces waste.
Best Practices For Thawing
Thaw frozen apples slowly in the refrigerator. This helps keep their shape and reduces mushiness. Avoid thawing at room temperature as it can make apples soggy. For quick use, microwave on low power for short bursts. Drain any extra liquid after thawing to avoid watery recipes.
- Place frozen apples in a bowl.
- Cover and refrigerate for 6–8 hours or overnight.
- Use within 2 days after thawing.
- For baking, use frozen apples directly without thawing.
Recipes Using Frozen Apples
Frozen apples work well in many recipes. They add natural sweetness and moisture. Use them in smoothies for a cold, fresh taste. Bake apple pies or crisps straight from frozen for best results. Cook frozen apples down into sauces or jams. Add thawed apples to oatmeal or pancakes for extra flavor.
- Apple pies and crisps
- Smoothies and shakes
- Homemade applesauce
- Oatmeal and breakfast bowls
- Apple jams and preserves

Credit: www.acouplecooks.com
Frequently Asked Questions
How Do You Prepare Apples For Freezing?
Wash, peel, core, and slice apples evenly. Treat slices with lemon juice or ascorbic acid to prevent browning. Pat dry before freezing on a tray, then transfer to airtight bags. This method preserves flavor and texture for later use.
Can You Freeze Apples Without Peeling Them?
Yes, you can freeze apples with skins on. However, peeling improves texture and taste after thawing. If you prefer convenience, wash well and freeze directly. Skins may cause slight texture changes but remain edible and nutritious.
How Long Do Frozen Apples Last In The Freezer?
Frozen apples last 8 to 12 months when stored properly. Keep them in airtight containers or freezer bags. Label with the date to track freshness. Use within this time for best flavor and quality in recipes.
Should Apples Be Blanched Before Freezing?
Blanching apples before freezing is optional but recommended. It helps preserve color and texture by stopping enzyme activity. Blanch slices for 1-2 minutes in boiling water, then cool quickly. This step improves quality during long-term storage.
Conclusion
Freezing apples keeps them fresh for months. Prepare them by washing, peeling, and slicing. Use lemon juice to stop browning. Pack slices in airtight bags to avoid freezer burn. Label bags with the date for easy tracking. Frozen apples work well in pies, smoothies, or snacks.
Simple steps save time and reduce waste. Enjoy your apples all year round.