Are you looking to create eye-catching table tents that grab attention and boost your message? Printing table tents might seem tricky at first, but once you know the simple steps, you can make professional-looking displays right at home or in your office.
Whether you’re promoting a special offer, sharing important information, or decorating an event, this guide will show you exactly how to print table tents that stand out. Keep reading, and you’ll discover easy tips and tricks that save you time and money while making your table tents look amazing.
Choosing The Right Paper
Picking the right paper is key for printing table tents. The paper affects how your table tents look and last.
Good paper makes your table tents stand out and hold up well on tables.
Paper Types For Table Tents
Table tents use paper that can stand up on its own. Cardstock is a common choice because it is thick and strong.
Coated papers have a smooth surface that shows colors better. Uncoated papers give a natural look but may absorb ink more.
- Cardstock:Thick and sturdy, perfect for table tents
- Coated Paper:Smooth finish, bright colors
- Uncoated Paper:Matte look, natural feel
Weight And Finish Options
Paper weight shows how thick the paper is. Heavier paper feels more durable and stands better.
The finish changes how the paper feels and looks. Glossy finishes shine and make colors pop. Matte finishes reduce glare and look more subtle.
- Weight:80 lb to 110 lb cardstock works well
- Glossy Finish:Shiny and bright, good for colorful designs
- Matte Finish:Smooth and soft look, less shine
Designing Your Table Tent
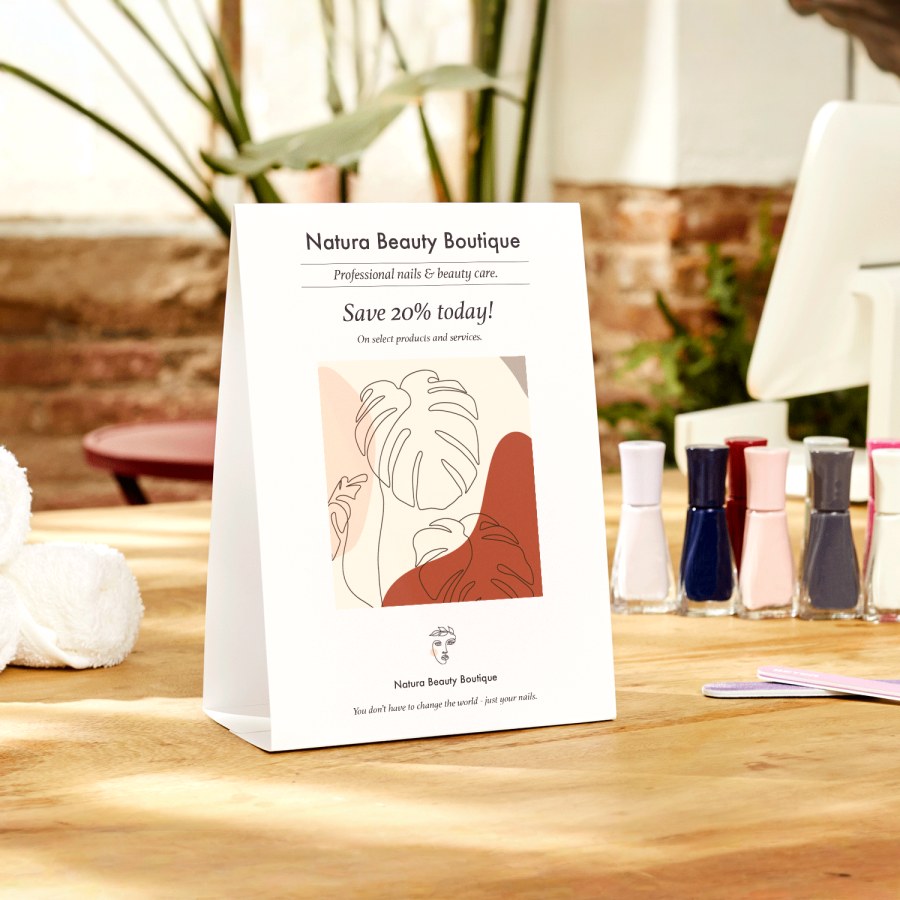
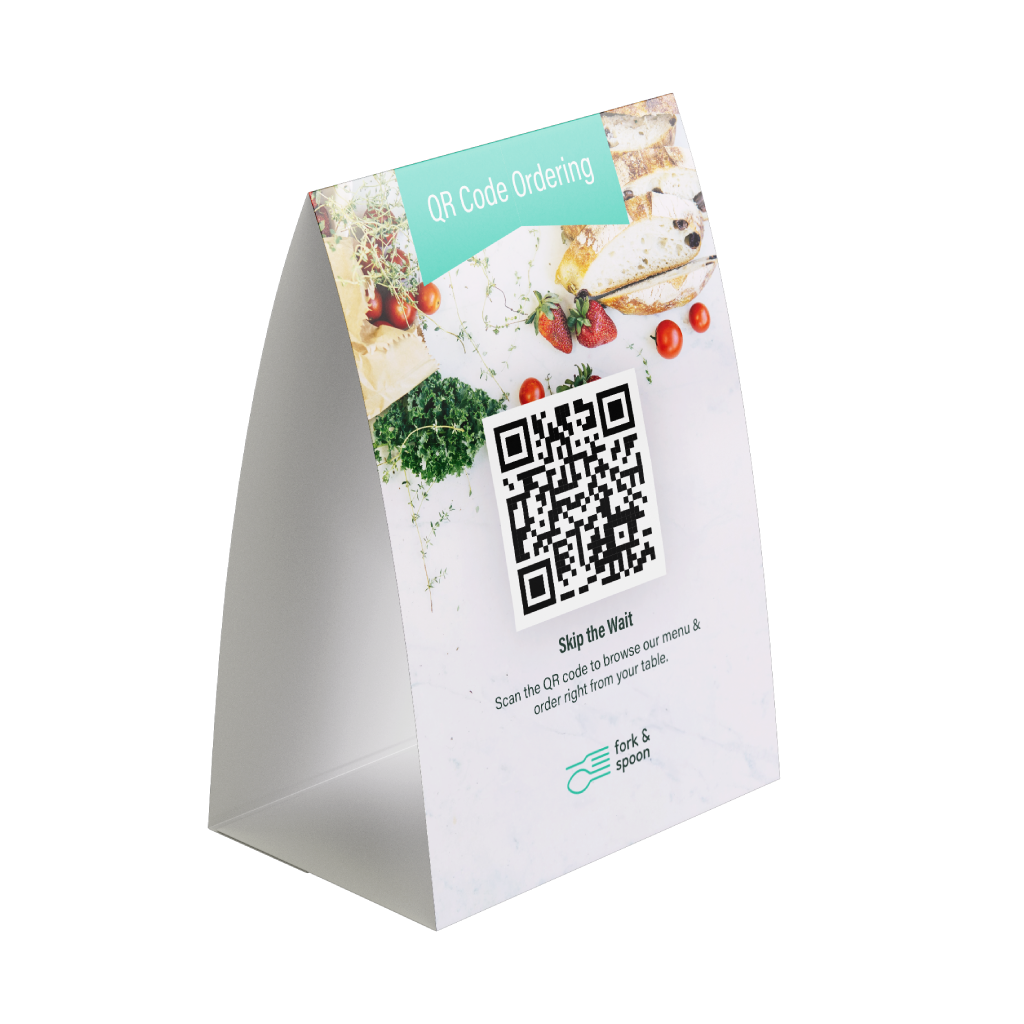
Table tents are small displays placed on tables to share information. Good design helps catch attention and share your message clearly.
Focus on size, branding, and easy-to-use tools to create effective table tents. This guide covers key points for each area.
Size And Layout Tips
Choose a size that fits well on tables without blocking views. Common sizes are 4×6 inches or 5×7 inches. Use a simple layout with clear sections.
- Keep text large and readable
- Use images to support your message
- Leave enough white space to avoid clutter
- Make sure the fold is in the right place for standing
Incorporating Branding Elements
Branding makes your table tent recognizable and professional. Add your logo, brand colors, and fonts. Keep the style consistent with your other materials.
| Brand Element | Example |
| Logo | Top corner for visibility |
| Colors | Use main brand colors for backgrounds or text |
| Fonts | Choose fonts used in other marketing |
| Tagline | Include a short, clear phrase |
Using Templates And Software
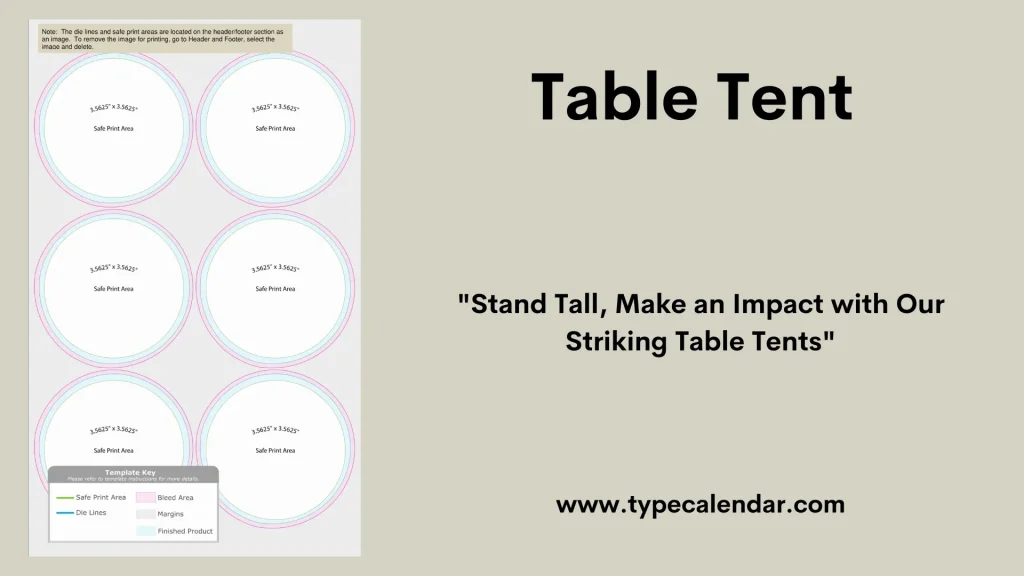
Templates save time and ensure correct sizes. Many software tools offer ready-made designs for table tents. Choose one that fits your skill level.
Popular tools include:
- Canva – easy drag and drop interface
- Adobe InDesign – professional design software
- Microsoft Word – simple and accessible
Use templates with guides for folding lines and safe print areas.
Setting Up The Printer
Printing table tents requires careful printer setup to get clear results. Proper settings help avoid paper jams and smudges.
Follow these steps to prepare your printer before printing your table tents.
Selecting Printer Settings
Choose the right print quality for crisp text and images. Use a higher resolution for detailed designs.
- Open your printer preferences from the print menu.
- Select the paper type closest to your table tent stock.
- Set the print quality to “High” or “Best.”
- Choose color or black and white based on your design.
- Enable duplex printing if your table tents fold double-sided.
Choosing Ink Types
Ink choice affects print durability and appearance. Use ink made for your printer brand and paper type.
| Ink Type | Best Use | Advantages |
|---|---|---|
| Inkjet Dye-based | Glossy paper | Bright colors, fast drying |
| Inkjet Pigment-based | Matte or coated paper | Water resistant, long-lasting |
| Laser Toner | Cardstock and thick paper | Sharp text, smudge-proof |
Loading Paper Correctly
Load paper the right way to prevent jams and crooked prints. Check your printer manual for paper orientation.
- Use fresh, wrinkle-free paper sheets.
- Place paper print side down if required by the printer.
- Adjust paper guides to fit the paper snugly.
- Do not overload the paper tray.
- Test with a single sheet before printing a full batch.
Printing Techniques
Printing table tents requires choosing the right method to get clear results.
Different printing styles suit different needs and budgets.
Single-sided Vs Double-sided Printing
Single-sided printing uses ink on one side only. It is simple and cheaper.
Double-sided printing adds ink on both sides. It shows more information in less space.
| Printing Type | Cost | Information Space | Best Use |
| Single-Sided | Lower | Limited | Simple messages |
| Double-Sided | Higher | More | Detailed info |
Batch Printing Tips
Printing many table tents at once can save time and money.
- Check all designs before printing to avoid errors.
- Use high-quality paper to prevent ink bleed.
- Print a test batch to review colors and alignment.
- Keep the printer settings consistent for all copies.
- Stack printed tents carefully to avoid damage.
Cutting And Folding
Printing table tents is easy if you cut and fold them right. Careful cutting and folding give your table tents a neat look.
Use the right tools to make clean cuts and sharp folds. This helps your table tents stand well on tables.
Tools For Precise Cuts
Good cutting tools make the edges smooth and straight. This prevents your paper from tearing or bending.
Here are some tools you can use for exact cuts:
- Paper cutter or guillotine for straight cuts
- Sharp scissors for small or curved areas
- Craft knife with a ruler for detailed trimming
- Cutting mat to protect your work surface
Creating Clean Folds
Folding your table tents neatly helps them stand up properly. Soft or uneven folds can cause them to fall over.
Use these tips for clean folds:
- Score the fold line first using a bone folder or dull knife
- Fold slowly to keep the crease sharp and even
- Press firmly along the fold to make it crisp
- Use a ruler or straight edge to guide the fold
Credit: www.vistaprint.ca
Finishing Touches
Printing table tents looks great, but adding final touches makes them last longer. These touches improve the look and strength of your table tents.
Small finishing steps protect your table tents from damage. They also keep colors bright and paper safe.
Adding Protective Coatings
Protective coatings shield your table tents from spills and dirt. They make the surface smooth and shiny or matte.
Common coatings include lamination, varnish, and UV coating. Each adds a layer to keep the print safe.
- Lamination adds plastic film for water resistance
- Varnish gives a glossy or matte finish
- UV coating uses ultraviolet light to harden a protective layer
Enhancing Durability
Durability helps table tents stand up to frequent handling. Choose thick paper or cardstock for strength.
Folding and cutting techniques also affect durability. Use clean folds and sharp cuts to avoid tears.
- Use heavy cardstock to prevent bending
- Score folds for easy and neat creases
- Trim edges cleanly to stop fraying
- Consider double-sided printing for extra thickness
Troubleshooting Common Issues
Printing table tents can sometimes cause problems. This guide helps you fix common printing issues fast. You will find easy tips for paper jams, ink smudges, and print quality.
Follow these steps to keep your printer working well and make your table tents look sharp and clear.
Fixing Paper Jams
Paper jams happen when paper gets stuck inside the printer. This stops your printing and can damage the printer if not fixed.
- Turn off the printer before opening it.
- Check the paper tray for folded or stuck sheets.
- Gently pull out any jammed paper in the direction of the paper path.
- Remove scraps of torn paper inside the printer.
- Reload paper properly, making sure it fits the tray guides.
- Close the printer cover and turn it back on.
Dealing With Ink Smudges
Ink smudges make your table tents look messy. They happen if the ink is wet or the paper moves during printing.
- Use the right paper type for your printer.
- Allow printed sheets to dry fully before handling.
- Check if the ink cartridges are installed correctly.
- Clean the printer rollers to avoid paper slipping.
- Reduce the print speed if your printer allows it.
Improving Print Quality
Good print quality makes table tents easy to read and attractive. Poor quality can be blurry or faded prints.
| Cause | Solution |
| Low ink levels | Replace or refill ink cartridges |
| Dirty print heads | Run printer’s cleaning cycle |
| Wrong paper type | Use recommended paper for your printer |
| Incorrect print settings | Check resolution and paper size settings |
| Old or damaged printer parts | Service or replace printer components |

Credit: www.canva.com
Credit: www.gogoprint.sg
Frequently Asked Questions
What Materials Do You Need To Print Table Tents?
To print table tents, you’ll need cardstock, a printer, design software, and a cutting tool. Cardstock provides durability, while design software helps create appealing layouts. A reliable printer ensures high-quality prints, and a cutting tool is essential for shaping the tents accurately.
These materials are key for professional-looking table tents.
How To Design Table Tents Effectively?
Design table tents effectively by focusing on clarity, branding, and visuals. Use bold fonts for readability and include your logo for branding. High-quality images enhance appeal. Keep the message concise to maintain attention. Ensure the design aligns with your brand identity for a cohesive look.
Test the design before printing.
Can You Print Table Tents At Home?
Yes, you can print table tents at home using a reliable printer and quality cardstock. Ensure your design is correctly aligned before printing. Use design software for precise layouts. After printing, cut and fold the tents carefully. Home printing is cost-effective and convenient for small quantities.
What Are Common Sizes For Table Tents?
Common table tent sizes are 4″ x 6″ and 5″ x 7″. These sizes are ideal for most table settings and provide enough space for branding and information. Choose a size that suits your design needs and the available table space.
Custom sizes can be created for specific requirements.
Conclusion
Printing table tents is simple with the right steps. Choose the correct size and design for your needs. Use good quality paper for a professional look. Fold carefully to keep them standing strong. Print in color to catch attention easily.
Place them where people can see and read them. These small tools help share messages quickly and clearly. Try making your own table tents to see great results. Easy, useful, and effective.