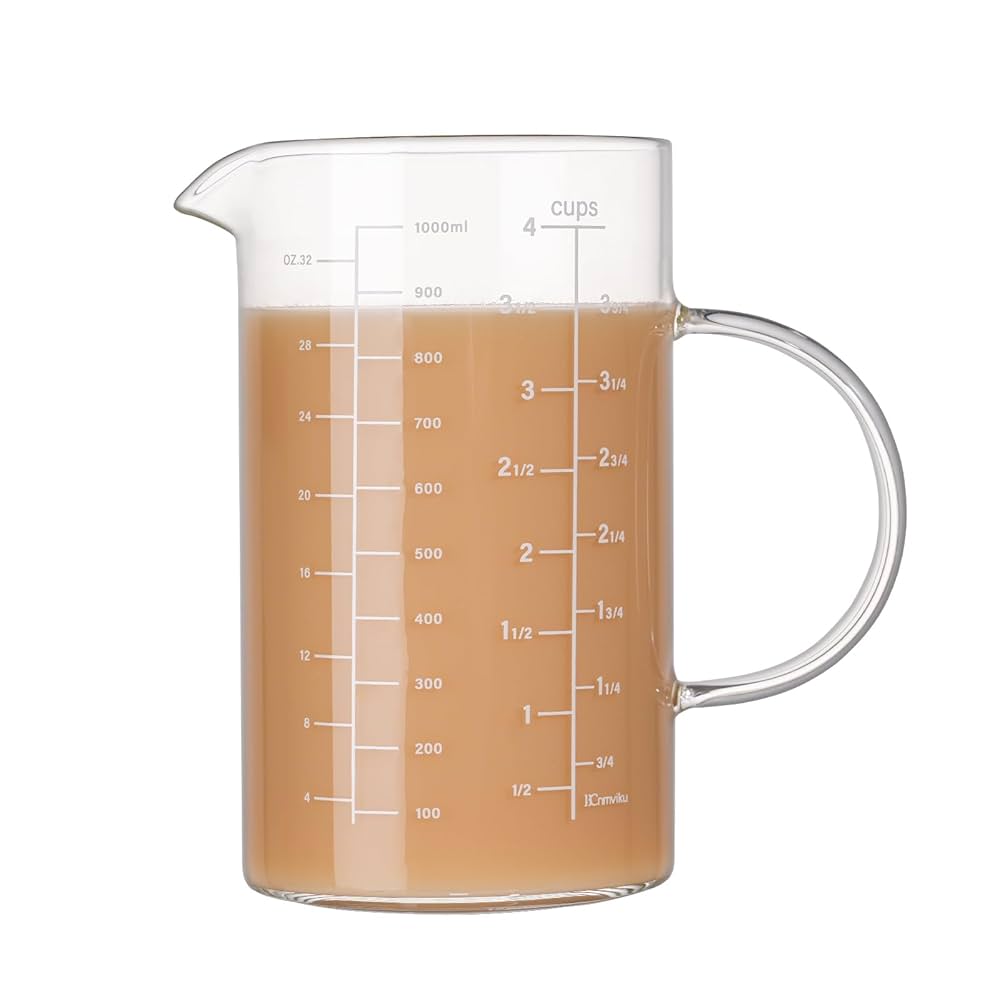
Have you ever struggled to get the right amount of ingredients when cooking or baking? It can be frustrating, especially when your dish doesn’t turn out as expected.
The secret to perfect results often starts with one simple tool: the measuring cup. But do you really know how to read a measuring cup correctly? Understanding this can save you time, prevent mistakes, and make your recipes shine every time.
Keep reading, and you’ll learn easy tricks to master measuring cups like a pro—no guesswork, just accuracy. Your kitchen success story begins here.
Types Of Measuring Cups
Measuring cups come in different types to help you measure ingredients accurately. Each type is made for specific uses in cooking and baking.
Knowing the right measuring cup to use can improve your recipe results. Let’s look at the common types of measuring cups.
Dry Measuring Cups
Dry measuring cups are made for ingredients like flour, sugar, and grains. They usually come in sets with different sizes.
These cups are meant to be filled to the top and leveled off for accuracy. They are often made from plastic, metal, or glass.
- Sizes range from 1/4 cup to 1 cup
- Fill the cup and level with a flat edge
- Good for solid or powdery ingredients
Liquid Measuring Cups
Liquid measuring cups are designed for water, milk, oil, and other liquids. They have a spout to pour without spilling.
These cups are usually clear with measurement marks on the side. You can see the liquid level from the outside.
- Made of glass or plastic
- Have marks for cups, ounces, and milliliters
- Use a flat surface to read the level accurately
Specialty Measuring Cups
Specialty measuring cups serve unique needs in the kitchen. They include cups for coffee, spices, or large quantities.
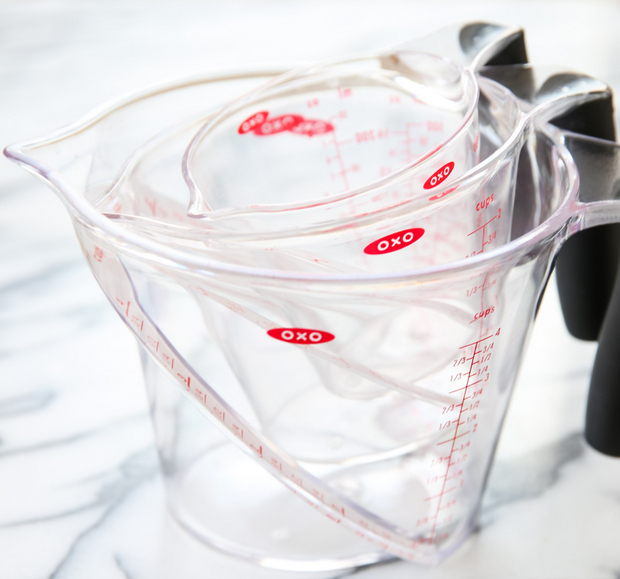
Some have extra features like built-in strainers or angled markings for easier reading.
- Coffee scoops with specific sizes
- Measuring cups with strainers for canned foods
- Large capacity cups for bulk ingredients
Credit: kirbiecravings.com
Reading Measurements Correctly
Using a measuring cup properly helps you cook and bake with accuracy. It ensures your recipes turn out just right every time.
Understanding how to read the markings and measure ingredients correctly is key. This guide explains the basics for liquid and dry ingredients.
Understanding Measurement Markings
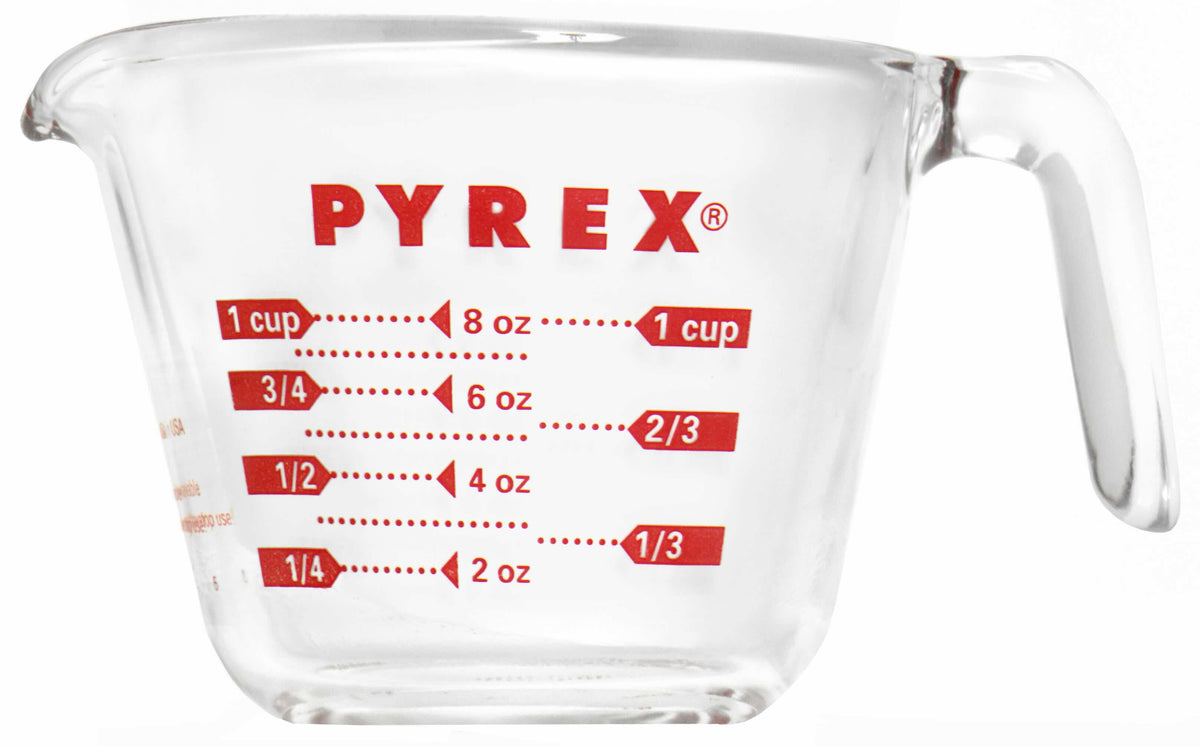
Measuring cups have lines that show different amounts. These markings tell you how much liquid or dry ingredient is inside.
| Marking | Common Amount |
| 1/4 cup | 4 tablespoons |
| 1/3 cup | 5 tablespoons + 1 teaspoon |
| 1/2 cup | 8 tablespoons |
| 2/3 cup | 10 tablespoons + 2 teaspoons |
| 3/4 cup | 12 tablespoons |
| 1 cup | 16 tablespoons |
Using The Meniscus For Liquids
When measuring liquids, look at the meniscus. This is the curve the liquid makes at the surface.
- Place the cup on a flat surface.
- Bend down to eye level with the markings.
- Read the measurement at the bottom of the curve.
- Do not guess from above or below the line.
Measuring Dry Ingredients Accurately
Dry ingredients need a different method to get the right amount. Use a spoon and level the top for accuracy.
- Spoon the ingredient into the cup without shaking.
- Fill it slightly above the marking.
- Use a flat edge to level off the excess.
- Check the amount again before adding to your recipe.
Common Measurement Units
Measuring cups show different units for liquids and dry ingredients. Understanding these units helps you follow recipes accurately.
This guide explains cups, ounces, and milliliters on measuring cups. You will also learn about unit conversion and when to use weight or volume.
Cups
Cups are a common unit in cooking, mainly in the US. One cup equals 8 fluid ounces or about 240 milliliters.
Measuring cups often show marks for fractions like 1/4, 1/3, 1/2, and full cups. These help measure smaller amounts precisely.
Ounces
Ounces measure volume or weight depending on the ingredient. Fluid ounces (fl oz) measure liquids, while ounces (oz) measure weight.
Measuring cups usually show fluid ounces on the side. One fluid ounce equals about 30 milliliters.
Milliliters
Milliliters (ml) are a metric unit for liquid volume. Many measuring cups show milliliters for easy metric cooking.
One milliliter equals one-thousandth of a liter. Common marks include 50 ml, 100 ml, and 200 ml.
Converting Between Units
You can convert cups, ounces, and milliliters using simple ratios. This helps when recipes use different units.
- 1 cup = 8 fluid ounces
- 1 cup ≈ 240 milliliters
- 1 fluid ounce ≈ 30 milliliters
Use these conversions to measure ingredients correctly. Check your measuring cup for clear unit marks.
When To Use Weight Vs Volume
Weight measures how heavy an ingredient is. Volume measures how much space it takes. Use weight for dry ingredients like flour.
Use volume for liquids like water or milk. Weight is more accurate for baking because dry ingredients can pack differently.
- Use a scale for flour, sugar, and spices
- Use measuring cups for milk, oil, and water
- Follow the recipe’s recommended measurement type
Tips For Accurate Measuring
Measuring ingredients correctly is key to baking and cooking success. Using a measuring cup properly helps get the right amount every time.
Small mistakes in measuring can change the taste and texture of your food. Follow these tips to measure ingredients accurately.
Leveling Off Dry Ingredients
Dry ingredients like flour or sugar often pack down in a cup. This can cause you to add too much. Level off the ingredient for a true measure.
Use a flat edge, like the back of a knife, to scrape the excess off the top of the cup. This makes the measurement exact.
- Fill the cup above the rim
- Use a straight edge to level it off
- Do not shake or tap the cup
Avoiding Parallax Errors
Reading the measuring cup at eye level prevents mistakes. Looking from above or below can show the wrong amount.
Place the cup on a flat surface. Bend down to see the measurement line straight on. This helps you read the amount accurately.
- Set cup on a level surface
- Bend or squat to eye level
- Check the bottom of the liquid meniscus
Measuring Sticky Ingredients
Sticky ingredients like honey or syrup stick inside the cup. This can cause you to use less than needed.
Coat the inside of the cup with a small amount of oil or cooking spray before measuring. This helps the sticky ingredient slide out easily.
- Lightly grease the cup before measuring
- Use a rubber spatula to remove all content
- Check the measurement carefully after pouring
Maintaining And Choosing Measuring Cups
Measuring cups help you get accurate amounts for cooking and baking. Keeping them in good shape is important. Choosing the right cups also makes a difference.
This guide explains how to care for measuring cups and how to pick the best ones for your kitchen.
Material Considerations
Measuring cups come in glass, plastic, and metal. Each material has its own benefits and limits. Glass cups do not stain and are easy to read. Plastic cups are light and less breakable. Metal cups last long but may not show liquid levels well.
- Glass cups are good for hot and cold liquids.
- Plastic cups are best for dry ingredients and kids.
- Metal cups are sturdy and fit well for dry items.
Cleaning And Care
Cleaning measuring cups right keeps them accurate and safe. Wash cups after each use with warm soapy water. Avoid harsh scrubbing to keep markings clear. Some cups are dishwasher safe, but check labels first.
| Cleaning Method | Best For | Notes |
| Hand Wash | All Materials | Gentle on markings |
| Dishwasher | Glass, Some Plastic | Check if dishwasher safe |
| Soft Sponge | Plastic, Glass | Prevents scratches |
| No Abrasive Cleaners | All | Protects measurement marks |
Selecting The Right Set
Choose measuring cups that fit your cooking style. Think about what ingredients you use most. Look for clear measurement marks and comfortable handles.
- Pick a set with both dry and liquid measuring cups.
- Choose cups with easy-to-read markings.
- Consider cups that nest to save space.
- Check if the cups are dishwasher safe.
Credit: www.minimax.com.au
Credit: pyrexhome.com
Frequently Asked Questions
What Are The Markings On A Measuring Cup?
The markings on a measuring cup indicate volume measurements. They typically include units like cups, milliliters, and ounces. These markings help ensure accurate ingredient measurements in cooking and baking. It’s essential to read these markings at eye level for precision.
How Do You Measure Liquid Ingredients?
To measure liquid ingredients, pour the liquid into the cup. Ensure the cup is on a flat surface. Bend down to eye level to check the measurement. This prevents inaccuracies caused by viewing from an angle.
Why Is Reading At Eye Level Important?
Reading at eye level ensures accuracy in measurements. When viewed from above, liquid can appear at a different level. This can lead to incorrect measurements, affecting your recipe’s outcome. Always check measurements at eye level for precision.
Can Measuring Cups Be Used For Dry Ingredients?
Yes, measuring cups can be used for dry ingredients, but it’s best to use dry measuring cups. Fill the cup, then level off with a straight edge. This ensures an accurate measurement, crucial for baking precision.
Conclusion
Reading a measuring cup is simple once you know what to look for. The clear lines and numbers help you measure ingredients right. Always check the cup at eye level for accuracy. Using the right cup saves time and avoids mistakes in cooking.
Practice a few times, and it will feel natural. Measuring well makes your recipes turn out better every time. Keep your measuring cups clean and easy to read. Soon, you will cook with confidence and enjoy great meals.