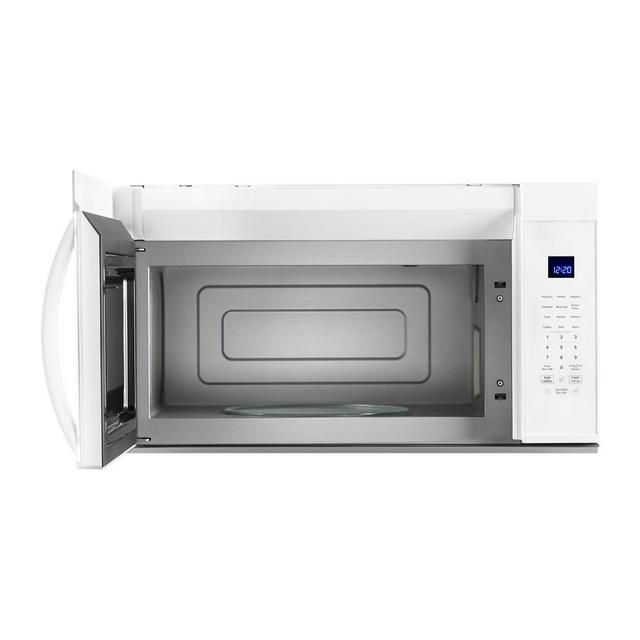
Are you planning to upgrade your kitchen or replace your old microwave? Removing a Whirlpool over-the-range microwave oven might seem like a daunting task, but it doesn’t have to be.
With the right guidance, you can tackle this project on your own, saving both time and money. Imagine the satisfaction of completing this task without needing a professional’s help. You’ll discover simple, step-by-step instructions that make the process straightforward and stress-free.
Stay with us to learn how to safely and efficiently remove your microwave, ensuring a smooth transition to whatever comes next in your kitchen makeover.
Prepare For Removal
Preparing to remove a Whirlpool over the range microwave oven requires careful planning. This step ensures a smooth and safe removal process. Taking time to prepare prevents damage and injury. Follow these key preparations before starting the removal.
Gather Necessary Tools
Collect all tools needed for the job. Having them ready saves time and frustration. Common tools include:
- Screwdriver (Phillips and flathead)
- Socket wrench set
- Drill with bits
- Step ladder or sturdy stool
- Flashlight
- Work gloves
- Protective eyewear
Check if your microwave model needs special tools. Read the manual or search online for specific requirements.
Ensure Safety Measures
Safety is the top priority before removing the microwave. Start by unplugging the microwave from the power outlet. This stops any risk of electric shock.
Turn off the circuit breaker if the microwave is hardwired. Use a voltage tester to confirm no power flows to the unit.
Clear the area around the microwave. Remove any objects that can cause tripping or falling. Wear gloves to protect your hands from sharp edges.
Ask for help if the microwave is heavy. Two people reduce the risk of dropping the appliance.

Credit: www.youtube.com
Disconnect Power And Vent
Before removing your Whirlpool over the range microwave oven, disconnecting the power and vent is essential. This step ensures safety and prepares the appliance for a smooth removal. Handling electrical and ventilation parts carefully prevents damage and injury.
Unplug The Microwave
Locate the microwave’s power cord behind the unit. Firmly grasp the plug and pull it straight out. Avoid yanking the cord to prevent damage. If the microwave is hardwired, turn off the circuit breaker first. Confirm the power is off before proceeding.
Detach Ventilation Components
Identify the vent cover or duct connected to the microwave. Use a screwdriver to remove screws securing the vent parts. Gently pull the vent components away from the microwave. Keep all screws and parts safe for reinstallation or disposal. Check for any clips or fasteners that may hold the vent in place.
Support The Microwave
Supporting the microwave properly is crucial before you begin the removal process. These units are heavy and awkward, making them tricky to handle alone. Without the right support, you risk damaging the microwave, your cabinets, or even injuring yourself.
Use A Helper For Stability
Having an extra pair of hands makes a big difference. A helper can steady the microwave while you work on loosening screws or disconnecting wires. This reduces the chance of the microwave slipping or falling, which could cause damage or injury.
Think about the last time you tried lifting something heavy alone. Did you feel secure or worried it might slip? That’s exactly why a helper is essential here. Even if you think you can manage solo, a friend or family member provides an extra layer of safety and confidence.
Secure The Microwave Before Removal
Before you start pulling the microwave away from the wall, make sure it’s firmly supported. Use a sturdy step stool or place a box beneath to catch the weight once loosened. This setup prevents sudden drops that can harm the appliance or your kitchen.
Additionally, use painter’s tape or a strap to hold the microwave in place temporarily while you detach mounting screws. This simple trick keeps it stable and stops it from shifting unexpectedly. Securing the microwave first lets you focus on removal without rushing or risking damage.
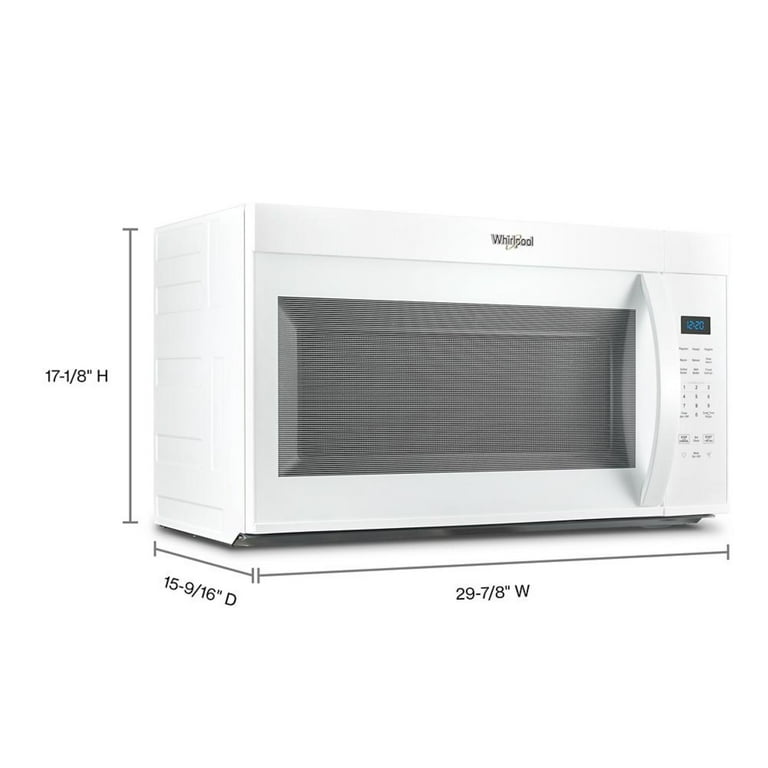
Credit: www.walmart.com
Remove Mounting Screws
Removing the mounting screws is a key part of detaching your Whirlpool over the range microwave oven safely. These screws hold the microwave securely to the wall and cabinet, so handling them with care is essential. Taking your time here prevents damage to both the microwave and your kitchen setup.
Locate All Fasteners
Start by identifying every screw that holds the microwave in place. Look above the microwave inside the cabinet and at the back where it connects to the wall. You might find a combination of screws securing a mounting plate and the microwave itself.
Missing even one screw can make lifting the microwave unstable and dangerous. Use a flashlight if needed to spot screws hidden in darker areas. Have a magnetic screwdriver handy to catch any falling screws, which can be tricky to retrieve once dropped behind appliances.
Unscrew Carefully
Use the correct screwdriver size to avoid stripping the screws. Apply steady pressure while turning counterclockwise to loosen each screw slowly. Rushing can cause the screwdriver to slip, potentially scratching your microwave or cabinet.
As you remove screws, keep them organized in a small container or magnetic tray. This practice saved me time when reinstalling a microwave after cleaning. Also, consider having a friend help support the microwave once most screws are removed to prevent it from falling suddenly.
Lower And Detach Microwave
Lowering and detaching your Whirlpool over the range microwave is a crucial step that requires care and attention. This part of the process ensures you don’t damage the unit or the cabinetry. It also helps you avoid injury, especially if you’re working alone.
Tilt And Slide Microwave Down
First, gently tilt the microwave forward. This releases the mounting tabs that secure it to the wall bracket. Tilting allows the microwave to disengage from the upper support.
Once tilted, slowly slide the microwave toward you. This movement helps clear the back edge from the mounting plate. Take your time here; rushing can cause the microwave to fall or scratch surfaces.
If the microwave feels stuck, double-check for any screws or clips you might have missed. Sometimes, appliances have extra fasteners hidden in corners or under the unit.
Lift Microwave Away Safely
After sliding it down, prepare to lift the microwave away. Use both hands to hold it firmly at the base. Keep the microwave close to your body to maintain balance.
Have a spot ready to place the microwave on a sturdy surface. Avoid setting it down on soft or unstable areas. This prevents accidental tipping or damage.
Do you have a helper nearby? Even one extra pair of hands can make this step safer and easier. If not, consider using a sturdy stool or small table to support the microwave as you remove it.

Credit: queencityonline.com
Clean And Inspect Area
After removing your Whirlpool over the range microwave oven, cleaning and inspecting the area is essential. This ensures the space is ready for a new appliance or any necessary repairs. A clean and clear area prevents damage and keeps your kitchen safe.
Wipe Down Surrounding Surfaces
Start by wiping down the walls and cabinet surfaces near the microwave spot. Use a mild cleaner and a soft cloth to remove grease, dust, and food splatters. Pay special attention to the vent area where dirt can build up. Clean surfaces help maintain a fresh kitchen look and prevent grime from spreading.
Check For Damage Or Repairs
Inspect the area for any damage caused by the microwave or heat. Look for cracks, loose screws, or burned spots on the wall or cabinet. Check the vent for blockages or broken parts. Fix any issues before installing a new microwave. This prevents future problems and ensures safety during use.
Frequently Asked Questions
How Do I Safely Disconnect A Whirlpool Microwave?
First, unplug the microwave from the power outlet. Then, turn off the circuit breaker to avoid electrical hazards. Always use insulated tools and avoid touching wires directly for safety during disconnection.
What Tools Are Needed To Remove This Microwave?
You’ll need a screwdriver, a drill, and a socket wrench. These tools help remove mounting screws and brackets securing the microwave. Having a helper is recommended for safe handling.
Can I Remove The Microwave Alone?
It’s not recommended due to the microwave’s weight and awkward size. Having a second person ensures safety and prevents damage or injury during removal.
How Do I Remove The Mounting Bracket?
Locate and unscrew all screws securing the bracket to the wall or cabinet. Carefully detach the bracket after the microwave is removed, ensuring no damage to the mounting surface.
Conclusion
Removing a Whirlpool over-the-range microwave is easier than it seems. Follow each step slowly and carefully for safety. Keep tools close and turn off power before starting. Taking your time helps avoid damage and injury. Soon, the microwave will be off and ready for replacement or repair.
This guide helps you handle the task with confidence. Remember, patience and care make all the difference. Now, you can remove your microwave without stress or trouble.