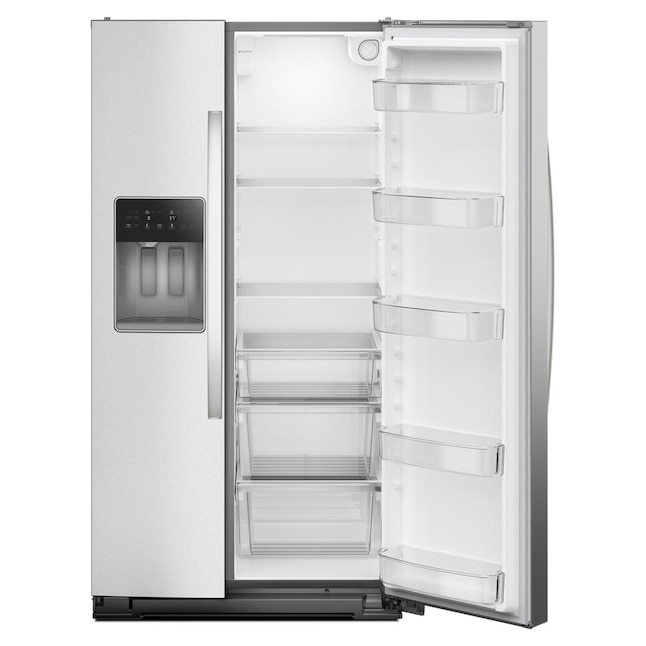
If you’ve ever needed to move or clean your Whirlpool side-by-side refrigerator, you know how tricky it can be to handle those heavy doors. Removing the doors might seem like a tough job, but with the right steps, you can do it yourself safely and quickly.
In this guide, you’ll learn exactly how to remove your refrigerator doors without any hassle. Keep reading, and you’ll save time, avoid damage, and make your next move or deep clean much easier.

Credit: www.plessers.com
Tools Needed
Removing the doors of a Whirlpool side-by-side refrigerator requires some basic tools. Having the right tools makes the job easier and safer. Prepare all tools before starting to avoid interruptions. Most tools are common and easy to find. This section lists everything you need for the task.
Phillips Head Screwdriver
This tool helps remove screws from the door hinges. It fits most screws on Whirlpool refrigerators. A medium-sized screwdriver works best for grip and control.
Flat Head Screwdriver
Use this to pry off covers or gently lift parts. It is useful to separate pieces without damage. Choose a small or medium size for better handling.
Adjustable Wrench
This tool loosens nuts and bolts on the door hinges. It adjusts to different sizes for versatility. A sturdy wrench provides better leverage and safety.
Socket Wrench Set
Some Whirlpool models use bolts that fit socket wrenches. Having a set with multiple sizes ensures you can handle any bolt. It speeds up the removal process.
Towel Or Soft Cloth
Place this under the door to protect floors from scratches. It also cushions the door when you set it down. Use a clean, soft cloth or old towel.
Helper Or Support Stand
Doors can be heavy and awkward to hold alone. A helper or a support stand keeps the door steady. This prevents accidents and damage during removal.
Credit: www.homedepot.com
Prepare The Refrigerator
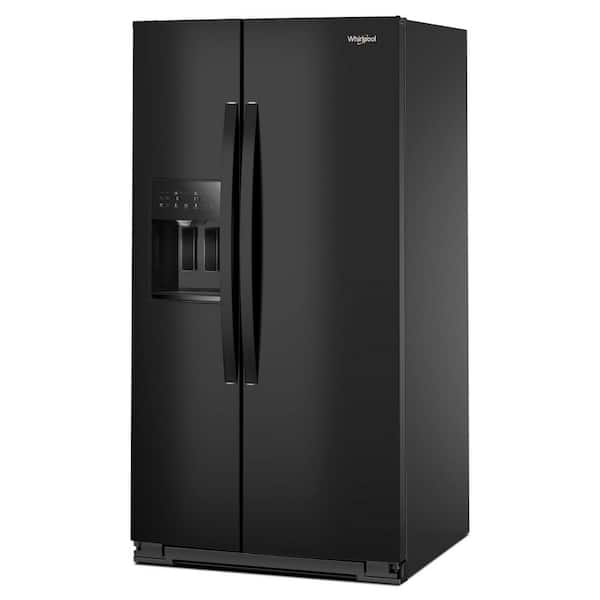
Preparing your Whirlpool side-by-side refrigerator before removing the doors is essential. It ensures safety and makes the process smoother. Take time to set up the space and disconnect the appliance properly.
Clear The Area
Remove any items around the refrigerator. This includes furniture, rugs, and decorations. Clear space helps you move freely and avoids damage. Keep children and pets away from the work zone. A tidy area reduces accidents and makes the job easier.
Unplug The Appliance
Always unplug the refrigerator before starting. This stops electrical hazards and protects the appliance. Locate the power cord behind the unit. Pull the plug from the outlet carefully. Never yank the cord to prevent damage. Safety first—no shortcuts.
Remove The Door Handles
To remove the doors on a Whirlpool side-by-side refrigerator, first unplug the appliance for safety. Then, carefully detach the top hinge cover with a screwdriver. Gently lift the door off the bottom hinge. Repeat for the other door.
Removing the door handles from your Whirlpool side-by-side refrigerator can seem like a challenging task. However, with a little patience and the right guidance, you can accomplish this easily. This process not only enhances your DIY skills but also helps when moving your fridge through tight spaces. Ready to tackle this? Let’s start by breaking down the steps.Locate Screws
First, you need to find the screws that hold the handles in place. Typically, these screws are hidden beneath decorative caps or trim. These caps might look intimidating, but they are usually just snapped into place and can be gently pried off using a flathead screwdriver. Once you remove the caps, you’ll see the screws clearly. This step is about paying attention to detail and ensuring you don’t lose any small parts. If you have ever misplaced a tiny screw, you know the importance of keeping a small container nearby to store these.Unscrew Handles
Now, grab a screwdriver and begin unscrewing the handles. Use a Phillips head screwdriver that fits snugly into the screw to prevent stripping it. As you unscrew, support the handle with your other hand to prevent it from falling unexpectedly. This ensures you don’t damage the handle or the fridge. Once all the screws are removed, gently slide the handle off its mount. If it feels stuck, wiggle it slightly, but avoid using excessive force. A little patience goes a long way here. Are you feeling empowered yet? You are now one step closer to mastering your appliance maintenance skills!Disconnect Water And Ice Lines
Disconnecting the water and ice lines is essential before removing doors on a Whirlpool side-by-side refrigerator. These lines supply water to the ice maker and dispenser. Disconnecting them carefully prevents water leaks and damage. It also makes door removal safer and easier.
Take your time and follow the instructions closely. Use the right tools to avoid breaking any parts. This step ensures smooth progress in your door removal process.
Locate The Water And Ice Lines
Find the water supply line at the back of the refrigerator. It usually connects near the bottom. The ice line runs inside the door, connected to the ice maker and dispenser. Identifying these lines helps you plan the disconnection.
Turn Off The Water Supply
Shut off the water valve supplying the refrigerator. This prevents water flow during disconnection. Look for a valve behind the fridge or under the sink. Turning off the water avoids leaks and water damage.
Disconnect The Water Line
Use a wrench or pliers to loosen the water line fitting. Gently pull the tubing away from the refrigerator connection. Place a towel or container nearby to catch any drips. Avoid bending or kinking the tubing.
Disconnect The Ice Line Inside The Door
Open the freezer door to access the ice line connection. Locate the quick-connect fitting or clip holding the line. Press or release the clip to free the tubing. Carefully pull the line out without stretching.
Secure The Lines After Disconnection
Use caps or plugs to cover open line ends. This stops dirt and moisture from entering. Secure loose lines with tape or ties to keep them safe. Properly securing lines protects the refrigerator’s water system.
Remove Door Hinges
Removing door hinges is key to taking off the doors on your Whirlpool side-by-side refrigerator. Each hinge holds the door firmly in place. Carefully loosening and removing them ensures safe door removal without damage. Focus on the top, middle, and bottom hinges one at a time. Follow clear steps to handle each hinge properly.
Top Hinge
The top hinge supports most of the door’s weight. Use a screwdriver to remove the screws holding it. Keep the screws in a safe place. Gently lift the hinge off the refrigerator frame. Hold the door steady to prevent it from falling.
Middle Hinge
The middle hinge connects the door’s center to the fridge. It balances the door’s movement. Unscrew the bolts securing this hinge. Carefully slide it away from the door. Make sure the door stays supported during this process.
Bottom Hinge
The bottom hinge is the last connection point for the door. Remove the screws or bolts attaching it to the fridge base. Support the door firmly. Slowly lift the door off the hinge. Set the door aside safely before moving on.
Credit: www.homedepot.com
Lift Off The Doors
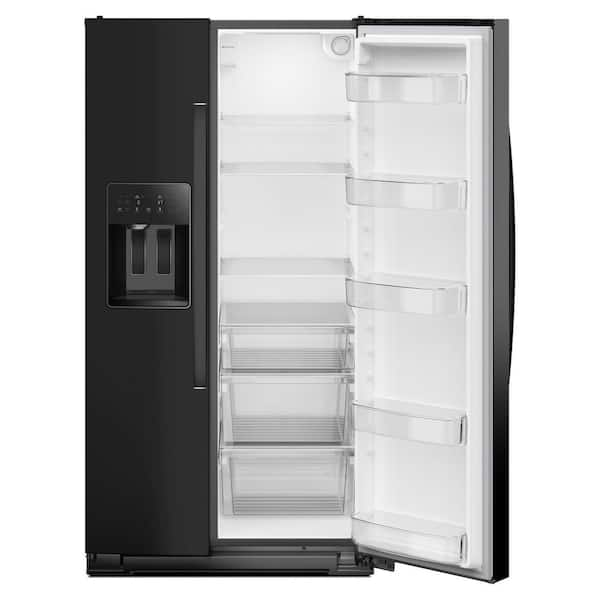
Removing the doors from your Whirlpool side-by-side refrigerator starts with lifting them off carefully. This step requires attention and strength because the doors are heavy and connected to hinges that must be handled gently. Taking your time ensures the doors stay undamaged and ready to be reattached later.
Before lifting, check that all electrical connections and water lines are disconnected. Hold the door firmly and lift it straight up to free it from the hinge pins. Avoid twisting or forcing the door, as this may damage the hinges or the door itself.
Tips For Heavy Doors
- Ask someone to help lift the doors safely.
- Use both hands to get a firm grip.
- Lift slowly and steadily to avoid sudden drops.
- Wear gloves to improve grip and protect your hands.
- Keep the door close to your body for better control.
Safe Handling
- Place the removed doors on a soft surface to prevent scratches.
- Do not lean the doors against walls or furniture.
- Keep the doors upright to avoid bending or warping.
- Clear the area to prevent tripping hazards.
- Store the screws and parts safely for reinstallation.
Reinstalling The Doors
Reinstalling the doors on a Whirlpool side-by-side refrigerator requires careful attention. Proper alignment and connection ensure the doors work smoothly. Follow each step to place the doors back securely.
Align Hinges
Place the door on the hinge pins carefully. Make sure the door sits evenly on the hinges. Check the gap between the door and fridge body. Adjust the hinges to align the door straight. Tighten hinge screws to hold the door firmly in place.
Reconnect Water And Ice Lines
Locate the water and ice line connectors inside the door. Attach the lines securely to prevent leaks. Push the connectors firmly until they click. Check for any kinks or bends in the lines. Proper connection helps the ice maker and water dispenser work well.
Attach Handles
Place the handle on the door in the correct position. Use the screws to fix the handle tightly. Avoid overtightening to prevent damage. Ensure the handle feels secure and does not wobble. Test the door by opening and closing it gently.
Troubleshooting Common Issues
Removing doors from a Whirlpool side-by-side refrigerator may sometimes present challenges. Troubleshooting these common issues helps ensure a smooth process. Understanding problems like stuck screws or misaligned doors saves time and effort.
These issues often cause frustration but have simple solutions. A careful approach makes door removal easier and prevents damage to the appliance.
Stuck Screws
Screws can become stuck due to rust, dirt, or over-tightening. Use a screwdriver that fits the screw head perfectly to avoid stripping. Applying a small amount of lubricant helps loosen rusted screws. Let the lubricant sit for a few minutes before trying again.
- Use a manual screwdriver for better control.
- Apply gentle pressure to avoid damaging the screw.
- Try tapping the screw lightly with a hammer to break rust.
If screws remain stuck, heating the area slightly can expand the metal and ease removal. Always be cautious with heat near plastic parts.
Misaligned Doors
Doors may not align properly after removal or reinstallation. This misalignment causes gaps or prevents doors from closing fully. Check the hinges for bent or loose parts first. Tighten any loose screws carefully.
- Adjust the door by loosening hinge screws slightly.
- Shift the door gently until it sits correctly.
- Tighten the screws again to secure the position.
Ensure the refrigerator is level on the floor. Uneven floors can cause door misalignment. Use a level tool and adjust the feet under the refrigerator if needed.
Maintenance Tips
Maintaining your Whirlpool side-by-side refrigerator after removing the doors is just as important as the removal process itself. Proper care keeps the appliance working smoothly and extends its lifespan. Let’s dive into some practical maintenance tips that you can easily apply to your refrigerator.
Keep Hinges And Screws Clean And Lubricated
Dirt and grime can build up on the door hinges and screws over time. This buildup can cause the doors to stick or become difficult to open and close. Use a damp cloth to wipe away any debris, then apply a small amount of lubricant like WD-40 to keep the hinges moving smoothly.
Have you noticed your refrigerator door becoming harder to open? Cleaning and lubricating the hinges might be all it needs.
Inspect Door Seals For Damage
The rubber seals around the refrigerator doors keep cold air inside and warm air out. Check these seals for cracks, tears, or dirt. Clean them gently with warm, soapy water, and replace any damaged seals promptly to avoid energy loss and food spoilage.
Ensure Proper Door Alignment
After removing and reinstalling the doors, it’s easy for them to become misaligned. Misaligned doors don’t close properly and waste energy. Adjust the door hinges if needed to make sure the doors sit flush with the fridge body and close securely.
Check And Tighten All Fasteners
Loose screws or bolts can make the doors feel unstable or noisy. After door removal and reinstallation, go over every fastener to tighten them firmly. This simple check can prevent unexpected door sagging or rattling.
Clean The Door Surfaces Regularly
Fingerprints, spills, and dust accumulate quickly on refrigerator doors. Wipe down the surfaces with a mild cleaner and a soft cloth to keep your fridge looking fresh. Clean doors also help you spot any issues like rust or dents early.
- Use non-abrasive cleaners to avoid scratches.
- Dry the doors thoroughly to prevent moisture damage.
- Pay extra attention to the edges and corners.
How often do you clean your refrigerator doors? Making it a habit can save you time and money on repairs later.
Frequently Asked Questions
How Do I Remove Whirlpool Side-by-side Refrigerator Doors?
Start by unplugging the fridge for safety. Remove the hinge covers, unscrew the hinges, and carefully lift the doors off the refrigerator. Use a helper if needed to avoid damage or injury.
What Tools Are Needed To Remove These Refrigerator Doors?
You typically need a screwdriver, socket wrench, and possibly pliers. Having a towel or blanket can protect surfaces from scratches during removal.
Can I Remove The Doors Without Damaging The Fridge?
Yes, by following the proper steps and using the right tools, you can safely remove doors without damage.
Why Would I Need To Remove Whirlpool Refrigerator Doors?
Removing doors helps during moving, repairs, or deep cleaning. It also allows access to internal components for maintenance.
Conclusion
Removing doors from your Whirlpool side-by-side refrigerator is simple. Follow the steps carefully and take your time. Use the right tools and keep track of screws. This helps avoid any damage or confusion later. Always ask for help if the doors feel heavy.
Proper removal makes cleaning or moving easier. Now, you can handle this task with confidence. No need to call a professional every time. Just stay safe and work patiently. You’ve got this!