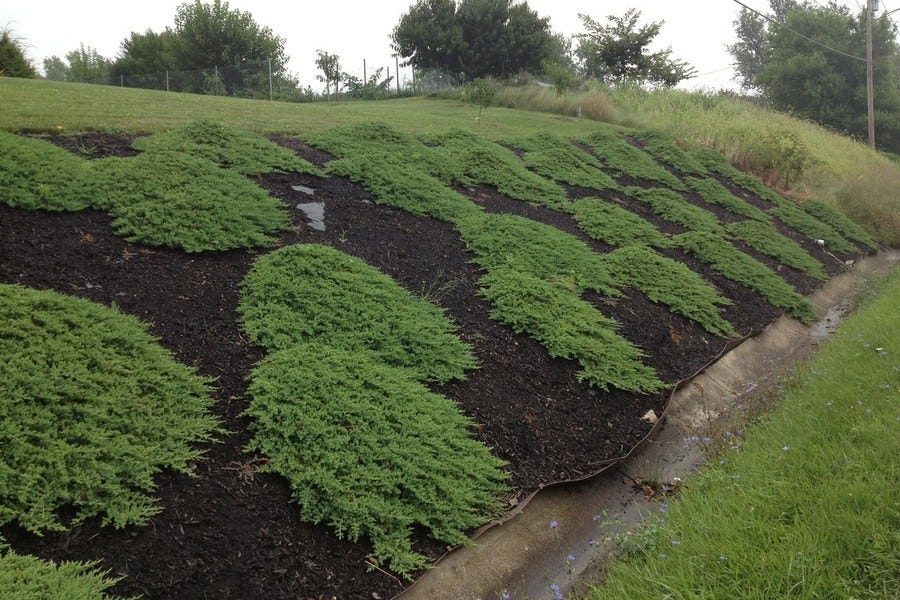
Are you tired of struggling with stubborn landscape fabric that just won’t come up? Removing landscape fabric might seem like a tough job, but with the right approach, you can get it done quickly and easily.
In this guide, you’ll discover simple steps and handy tips that make the process less frustrating. Whether you want to refresh your garden or prepare the ground for new plants, learning how to remove landscape fabric the right way will save you time and effort.
Keep reading to find out how you can tackle this task like a pro and enjoy a cleaner, healthier yard.
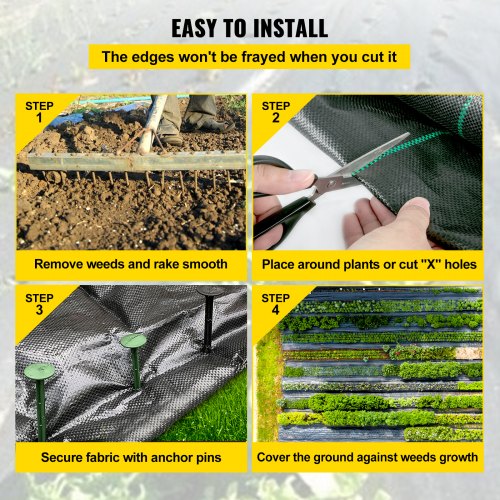
Credit: www.vevor.ca
Tools You’ll Need
Removing landscape fabric is easier with the right tools. These tools help you work safely and finish faster.
Gather all your tools before starting. This saves time and avoids interruptions.
Utility Knife
A sharp utility knife cuts through the fabric quickly. Choose a knife with a retractable blade for safety.
Garden Gloves
Wear garden gloves to protect your hands from sharp edges and dirt. Gloves also give a better grip on the fabric.
Pliers
Pliers help pull out staples or nails that hold the fabric. Use needle-nose pliers for better control.
Shovel Or Garden Fork
Use a shovel or garden fork to loosen soil around the fabric edges. This makes it easier to lift the fabric.
Trash Bags Or Wheelbarrow
You will need a place to put the removed fabric and debris. Use trash bags or a wheelbarrow to carry them away.
- Utility Knife
- Garden Gloves
- Pliers (needle-nose preferred)
- Shovel or Garden Fork
- Trash Bags or Wheelbarrow
When To Remove Fabric
Landscape fabric helps control weeds and keeps soil in place. Over time, it can break down or cause problems.
Knowing when to remove landscape fabric can save your plants and improve your garden’s health.
When The Fabric Blocks Water And Nutrients
Landscape fabric can stop water and nutrients from reaching plant roots. This hurts plant growth.
If you notice plants are weak or dying, check if fabric is stopping water flow. Removing fabric helps plants get what they need.
When Weeds Grow Through Or On Top
Weeds sometimes grow through holes or on top of landscape fabric. This means the fabric is no longer effective.
Removing the fabric lets you clear out stubborn weeds and start fresh with better weed control.
When Fabric Has Torn Or Decomposed
Old fabric can tear or rot after years of use. Torn fabric loses its weed-blocking ability.
It is time to remove damaged fabric and replace it if you want to keep your garden tidy and healthy.
When Changing Your Garden Design
If you want to plant new flowers or change your garden layout, remove the fabric first.
Fabric can stop roots from spreading or prevent digging. Removing it makes planting easier and better.
When Soil Health Needs Improvement
Fabric can stop organic matter from mixing with soil. This lowers soil health over time.
Removing the fabric lets you add compost and nutrients, helping plants grow stronger.
Preparing The Area
Removing landscape fabric can be a tricky task. Preparing the area properly makes the process easier and faster.
Clear the space of any debris or obstacles. This ensures safety and efficiency while working.
Gather Necessary Tools
Having the right tools is essential. Gather gloves, a rake, and a utility knife.
- Gloves protect your hands from sharp objects.
- A rake helps to clear leaves and twigs.
- A utility knife is used for cutting the fabric.
Identify The Edges
Locate the edges of the landscape fabric. This helps in removing the fabric without tearing it.
Edges are usually pinned down or covered with mulch. Carefully expose these areas.
Check For Plant Roots
Plants may have grown through the fabric. Check for roots before pulling the fabric.
Gently separate roots from the fabric to prevent damage to plants.
Plan Disposal
Decide on how to dispose of the removed fabric. Check local regulations for proper disposal methods.
- Some areas allow fabric in regular trash.
- Others require special disposal methods.
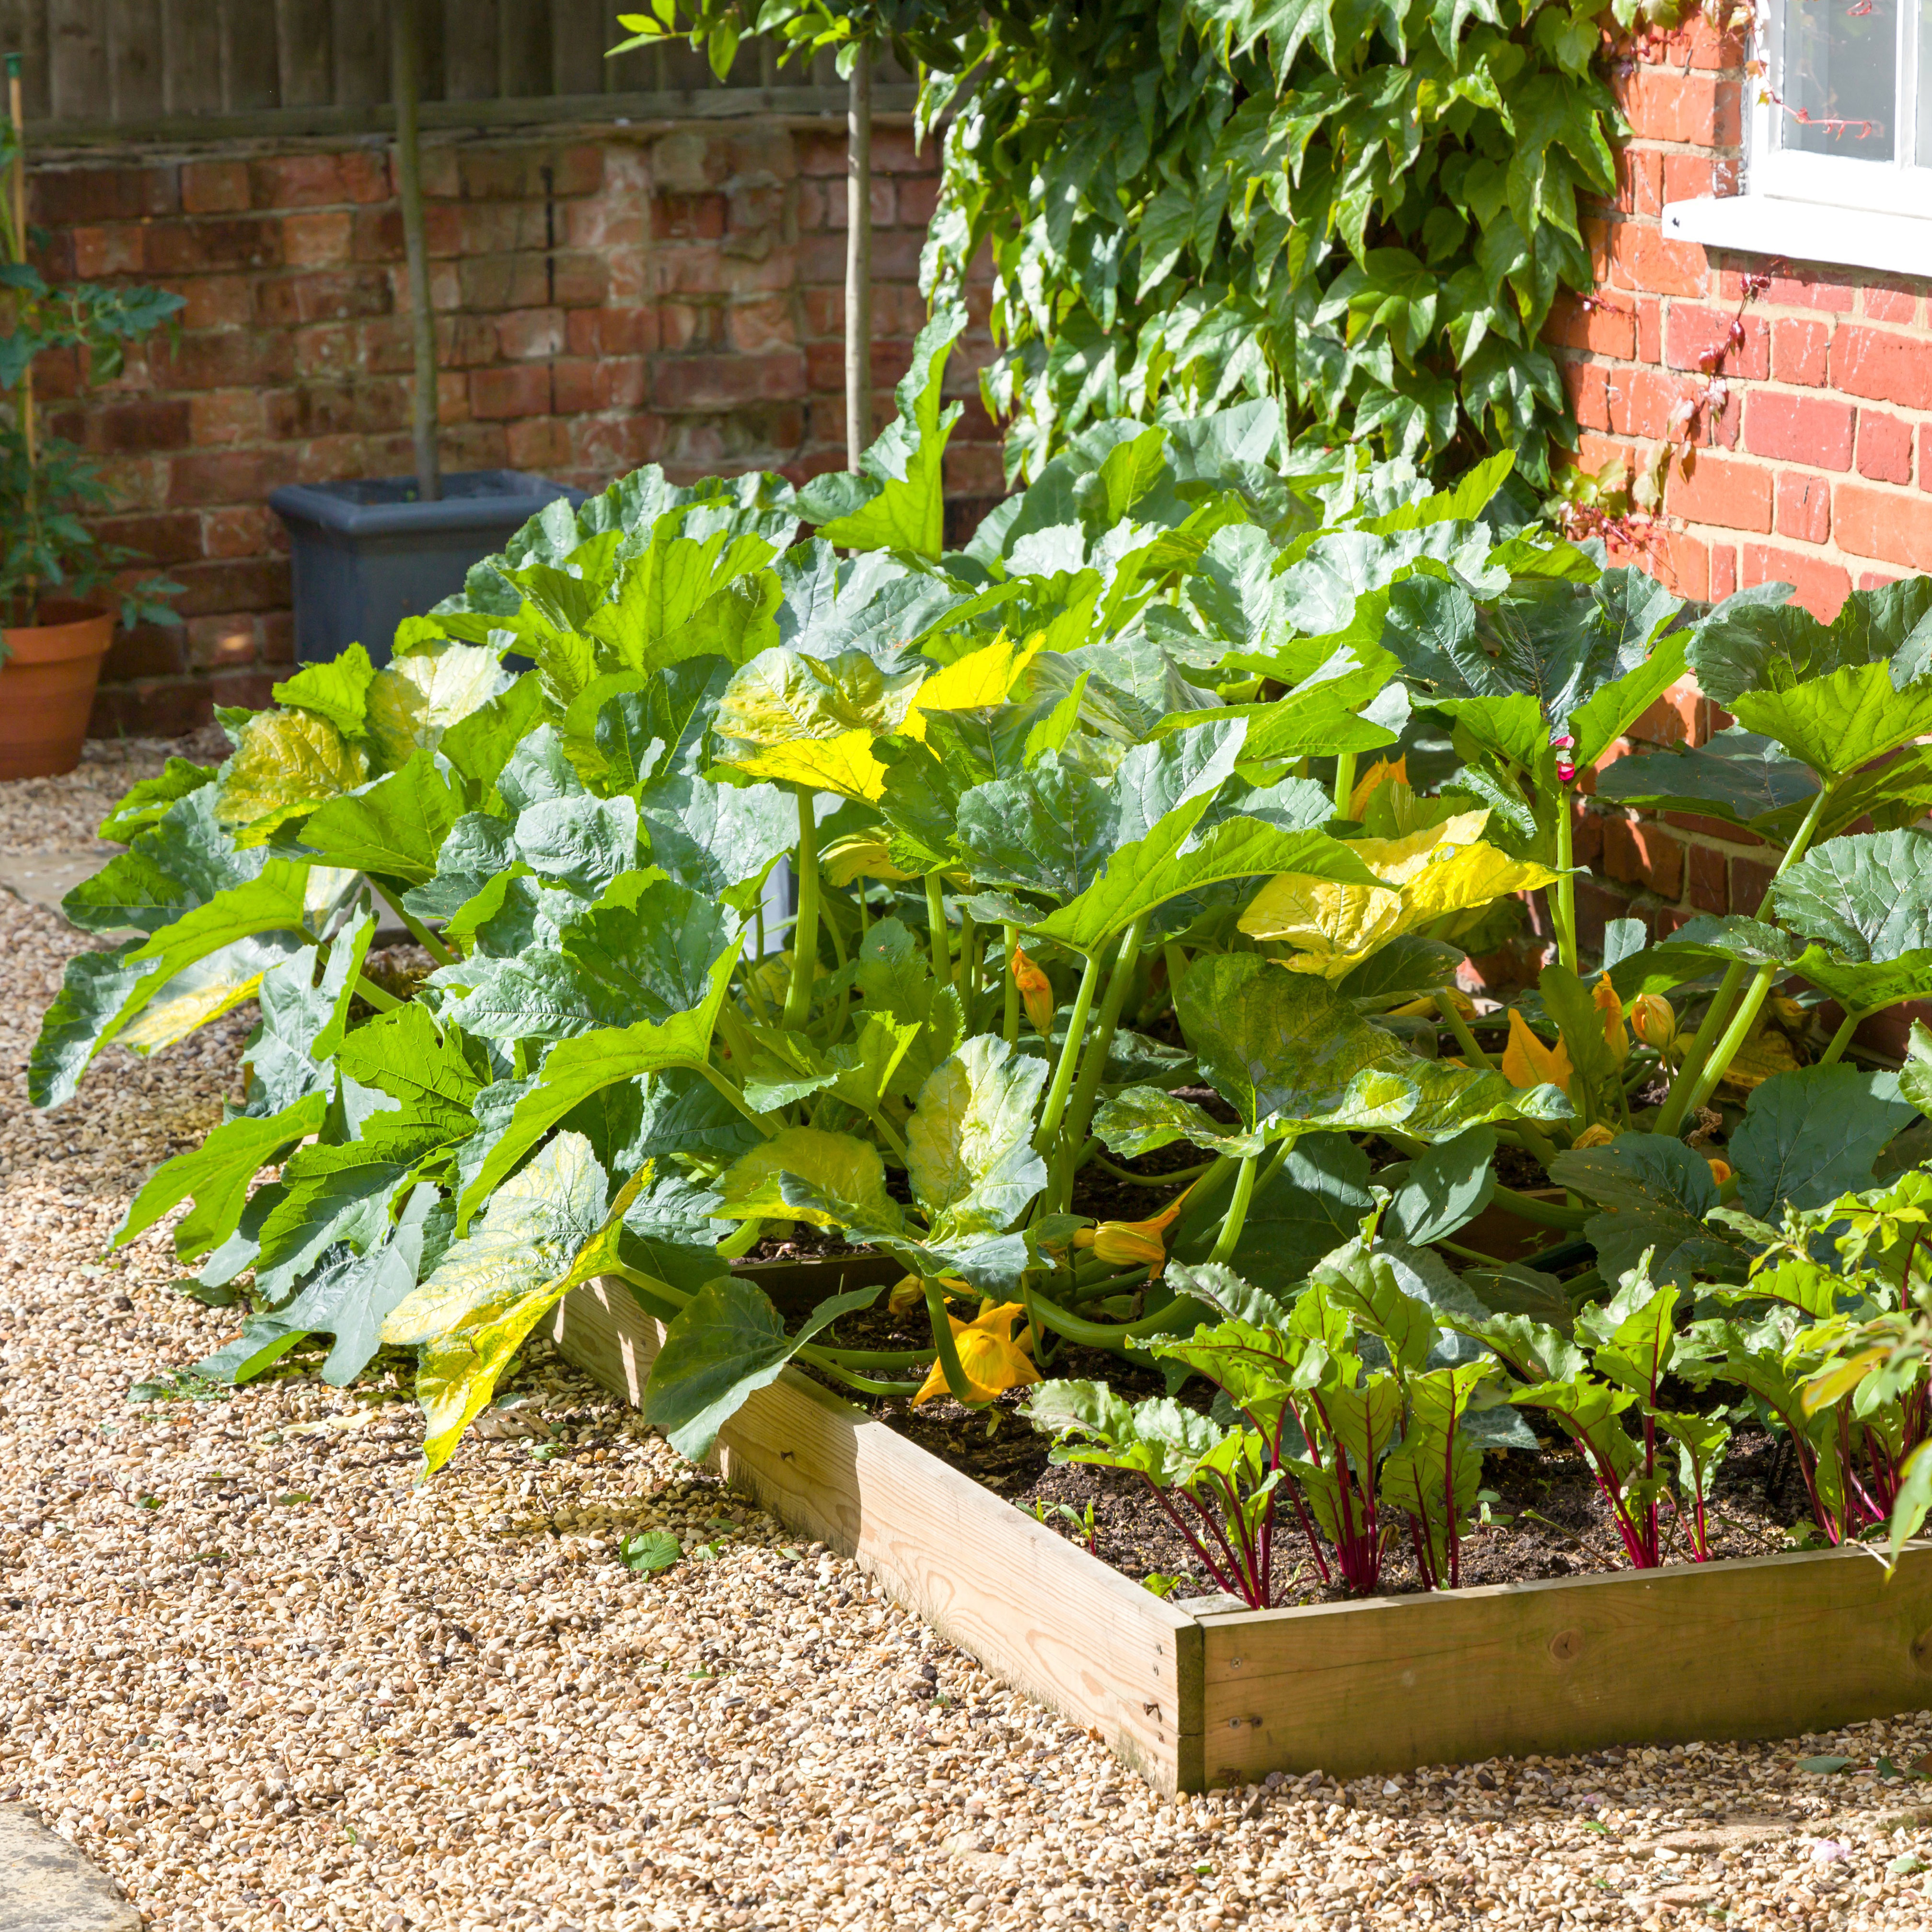
Credit: www.gardeningknowhow.com
Step-by-step Removal Process
Removing landscape fabric can help prepare your garden for new planting or redesign. The process is simple but requires patience.
Follow these steps to remove the fabric carefully and cleanly from your yard or garden bed.
Loosen The Edges
Start by loosening the fabric edges. Use a garden tool like a trowel or flat shovel to lift the fabric gently.
This step helps free the fabric from soil, mulch, or plants along the border.
- Work slowly to avoid tearing the fabric
- Clear away any debris that covers the edges
- Lift enough fabric to grip it firmly
Pull Up The Fabric
Grab the loosened edges and pull the fabric upward. Pull steadily to avoid sudden tears.
If the fabric is old, it may break easily. Remove it piece by piece if needed.
- Pull slowly and evenly
- Watch for spots where fabric is stuck
- Remove large sections first
Cut Stubborn Sections
Some parts may be stuck or tangled with roots or mulch. Use scissors or garden shears to cut these sections.
Cutting helps remove fabric without damaging plants or soil underneath.
- Cut near the stuck areas carefully
- Wear gloves to protect your hands
- Dispose of small pieces as you go
Dispose Of The Material
After removal, gather all fabric pieces for disposal. Landscape fabric is usually not biodegradable.
Check your local rules for disposing of plastic or synthetic garden materials.
- Collect fabric in bags or containers
- Do not burn the fabric
- Recycle if your area accepts garden plastics
Dealing With Residue
Removing landscape fabric can leave behind dirt and sticky residue. Cleaning these helps prepare your soil for new plants or covering materials.
This guide explains how to clear soil and debris and how to break up compacted areas after removing the fabric.
Removing Soil And Debris
After pulling out the landscape fabric, soil and small debris often cling to the ground. You need to clear these for a clean surface.
- Use a garden rake to gather loose soil and debris.
- Shovel away large clumps of dirt carefully.
- Use a broom to sweep smaller particles from hard surfaces.
- If needed, hose down the area to wash away fine residue.
- Let the soil dry before moving to the next step.
Breaking Up Compacted Areas
Soil under the fabric may become packed and hard. Breaking it up improves drainage and root growth.
| Tool | Use | Tip |
| Garden fork | Loosen compacted soil gently | Insert and wiggle to break layers |
| Hoe | Break large clods of soil | Work in small sections |
| Tiller | Mix and aerate deep soil | Use on dry soil for best results |
Restoring The Garden Bed
Removing landscape fabric can help your garden bed grow healthy plants. After removal, the soil often needs care to regain its natural balance. This guide will help you restore your garden bed effectively.
Proper soil care and smart replanting will give your garden a fresh start. Follow the steps below to amend the soil and prepare for new plants.
Amending The Soil
After taking out the landscape fabric, the soil may be compacted and low in nutrients. Amending the soil will improve its texture and fertility.
- Loosen the soil with a garden fork or tiller to improve air flow.
- Add organic matter like compost or aged manure to boost nutrients.
- Mix in some sand or peat moss if the soil feels too heavy or clay-like.
- Test the soil pH and adjust it by adding lime or sulfur if needed.
- Water the soil lightly to help the amendments settle in.
Replanting Tips
Choose plants that suit the soil and climate after you have amended the bed. Preparing the soil well will help new plants grow strong.
| Plant Type | Soil Preference | Sunlight |
| Vegetables | Rich, well-drained soil | Full sun |
| Perennials | Moderate nutrients, good drainage | Partial to full sun |
| Herbs | Light, well-drained soil | Full sun |
| Flowers | Varies by type | Partial to full sun |
Preventing Future Issues
Removing landscape fabric can help avoid problems in your garden. Old fabric may stop water and air from reaching plants.
Taking steps to prevent future issues will keep your garden healthy and easy to maintain.
Alternatives To Landscape Fabric
Some materials work better than landscape fabric. They allow water to flow and stop weeds naturally.
- Mulch: Adds nutrients and blocks weeds
- Wood chips: Break down slowly and improve soil
- Compost: Feeds plants and covers soil
- Newspaper layers: Biodegradable and prevent weeds
- Ground covers: Plants that spread and block weeds
Maintenance Tips
Good care helps avoid weed growth and soil problems. Check your garden often to catch issues early.
Regular tasks keep plants healthy and soil in good shape.
- Remove weeds by hand before they spread
- Add mulch each year to protect soil
- Water plants properly to avoid dryness
- Turn soil to keep it loose and healthy
- Use natural weed control methods

Credit: www.amazon.ca
Frequently Asked Questions
How Do I Safely Remove Landscape Fabric?
To safely remove landscape fabric, start by cutting it into manageable sections. Pull up each piece slowly to avoid damaging plants or soil. Use gloves to protect your hands and a garden fork to loosen stubborn edges. Dispose of the fabric responsibly.
Can I Reuse Landscape Fabric After Removal?
Reusing landscape fabric depends on its condition. If the fabric is intact and free from dirt or tears, you can reuse it. However, damaged or heavily soiled fabric should be replaced to ensure proper weed control and soil health.
What Tools Help Remove Landscape Fabric Efficiently?
Essential tools include garden gloves, a utility knife, pruning shears, and a garden fork. The knife cuts fabric into sections, pruning shears trim roots, and the fork loosens the fabric from the soil. These tools make removal faster and less strenuous.
How To Remove Landscape Fabric Without Harming Plants?
Cut the fabric around plant bases carefully. Gently lift fabric sections without pulling on plants. Use a garden fork to loosen the soil under the fabric near plants. This method protects root systems and prevents plant damage during removal.
Conclusion
Removing landscape fabric does not have to be hard. Start by loosening the edges carefully. Pull the fabric slowly to avoid tearing. Use tools like a garden fork to lift stuck areas. Clear any debris or soil left behind. This helps prepare your garden for new plants or materials.
Taking your time makes the job easier and safer. Your garden will look fresh and ready for the next step. Simple steps lead to good results every time.