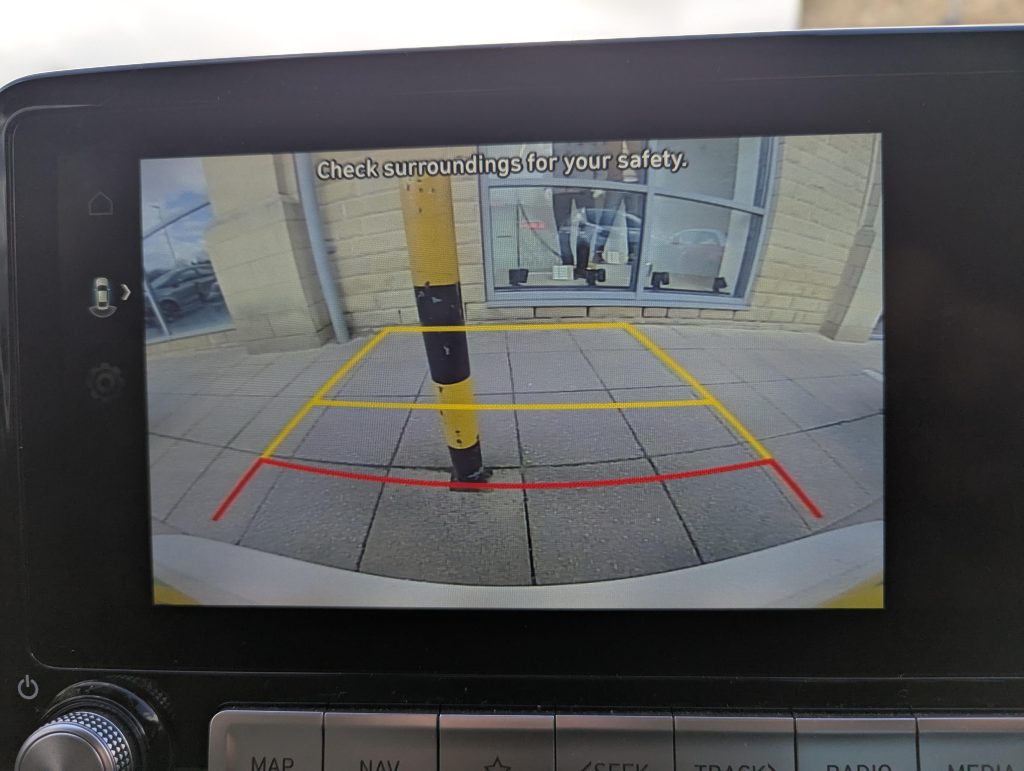
Is your car’s reverse camera foggy or blurry because of moisture? You rely on this camera every day to park safely and avoid accidents.
When water gets inside, it can block your view and make driving stressful. But don’t worry—fixing this problem is easier than you think. You’ll discover simple, effective ways to remove moisture from your reverse camera. Keep reading to get clear, sharp images back and drive with confidence again.
Causes Of Moisture In Reverse Cameras
Moisture can build up inside car reverse cameras. This happens when water or humidity gets trapped inside the camera housing. It can cause blurry images or damage to the camera.
Understanding why moisture appears helps to fix and prevent the problem. Some common causes include bad seals and exposure to weather.
Common Entry Points For Moisture
Water can enter the camera through small openings or damaged parts. These entry points let moisture inside, causing fogging or water drops on the lens.
- Cracks in the camera housing
- Worn or missing rubber seals
- Loose or broken lens covers
- Gaps where cables connect to the camera
- Poor installation or damage from accidents
Effects On Camera Performance
Moisture inside the camera harms its performance. It blocks clear views and can cause the camera to fail over time.
Wet or foggy lenses reduce image quality. Electrical parts may corrode and stop working. This makes parking and reversing harder and less safe.
- Blurry or foggy video feed
- Reduced visibility at night or in rain
- Camera shutting off unexpectedly
- Permanent damage to internal electronics
Credit: www.ridgelineownersclub.com
Tools Needed For Moisture Removal
Removing moisture from a car reverse camera is important for clear images and safety. Using the right tools makes the job easier and more effective.
This guide covers the essential drying equipment and safety gear you need for moisture removal. Proper tools protect both you and your camera.
Essential Drying Equipment
To remove moisture from your reverse camera, you need a few key tools. These help dry the lens and inside parts without damage.
- Microfiber cloth to gently wipe the lens
- Silica gel packs to absorb moisture inside the camera
- Hair dryer or heat gun on low setting to evaporate water
- Compressed air canister to blow out trapped moisture
- Screwdrivers for opening the camera casing carefully
Safety Gear To Use
Safety gear protects you and your car parts during moisture removal. It prevents injury and damage to delicate camera components.
| Gear | Purpose |
| Protective gloves | Keep your hands safe from sharp edges |
| Safety glasses | Protect your eyes from dust and debris |
| Anti-static wrist strap | Prevent static damage to electronic parts |
| Mask | Avoid inhaling dust or chemicals |
Step-by-step Moisture Removal Process
Moisture inside a car reverse camera can blur the image and affect safety. Removing this moisture quickly helps keep the camera clear. Follow these simple steps to fix the issue.
This guide shows how to access the camera, remove moisture, and put it back together properly.
Accessing The Camera Unit
First, find the camera on the back of your car. It is usually near the license plate or tailgate. You need to reach the camera carefully without damaging the car.
Use a screwdriver or trim tool to remove any covers or panels blocking the camera. Keep all screws safe for later.
- Park the car in a safe, dry place
- Turn off the engine and remove the key
- Remove screws or clips holding the camera cover
- Gently pull out the camera unit
Draining And Drying Techniques
Once you have the camera unit, check for visible water inside the lens or case. Tilt the camera to let the water drain out. Avoid shaking it too hard.
Use a soft cloth to dry the outside. For inside moisture, leave the camera in a dry place or use silica gel packs to absorb water.
- Remove visible water by tilting the camera
- Dry the outer surface with a clean cloth
- Place camera near silica gel or rice for 24-48 hours
- Keep the camera in a warm, dry spot
Reassembling The Camera
After the camera is dry, carefully place it back into its slot. Align it properly to avoid damage. Replace all screws and covers you removed before.
Test the camera by turning on your car and checking the display. Make sure the image is clear and free of moisture.
- Insert the camera unit back into its place
- Secure it with screws or clips
- Replace any covers or panels
- Turn on the car and check the camera image
Credit: www.chevybolt.org
Preventive Measures To Avoid Moisture
Moisture in a car reverse camera can blur the image and damage the device. Preventing water buildup helps keep the camera clear and working well.
Using the right steps can stop moisture from entering the camera. This guide shares tips on sealing and maintenance to protect your camera.
Sealing And Waterproofing Tips
Proper sealing blocks water from getting inside the camera. Use waterproof materials around the camera mount and wiring.
- Apply silicone sealant around the camera edges.
- Check rubber gaskets and replace if cracked or worn.
- Use waterproof tape on exposed wires.
- Ensure the camera housing is tightly closed after installation.
- Install a small hood or cover above the camera to reduce rain exposure.
Routine Maintenance Practices
Regular checks help spot moisture problems early. Clean and inspect the camera often to keep it dry and clear.
| Maintenance Task | Frequency | Purpose |
| Wipe camera lens | Weekly | Remove dirt and water spots |
| Inspect seals and gaskets | Monthly | Find cracks or damage |
| Check wiring insulation | Monthly | Prevent water entry |
| Test camera image quality | Monthly | Spot moisture blur early |
When To Seek Professional Help
Removing moisture from a car reverse camera can be tricky. Some issues are easy to fix at home. Others need a professional touch to avoid damage.
Knowing when to ask for help saves time and money. It also keeps your camera working well and safe.
Signs Of Serious Damage
Moisture inside the camera can cause serious problems. Watch for these signs that mean you need expert care:
- Blurred or foggy image that does not clear up
- Water droplets visible inside the camera lens
- Camera stops working intermittently or completely
- Unusual noises or electrical issues when using the camera
- Condensation returns quickly after drying attempts
Cost Vs. Diy Considerations
Deciding between fixing the camera yourself or hiring a pro depends on costs and risks. Use this table to compare options:
| Factor | DIY Repair | Professional Repair |
| Cost | Lower upfront but risk of mistakes | Higher upfront but reliable results |
| Tools Needed | Special tools may be required | Tools and parts provided by expert |
| Time | Can take several hours or days | Usually quicker and efficient |
| Risk of Further Damage | Higher if unsure or inexperienced | Minimal with trained technicians |
| Warranty | No warranty on DIY fixes | Often includes service warranty |
Credit: www.ioniqforum.com
Frequently Asked Questions
How To Prevent Moisture Buildup In Reverse Cameras?
Keep the camera lens clean and dry regularly. Ensure proper sealing around the camera housing. Use a waterproof cover if needed. Parking in shaded or covered areas helps reduce moisture. Avoid washing the car with high-pressure water directly on the camera.
What Causes Moisture Inside Car Reverse Cameras?
Moisture enters through cracks or damaged seals around the camera. Temperature changes cause condensation inside the camera lens. Poor installation or aging components allow water intrusion. Humid weather also increases the chance of moisture buildup.
Can Diy Methods Remove Moisture From Reverse Cameras?
Yes, you can use silica gel packets or rice to absorb moisture. Gently dry the camera with a soft cloth and hairdryer on low heat. Avoid harsh chemicals or excessive heat that might damage the camera.
When Should I Seek Professional Help For Camera Moisture?
If moisture persists after DIY attempts or affects camera performance. If the camera housing is cracked or seals are damaged. For complex internal cleaning or replacement of camera components. Persistent fogging indicates a deeper issue needing expert repair.
Conclusion
Moisture in your car’s reverse camera can cause blurry images and safety issues. Regular checks help catch moisture early. Drying the camera with gentle heat or silica packs works well. Sealing any cracks prevents water from entering. Keep your camera clean for clear views.
Simple steps save you time and repair costs. Stay safe by maintaining your reverse camera often. Clear vision means safer driving every time.