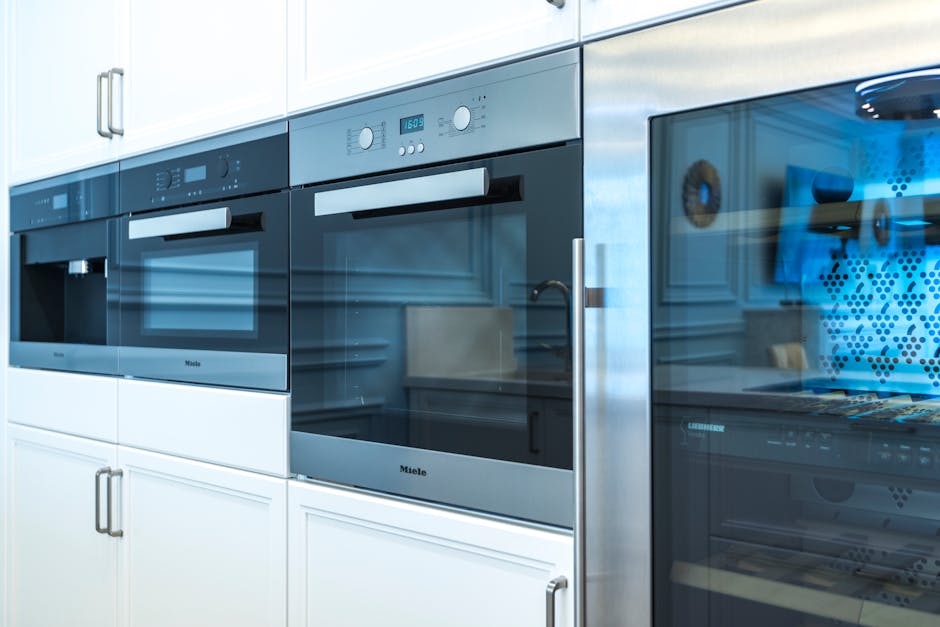
Are you looking to remove your over the range microwave oven but don’t know where to start? Taking down a microwave might seem tricky, but with the right steps, you can do it safely and quickly.
Whether you want to replace it or just need some extra space, this guide will walk you through the process in simple, clear steps. Keep reading, and you’ll gain the confidence to handle the job yourself without stress or confusion.
Your kitchen upgrade starts here!
Tools Needed
A screwdriver, a drill, and a helper are essential for removing an over the range microwave oven. Safety gloves and a ladder might also be needed for easier access and protection.
Removing an over-the-range microwave oven requires the right tools. These tools ensure safety and efficiency during the process. Having them ready will make the task easier and faster. Here’s a list of essential tools you’ll need.Phillips Screwdriver
A Phillips screwdriver is crucial for removing screws. Most microwaves are secured with these. Make sure to have a medium-sized one.Flathead Screwdriver
A flathead screwdriver helps pry off covers. It also assists in loosening stubborn screws.Drill
A drill is useful for unscrewing tight screws. It speeds up the process. Ensure it’s fully charged before starting.Measuring Tape
A measuring tape helps verify dimensions. This ensures proper fitting for the new appliance.Stud Finder
A stud finder locates wall studs. Use it to check for secure mounting points.Level
A level ensures your microwave is straight. It helps avoid tilting or uneven placement.Pliers
Pliers help grip and twist wires or cables. They are handy for disconnecting power lines.Helper
A helper is not a tool, but very useful. They provide extra hands for support. This makes lifting and handling safer. Prepare these tools before you start. This will make the removal process smooth. You’ll save time and reduce effort.Safety Precautions
Removing an over the range microwave oven requires careful attention to safety. These appliances are often heavy and connected to electrical and ventilation systems. Ignoring safety can lead to injury or damage, so prepare properly before you begin.
Turn Off Power At The Circuit Breaker
Never rely on just unplugging the microwave. The power connection might be hidden behind the unit or wired directly into your home’s electrical system. To protect yourself from electric shock, switch off the circuit breaker that controls the microwave’s power.
Use Proper Tools And Equipment
Having the right tools makes the job safer and easier. You will need a screwdriver, a sturdy ladder, and possibly a helper to support the microwave’s weight. Avoid makeshift tools or unstable surfaces that can cause slips or falls.
Secure The Microwave During Removal
The microwave is often mounted with brackets and can be awkward to hold. Ensure you have a firm grip or ask someone to assist you. Dropping the microwave can cause injury or damage to your kitchen.
Check For Gas Or Vent Connections
Some over the range microwaves are connected to ventilation ducts or gas lines. Before removal, inspect these connections carefully. Detach them gently to avoid leaks or damage that could lead to hazards later.
Wear Protective Gear
Protect your hands and eyes during the process. Use gloves to avoid cuts from sharp edges and safety glasses to shield your eyes from dust or debris. It’s a small step that can prevent unexpected injuries.
Plan For Safe Disposal Or Storage
Once removed, the microwave needs a safe place to go. Think ahead about where you will store it or how you will dispose of it responsibly. Avoid leaving it in walkways or unstable spots where it could fall or cause accidents.
Preparing The Microwave
Preparing your over the range microwave for removal is a crucial first step that ensures safety and ease throughout the process. Taking a moment to organize your workspace and disconnect power will prevent accidents and make the task smoother.
Unplugging The Unit
Before you touch any screws or bolts, make sure the microwave is completely disconnected from power. Locate the power cord—usually tucked behind or above the appliance—and unplug it from the wall outlet.
If you can’t easily reach the plug, consider turning off the circuit breaker to the kitchen. This extra precaution protects you from electrical shocks while working on the microwave.
Clearing The Area
Clear the space around and beneath the microwave to give yourself enough room to work comfortably. Remove any items on the stove, counters, or nearby shelves that could get in your way or fall during removal.
Keep a sturdy step stool or ladder nearby if your microwave is mounted high. Having everything ready before you start prevents unnecessary trips up and down and keeps your focus on the task.

Credit: www.monacoers.org
Locating Mounting Hardware
Locating the mounting hardware is the first critical task when removing your over the range microwave oven. Without identifying these key points, you risk damaging your microwave or the cabinetry. Knowing exactly where the screws and brackets hide will make your removal process safer and smoother.
Checking Above The Microwave
Start by looking at the cabinet or wall area directly above the microwave. Often, there’s a mounting bracket attached here that holds the microwave securely. You might find screws or bolts fastening the bracket to the wall studs or cabinet frame.
Use a flashlight to get a better view inside the cabinet. Sometimes, the screws are hidden behind a small trim or cover panel. Don’t rush—take your time to spot every fastener.
Inspecting The Microwave’s Back Panel
Next, carefully check the back of the microwave where it meets the wall. This is another common spot for mounting hardware. Some models use a back plate with screws that anchor the microwave to the wall or to a bracket.
If you see a metal plate, run your hand along it to feel for screws. They can be recessed or covered by plastic caps. Removing these screws will release the microwave from its fixed position.
Looking Underneath The Microwave
Don’t forget to examine the underside of the microwave. Manufacturers often place support screws or bolts here that hold the unit in place. These are typically accessible from the bottom of the cabinet or range hood.
You might need a step stool to get a good look. Keep a small container nearby to store screws as you remove them—losing even one can complicate reinstallation or repairs.
Understanding Your Microwave’s Mounting Style
Microwaves can be mounted in different ways depending on the model and kitchen design. Some use a single bracket system, while others rely on multiple screws and support arms. Knowing your microwave’s style helps you predict where hardware will be.
Have you checked your user manual or manufacturer’s website? These often provide diagrams showing mounting points. If you don’t have the manual, online forums and videos can be surprisingly helpful.
Removing The Microwave
Removing an over-the-range microwave can seem intimidating, but breaking it down into clear steps makes the task manageable. You’ll want to focus on safely detaching the unit from its wall bracket and then lowering it without causing damage or injury. Handling these steps carefully ensures you protect both yourself and your kitchen appliances.
Detaching From Wall Bracket
First, make sure the microwave is unplugged from the power source to avoid any electrical hazards. Locate the mounting screws or bolts holding the microwave to the wall bracket—these are usually found underneath the microwave or inside the cabinet above. Use a screwdriver or drill to carefully remove these fasteners, supporting the microwave as you go to prevent it from slipping.
Pay attention to any clips or additional supports that might be securing the microwave. Sometimes, there are metal tabs that lock the microwave onto the bracket, which you’ll need to lift or slide out. Have a helper nearby to steady the microwave once it’s free from the bracket.
Lowering The Microwave Safely
Once detached, lowering the microwave requires steady hands and a clear plan. Avoid trying to carry it alone—microwaves can be heavier than they look. Instead, work with someone to slowly and evenly lower the unit down.
Keep your grip firm and move slowly to maintain balance. If the microwave feels awkward or unstable, pause and adjust your hold. Think about where you’ll place the microwave immediately after removal—having a sturdy surface nearby can prevent accidents.
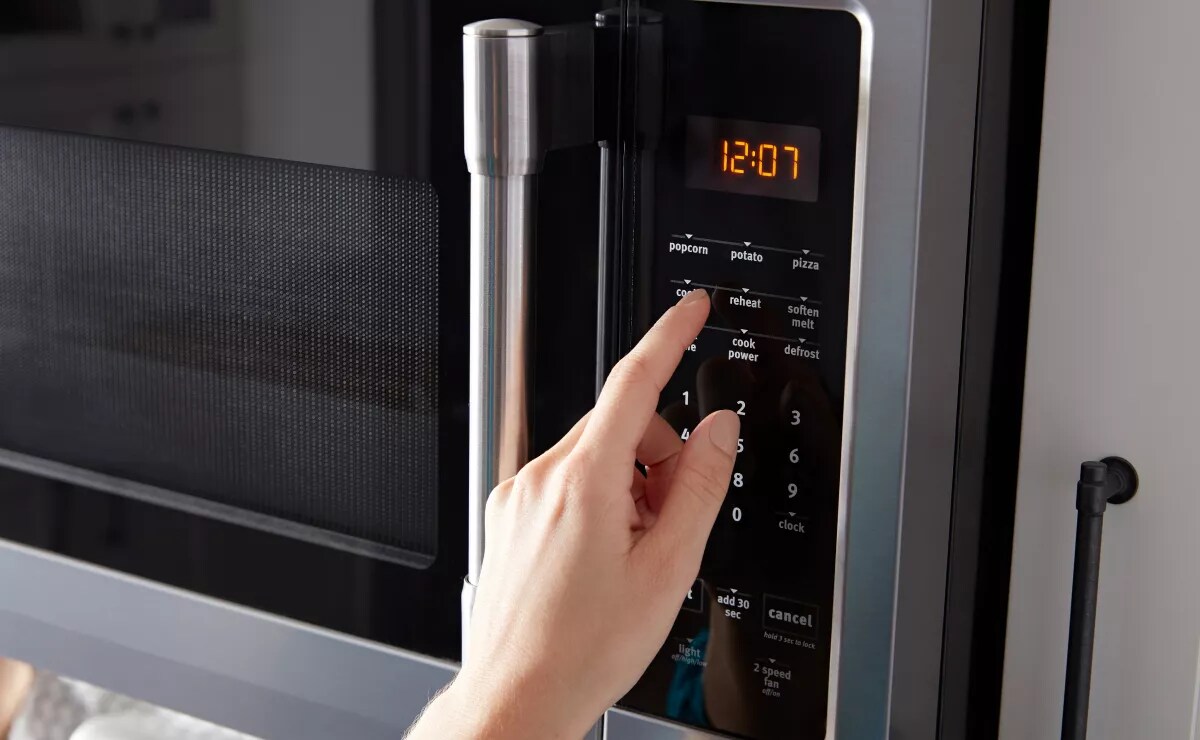
Credit: www.maytag.com
Disconnecting Electrical Connections
Disconnecting electrical connections is a key step in removing an over the range microwave oven safely. This process ensures no power runs through the appliance during removal. It protects you from electrical shocks and prevents damage to your microwave and home wiring.
Always start by cutting off the power supply to the microwave. This step is crucial for safety. Use a circuit breaker or unplug the microwave from the wall outlet if accessible.
Locate The Power Source
Find the exact location of the microwave’s power source. It may be plugged into a standard outlet or hardwired into the wall. Check above the microwave or inside the cabinet for the power connection.
Turn Off The Circuit Breaker
Identify the circuit breaker that controls the microwave’s power. Flip the switch to the off position. This stops electricity from flowing to the microwave. Use a voltage tester to confirm no power is present.
Disconnect The Power Cord
Unplug the microwave’s power cord if it has one. Pull it gently from the outlet. Avoid yanking or pulling the cord forcefully. If the microwave is hardwired, you need to detach wires carefully.
Handling Hardwired Connections
Turn off the main electrical panel before working on hardwired connections. Use a screwdriver to remove the microwave’s wiring cover. Note the wire colors and connections for reassembly. Disconnect each wire by loosening the wire nuts.
Use Safety Gear
Wear insulated gloves to protect your hands. Use safety glasses to shield your eyes. Keep a flashlight nearby to see inside dark cabinets. Take your time to avoid mistakes.
Handling Common Issues
Removing an over-the-range microwave can be tricky, especially when you run into common problems like stuck screws or the challenge of handling a heavy appliance. These issues can slow you down and make the task frustrating. Tackling these obstacles with the right approach will save you time and keep you safe.
Stuck Screws
Stuck screws are a common headache when taking down your microwave. Rust or over-tightening often causes them to resist turning. Before you apply brute force, try spraying a little penetrating oil on the screw heads and let it sit for 10-15 minutes.
If the screws still won’t budge, use a screwdriver with a better grip or a manual impact driver. Sometimes, tapping gently on the screwdriver with a hammer while turning can loosen stubborn screws. Have you checked if your screwdriver fits the screw head perfectly? Using the wrong size can strip the screws and make the problem worse.
Heavy Microwave Handling
Over-the-range microwaves are bulky and surprisingly heavy. Attempting to lift one alone increases the risk of injury or dropping the unit. It’s smart to have a helper ready before you start loosening the mounting screws.
Wear gloves to improve your grip and protect your hands from sharp edges inside the microwave cavity. Once the screws are removed, support the microwave firmly from underneath before sliding it off the bracket. Planning your movements ahead helps you avoid awkward angles that can strain your back.

Credit: www.youtube.com
Cleaning And Final Steps
After removing the over the range microwave oven, cleaning the area and completing final steps are essential. This keeps your kitchen tidy and ready for a new appliance or other use. Proper cleaning removes dust, grease, and debris left behind.
Pay close attention to the wall and cabinet surfaces. These spots often collect grime over time. Cleaning here helps prevent damage and improves your kitchen’s look.
Cleaning The Wall And Surrounding Area
Use a soft cloth or sponge with mild soap and warm water. Gently wipe the wall to remove dirt and grease. Avoid harsh chemicals that can damage paint or wallpaper. For tough spots, a mix of baking soda and water works well.
- Dip cloth in soapy water
- Wipe the entire area carefully
- Rinse the cloth and wipe again
- Dry the wall with a clean towel
Inspecting And Sealing Holes Or Marks
Look for holes or marks left by mounting screws. Fill small holes with wall putty or spackling paste. Smooth the surface with a putty knife. Let it dry completely before sanding lightly. Paint over the repaired spots to match your wall color.
Cleaning The Microwave Mounting Bracket
Remove dust and grease from the mounting bracket. Use a damp cloth with mild cleaner. Wipe all surfaces carefully. Dry the bracket thoroughly to prevent rust. This prepares the bracket for possible reuse.
Final Safety Checks And Disposal
Ensure all electrical wires are safely capped or disconnected. Double-check that no metal parts are loose. Dispose of the old microwave according to local regulations. Consider recycling options to reduce waste.
Frequently Asked Questions
How Do I Safely Remove An Over The Range Microwave?
Turn off power and unplug the microwave first. Remove mounting screws and carefully lift the microwave off its bracket. Use a helper to avoid injury. Follow manufacturer instructions for specific models.
What Tools Are Needed To Remove This Microwave?
You typically need a screwdriver, drill, and a step ladder. A helper is also recommended for safety. Always wear protective gloves and follow safety guidelines during removal.
How Do I Disconnect The Microwave’s Electrical Wiring?
Turn off the circuit breaker first. Carefully disconnect the wiring from the microwave terminals. Label wires if needed for easy reconnection. Consult an electrician if unsure or uncomfortable handling electrical components.
Can I Remove The Microwave Without Damaging The Wall Or Cabinet?
Yes, by carefully unscrewing mounting hardware and gently lifting the microwave. Avoid using excessive force to prevent damage. Use appropriate tools and work slowly for the best results.
Conclusion
Removing an over-the-range microwave oven can be simple and safe. Follow each step slowly and carefully. Always turn off the power before starting work. Use the right tools to avoid damage or injury. Taking your time helps prevent mistakes. After removal, clean the area well.
This makes room for your new appliance or other kitchen changes. Staying calm and focused makes the task easier. You can do this even without much experience. Safety first, and the job will go smoothly.