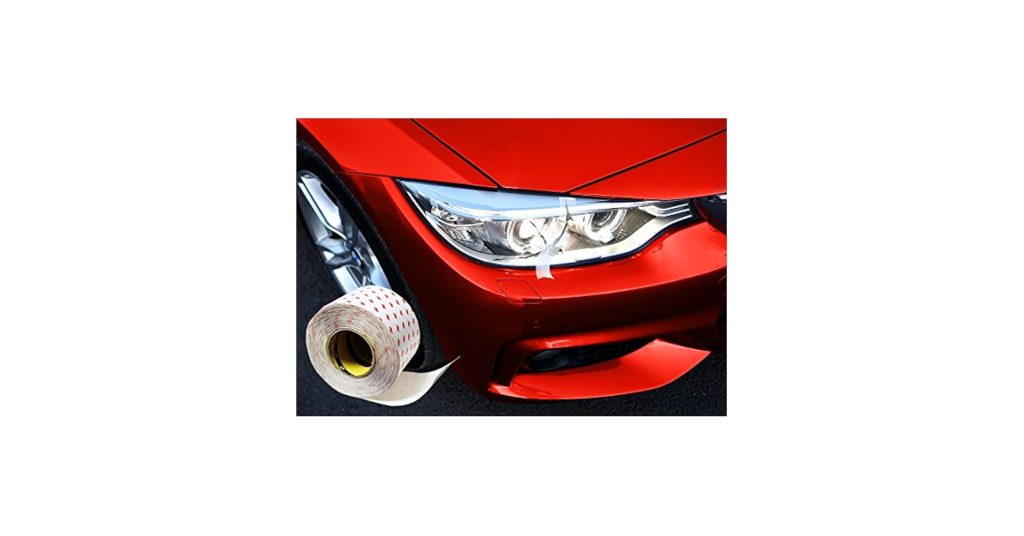
Have you noticed a crack on your car’s headlight and wondered how to fix it without spending a fortune? A cracked headlight doesn’t just look bad—it can also reduce your visibility and put you at risk on the road.
The good news? You don’t need to be a mechanic or buy an expensive replacement to get it repaired. In this guide, you’ll discover simple, effective steps to restore your headlight’s clarity and keep your car safe and shining bright.
Keep reading—you’re just moments away from fixing that crack yourself!
Tools And Materials Needed
Fixing a cracked car headlight requires the right tools and materials. Using proper items helps make the repair strong and neat.
Gathering everything before you start saves time and avoids interruptions during the repair process.
Cleaning Supplies
Cleaning the headlight well is important before fixing the crack. Dirt and dust can stop the repair from sticking properly.
- Isopropyl alcohol or glass cleaner
- Microfiber cloths
- Soap and water
- Soft brush or sponge
Repair Materials
These materials help fill and seal the crack in the headlight lens. Choose one based on your repair method.
| Material | Description | Use |
| Epoxy Resin | Two-part adhesive that hardens clear | Fill and seal cracks |
| UV Resin | Hardens with UV light quickly | Fast curing for small cracks |
| Clear Nail Polish | Easy to apply, dries clear | Temporary fix for minor cracks |
Tools For Application
Use these tools to apply the repair materials smoothly and safely.
- Small brush or applicator
- Plastic spreader or toothpick
- Sandpaper (fine grit)
- UV light lamp (if using UV resin)
Safety Equipment
Protect yourself while working with adhesives and cleaning chemicals.
- Gloves to protect your skin
- Safety glasses to protect your eyes
- Mask to avoid inhaling fumes

Credit: vividheadlight.com
Assessing The Damage
Before fixing a cracked car headlight, check how bad the damage is. This helps you decide if you can repair it or need a replacement.
Look closely at the crack size, depth, and if the light still works. This information guides the repair process.
Check The Crack Size
Small cracks under a few inches might be repairable. Large cracks often require a new headlight.
Measure the crack length and note if it spreads across the lens.
Look For Deep Damage
Check if the crack goes through the lens or just scratches the surface. Deep cracks can let moisture inside.
If water or dirt can enter, the headlight might fog up and lose brightness.
Test The Headlight Function
Turn on your headlights and see if the cracked one still lights up properly. A dim or flickering light shows electrical or bulb problems.
If the light does not work, you may need to fix wiring or replace the bulb too.
Check For Moisture Inside
Look inside the headlight for fog, water drops, or dirt. Moisture means the seal is broken and needs repair.
Moisture can cause damage to the bulb and reduce light quality.
Assess The Headlight Mounting
Make sure the headlight is still securely attached to the car. Cracks sometimes affect the mounting points.
Loose headlights can cause safety issues and need fixing along with the crack.
Temporary Sealing Solutions
A cracked car headlight can let water and dirt inside. This may cause more damage. Temporary sealing helps protect the headlight until you can fix it fully.
Two simple sealing methods you can try are using clear tape and applying clear nail polish. Both are easy and quick fixes.
Using Clear Tape
Clear tape works well to cover small cracks and holes. It stops moisture and dust from getting in your headlight.
- Clean the headlight surface with a dry cloth.
- Cut a piece of clear tape slightly bigger than the crack.
- Press the tape firmly over the crack, removing any air bubbles.
- Replace the tape every few days to keep the seal tight.
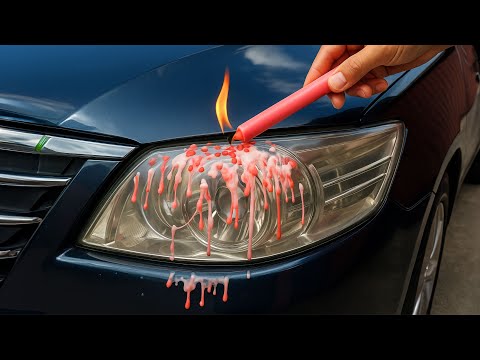
Applying Clear Nail Polish
Clear nail polish can fill small cracks and seal them. It hardens to form a waterproof layer.
| Step | Action |
| 1 | Clean the cracked area and dry it well. |
| 2 | Apply a thin layer of clear nail polish over the crack. |
| 3 | Let the polish dry for 10-15 minutes. |
| 4 | Apply a second layer for extra protection if needed. |
| 5 | Repeat when the polish starts to wear off. |
Credit: www.youtube.com
Permanent Repair Methods
Fixing a cracked car headlight permanently helps keep your car safe. You can choose different repair methods. Two popular ways are epoxy resin application and using a headlight restoration kit.
Both methods restore the headlight’s strength and clarity. This guide will explain how to do each repair step by step.
Epoxy Resin Application
Epoxy resin creates a strong seal over cracks. It stops water and dirt from entering the headlight. This method is good for small to medium cracks.
- Clean the cracked area with soap and water. Dry it fully.
- Use sandpaper to smooth the cracked edges gently.
- Mix the epoxy resin according to the instructions.
- Apply the resin carefully over the crack with a small brush.
- Let it dry for the time recommended on the package.
- Check if the crack is sealed and repeat if needed.
Epoxy resin fixes cracks permanently and keeps the headlight clear. Make sure to follow safety instructions when handling resin.
Using A Headlight Restoration Kit
Headlight restoration kits repair scratches and cracks. They clean and polish the headlight lens. Kits usually include sandpaper, polish, and sealant.
| Kit Component | Purpose |
|---|---|
| Sandpaper | Removes damaged outer layer |
| Polish | Restores clarity and smoothness |
| Sealant | Protects lens from future damage |
To use the kit, first clean the headlight. Sand it gently with the sandpaper. Then apply polish and buff until clear. Finish by applying the sealant to protect the lens.
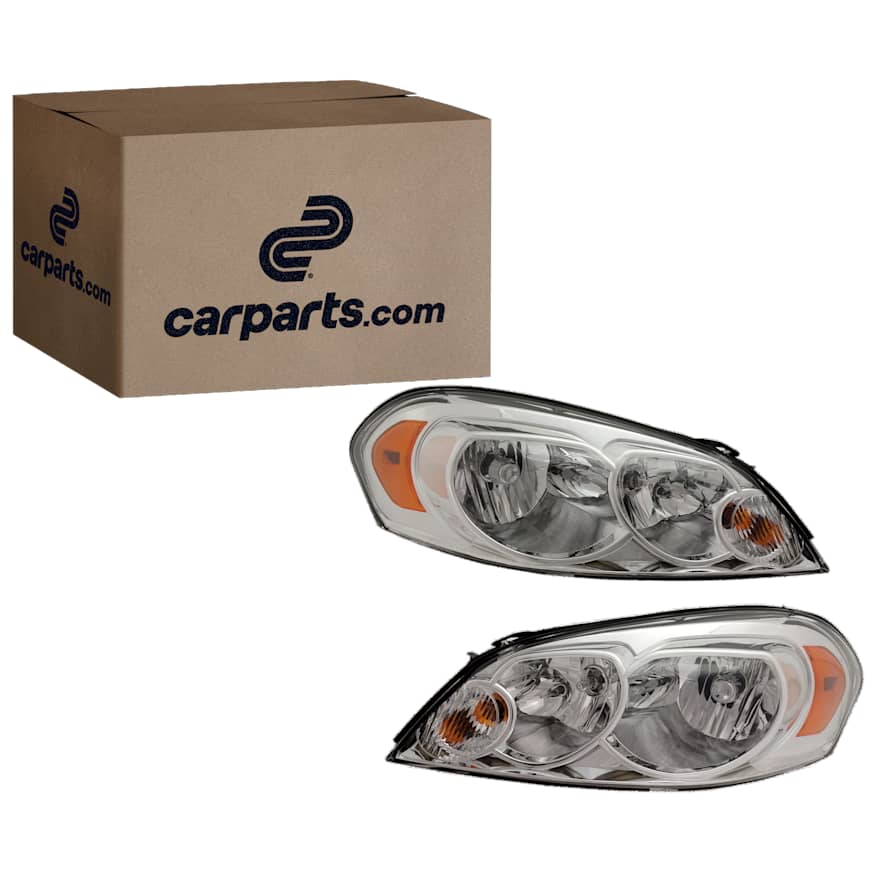
Replacing The Headlight Lens
A cracked headlight lens can reduce visibility and harm your car’s look. Replacing the lens is a good way to fix this problem.
This guide explains how to remove the old lens and install a new one safely and correctly.
Removing The Old Lens
First, disconnect your car’s battery to avoid electric shock. Then, open the hood and locate the headlight assembly.
Remove screws or clips that hold the headlight in place. Carefully take out the headlight assembly from the car.
- Disconnect the wiring harness from the back of the headlight
- Use a screwdriver to remove all screws securing the lens
- Gently pry the cracked lens from the assembly
Installing The New Lens
Clean the headlight assembly before placing the new lens. Make sure no dirt or old glue remains.
Apply a waterproof sealant around the edge of the new lens. Fit the lens carefully into the assembly and secure it with screws.
- Align the new lens with the headlight assembly
- Tighten screws evenly to avoid gaps
- Reconnect the wiring harness to the headlight
- Test the headlight to ensure it works properly
Credit: www.carparts.com
Preventing Future Damage
Fixing a cracked car headlight is only part of the job. Preventing new damage keeps your headlights safe and clear.
Regular care and protection help avoid cracks and costly repairs later on.
Regular Maintenance Tips
Check your headlights often for dirt, cracks, or moisture. Clean them gently with mild soap and water.
Replace bulbs as soon as they dim or burn out. Make sure seals are tight to stop water from entering.
- Inspect headlights monthly for damage
- Clean with soft cloth and mild soap
- Replace old or dim bulbs quickly
- Check headlight seals for leaks
- Avoid harsh chemicals or abrasive tools
Protective Covers And Films
Use covers or films to shield headlights from rocks, bugs, and weather. These add a layer of protection that reduces damage risk.
Choose clear films that do not block light. Replace covers or films if they get scratched or worn out.
- Apply clear protective films to headlights
- Use headlight covers for extra defense
- Replace protective layers when damaged
- Choose materials that do not reduce brightness
Frequently Asked Questions
How Can I Fix A Cracked Car Headlight At Home?
You can repair a cracked headlight using epoxy or resin kits. Clean the surface, apply the resin, and let it dry. This stops moisture and dirt from entering, improving headlight function temporarily.
Is It Safe To Drive With A Cracked Headlight?
Driving with a cracked headlight is risky. It reduces visibility and may allow water inside, damaging the bulb. Fix or replace the headlight promptly to ensure safe driving and comply with traffic laws.
Can A Cracked Headlight Lens Be Replaced Separately?
Yes, many car models allow lens replacement alone. Check your vehicle’s manual or parts store for compatible lenses. Replacing the lens restores clarity and performance without changing the entire headlight assembly.
What Tools Do I Need To Repair A Cracked Headlight?
You’ll need cleaning supplies, sandpaper, epoxy or resin repair kits, and masking tape. Optional tools include screwdrivers to remove the headlight and polishing kits to restore clarity after repair.
Conclusion
Fixing a cracked car headlight saves money and improves safety. Small cracks can be sealed with repair kits easily. Cleaning the area well helps the repair last longer. For big cracks, replacing the headlight is best. Always check your work by turning on the lights.
Bright, clear headlights help you see better at night. Taking care of your car parts keeps it running smoothly. A simple repair today prevents bigger problems tomorrow. Keep your headlights bright and your drives safe.