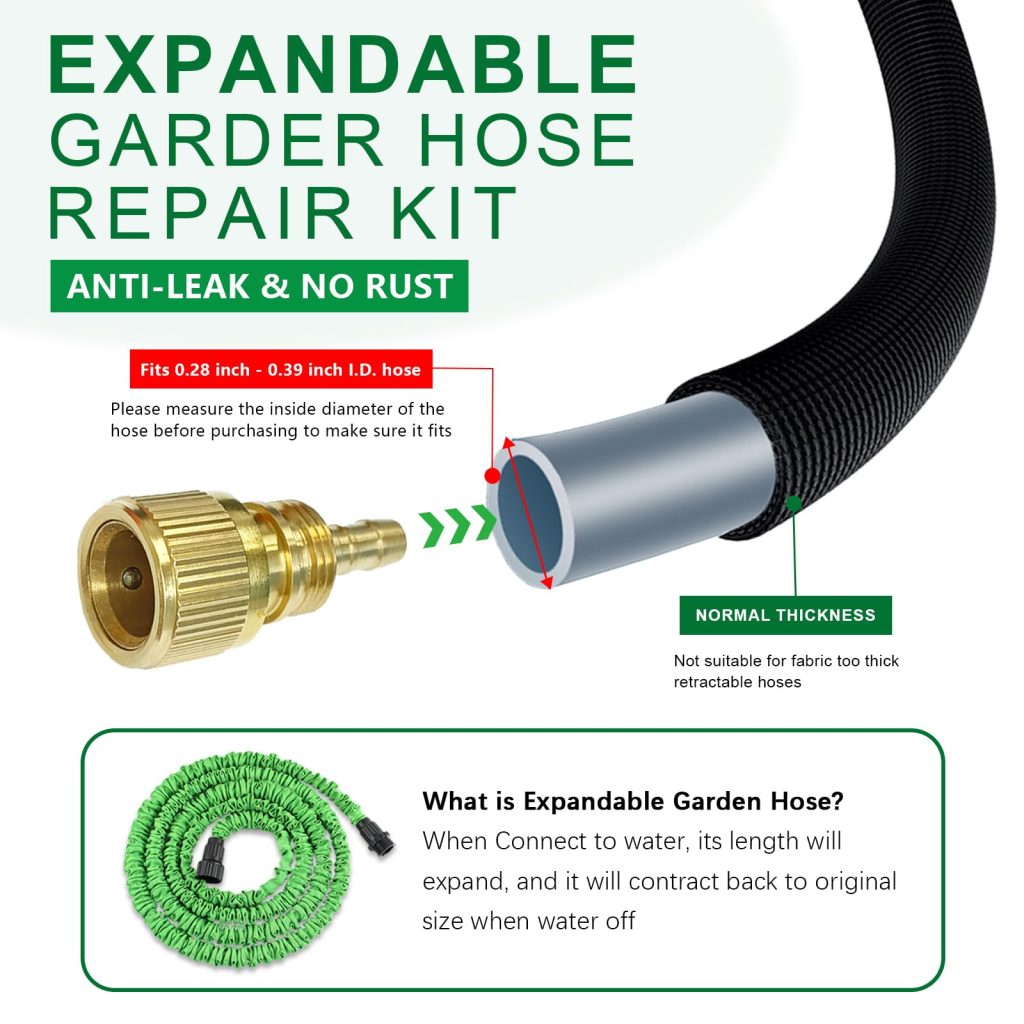
Is your flexible garden hose leaking or not working like it used to? Don’t rush to buy a new one just yet.
You can fix it yourself quickly and save money. Imagine having your hose back in perfect shape, ready to water your plants or wash your car without any hassle. In this guide, you’ll learn simple steps to repair your flexible garden hose, even if you’ve never done it before.
Keep reading, and you’ll see how easy it is to bring your hose back to life.
Credit: www.amazon.ca
Common Hose Problems
Flexible garden hoses often face wear and tear from outdoor use. Knowing common problems helps you fix them quickly.
Most issues come from leaks, cracks, or damaged connectors. These can reduce water flow and cause water waste.
Leaks And Punctures
Leaks and punctures happen when sharp objects or rough surfaces damage the hose. Small holes let water escape and reduce pressure.
- Locate the leak by turning on the water and feeling for wet spots.
- Dry the area around the leak completely.
- Use waterproof tape or hose repair patches to seal small holes.
- Replace the hose section if the hole is large or the damage is severe.
Cracks And Splits
Cracks and splits appear as the hose ages or freezes in cold weather. These cause water loss and weaken the hose.
| Type of Damage | Cause | Repair Method |
| Small Crack | Aging or sun exposure | Seal with waterproof tape |
| Long Split | Freezing or bending | Cut out and replace section |
| Multiple Cracks | Old hose | Replace hose |
Damaged Connectors
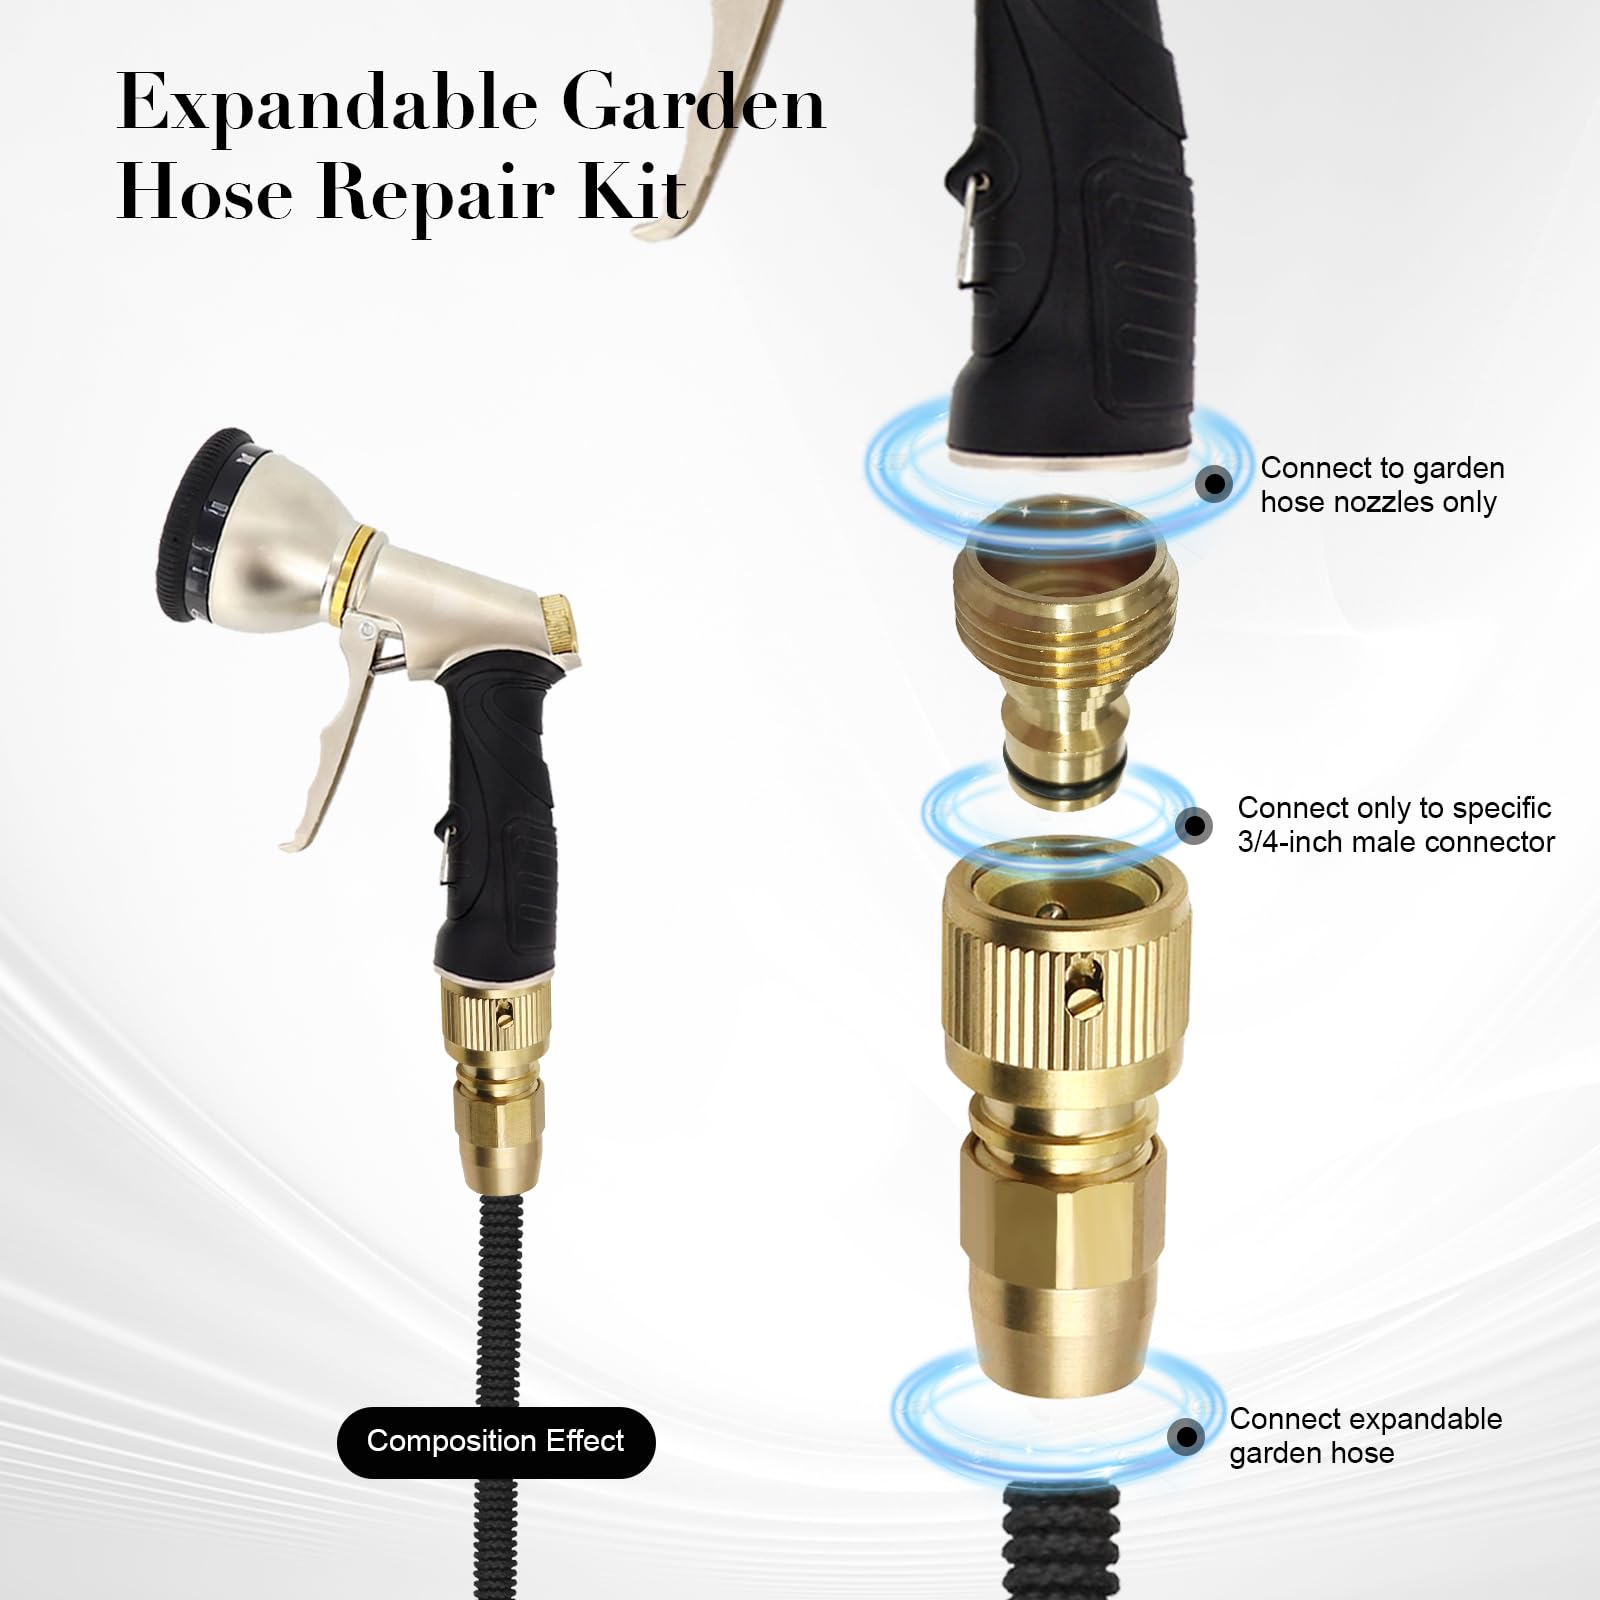
Connectors can crack, rust, or loosen over time. This causes leaks and makes the hose hard to attach to faucets or sprinklers.
Here are tips to repair or replace connectors:
- Turn off water supply and remove the hose from the faucet.
- Check if the connector is cracked or rusted.
- Use pliers to tighten loose connectors.
- Replace damaged connectors with new ones available at hardware stores.
- Apply plumber’s tape to threads to prevent leaks.

Credit: www.reddit.com
Tools And Materials Needed
Repairing a flexible garden hose is easy with the right tools. Having the correct materials helps fix leaks and breaks quickly.
This guide covers the basic items for simple repairs and extra tools for tougher jobs.
Basic Repair Kit Items
A simple repair kit can fix most hose problems. These items help stop leaks and reattach hose parts.
- Replacement hose washers to seal leaks
- Hose repair connectors or couplings
- Utility knife or scissors for clean cuts
- Waterproof tape or hose repair tape
- Screwdriver for hose clamps
- Sandpaper to smooth cut edges
Optional Tools For Tough Fixes
Some hose problems need extra tools. These help fix hard-to-reach spots or damaged sections.
- Pipe cutter for precise hose cutting
- Hose clamp pliers for tight clamps
- Heat gun to soften hose ends
- Silicone lubricant for easy fitting
- Replacement hose sections for long damage
- Measuring tape to size hose parts
Fixing Small Leaks
Flexible garden hoses are great for watering plants. Sometimes, they develop small leaks. Fixing these leaks is simple and can extend the life of your hose.
Let’s explore two easy methods to repair small leaks in your garden hose. You will need basic tools and materials.
Using Waterproof Tape
Waterproof tape is an effective way to fix small leaks. It is easy to use and readily available.
First, dry the hose thoroughly. Wrap the tape tightly around the leak. Overlap the tape for a strong seal.
- Find the leak on the hose
- Clean and dry the area
- Wrap the tape around the leak
- Test the hose for leaks
Applying Sealant
Sealant is another option for repairing leaks. It creates a waterproof barrier over the damaged area.
Apply the sealant directly to the leak. Let it dry completely before using the hose again. This method provides a lasting fix.
| Step | Description |
| 1 | Identify the leak location |
| 2 | Clean and dry the hose |
| 3 | Apply sealant over the leak |
| 4 | Allow the sealant to dry |
Credit: www.amazon.ca
Repairing Larger Holes
Larger holes in a flexible garden hose need a strong repair. Small patches do not work well for big holes. You can fix these holes with special parts or by cutting and rejoining the hose.
Fixing big holes helps save money and keeps your hose working longer. Use the right tools and follow simple steps to repair it well.
Using Hose Repair Couplings
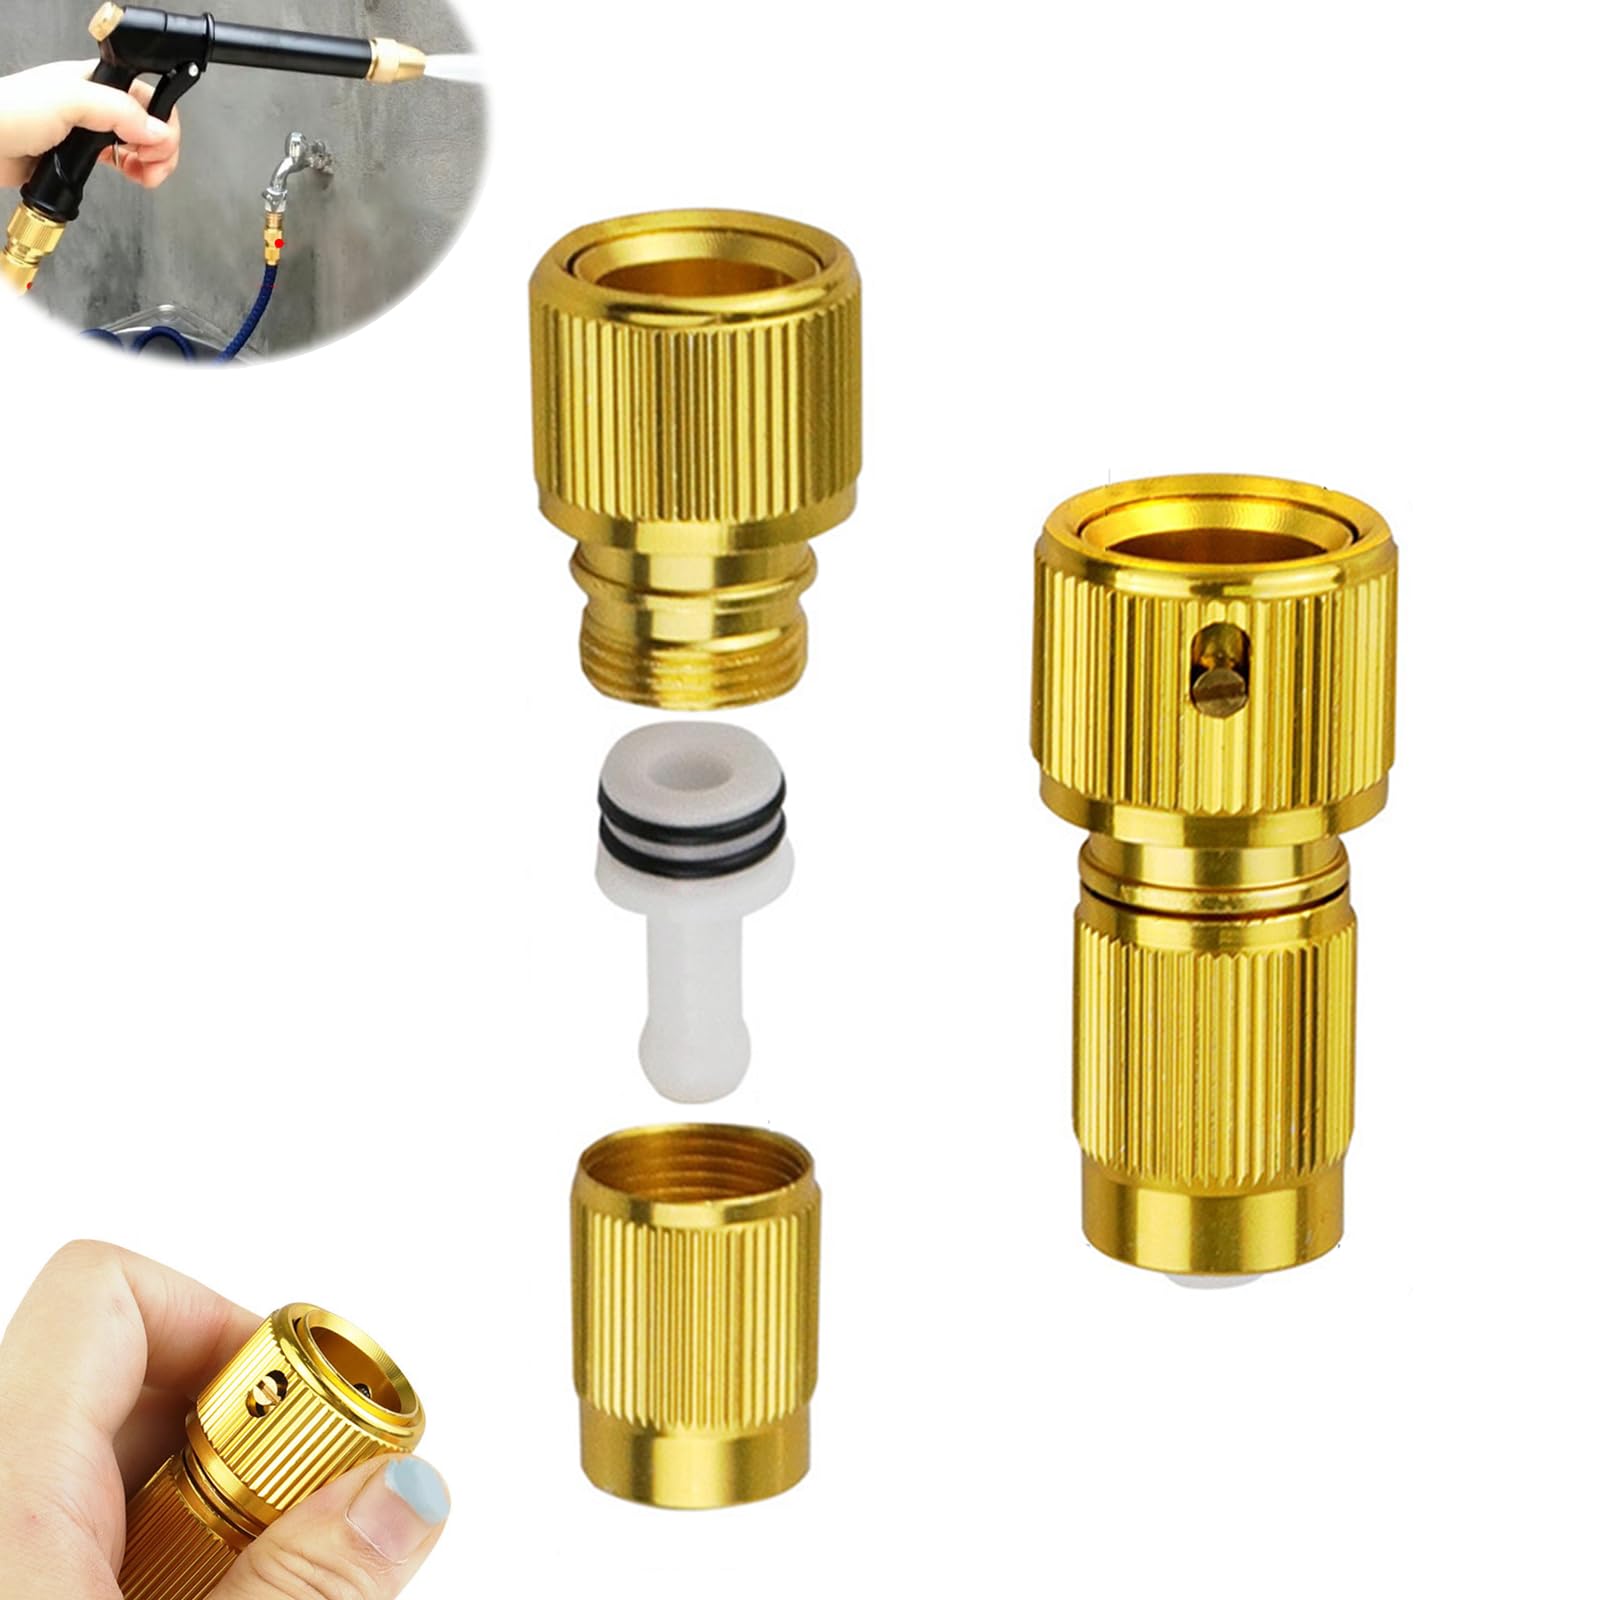
Hose repair couplings are made to fix large holes quickly. These are small connectors that join two hose ends together. They stop water from leaking at the broken spot.
To use a repair coupling, cut out the damaged section first. Then push each hose end into the coupling. Tighten the clamps to hold the hose firmly in place.
- Cut the hose around the hole cleanly
- Insert both ends into the coupling
- Tighten clamps to secure the hose
- Check for leaks before use
Cutting And Rejoining Hose Sections
If you do not have a coupling, cut out the damaged part. Then join the two good ends together with a strong connector. This method works for many hose types.
Make sure the cuts are straight and clean. Use a hose connector or a piece of tubing to join the ends. Tighten hose clamps on both sides to stop leaks.
- Mark and cut the hose on both sides of the hole
- Use a hose connector to join the two ends
- Slide hose clamps over the hose ends
- Tighten clamps to secure the joint
- Test the hose for leaks by turning on water
Replacing Hose Connectors
Flexible garden hoses often need new connectors to keep working well. Old connectors can leak or break. Replacing them is a simple fix.
This guide shows how to remove old fittings and install new connectors on your garden hose.
Removing Old Fittings
Start by cutting off the damaged connector from the hose. Use a sharp knife or hose cutter. Cut straight to avoid damage.
Make sure the hose end is clean and smooth. Remove any old tape or debris from the cut area.
Installing New Connectors
Slide the new connector onto the hose end. Push it firmly until it fits tight. Some connectors need a clamp to hold them in place.
Tighten any clamps or screws securely. Check for leaks by running water through the hose. Adjust if needed to stop leaks.
Preventive Care Tips
Taking care of your flexible garden hose helps it last longer. Simple steps can stop leaks and cracks.
Preventive care keeps your hose ready for watering anytime. It saves money and time on repairs.
Proper Storage Techniques
Store your hose in a cool, dry place away from sunlight. Heat and sun can weaken the material.
Keep the hose coiled loosely. Avoid tight bends or kinks that can cause damage over time.
- Use a hose reel or hanger to keep it off the ground
- Drain water before storing to prevent freezing
- Avoid sharp objects near the hose
- Do not store the hose under heavy items
Regular Maintenance Practices
Check your hose often for small holes or cracks. Fixing them early stops bigger problems.
Clean the hose inside and out to remove dirt and debris. This keeps water flowing well.
- Flush the hose with clean water after use
- Use a soft cloth to wipe the exterior
- Replace washers in the connectors regularly
- Inspect fittings for tightness and leaks
Frequently Asked Questions
How Do I Fix A Leak In A Flexible Garden Hose?
To fix a leak, first locate the damaged area. Cut out the damaged section, then use a hose repair kit to reconnect the ends securely. Ensure all fittings are tight to prevent further leaks.
What Tools Are Needed To Repair A Garden Hose?
You’ll need a utility knife or scissors, a hose repair kit, and possibly pliers. These tools help cut the hose cleanly and attach connectors for a secure repair.
Can I Repair A Flexible Garden Hose Without Replacement?
Yes, small holes or leaks can be repaired using a hose repair kit. Larger damage may require replacing the damaged section or the whole hose for durability.
How Long Does It Take To Repair A Garden Hose?
Repairing a garden hose usually takes 10 to 20 minutes. The process is quick if you have the right tools and a hose repair kit ready.
Conclusion
Repairing a flexible garden hose is simpler than it seems. Small leaks or cracks do not mean you must buy a new one. With basic tools and a little patience, you can fix your hose quickly. Regular checks help you spot damage early and save water.
Keep your hose clean and store it properly to last longer. A little care goes a long way in maintaining your garden hose. Try these easy steps and enjoy hassle-free watering.