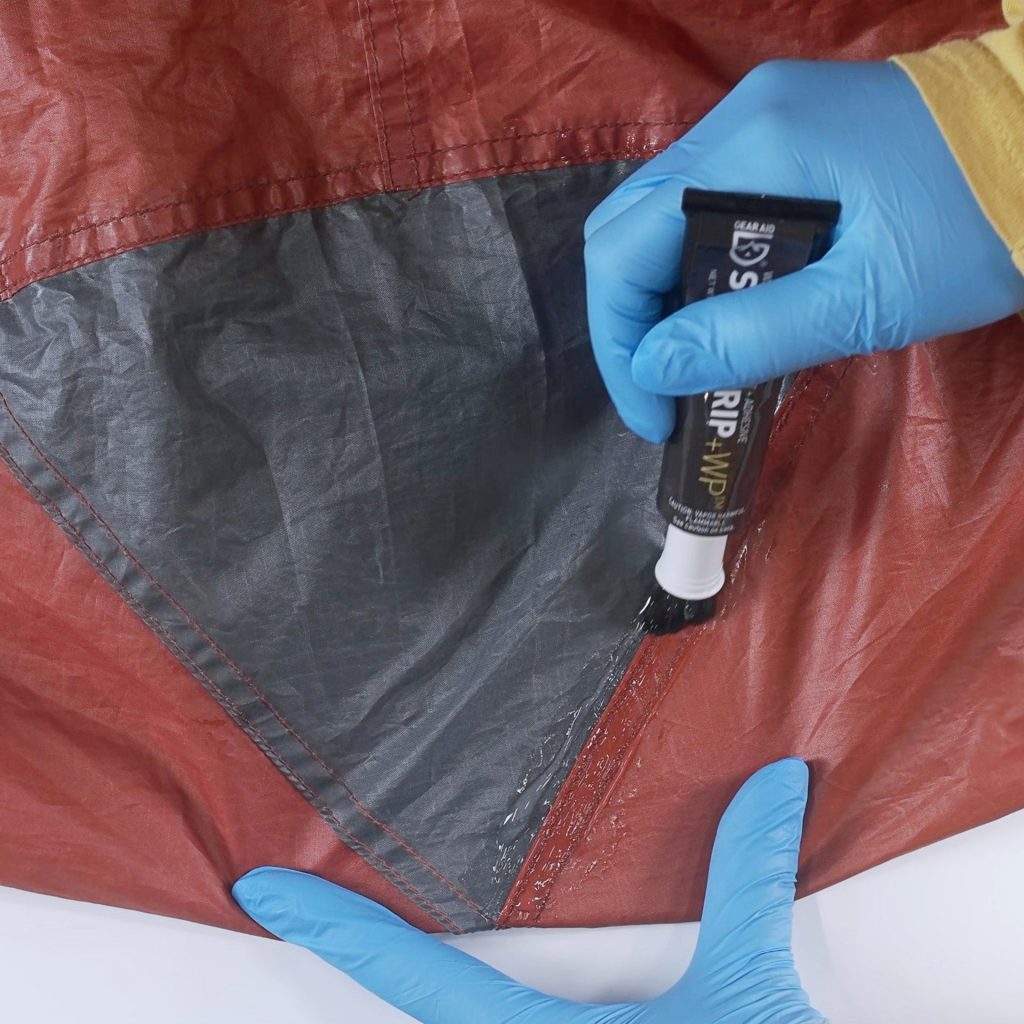
Imagine waking up in the middle of your camping trip to find a rip in your tent. It can be frustrating and stressful, especially when you’re far from home.
But don’t worry—you can fix it quickly and easily. In this guide, you’ll learn simple, effective ways to repair a rip in your tent so you can get back to enjoying the great outdoors. Keep reading, and you’ll discover tips that save your gear and your adventure.
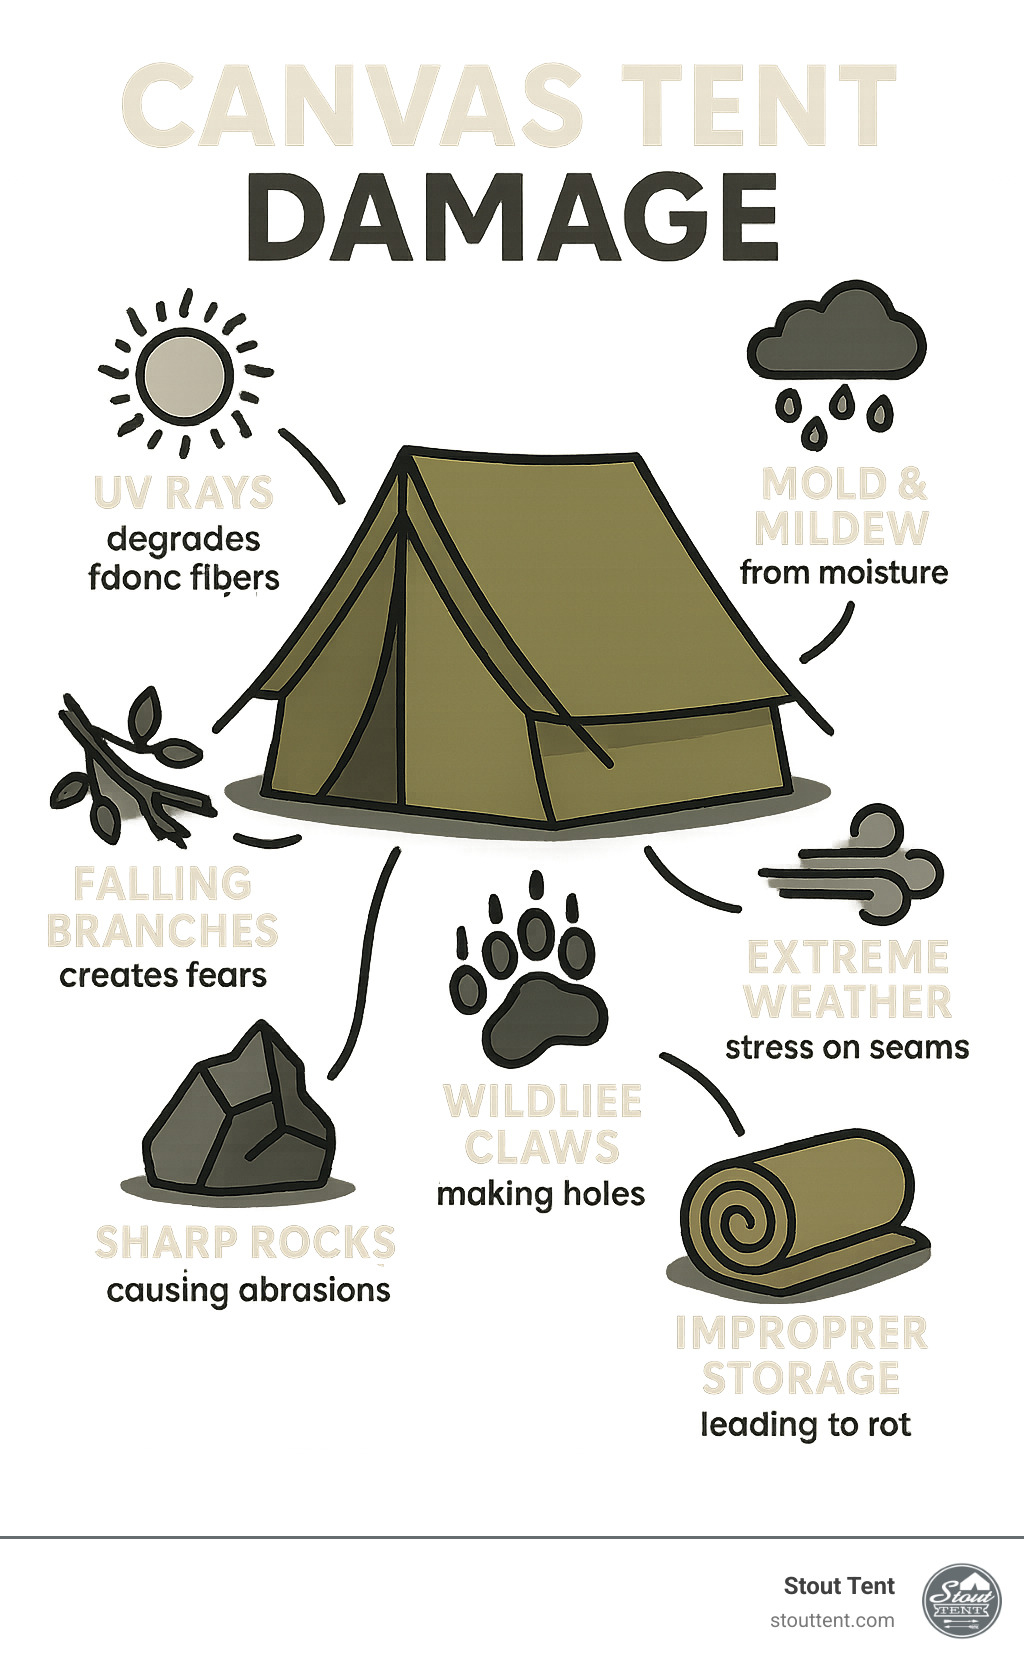
Credit: stouttent.com
Identify The Rip Type
Finding the exact type of rip helps fix your tent correctly. Different rips need different repairs.
Look closely at the damage to decide how big it is and where it is located.
Pinpoint Small Tears
Small tears are usually less than two inches long. They often happen from sharp objects or wear.
Check if the fabric is just cut or if threads are pulled out. Small tears can be sewn or patched easily.
- Measure the tear length
- Look for loose threads
- Check if the fabric edges are clean or frayed
Assess Large Rips
Large rips are longer than two inches. They may split the tent fabric widely or cause big holes.
Look for jagged edges and torn mesh or fabric. Large rips often need strong patches or new fabric pieces.
- Measure the full rip size
- Check if the rip affects the tent’s shape
- Note if the rip crosses multiple fabric layers
Check Seam Damage
Seams join tent fabric sections. Damage here can make the tent unstable or let water in.
Look closely for splits along stitches or loose threads. Seam damage needs careful sewing or seam tape repair.
- Inspect all seam lines near the rip
- Look for holes or gaps between stitches
- Check if fabric pulls away from the seam
Gather Repair Materials
Fixing a rip in your tent needs the right materials. Gathering these items helps you repair quickly and well.
Having everything ready keeps the repair process smooth. This saves time and protects your tent better.
Choose Repair Kits
Repair kits come with tools and patches designed for tents. They make fixing rips easier and more reliable.
Select a kit that fits your tent fabric type. Some kits work better on nylon, others on polyester.
- Look for kits made for outdoor gear
- Check if the kit includes patches and adhesives
- Consider kits with clear instructions
Select Suitable Patches
Patches come in many shapes and materials. Choose patches that match your tent fabric for a strong repair.
Some patches are sticky, while others need glue. Pick the type that fits your repair style and tent fabric.
- Use nylon or polyester patches for synthetic tents
- Choose clear patches for less visible repairs
- Cut patches slightly larger than the rip
Use Adhesive Options
Adhesive helps patches stick firmly to your tent. Some adhesives work better on certain fabrics than others.
Choose waterproof glue for outdoor use. Make sure the adhesive dries clear and stays flexible.
- Silicone-based adhesives suit most tent fabrics
- Polyurethane glue offers strong, flexible bonds
- Avoid adhesives that stay sticky or crack
Prepare The Tent Surface
Fixing a rip in your tent starts with preparing the surface well. A clean, dry, and smooth area helps the patch stick better.
Take your time to get the surface ready. This will make your repair stronger and longer lasting.
Clean The Area
Remove dirt, dust, and any debris around the rip. Use a soft brush or cloth to clean the fabric gently. Avoid harsh chemicals that can damage the tent material.
- Brush off loose dirt
- Wipe with a damp cloth
- Let the area air dry before proceeding
Dry Completely
Make sure the tent surface is fully dry before patching. Moisture can stop adhesives from working well and cause mold later.
To speed drying, place the tent in a warm, dry spot with good air flow. Do not use direct heat like a hair dryer as it can harm the fabric.
Smooth Edges
Trim any loose or frayed edges around the rip. Smooth edges help the patch fit neatly and stick evenly.
| Tip | Reason |
|---|---|
| Use small scissors | For precise trimming of frayed fabric |
| Cut away loose threads | Prevents patch from lifting later |
| Keep edges flat | Ensures strong bond with adhesive |
Credit: stouttent.com
Apply Temporary Fixes
Fixing a tent rip quickly can save your camping trip. Temporary solutions are easy and effective. They help keep your tent functional until you can make permanent repairs.
These methods are simple and require basic materials. You can use items found in most camping kits or at local stores.
Use Tape Solutions
Tape is a fast way to patch a tent. Different tapes work well for different materials. Make sure the area is clean before applying tape.
- Duct tape: Strong and versatile for many fabrics.
- Gorilla tape: Extra tough for heavy-duty repairs.
- Tenacious tape: Ideal for nylon and polyester tents.
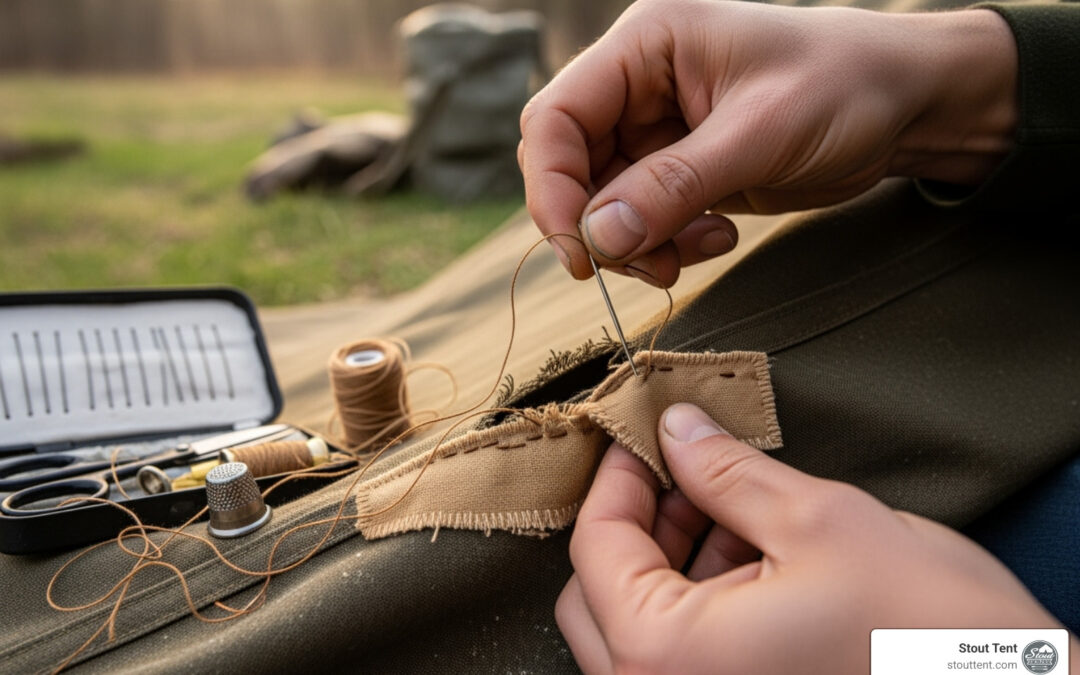
Try Sewing Small Rips
Sewing is great for fixing small tears. A needle and thread can hold the fabric together well. Choose a thread that matches your tent material.
| Material | Recommended Thread |
| Nylon | Nylon thread |
| Canvas | Polyester thread |
| Polyester | Polyester thread |
Utilize Safety Pins
Safety pins are handy for temporary fixes. They can hold fabric together when you are short on time. Use multiple pins for larger rips.
Perform Permanent Repairs
Fixing a rip in your tent is important for keeping it safe and dry. Permanent repairs make sure the tent lasts through many trips.
This guide shows how to attach fabric patches, sew reinforcements, and seal seams properly for a strong repair.
Attach Fabric Patches
Use fabric patches to cover holes and rips in your tent. Choose a patch that matches your tent fabric for best results.
- Clean the torn area and dry it completely.
- Cut a patch larger than the rip by at least two inches on all sides.
- Apply fabric glue or use an iron-on patch if suitable.
- Press the patch firmly and let it dry as per instructions.
- Check the patch edges to ensure they are sealed well.
Sew Reinforcements
Sewing adds extra strength to your patch or tent fabric. Use heavy-duty nylon thread and a strong needle made for tents.
| Tip | Details |
|---|---|
| Stitch Type | Use a lockstitch or backstitch for durability |
| Stitch Length | Keep stitches about 1/8 inch apart |
| Thread | Choose UV-resistant and water-resistant nylon thread |
| Needle | Use a sharp, heavy-duty needle to avoid fabric damage |
Seal Seams Properly
Sealing seams stops water from leaking through stitches or fabric joins. Use a seam sealer made for tents.
- Clean the seams and let them dry fully.
- Apply the seam sealer evenly along the stitched lines.
- Use a small brush or applicator for better control.
- Let the sealer dry completely before packing your tent.
- Repeat sealing after several camping trips for best protection.
Test And Maintain Repairs
Fixing a rip in your tent is only part of the job. You need to check your repairs to keep your tent safe and dry. Regular maintenance helps your tent last longer.
This guide shows how to test and maintain your tent repairs well. Follow these tips to keep your tent strong and ready for your next adventure.
Check For Leaks
After repairing a rip, check if your tent still leaks. You want to catch any weak spots before rain comes. Testing leaks is simple and quick.
- Set up your tent in a dry area.
- Use a hose or bucket to pour water on the repaired section.
- Look inside the tent for any water drops or dampness.
- If you find leaks, dry the area and apply more sealant or patch.
- Repeat until no water gets inside.
Reinforce Weak Spots
Rips often happen near weak spots like seams or corners. Strengthen these areas to avoid new damage. Use strong tape or patches designed for tents.
| Weak Spot | Recommended Reinforcement | Tips |
|---|---|---|
| Seams | Seam tape or seam sealer | Apply on inside and outside for best results |
| Corners | Heavy-duty fabric patches | Use strong glue and press firmly |
| Zipper areas | Reinforced fabric strips | Check zipper smoothness after repair |
Store Tent Correctly
Proper storage keeps your tent safe and extends repair life. Avoid folding along repairs or putting heavy things on top. Keep your tent dry and clean before storing.
- Dry your tent completely before packing.
- Fold loosely to avoid pressure on repaired areas.
- Store in a cool, dry place away from sunlight.
- Use a breathable storage bag, not plastic.
- Inspect the tent before each trip for new damage.

Credit: nosopatches.com
Frequently Asked Questions
How Do I Fix A Small Rip In My Tent?
Clean the rip area first. Use a tent repair patch or tape designed for fabric. Apply it firmly, ensuring no wrinkles. Allow it to dry completely before use. This method prevents water leaks and extends tent life effectively.
What Tools Are Needed To Repair A Tent Tear?
You need tent repair tape or patches, scissors, and cleaning wipes. Optional tools include a needle and strong thread for sewing. These tools help secure the rip and restore tent durability quickly and efficiently.
Can I Repair A Tent Rip Without Sewing?
Yes, use strong waterproof tent repair tape or patches. Clean the area well before applying. Press the patch firmly and let it dry. This method works well for small to medium rips and prevents water damage.
How Long Does A Tent Rip Repair Last?
A proper repair can last multiple camping seasons. Duration depends on repair quality and rip size. Using quality materials and following instructions ensures a durable fix. Regular checks help maintain tent integrity.
Conclusion
Repairing a rip in your tent is easier than it seems. Small tears can turn into big problems if left alone. Act quickly to fix the damage and keep your tent strong. Using the right tools and patches helps make your tent last longer.
Regular checks prevent surprises on your trips. Take care of your tent, and it will protect you well. Camping stays fun when your gear stays reliable. Simple repairs save money and avoid stress outdoors. Keep your tent ready for many adventures ahead.