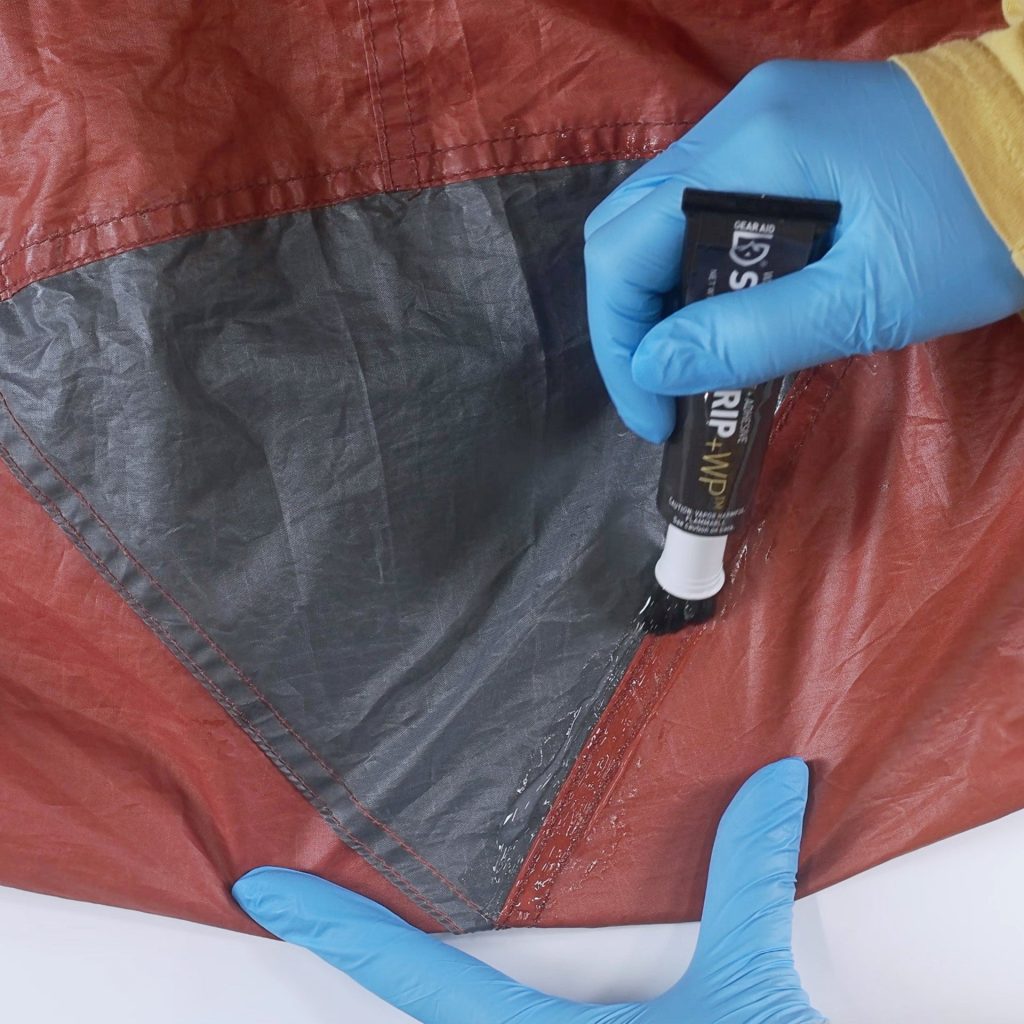
A rip in your tent can quickly turn your outdoor adventure into a stressful experience. You don’t want rain, bugs, or cold air sneaking in just because of a small tear.
The good news? Fixing that rip is easier than you think. With the right steps, you can repair your tent and get back to enjoying nature without worry. Keep reading, and you’ll learn simple, effective ways to make your tent as good as new.
Assessing The Damage
Before fixing a tent rip, you must carefully check the damage. Knowing the rip size, material, and position helps you choose the right repair method.
This guide explains how to assess the damage clearly and simply.
Identifying The Rip Size
Measure the rip to understand how large it is. Small rips under two inches need simple patches. Bigger tears may require stronger repairs or sewing.
- Use a ruler or tape measure.
- Measure length and width of the rip.
- Note if the rip has jagged edges or is clean-cut.
Checking Tent Material
Different tents use different fabrics. Some materials need special tape or glue. Check your tent’s fabric type before starting repair.
| Material | Common Repair Method |
| Nylon | Use fabric tape or patch and seam sealant |
| Polyester | Apply adhesive patches designed for polyester |
| Canvas | Sewing with heavy-duty thread and waterproofing |
| Silicone-coated | Silicone-based repair kits or patches |
Locating The Rip Position
Find the exact spot of the rip on your tent. This helps you check if the rip affects seams or poles. Damaged seams need stronger fixes.
- Check tent walls, floor, and rainfly carefully.
- Look inside and outside the tent for damage.
- Note if the rip is near a zipper or pole sleeve.
- Mark the area with a washable marker or tape.
Gathering Repair Materials
Fixing a rip in your tent needs the right materials. Using proper tools helps make your repair strong and lasting.
Before starting, gather all supplies in one place. This saves time and makes the process smooth.
Essential Tools And Supplies
You need some basic tools to repair a tent rip. These make the patching easier and more effective.
- Scissors to cut patches and tape
- Cleaning cloth to wipe the area
- Seam sealer for extra waterproofing
- Brush or applicator for glue
- Sandpaper to roughen the fabric
- Protective gloves for handling adhesives
Choosing The Right Patch
Pick a patch that fits your tent fabric. Using the right patch keeps your tent strong and waterproof.
Look for patches made from nylon or polyester. These materials match most tents and hold well.
- Self-adhesive patches for quick fixes
- Iron-on patches for a firm bond
- Fabric patches that you glue on
Using Adhesives And Tapes
Adhesives and tapes help hold the patch in place. Choose waterproof glue or strong tape for best results.
Clean the torn area before applying glue or tape. This helps the patch stick better and last longer.
- Use tent-specific glue or silicone adhesive
- Apply seam sealer on edges for water resistance
- Use fabric repair tape for fast and easy fixes
Preparing The Tent For Repair
Fixing a rip in your tent starts with good preparation. You must get the area ready for the patch or glue.
Proper preparation helps the repair last longer and keeps water out. Clean, dry, and smooth fabric makes a strong bond.
Cleaning The Area
Remove dirt, dust, and any debris from around the rip. Use a soft brush or cloth to clean the fabric gently.
A clean surface helps the patch or adhesive stick better. Avoid using harsh chemicals that can damage the tent fabric.
- Brush off loose dirt and sand
- Wipe the area with a damp cloth
- Use mild soap if needed, then rinse well
- Do not scrub too hard to avoid damage
Drying The Fabric
Make sure the tent fabric is fully dry before starting repairs. Wet fabric prevents glue from sticking well.
Air dry the tent in a shaded area. Avoid direct sunlight to stop the fabric from weakening or fading.
- Hang the tent or lay it flat
- Allow several hours for drying
- Check all sides for moisture
- Do not use heat sources like hair dryers
Smoothing Out Wrinkles
Flatten the fabric around the rip to make repair easier. Wrinkles can cause gaps under patches or glue.
Use your hands to smooth the area gently. Keep the fabric taut but avoid stretching it too much.
- Lay the tent on a flat surface
- Press out wrinkles around the tear
- Hold the fabric steady while repairing
- Check that the area is even and flat
Credit: stouttent.com
Quick Patch Fixes
Fixing a rip in your tent fast can save your camping trip. Small tears cause big problems if left alone.
Use quick patch methods to keep your tent dry and strong. These fixes work well until you get home.
Applying Tape Patches
Tape patches are easy and fast to use. Clean the area around the rip first. Cut a piece of tent repair tape larger than the rip.
- Make sure the surface is dry before applying tape.
- Press the tape firmly to remove air bubbles.
- Cover both inside and outside if possible.
- Check the edges to ensure they stick well.
Using Iron-on Patches
Iron-on patches create a stronger, longer-lasting fix. You need a small iron or heat source. Place the patch over the rip and heat it.
| Material | Heat Setting | Application Time |
| Nylon | Low | 30 seconds |
| Polyester | Medium | 45 seconds |
| Canvas | High | 60 seconds |
Always follow patch instructions carefully. Let the patch cool before moving the tent.
Temporary Solutions On The Trail
When you have no tape or patch kit, use these quick fixes on the trail. They help keep your tent usable until you can repair it properly.
Temporary Fix Ideas:
- Use duct tape or strong packing tape if you have it in your pack.
- Patch with a piece of clothing or fabric and secure with safety pins.
- Apply a layer of clear nail polish to small holes to stop leaks.
- Use a strip of plastic bag and tape it over the rip.
Permanent Repair Techniques
Fixing a rip in your tent properly keeps it safe and dry. Permanent repairs stop the tear from growing. Use strong methods that last through many trips.
This guide covers sewing, sealing, and patching. Each technique adds strength and protection to your tent fabric.
Sewing The Rip
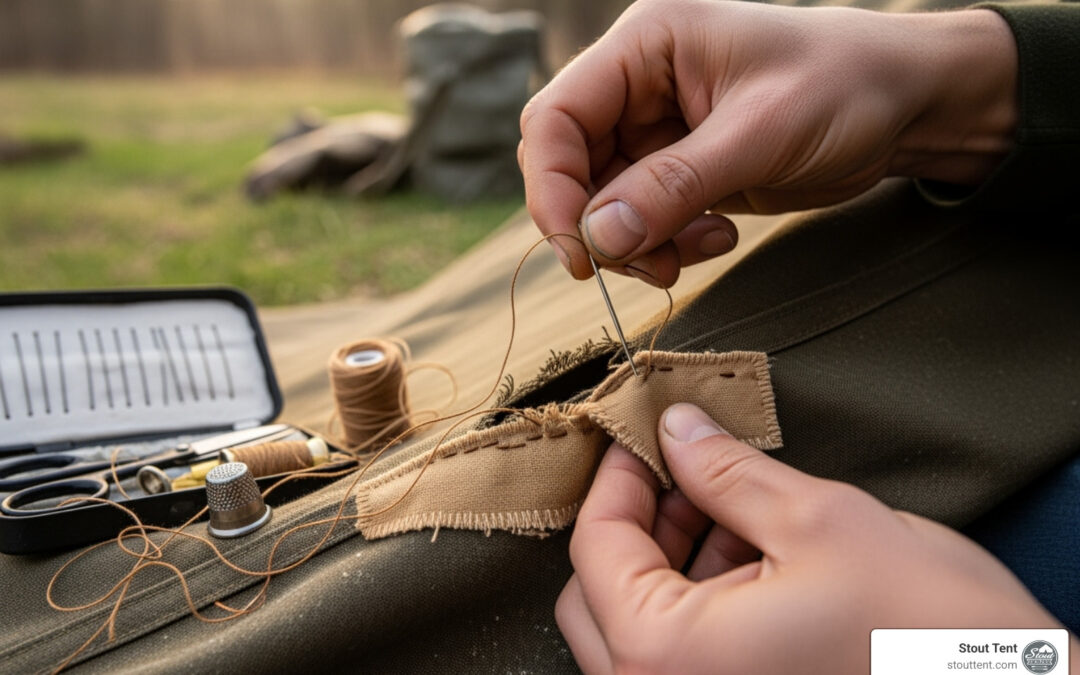
Sewing is the first step to close the rip. Use a heavy-duty needle and thread made for outdoor gear. Stitch along the tear carefully.
- Thread the needle with strong nylon or polyester thread.
- Start sewing about half an inch before the rip.
- Use small, tight stitches to hold the fabric well.
- Finish sewing half an inch past the rip end.
- Tie a secure knot to stop the thread from unraveling.
Applying Seam Sealer
Seam sealer protects the stitching from water. It fills small holes and keeps moisture out. Apply it on top of your sewn rip and let it dry.
| Seam Sealer Type | Best Use | Dry Time |
| Silicone-Based | Waterproofing seams | 2–4 hours |
| Polyurethane-Based | Flexible, durable seals | 4–6 hours |
| Acrylic-Based | Quick drying, easy use | 1–2 hours |
Reinforcing With Patch Fabric
Patching adds extra strength to the repair. Use fabric patches made for tents. Cut the patch larger than the rip and attach it firmly.
- Clean and dry the tent area around the rip.
- Cut a patch that is at least 2 inches bigger than the tear on all sides.
- Use waterproof fabric glue or tape to attach the patch.
- Press the patch down firmly and allow it to dry completely.
- For best results, sew around the patch edges after gluing.

Credit: nosopatches.com
Preventing Future Rips
Fixing a rip in your tent is important, but stopping new tears saves time and money. Careful use and good habits keep your tent strong for many trips.
Follow simple steps to avoid damage. These steps help protect your tent fabric and make camping safer.
Proper Tent Setup
Setting up your tent correctly reduces stress on the fabric. Tight spots or loose areas can cause tears during wind or movement.
- Choose a flat, clear area free from rocks and sticks.
- Use a ground tarp to protect the tent floor.
- Stake the tent firmly but avoid over-tightening ropes.
- Keep tent poles straight and secure to avoid bending.
Avoiding Sharp Objects
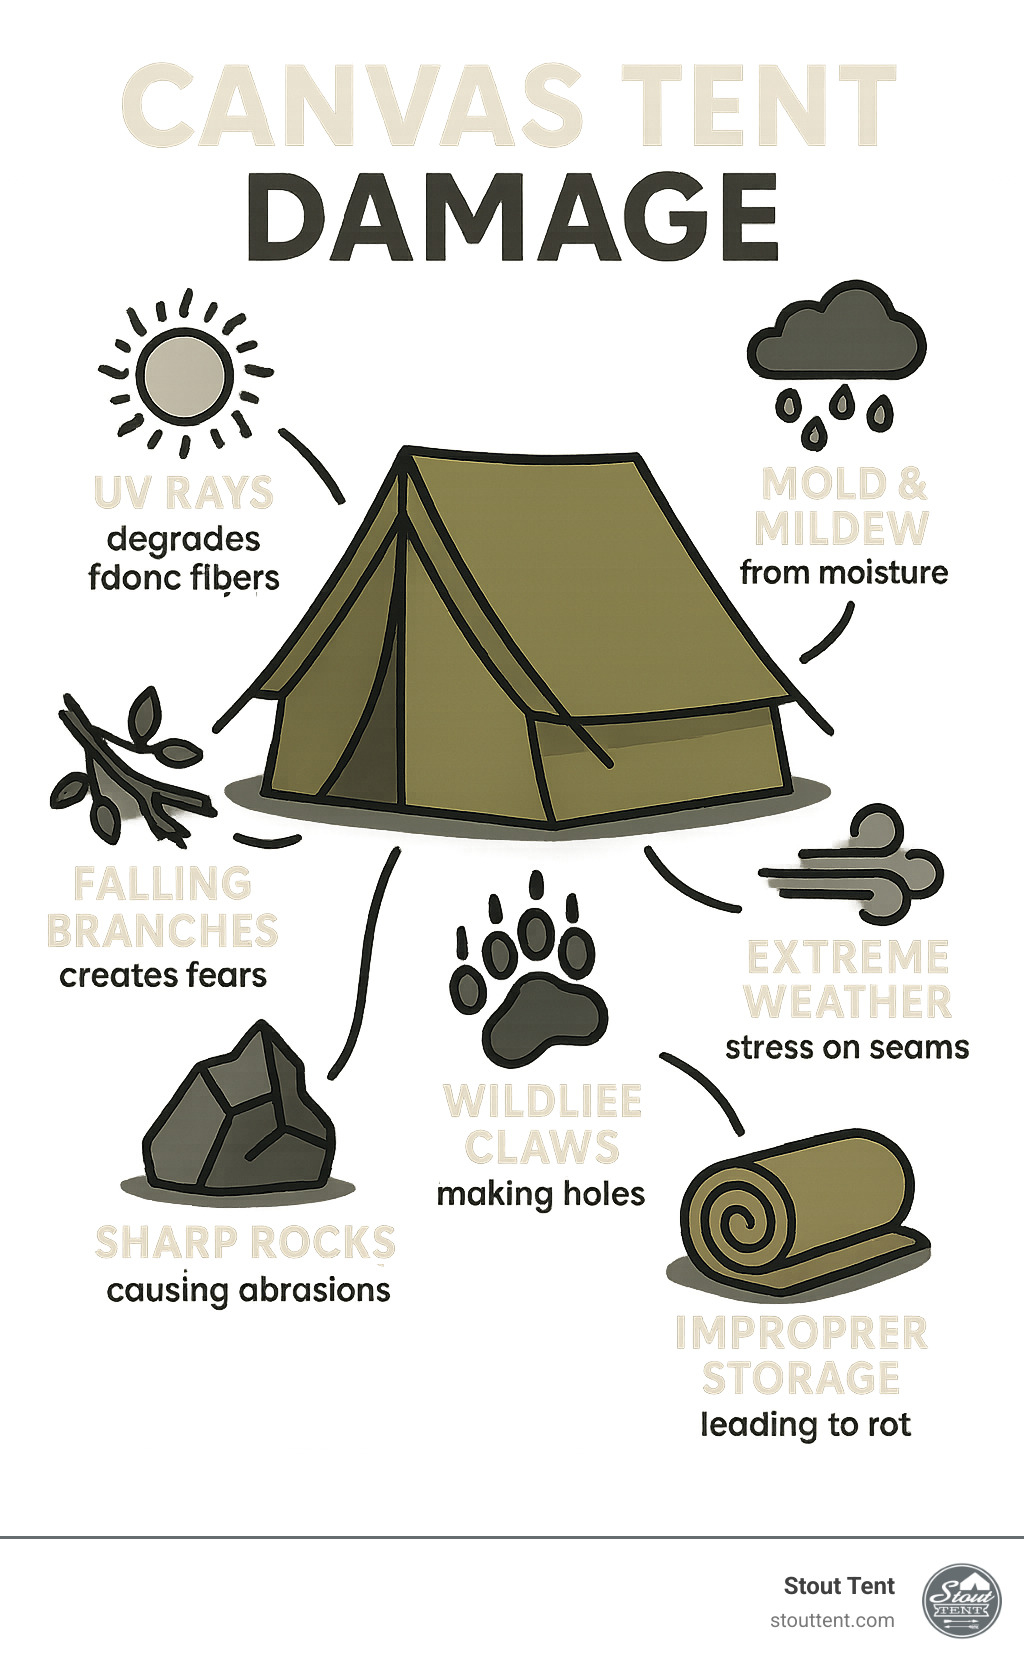
Sharp objects can easily tear tent fabric. Keep them away from your tent and handle them carefully during setup and use.
| Sharp Object | Tip to Avoid Damage |
| Knives | Store in sheath and away from tent walls |
| Cooking utensils | Place on stable surfaces, not inside tent |
| Camping gear with hooks | Wrap or cover hooks before storing |
| Tree branches | Clear area around tent before pitching |
Regular Tent Maintenance
Careful cleaning and checks help spot small problems before they grow. Fixing tiny holes early keeps your tent strong.
Maintenance tips:
- Clean the tent after every trip with mild soap and water.
- Check all seams and fabric for small tears or wear.
- Store the tent dry to prevent mold and mildew.
- Use repair kits promptly to patch any damage.
When To Seek Professional Help
Fixing a rip in your tent yourself can save time and money. Some tears are easy to repair with simple patches and glue. But sometimes the damage needs expert care to keep your tent safe and dry.
Knowing when to call a professional helps you avoid bigger problems later. This guide covers how to assess damage, find repair services, and think about costs.
Assessing Repair Limits
Small tears or holes under a few inches can often be fixed at home. Larger rips or damage to important parts like seams or zippers may need expert repair. Also, if your tent fabric is worn out or has multiple rips, a professional can advise if repair is worth it.
- Tears longer than 6 inches
- Damage near tent poles or seams
- Rips in waterproof coating areas
- Multiple small tears close together
- Worn or brittle fabric
Finding Tent Repair Services
Look for shops or companies that specialize in outdoor gear repairs. Many offer mail-in services if no local options exist. Check reviews and ask about their experience with your tent brand. Some outdoor stores also provide repair kits or can recommend trusted repairers.
- Search online for “tent repair near me”
- Contact outdoor gear shops
- Check tent manufacturer’s website
- Use outdoor forums for recommendations
- Consider mail-in repair services
Cost Considerations
| Repair Type | Typical Cost Range | Notes |
|---|---|---|
| Small patch repair | $10 – $30 | Quick fixes for minor tears |
| Seam resealing or zipper fix | $30 – $70 | Requires more skill and time |
| Large fabric replacement | $70 – $150+ | May approach cost of new tent |
Think about the repair cost versus buying a new tent. Sometimes paying more for a good repair keeps your tent safe for many seasons. Ask for a cost estimate before work starts.
Credit: stouttent.com
Frequently Asked Questions
How Do I Fix A Small Rip In My Tent?
To fix a small rip, clean the area first. Use a tent repair patch or strong waterproof tape. Apply the patch firmly and let it dry. This prevents water leaks and keeps the tent durable during use.
What Materials Are Best For Tent Rip Repair?
Use waterproof tent repair tape or adhesive patches designed for nylon or polyester tents. Seam sealers also help strengthen the repair. Avoid regular tape, as it won’t hold well or resist weather conditions.
Can I Repair A Tent Rip Without Sewing?
Yes, use no-sew repair kits like adhesive patches or tape. Clean the rip area, then apply the patch. This method is quick, waterproof, and effective for small to medium tears.
How Long Does A Tent Rip Repair Last?
A proper repair using quality patches and sealers can last for multiple camping trips. Longevity depends on tent use, weather exposure, and repair care. Recheck and reinforce repairs as needed.
Conclusion
Fixing a rip in your tent is simple with the right steps. Start by cleaning the area around the tear. Use a patch kit or strong tape to cover the rip. Ensure the patch is smooth and secure. For bigger tears, sew the edges before applying a patch.
Regularly check your tent for any new damage. This will ensure your tent stays reliable. Repairing your tent saves money and extends its life. Enjoy your outdoor adventures with confidence. A well-maintained tent makes every camping trip better. Keep these tips handy for quick tent repairs.