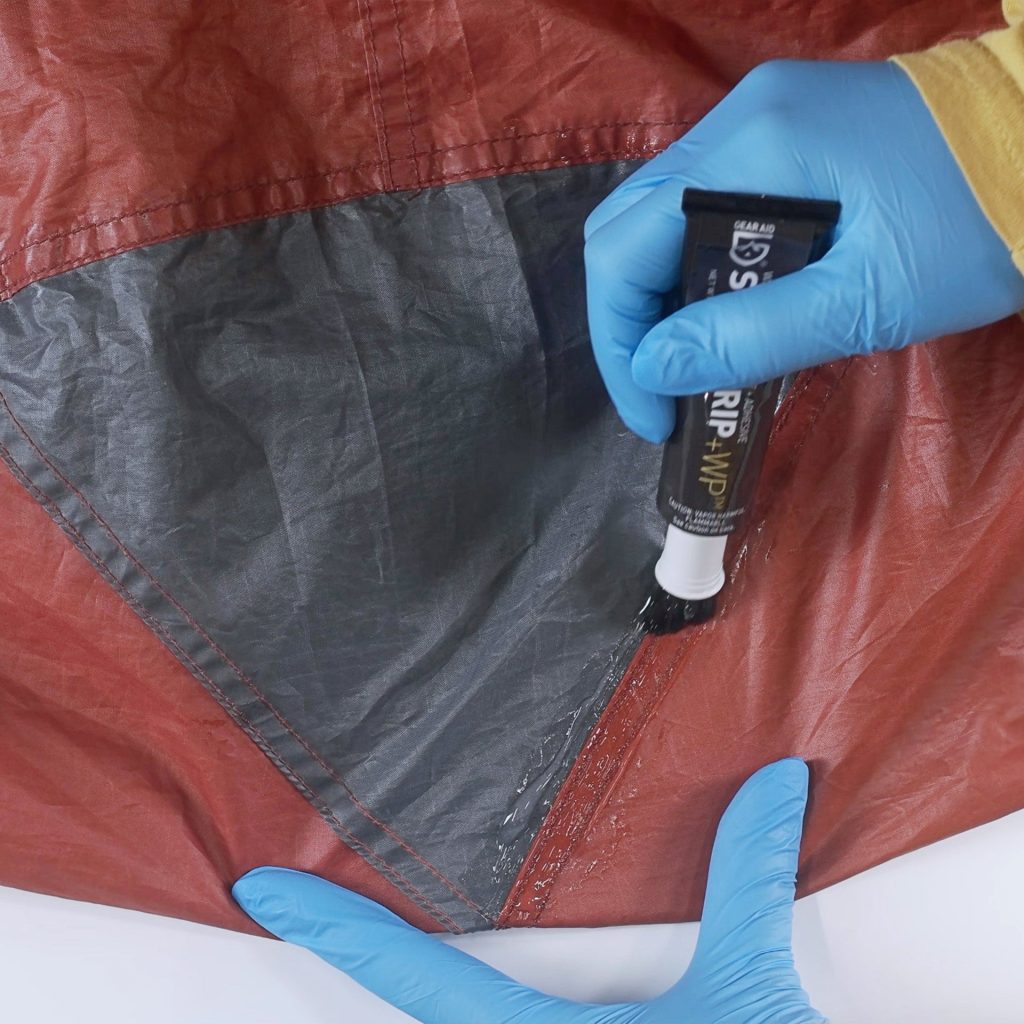
A rip in your tent can turn a great outdoor adventure into a stressful experience. But don’t worry—you don’t have to toss your tent or rush out to buy a new one.
You can fix that tear quickly and easily, saving your gear and your trip. In this guide, you’ll learn simple, effective ways to repair your tent rip, even if you’ve never done it before. Keep reading, and you’ll be ready to handle any tear and get back to enjoying the great outdoors with confidence.
Credit: stouttent.com
Identify The Rip Type
Before fixing a tear in your tent, you must know what type it is. Different rips need different repairs.
Look closely at the damage to find out if it is a small puncture, a long tear, or seam damage.
Small Punctures
Small punctures are tiny holes caused by sharp objects like thorns or sticks. They do not usually affect the tent’s shape.
These holes can often be patched quickly using repair tape or small patches.
Long Tears
Long tears are cuts that run several inches or more. They can make the tent weak and unstable.
Fixing long tears takes more time and may need sewing or large patches to hold the fabric together.
Seam Damage
Seam damage happens where two pieces of fabric are joined. The stitches may come loose or the fabric can tear along the seam.
Repairing seam damage often requires restitching or special seam seal tape to keep the tent waterproof.
Gather Repair Materials
Fixing a rip in your tent needs the right tools and materials. Getting these ready before you start saves time and makes the repair last longer.
Focus on materials that match your tent fabric. This helps keep your tent strong and waterproof after the fix.
Patch Kits
Patch kits include fabric pieces designed to cover rips and holes. They usually come with adhesive backing for easy use.
- Choose patches that match your tent color and fabric type.
- Check if the patch kit includes instructions and cleaning wipes.
- Look for waterproof patches for outdoor use.
Adhesive Tapes
Adhesive tapes are helpful for quick repairs or to hold patches in place. They come in different materials and strengths.
| Type of Tape | Best Use | Waterproof |
| Silicone Tape | Sealing small tears | Yes |
| Fabric Repair Tape | Covering larger rips | Yes |
| Gaffer Tape | Temporary fixes | No |
Sewing Supplies
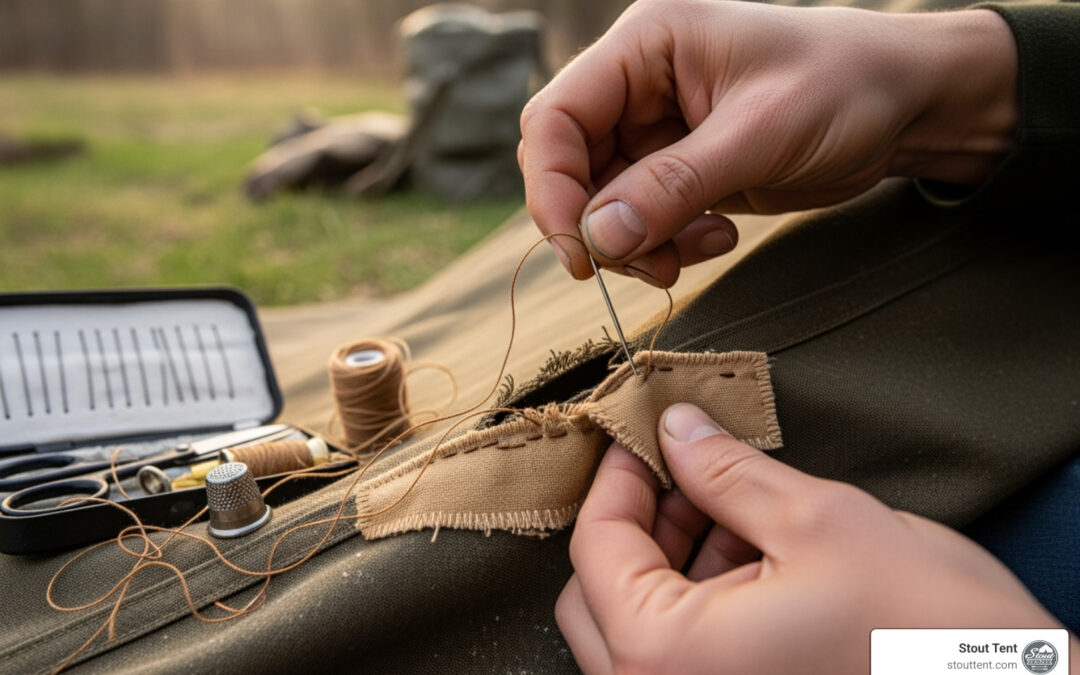
Sewing is a strong way to fix rips that tape cannot hold. You need needles, thread, and scissors for this method.
Gather these sewing items:
- Heavy-duty needle for thick fabric
- Strong, waterproof thread matching the tent color
- Small scissors or thread cutter
- Thimble to protect your finger while sewing
Prepare The Tent Fabric
Fixing a rip in your tent starts with preparing the fabric carefully. This process helps the repair last longer and keeps the tent strong.
You need to clean and dry the torn area before applying any patch or glue. Clean fabric holds the repair material better.
Clean The Area
Remove dirt, dust, and any loose threads around the rip. Use mild soap and water with a soft cloth to clean the fabric gently.
- Use a soft brush or cloth to wipe off dirt
- Apply mild soap mixed with water to the rip area
- Rinse with clean water and avoid soaking the entire tent
- Pat dry with a clean towel
Dry Completely
Make sure the tent fabric is fully dry before patching. Moisture can weaken the glue or patch adhesive.
| Drying Method | Time Needed | Notes |
|---|---|---|
| Air Dry | 4-6 hours | Place in a shaded, well-ventilated area |
| Sunlight | 2-3 hours | Avoid direct sun for long to prevent fabric damage |
| Towel Dry | 10-15 minutes | Use before air drying to remove excess water |
Quick Patch Methods
Fixing a rip in your tent quickly helps keep you dry and safe. You can use simple materials to make a strong patch fast.
Two common ways to repair a tent rip are using tape or iron-on patches. Each method works well for small to medium tears.
Using Tape
Tape is a fast and easy way to seal a tear in your tent. Use special tent or repair tape for best results.
Make sure the area is clean and dry before applying tape. Cut a piece larger than the rip and press it firmly on both sides.
- Clean the fabric around the rip
- Cut tape about 2 inches bigger than the tear
- Apply tape smoothly to avoid bubbles
- Press tape firmly for strong hold
- Use tape on both inside and outside if possible
Iron-on Patches
Iron-on patches create a durable fix by bonding patch fabric to your tent. Use a patch made for outdoor gear.
Clean the area and place the patch over the rip. Use a cloth between the iron and patch to avoid damage. Heat the patch for the time suggested on the instructions.
- Clean and dry the rip area
- Cut patch slightly bigger than the tear
- Place patch on rip with adhesive side down
- Cover patch with a cloth before ironing
- Apply heat evenly as per instructions
- Let patch cool before touching
Sewing Techniques
Fixing a tear in your tent helps keep it strong and dry. Sewing is a key skill to repair rips properly.
Using the right stitches will make your repair last longer and stop the rip from growing.
Stitch Types
Choose stitches that hold fabric tightly and resist stress. Some stitch types work better on tent material.
- Running Stitch:A simple stitch for small tears. It goes in and out evenly.
- Backstitch:Stronger than running stitch. It overlaps stitches to make a solid seam.
- Whip Stitch:Wraps thread around the edge to close holes and prevent fraying.
- Zigzag Stitch:Used with a sewing machine. It stretches with the fabric and covers more area.
Reinforcing The Repair
Adding extra layers or patches makes your repair stronger. Reinforcement helps the tent last longer.
Use fabric glue or iron-on patches under the stitches. This supports the sewn area and stops new tears.
- Sew a patch larger than the rip to cover weak spots.
- Double stitch over the repair for extra strength.
- Seal seams with waterproof tape or seam sealer.
- Trim loose threads to avoid catching and further damage.
Credit: stouttent.com
Waterproofing Repairs
Fixing a tent rip is important to keep it dry and strong. Waterproofing repairs help protect your tent from rain and moisture.
There are two main ways to waterproof your repaired tent: using seam sealers and waterproof sprays. Each method adds a layer of protection.
Seam Sealers
Seam sealers stop water from entering through the stitched areas of your tent. They work well for small rips and seams that need extra protection.
- Clean the area around the rip with a damp cloth and let it dry.
- Apply the seam sealer evenly along the seam or rip edge.
- Press the fabric together to spread the sealer inside the seam.
- Let the sealer dry fully before packing your tent.
Waterproof Sprays
Waterproof sprays add a water-repellent layer on the tent fabric. They work best for larger areas and general waterproofing after repairs.
| Type of Spray | Best For | Dry Time |
| Silicone-Based | Durable water resistance | 6-8 hours |
| Fluoropolymer | Lightweight tents | 4-6 hours |
| Wax-Based | Older canvas tents | 12 hours |
Always spray in a well-ventilated area and allow your tent to dry completely before use.
Prevent Future Damage
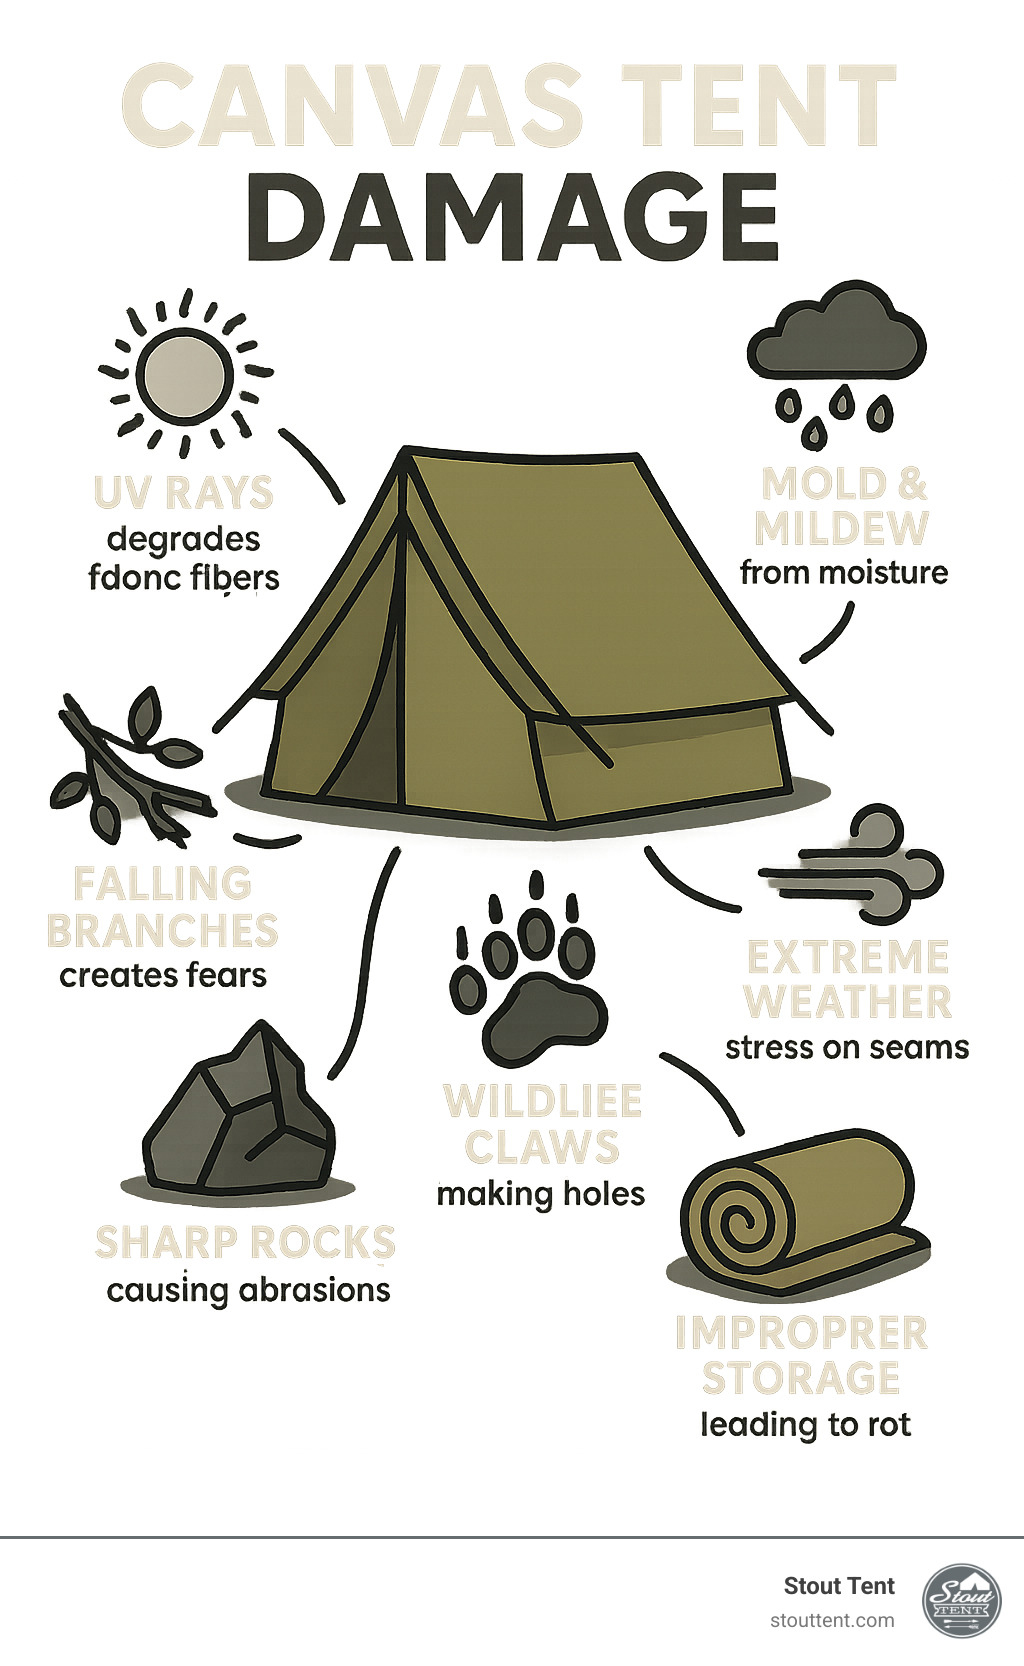
Fixing a tent rip is only part of keeping your tent in good shape. Preventing new tears saves time and money.
Careful setup and proper storage help your tent last longer and stay strong for many trips.
Proper Tent Setup
Setting up your tent carefully reduces strain on the fabric and seams. Follow these tips to avoid damage.
- Clear the ground of rocks and sticks before pitching the tent.
- Use a ground tarp to protect the tent floor from sharp objects.
- Tighten the tent fabric evenly to prevent sagging and flapping.
- Secure guy lines properly to reduce wind stress on the tent walls.
- Avoid placing the tent under heavy branches that might fall.
Safe Storage Tips
Storing your tent correctly keeps fabric strong and prevents mold or mildew growth.
| Storage Condition | Reason |
| Dry and cool place | Stops mold and fabric rot |
| Loose bag or container | Allows fabric to breathe |
| Away from direct sunlight | Prevents UV damage |
| Clean and dry tent | Keeps dirt and moisture out |
Credit: medium.com
Frequently Asked Questions
How Do You Fix A Small Tent Tear?
To fix a small tent tear, start by cleaning the area around the rip. Use a tent repair tape or patch kit to cover the tear. Ensure it’s securely adhered by pressing firmly. For better results, apply seam sealer along the edges of the patch to waterproof it.
Can Duct Tape Repair A Tent Rip?
Yes, duct tape can temporarily repair a tent rip. Clean the rip area first, then apply duct tape over it. Ensure the tape is pressed down firmly for better adhesion. However, consider this a temporary fix, as duct tape may not be waterproof or durable long-term.
What Materials Do You Need For Tent Repair?
For tent repair, you’ll need repair tape or a patch kit, seam sealer, and scissors. Ensure the tape or patches are specifically designed for tent fabric. Always clean the area around the rip before starting the repair process for optimal adhesion and durability.
Is Professional Tent Repair Necessary?
Professional tent repair is necessary for large rips or complex damage. For minor tears, DIY repair kits can be effective and cost-saving. However, professional repair ensures durability and maintains the tent’s waterproof capabilities. Evaluate the damage severity to decide the best approach.
Conclusion
Fixing a tent rip can save your gear and your trip. Small tears don’t need expensive replacements. Use simple tools like patches and fabric glue. Take your time and follow steps carefully. A repaired tent stays strong and dry. Keep a repair kit in your backpack.
Ready for your next adventure? A little care goes a long way.