
Imagine setting up your tent after a long day outdoors, only to find a tear that threatens your comfort and safety. You don’t have to pack up and head home just because of a rip.
Knowing how to repair a torn tent can save your adventure and your gear. In this guide, you’ll discover simple, effective steps to fix your tent quickly, even if you’ve never done it before. Stay with me, and you’ll learn how to keep your tent strong and ready for every trip ahead.
Assessing The Damage
Before fixing a torn tent, you need to check the damage carefully. This helps you know what kind of repair is needed.
Looking closely at the tear and the tent material makes the repair process easier and better.
Identifying Tear Types
Tears in tents come in different shapes and sizes. Knowing the tear type helps you decide how to fix it.
Common tear types include small holes, long rips, and jagged cuts. Each needs a different repair method.
- Small holes can be patched easily
- Long rips may need sewing and patching
- Jagged cuts might require reinforcing the edges
Checking Tent Material
Tents are made from different fabrics like nylon or polyester. Each fabric needs special care when repairing.
Look at the tent fabric to find its type and strength. This helps you pick the best repair tools and patches.
- Nylon is light and strong but needs careful sewing
- Polyester is durable and water-resistant
- Canvas tents are thick and require heavy-duty patches
Gathering Repair Tools
Having the right tools makes tent repair easier and stronger. Get all needed items before starting.
Common tools include patches, strong thread, needles, and glue. Some repairs need scissors and cleaning supplies.
- Repair patches that match tent fabric
- Strong nylon or polyester thread
- Heavy-duty sewing needle
- Fabric glue or seam sealer
- Scissors for trimming edges
- Alcohol wipes to clean the area
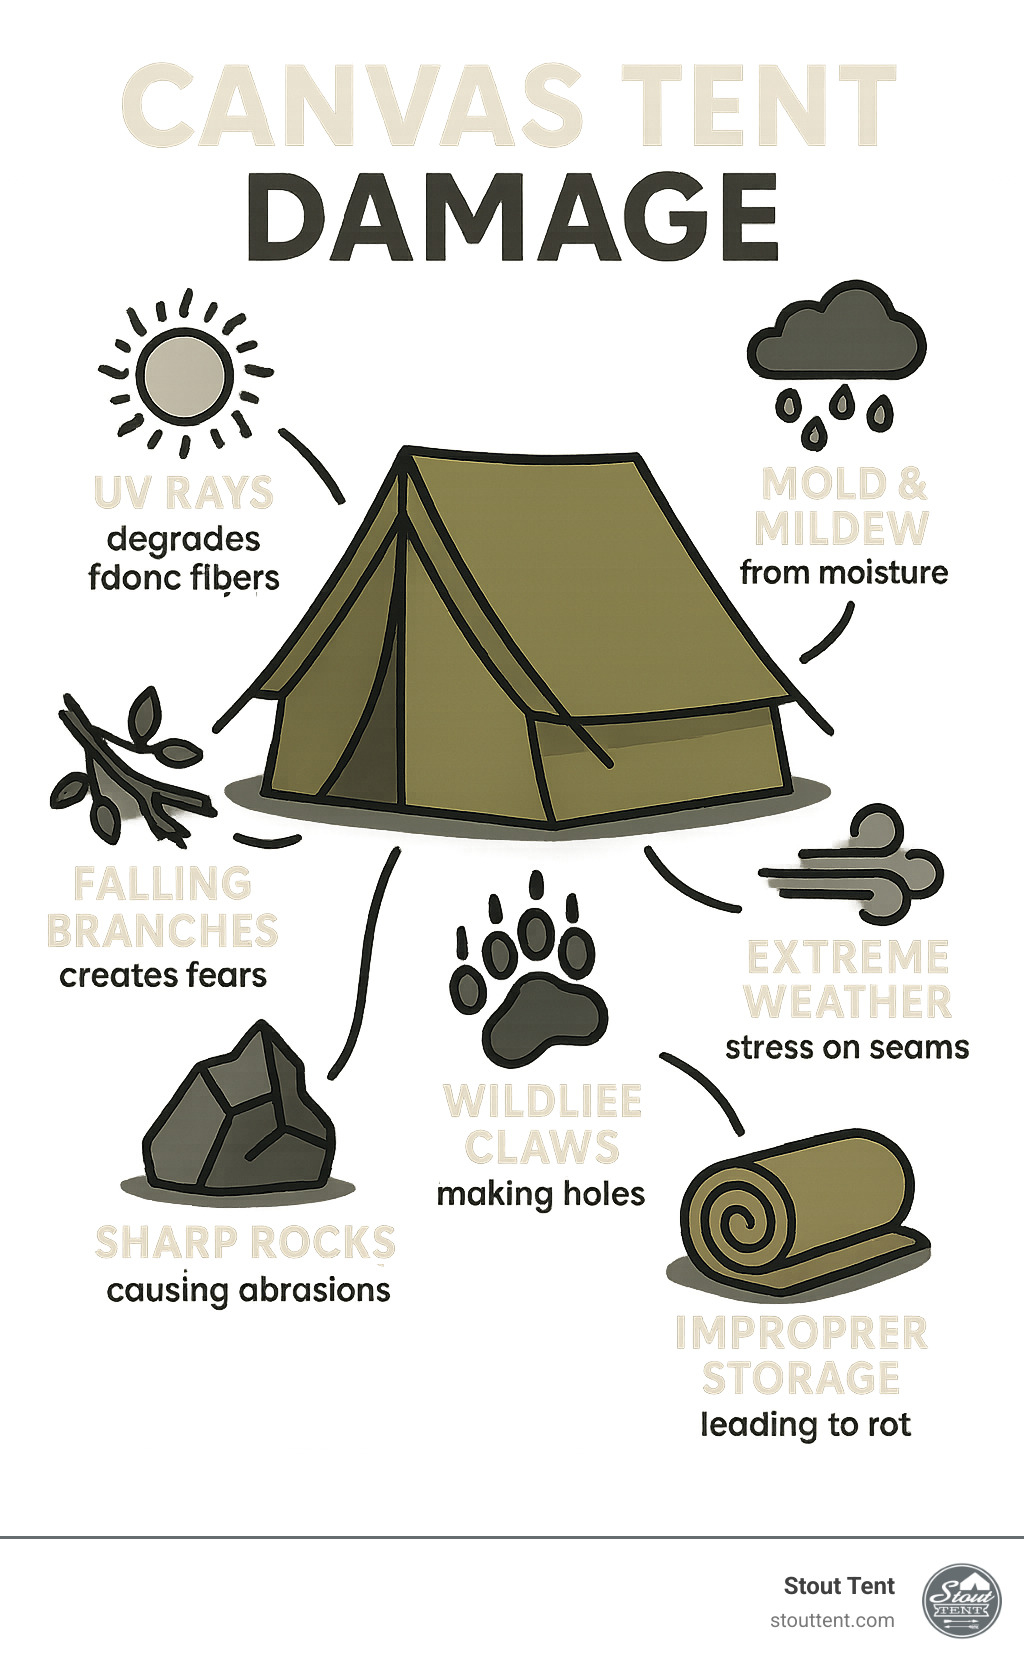
Credit: stouttent.com
Preparing The Tent
Fixing a torn tent starts with good preparation. You need to get the area ready before you repair it. This helps the fix last longer and work better.
Cleaning, drying, and trimming the torn area are important steps. These steps make sure the patch or glue sticks well to the tent fabric.
Cleaning The Torn Area
Remove dirt and dust from around the tear. Use a soft brush or cloth to clean the fabric. Avoid harsh chemicals that can damage the material.
A clean surface helps the repair material stick properly. Dirt or oils can stop the patch or glue from holding well.
Drying The Fabric
Make sure the torn area is completely dry. Moisture can weaken the repair. Air dry the tent in a shaded place.
Do not use direct heat like a hairdryer. Heat can damage the fabric and make it harder to fix.
Trimming Loose Threads
Cut away any loose threads or frayed edges around the tear. Use sharp scissors for a clean cut. This helps the patch fit better.
Trimming also stops the tear from getting bigger. It creates a smooth area for repair materials to stick.
Choosing Repair Materials
Fixing a torn tent needs the right materials. Good materials keep your tent strong and dry.
Pick repair tools that suit your tent fabric and tear size. This helps the repair last longer.
Selecting Patch Kits
Patch kits have fabric pieces and glue made for tents. They are easy to use and fit many tears.
Look for kits with fabric close to your tent’s material. This makes the patch blend well and hold tight.
- Choose waterproof fabric patches
- Check if glue is strong and flexible
- Pick patches sized for your tear
- Use clear or matching colors
Using Seam Sealer
Seam sealer stops water from entering through tiny holes and seams. It works well on small tears.
Apply sealer after cleaning the torn area. Let it dry fully to make the tent waterproof again.
- Choose sealer made for tent fabrics
- Use on seams and small rips
- Apply evenly and thinly
- Allow enough drying time
Opting For Adhesive Tapes
Adhesive tapes are quick fixes for tent tears. They stick well to fabric and keep water out.
Use tapes made for outdoor gear. Clean the area before applying for best stick and durability.
- Pick waterproof, strong tapes
- Use tape wider than the tear
- Press tape firmly on the fabric
- Check tape edges often for lifting
Applying Tent Patches
Fixing a torn tent is easy with the right patch. Patches help keep water and bugs out. You can repair tears quickly and save your tent.
Using tent patches is a simple way to extend your tent’s life. Follow steps carefully for a strong repair.
Cutting The Patch To Size
Cut the patch so it is bigger than the tear. Leave about 1 inch of extra patch around the hole. Rounded corners help the patch stick better.
Use sharp scissors to get a clean edge. A neat cut helps the patch last longer and look better.
Positioning The Patch
Place the patch over the tear. Make sure it covers the hole fully with extra space on all sides. Smooth the fabric flat before applying.
- Clean the area around the tear well
- Dry the tent fabric completely
- Align the patch carefully before sticking
Securing With Adhesive
Use a strong tent adhesive to glue the patch. Apply glue evenly on the patch or tent fabric. Press the patch firmly onto the tear.
Let the adhesive dry fully. Avoid moving the patch while it sets. Follow the glue instructions for best results.
Sewing Torn Sections
Sewing torn sections is a useful skill to fix your tent and make it last longer. You can repair small or large rips by stitching the fabric back together.
This guide will help you choose the right thread, use proper stitching techniques, and reinforce seams for stronger repairs.
Choosing The Right Thread
Pick a thread that matches your tent fabric in strength and color. Nylon or polyester threads work well because they resist water and sun damage.
Use a thread that is strong enough to hold the fabric but thin enough to sew easily. Avoid cotton threads as they can break or rot.
Stitching Techniques
Use small, tight stitches to close the tear neatly. A backstitch is strong and good for repairing tents.
- Start a few centimeters before the tear
- Sew across the rip with even stitches
- End a few centimeters after the tear
- Tie knots to secure the thread at the start and end
Keep your stitches close to avoid water leaks and further damage.
Reinforcing Seams
After sewing, add extra fabric patches over the repaired area for strength. Use waterproof fabric tape or patch material.
- Cut a patch larger than the tear
- Place it over the stitched area
- Attach with fabric glue or sew around the edges
- Press firmly to ensure good adhesion
Reinforced seams help the tent hold up in wind and rain.

Credit: www.amazon.ca
Sealing And Waterproofing
Fixing a torn tent needs careful sealing. Waterproofing keeps water out and protects the fabric. This guide helps you seal and waterproof your tent well.
Sealing and waterproofing make your tent last longer. They stop leaks and keep you dry. Follow these steps to repair your tent properly.
Applying Seam Sealer
Seam sealer fills gaps in the tent fabric and thread. It stops water from entering through stitched areas. Use a clean brush or applicator to spread it evenly.
- Clean the seam area with mild soap and water
- Let the seam dry completely before applying sealer
- Apply a thin, even layer of seam sealer over the seams
- Allow the sealer to dry as per product instructions
- Check the seam and apply a second coat if needed
Testing Water Resistance
After sealing, test your tent’s water resistance. This step ensures your repair works well. Use water to check for leaks on the repaired area.
| Test Method | What to Do | Result to Check |
|---|---|---|
| Spray Test | Spray water on the repaired seams | No water should pass through |
| Inside Check | Look inside the tent for wet spots | The interior fabric stays dry |
| Touch Test | Feel seams for dampness after drying | Seams feel dry and sealed |
Maintaining Tent Durability
Keep your tent strong and waterproof by caring for it regularly. Clean it and reapply waterproof coatings as needed. Store it in a dry place when not in use.
- Wash the tent gently with mild soap
- Dry the tent fully before storage
- Apply waterproof spray every few seasons
- Store tent in a cool, dry area
- Check seams and fabric for damage often
Preventing Future Tears
Fixing a torn tent is important, but stopping new tears is better. Taking care of your tent helps it last longer.
Use simple habits to protect your tent from damage. These habits keep your tent strong and ready for your next trip.
Proper Tent Setup
Setting up your tent correctly lowers the chance of tears. Make sure the tent is tight but not too stretched.
Secure all poles and stakes firmly. Avoid sharp objects near the tent while setting it up.
- Choose a flat, clear spot to set up
- Pull the tent fabric evenly on all sides
- Use all stakes and guy lines for support
- Keep poles in good condition and properly placed
Using Protective Ground Sheets
Ground sheets protect the bottom of your tent from rough ground and wet conditions. This reduces wear and tear on the fabric.
Use a ground sheet slightly smaller than your tent floor. This prevents water from collecting under the tent edges.
- Select a waterproof ground sheet made of durable material
- Avoid folding the ground sheet under tent edges
- Check and clean the ground sheet before each use
Regular Maintenance Tips
Keep your tent clean and dry to prevent damage. Regular checks help you find small problems before they grow.
Store your tent in a cool, dry place. Avoid long exposure to sunlight when not in use.
- Clean dirt and debris after each trip
- Dry the tent completely before packing
- Repair small holes or tears quickly
- Inspect seams and zippers often

Credit: www.amazon.ca
Frequently Asked Questions
How Do I Fix A Small Tear In My Tent?
To fix a small tear, clean the area first. Use a tent repair patch or strong adhesive tape. Apply the patch smoothly and let it dry for several hours before use.
What Materials Are Best For Tent Tear Repair?
Silicone repair tape, Tenacious Tape, and waterproof fabric patches work best. These materials are durable, weather-resistant, and easy to apply, ensuring a long-lasting repair.
Can I Repair A Torn Tent Without Sewing?
Yes, using waterproof adhesive patches or tape can repair tears without sewing. These methods provide a quick, effective fix for small to medium rips.
How Do I Prevent Tent Tears During Camping?
Avoid sharp objects near the tent, set it up on smooth ground, and handle the fabric gently. Regularly inspect and maintain your tent to prevent damage.
Conclusion
Repairing a torn tent is easier than you think. Small tears need quick fixes to stop them from growing. Use the right materials and tools for a strong patch. Keep your tent dry and clean before repair. Regular checks help catch damage early.
With care, your tent will last many camping trips. Enjoy the outdoors without worry. Simple steps save your gear and money. Ready to fix your tent and camp again?