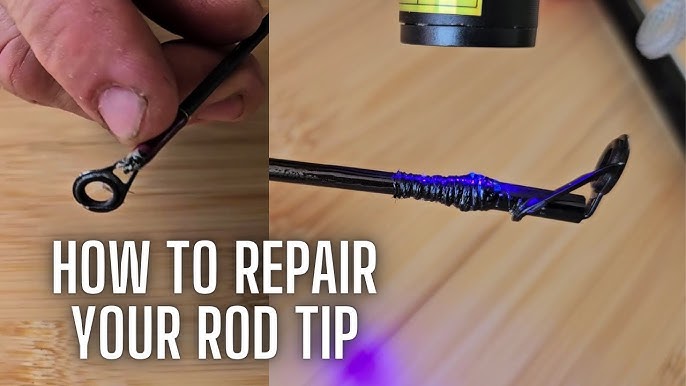
Is your fishing rod damaged, and you’re unsure how to fix it? You don’t have to toss it out or rush to buy a new one.
Repairing your fishing rod can save you money and get you back on the water faster. You’ll discover simple, step-by-step tips that anyone can follow to restore your rod’s strength and performance. Keep reading, and you’ll learn how easy it is to bring your fishing gear back to life—no special skills required.
Common Fishing Rod Issues
Fishing rods often face wear and tear from regular use. Knowing common problems helps you fix them quickly.
Fixing minor issues can save money and extend the rod’s life. Here are some frequent problems anglers meet.
Broken Tips
The tip of a fishing rod is delicate and breaks easily. It may snap from heavy fish or accidents.
Repairing a broken tip involves removing the old tip and gluing a new one. Use rod tip replacements from stores.
- Cut the broken tip cleanly
- Apply rod tip glue inside the new tip
- Slide new tip onto the rod and hold until set
- Let it dry fully before use
Damaged Guides
Guides direct the fishing line along the rod. They can bend or break from impacts.
Fix guides by removing damaged ones and replacing them with new guides of similar size. Use rod wrapping thread and glue to secure.
- Cut off old guide carefully
- Place new guide in the same position
- Wrap thread tightly around the foot of the guide
- Apply epoxy to protect the wrap
- Allow epoxy to cure before fishing
Loose Reel Seats
The reel seat holds the fishing reel in place. It can loosen over time or after rough use.
Tighten a loose reel seat by removing the reel and checking the locking mechanism. Use thread tape or glue if needed to secure it.
- Remove the reel carefully
- Inspect the seat for damage or wear
- Add thread tape around the rod where the seat fits
- Reinstall the reel and tighten the seat firmly
Cracked Rod Blank
The rod blank is the main shaft of the rod. Cracks weaken the rod and may cause breaks.
Small cracks can be repaired with strong epoxy. For large cracks, replacing the rod may be safer.
- Clean the cracked area thoroughly
- Mix epoxy resin and apply over the crack
- Wrap with thread or tape to hold epoxy in place
- Let it cure for at least 24 hours
- Check repair before fishing

Credit: www.amazon.com
Tools And Materials Needed
Fixing a fishing rod needs some basic tools and materials. These help you do the job right and safe.
Knowing what you need first makes the repair faster and easier. Let’s look at the main things you need.
Basic Repair Tools
You need some simple tools to fix common problems on fishing rods. These tools help you cut, tighten, and shape parts.
- Small screwdriver set for screws and guides
- Needle-nose pliers for gripping and bending
- Utility knife or razor blade for cutting wraps
- Sandpaper to smooth rough edges
- Scissors for trimming thread or tape
- Measuring tape or ruler for accuracy
Adhesives And Tapes
Strong adhesives and tapes keep the repaired parts in place. Choose glue and tape that dry clear and stay waterproof.
- Epoxy resin for fixing cracks and breaks
- Super glue for quick, small repairs
- Thread wrap tape to hold guides and wraps tight
- Electrical tape for extra protection on joints
- Heat-shrink tubing to cover repaired sections
Replacement Parts
Sometimes you need to replace broken parts. Having spare parts ready saves time and helps restore the rod.
- Rod guides of various sizes
- Tip tops for the rod’s end
- Handle grips made of cork or foam
- Reel seats to hold the reel firmly
- Thread for wrapping guides back on the rod
Fixing A Broken Rod Tip
A broken rod tip can stop your fishing trip quickly. Fixing it yourself saves money and time. This guide shows how to repair the rod tip step by step.
Follow simple instructions to remove the old tip, pick the right replacement, and attach the new tip correctly.
Removing The Old Tip
Start by heating the broken tip gently. Use a lighter or warm water to soften the glue inside. Be careful not to damage the rod.
Once warm, twist and pull the old tip off the rod. If it does not come off easily, heat it a bit more and try again.
Selecting The Right Replacement
Choose a new tip that fits your rod size. Measure the inside diameter of the rod’s tip section. Match this with the new tip’s base size.
Consider the type of fishing you do. Use a durable tip for heavy fishing or a lighter one for small fish.
- Measure rod tip diameter accurately
- Pick a tip with the same or slightly smaller size
- Choose material based on fishing style
Attaching The New Tip
Clean the rod tip area before attaching. Apply a small amount of strong glue inside the new tip.
Slide the new tip onto the rod. Align it straight with the guides on the rod. Hold it in place until the glue dries completely.
- Clean rod tip area
- Apply glue inside new tip
- Slide tip on rod and align
- Hold steady until dry

Credit: www.reddit.com
Repairing Or Replacing Guides
Fishing rod guides help control the fishing line. They keep the line steady and prevent tangles. Over time, guides can wear out or break. Fixing or changing guides can make your rod work like new again.
This guide explains how to check guides, remove old ones, and install new ones. Follow these steps to keep your fishing rod in good shape.
Identifying Guide Damage
Check each guide carefully for cracks or breaks. Look for rough spots or rust on the rings. Damaged guides can cut or wear out the fishing line fast.
- Look for bent or loose guides
- Feel for rough or sharp edges
- Check for missing parts or corrosion
Removing Old Guides
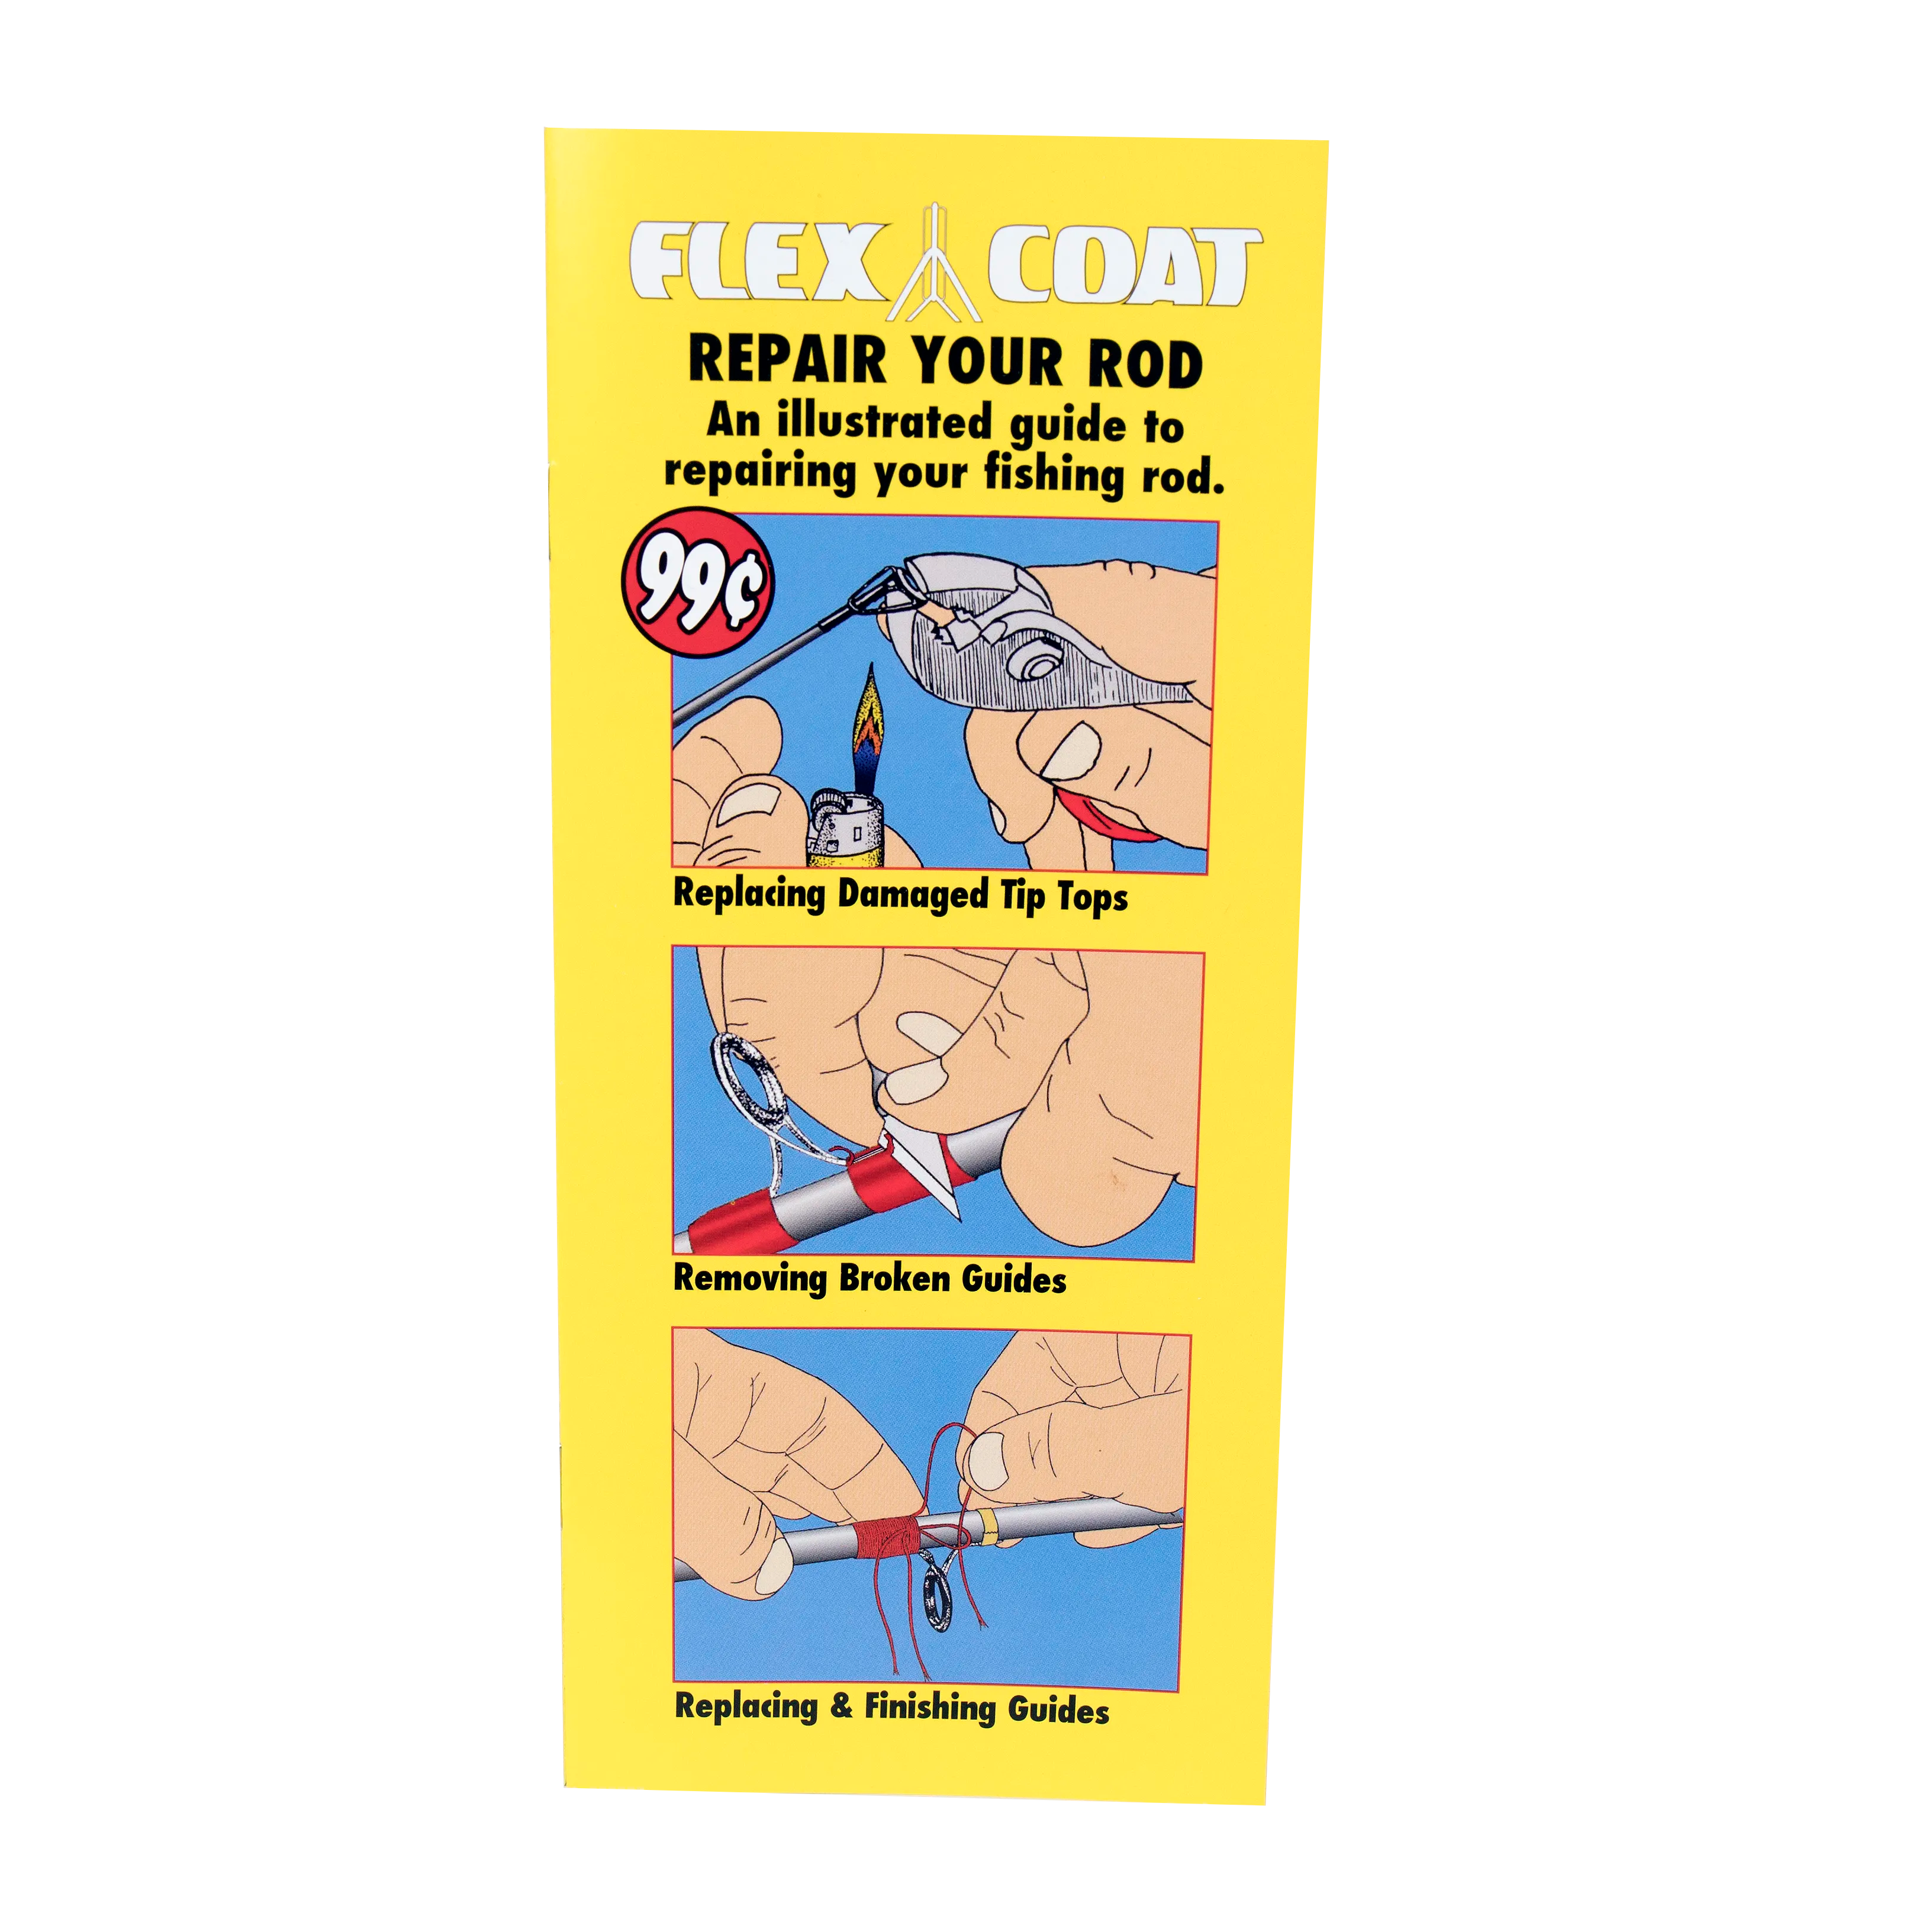
Remove old guides carefully to avoid damaging the rod blank. Use a heat source to soften the glue or thread holding the guide. Peel off the thread and clean the area well.
- Use a heat gun or lighter to warm the guide wrap
- Gently pull off the guide and thread
- Clean leftover glue with rubbing alcohol
Installing New Guides
Place the new guides along the rod in the correct order. Secure them with thread wraps and epoxy glue. Let the glue dry fully before using the rod again.
- Align guides from the tip to the reel seat
- Wrap thread tightly around guide feet
- Apply epoxy evenly over the wraps
- Let dry for at least 24 hours
Securing Loose Reel Seats
A loose reel seat can make fishing difficult and unsafe. Fixing it helps keep your reel steady. This guide shows easy ways to secure the reel seat on your fishing rod.
Follow the steps below to check the stability, tighten or replace parts, and reinforce with epoxy if needed.
Checking Reel Seat Stability
First, check if the reel seat moves or wiggles on the rod. Hold the rod firmly and try to twist the reel seat. If it shifts easily, it needs fixing. Look for cracks or damage around the seat area.
Tightening Or Replacing Parts
If the reel seat is loose, try tightening the locking rings. If the parts are worn out, replacing them is best. Use the right size parts for your rod model.
- Remove the reel from the seat.
- Check the locking rings for damage.
- Turn the locking rings clockwise to tighten.
- Test the reel seat for firmness.
- Replace parts if tightening does not work.
Using Epoxy For Reinforcement
Epoxy can add strength to a loose reel seat. It fills gaps and holds parts firmly. Use it carefully to avoid making a mess.
| Epoxy Use Step | Details |
|---|---|
| Clean Area | Remove dirt and old glue from the reel seat. |
| Mix Epoxy | Follow package instructions for correct mix. |
| Apply Epoxy | Spread a thin layer inside the reel seat area. |
| Reassemble | Put the reel seat back and tighten locking rings. |
| Cure Time | Let the epoxy dry for 24 hours before use. |
Credit: flexcoat.com
Fixing Cracks In The Rod Blank
Fishing rods can develop cracks over time, especially after heavy use. Fixing these cracks helps keep the rod strong and functional.
Small cracks can be repaired at home with simple tools. Larger cracks may need more attention or replacement.
Assessing Crack Severity
Check the crack size and location before starting any repair. Not all cracks are the same and some affect the rod’s strength more.
- Measure the length and width of the crack.
- Look for deep cracks that go through the rod.
- Check if the crack is near the handle or tip.
- Test rod flexibility to see if the crack affects bending.
Applying Epoxy Or Tape
Use epoxy or tape to seal and protect the cracked area. Epoxy creates a strong, durable bond. Tape offers a quick fix but is less permanent.
| Method | Materials Needed | Best For |
| Epoxy | Two-part epoxy resin, sandpaper, brush | Deep or long cracks |
| Tape | Strong fishing rod tape or electrical tape | Small surface cracks or temporary fix |
Clean the cracked area well before applying epoxy or tape. Allow epoxy to dry fully for the best results.
When To Replace The Rod
Some cracks cannot be fixed safely. If the rod breaks easily or the crack is too large, replacement is safer.
- Cracks that cause rod snapping under light pressure.
- Damage near the reel seat or handle.
- Multiple cracks along the rod blank.
- When repairs do not restore strength and performance.
Preventive Maintenance Tips
Keeping your fishing rod in good shape helps it last longer. Preventive maintenance stops small problems from growing.
Simple care steps make your fishing trips better. These tips focus on cleaning, storing, and checking your rod often.
Regular Cleaning
Clean your fishing rod after each use. Salt, dirt, and fish slime can damage it over time.
Use fresh water and a soft cloth to wipe the rod. Avoid harsh chemicals that can harm the finish.
- Rinse rod with fresh water after saltwater use
- Wipe guides and reel seat gently
- Dry completely before storing
Proper Storage
Store your fishing rod in a safe place to avoid damage. Keep it away from extreme heat or cold.
Use a rod holder or rack to keep it straight. Avoid leaning it against walls or leaving it on the floor.
- Store rods vertically or horizontally on a rack
- Keep rods away from direct sunlight
- Use rod covers to protect from dust and scratches
Routine Inspections
Check your fishing rod regularly for damage. Look for cracks, loose guides, or worn-out parts.
Fix small issues early to avoid big repairs later. Tighten screws and replace worn parts as needed.
- Inspect guides for cracks or bends
- Check reel seat for tightness
- Look over the rod blank for scratches or cracks
Frequently Asked Questions
How Do I Fix A Broken Fishing Rod Tip?
To fix a broken rod tip, first remove the damaged tip. Then, measure and fit a replacement tip guide. Secure it with strong adhesive or rod tip glue. Allow it to dry completely before using the rod again.
What Materials Are Needed To Repair A Fishing Rod?
You need replacement guides or tips, rod tip glue or epoxy, sandpaper, and a thread for wrapping. A rod drying motor or clamp helps during repairs. These materials ensure a strong and lasting rod repair.
Can I Repair A Cracked Fishing Rod Blank?
Small cracks can be repaired with epoxy and fiberglass wrap. Clean the crack area first, apply epoxy, wrap with fiberglass, then cure it. For severe cracks, professional repair or rod replacement is recommended to avoid breakage.
How To Replace Fishing Rod Guides Properly?
Remove old guides by cutting the thread and cleaning residue. Position new guides evenly along the blank. Wrap them tightly with strong thread. Apply epoxy resin to secure and protect the wraps. Let it cure before use.
Conclusion
Repairing a fishing rod can be simple with the right steps. First, gather your tools. Then, assess the damage carefully. Fixing common issues like broken tips or guides is straightforward. Don’t rush the process. Take your time to ensure a good repair.
Testing the rod afterward ensures it’s ready for fishing. Regular maintenance helps prevent future problems. Always handle your rod with care. Remember, practice makes perfect. With patience, you can repair your fishing rod effectively. Enjoy your fishing trips with confidence.
Happy fishing!