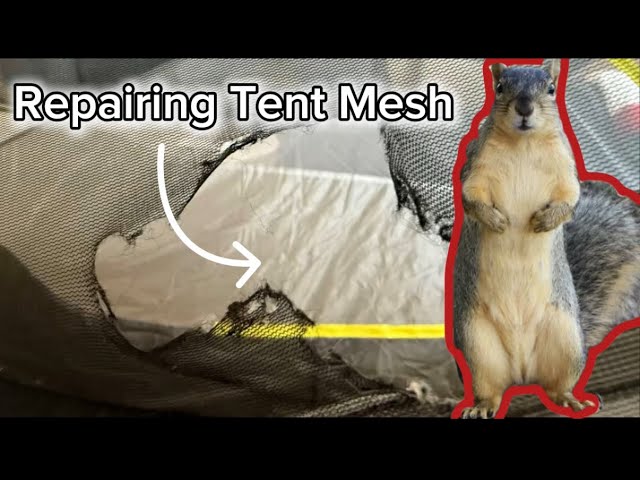
Your tent’s mesh is what keeps bugs out and fresh air flowing in. But what happens when that mesh tears or gets a hole?
It can quickly turn your cozy campsite into a frustrating bug battle. Don’t let a small rip ruin your outdoor adventure. In this guide, you’ll discover simple, effective ways to repair your tent’s mesh—no special skills or expensive tools needed.
Keep reading to learn how you can fix your tent quickly and get back to enjoying the great outdoors without the hassle.
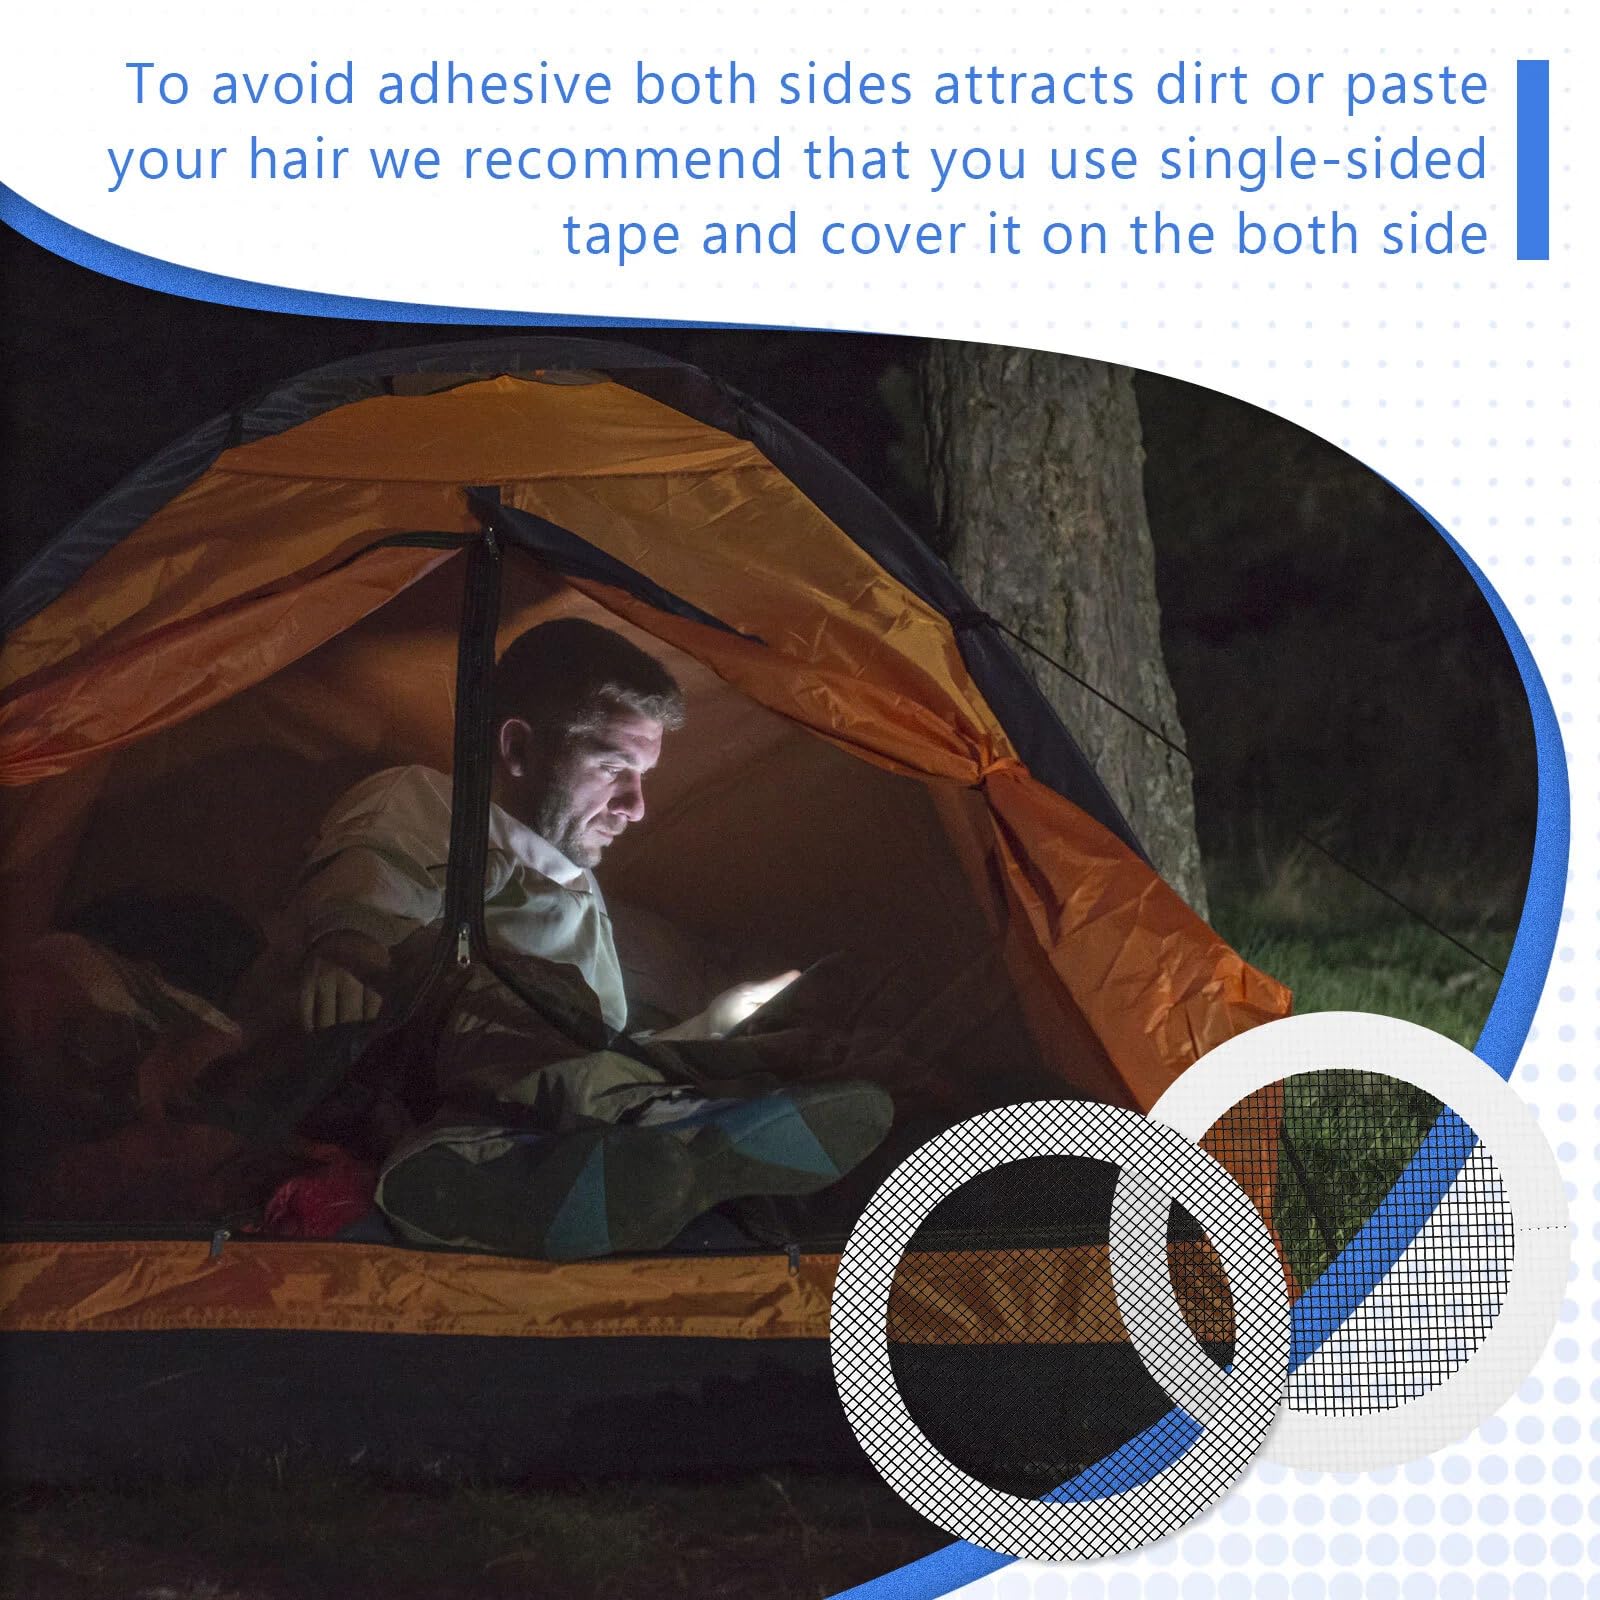
Credit: www.amazon.com
Tools And Materials Needed
Fixing a torn mesh on your tent needs the right tools and materials. Using the correct supplies makes the repair last longer.
Gather everything before you start. This helps you work faster and keeps the repair neat.
Repair Tape Or Mesh Patch
Repair tape or mesh patches fix small holes or tears in tent mesh. They stick well to fabric and are easy to use.
Choose a patch that matches your tent mesh color and texture. This keeps the look neat and the repair strong.
- Waterproof repair tape
- Self-adhesive mesh patches
- Fabric glue for added hold
Scissors
Scissors cut the patch or tape to the right size. Use sharp scissors for clean edges.
Cut the patch slightly larger than the hole. This helps cover the damaged area fully.
Needle And Thread
A needle and thread help secure patches for a stronger fix. Use a fine needle for thin mesh fabric.
Pick thread that matches the mesh color. Use polyester thread for better strength and weather resistance.
- Fine sewing needle
- Polyester or nylon thread
- Thread color matching tent mesh
Cleaning Supplies
Clean the damaged area before repairing. Dirt or dust stops patches from sticking well.
Use mild soap, water, and a soft cloth. Let the mesh dry completely before fixing it.
- Mild soap
- Water
- Soft cloth or sponge
- Towel for drying
Optional: Seam Sealer
Seam sealer protects stitches from water damage. Use it on sewn patches for extra strength.
Apply a thin layer over the stitch lines. Let it dry fully before packing the tent.
Assessing The Damage
Before fixing the mesh on your tent, you need to check how bad the damage is. This helps you decide the best way to repair it.
Look closely at the mesh to find all holes, tears, or worn areas. Small problems can be fixed easily, but big damage might need more work.
Locate All Holes And Tears
Walk around the tent and look carefully at the mesh panels. Use your fingers to feel for holes or weak spots you might not see.
- Check corners and edges where mesh meets the tent
- Look for small holes that insects can get through
- Mark spots with a washable marker for repair
Examine The Size Of Damage
Measure the size of each hole or tear. This helps you pick the right patch or mesh material for repair.
- Small holes under one inch can be patched easily
- Tears longer than two inches may need mesh replacement
- Wide damage might weaken the tent’s structure
Check The Mesh Condition
Look at the mesh fabric around the damage. See if it is worn out or still strong enough to hold a patch.
Old or brittle mesh may tear more. If the mesh is weak, consider replacing the entire panel.
Inspect The Tent Frame Near Damage
Check the tent poles and seams near the mesh damage. Broken parts can cause more stress on the mesh.
- Look for bent or cracked poles
- Check if seams are loose or torn
- Fix frame issues to prevent new mesh damage
Cleaning The Mesh Area
Cleaning the mesh area of your tent helps keep it in good shape. Dirt and debris can cause damage over time.
Regular cleaning also improves airflow and visibility through the mesh. It makes your tent more comfortable to use.
Gather Cleaning Supplies
Before starting, collect all the supplies you need. This makes the cleaning process smooth and easy.
- Mild soap or tent cleaner
- Soft brush or sponge
- Clean water
- Bucket
- Microfiber cloth or towel
Remove Loose Dirt And Debris
Gently brush off loose dirt, leaves, and bugs from the mesh. Use a soft brush to avoid tearing the material.
Wash The Mesh Gently
Mix mild soap with water in a bucket. Dip the sponge or brush and softly clean the mesh surface. Avoid scrubbing hard.
| Cleaning Method | Details |
| Soap Type | Mild, non-detergent soap or specialized tent cleaner |
| Water Temperature | Cold or lukewarm water |
| Cleaning Tool | Soft brush, sponge, or microfiber cloth |
| Pressure | Light pressure only to avoid damage |
Rinse And Dry Properly
Rinse the mesh with clean water to remove soap. Shake off extra water and air dry in shade. Avoid direct sunlight to protect fabric.
Choosing The Right Patch
Repairing the mesh on your tent keeps bugs out and lets air in. Choosing the right patch is important for a strong, lasting fix.
This guide helps you pick the best patch for your tent mesh repair.
Material Compatibility
Select a patch material that matches your tent mesh. Most tents use nylon or polyester mesh. Using the same fabric type helps the patch hold better.
Patch Size And Shape
Choose a patch that covers the hole with extra space around it. The patch should be at least two inches larger than the damaged area on all sides.
- Small patches work well for tiny holes
- Use larger patches for tears or bigger holes
- Round or oval patches reduce edges that can peel
Adhesive Type
Check the adhesive on the patch. It should stick well to mesh fabric and resist water. Some patches come with heat-activated glue, others use pressure-sensitive glue.
| Adhesive Type | Best For | Durability |
| Pressure-sensitive | Quick fixes | Good |
| Heat-activated | Permanent repairs | Very good |
| Sew-on | Heavy-duty use | Excellent |
Transparency And Color
Clear or mesh-colored patches blend better with your tent. They keep the tent looking neat and maintain airflow. Avoid thick or dark patches that block air.
Durability And Weather Resistance
Choose patches that resist UV rays, rain, and wind. Outdoor patches made for tents last longer in all weather conditions.
Tips for a lasting patch:
- Clean the mesh before applying patch
- Let adhesive cure fully before packing the tent
- Carry extra patches for future repairs
Applying Adhesive Patches
Fixing a torn mesh on a tent is easy with adhesive patches. These patches stick well and keep bugs out.
Applying the patch carefully helps your tent last longer and stay strong in the wind.
Preparing The Surface
Clean the torn area before applying the patch. Dirt or moisture can stop the patch from sticking.
Use a soft cloth to wipe the mesh gently. Make sure the mesh is dry and free of dust.
- Remove loose threads around the tear
- Wipe gently with rubbing alcohol or water
- Let the mesh dry completely before patching
Attaching The Patch
Cut the patch slightly bigger than the tear. This covers the hole fully and holds well.
Place the patch on the clean mesh. Press firmly with your fingers to remove air bubbles.
- Align the patch over the hole
- Press down from the center outward
- Smooth out wrinkles or bubbles
Allowing Time To Set
Let the patch dry for several hours. This helps the adhesive bond strongly with the mesh.
Keep the tent in a dry place during this time. Avoid touching or moving the patch.
- Wait at least 4 to 6 hours before use
- Do not expose the patch to water early
- Check the patch edges for secure bonding

Credit: www.gearaid.com
Sewing Mesh Repairs
Fixing a tear in your tent’s mesh keeps bugs out and fresh air in. Sewing is a strong way to repair small holes and rips. With the right tools and techniques, you can make your mesh last longer.
This guide covers how to pick thread and needle, stitching methods, and how to finish the seam neatly.
Selecting Thread And Needle
Choose a needle and thread that work well with mesh fabric. The needle must be sharp and thin to avoid making big holes. The thread should be strong and weather resistant.
| Material | Recommended Type | Reason |
| Thread | Polyester or nylon | Strong and water resistant |
| Needle | Sharp, size 70/10 or 75/11 | Thin enough for mesh holes |
| Optional | Fishing line | Very strong, but harder to sew |
Stitching Techniques
Use small, tight stitches to close the tear. Keep the mesh flat and avoid pulling the thread too tight. This stops puckering and keeps the repair flexible.
- Start with a knot at the thread end
- Sew around the hole using a whip stitch or running stitch
- Make stitches close together to cover the tear fully
- Use backstitches for extra strength on bigger tears
- Test the repair by gently pulling the mesh
Finishing The Seam
Secure the thread end so the stitches do not come undone. Trim any loose threads. You can add a small patch for extra durability.
Here is a simple way to finish your seam:
- Tie a strong double knot at the last stitch.
- Loop the thread around the knot twice.
- Pull tight and trim the thread close to the knot.
- Apply a small piece of clear tape or fabric glue if needed.
Preventing Future Damage
Fixing mesh on a tent helps keep bugs out and air flowing. Taking care of the mesh stops new tears and holes.
Simple habits can make your tent last longer. Follow easy steps to protect your mesh from damage.
Proper Tent Setup
Set your tent on smooth, flat ground to avoid sharp rocks or sticks. These can poke holes in the mesh.
Use a groundsheet to add a layer between the tent and the floor. It helps stop wear on the mesh and fabric.
- Clear the area of sharp objects before setup
- Keep the mesh away from rough or abrasive surfaces
- Tighten tent poles gently to avoid stretching the mesh
- Use guy lines and stakes to secure the tent firmly
Routine Maintenance Tips
Check your tent mesh regularly for small holes or weak spots. Fixing these early stops bigger damage.
Clean the mesh gently with a soft brush or cloth. Avoid strong cleaners that can wear the mesh fibers.
- Inspect mesh after each camping trip
- Remove dirt and debris carefully
- Store the tent dry and folded loosely
- Repair small tears with patch kits right away
- Keep the tent away from sharp objects during storage
When To Replace The Mesh
The mesh on a tent helps keep bugs out and lets air flow. Over time, the mesh can get damaged or worn out. Knowing when to replace it keeps your tent comfortable and safe.
Small tears or holes can be fixed. But some problems need a full mesh replacement. Look for signs that the mesh no longer works well.
Large Tears Or Holes
If the mesh has big holes, it lets bugs and dirt inside. Large tears are hard to fix with patches. Replacing the mesh is better to keep the tent protected.
Frayed Or Weak Mesh Fabric
Over time, mesh fabric can become thin and weak. Frayed edges or worn spots show the mesh will tear soon. Replace the mesh to avoid sudden breaks during use.
Damage From Sun Or Weather
Sunlight and rain can wear out the mesh. If the mesh feels brittle or looks faded, it may not last much longer. Replace it before it breaks in bad weather.
Repeated Repairs Fail
Small repairs work for minor damage. But if you patch the same area often, the mesh weakens. Replace the mesh when repairs no longer hold well.
Mesh No Longer Keeps Bugs Out
If bugs still get inside after fixing holes, the mesh may be too damaged. Replace it to keep insects away and enjoy a bug-free tent.

Credit: www.amazon.com
Frequently Asked Questions
How Do I Fix A Tear In Tent Mesh?
To fix a tear, clean the area first. Use mesh repair tape or a patch kit. Cut the patch slightly larger than the tear. Apply the patch on the inside of the mesh. Press firmly and let it dry before use.
What Materials Are Best For Tent Mesh Repair?
Use mesh repair tape or nylon patches. Waterproof adhesive or seam sealer also works well. Choose materials that match your tent’s mesh type. They should be durable and weather-resistant for lasting repairs.
Can I Sew A Hole In Tent Mesh?
Yes, sewing is effective for small holes. Use a fine needle and strong thread. Stitch carefully to avoid enlarging the tear. Reinforce the area with a patch for added strength.
How Long Does A Tent Mesh Repair Last?
A well-done repair can last several camping seasons. Durability depends on repair materials and tent usage. Regularly inspect the repair to ensure it holds. Reapply patches if damage worsens over time.
Conclusion
Repairing mesh on a tent keeps it strong and useful. Small tears can turn into big problems fast. Fixing them early saves money and time. Use simple tools and materials you already have. A well-maintained tent means better camping trips ahead.
Keep practicing these easy repair steps often. Your tent will last through many adventures. Don’t let a small rip spoil your outdoor fun. Take care of your gear, and it will take care of you.