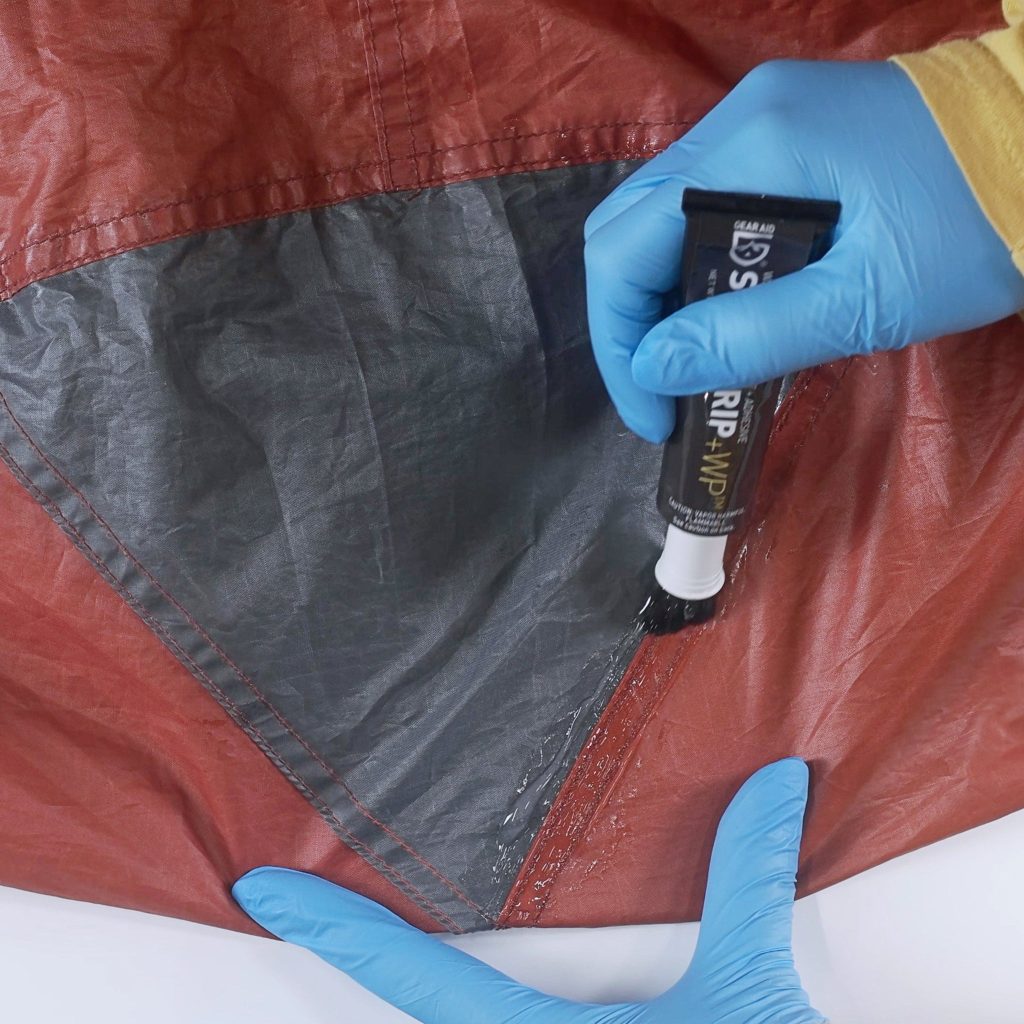
A rip in your tent can turn a great outdoor adventure into a stressful experience. You don’t want to worry about rain or bugs sneaking in while you’re trying to relax.
But here’s the good news: you don’t have to replace your tent or call for expensive repairs. You can fix that rip yourself—quickly and easily. You’ll discover simple, step-by-step methods to repair your tent and make it as good as new.
Keep reading, and you’ll learn how to protect your gear and enjoy your next trip without any hassle.
Identify The Rip Type
Knowing the type of rip in your tent helps you fix it correctly. Different rips need different repairs. This guide shows how to identify common rip types.
Look at the size, shape, and location of the damage. This will tell you if it is a small tear, large rip, or seam damage.
Small Tears
Small tears are usually less than two inches long. They happen from sharp objects or rough handling. These tears do not affect the tent’s structure much.
- Look for clean cuts or tiny holes.
- Check if the fabric around the tear is still strong.
- Small tears are easy to patch with tape or fabric patches.
Large Rips
Large rips are longer than two inches. They may have jagged edges or frayed fabric. These rips can weaken the tent’s shape and protection.
| Feature | Description |
|---|---|
| Size | More than 2 inches long |
| Edges | Jagged or frayed |
| Effect | Weakens tent structure |
| Repair | Needs strong patch or sewing |
Seam Damage
Seam damage happens where two pieces of fabric join. It looks like loose threads, gaps, or splits along the stitching. This can cause leaks and reduce tent strength.
Signs of seam damage:
- Visible thread breaks
- Separated fabric edges
- Water leaks during rain
Seam repairs require sewing or seam sealer to restore strength.
Credit: stouttent.com
Gather Essential Repair Tools
Fixing a rip in your tent needs the right tools. Without them, the repair may not last long.
Gathering these tools before you start will save time and help you fix the tent properly.
Patch Kits
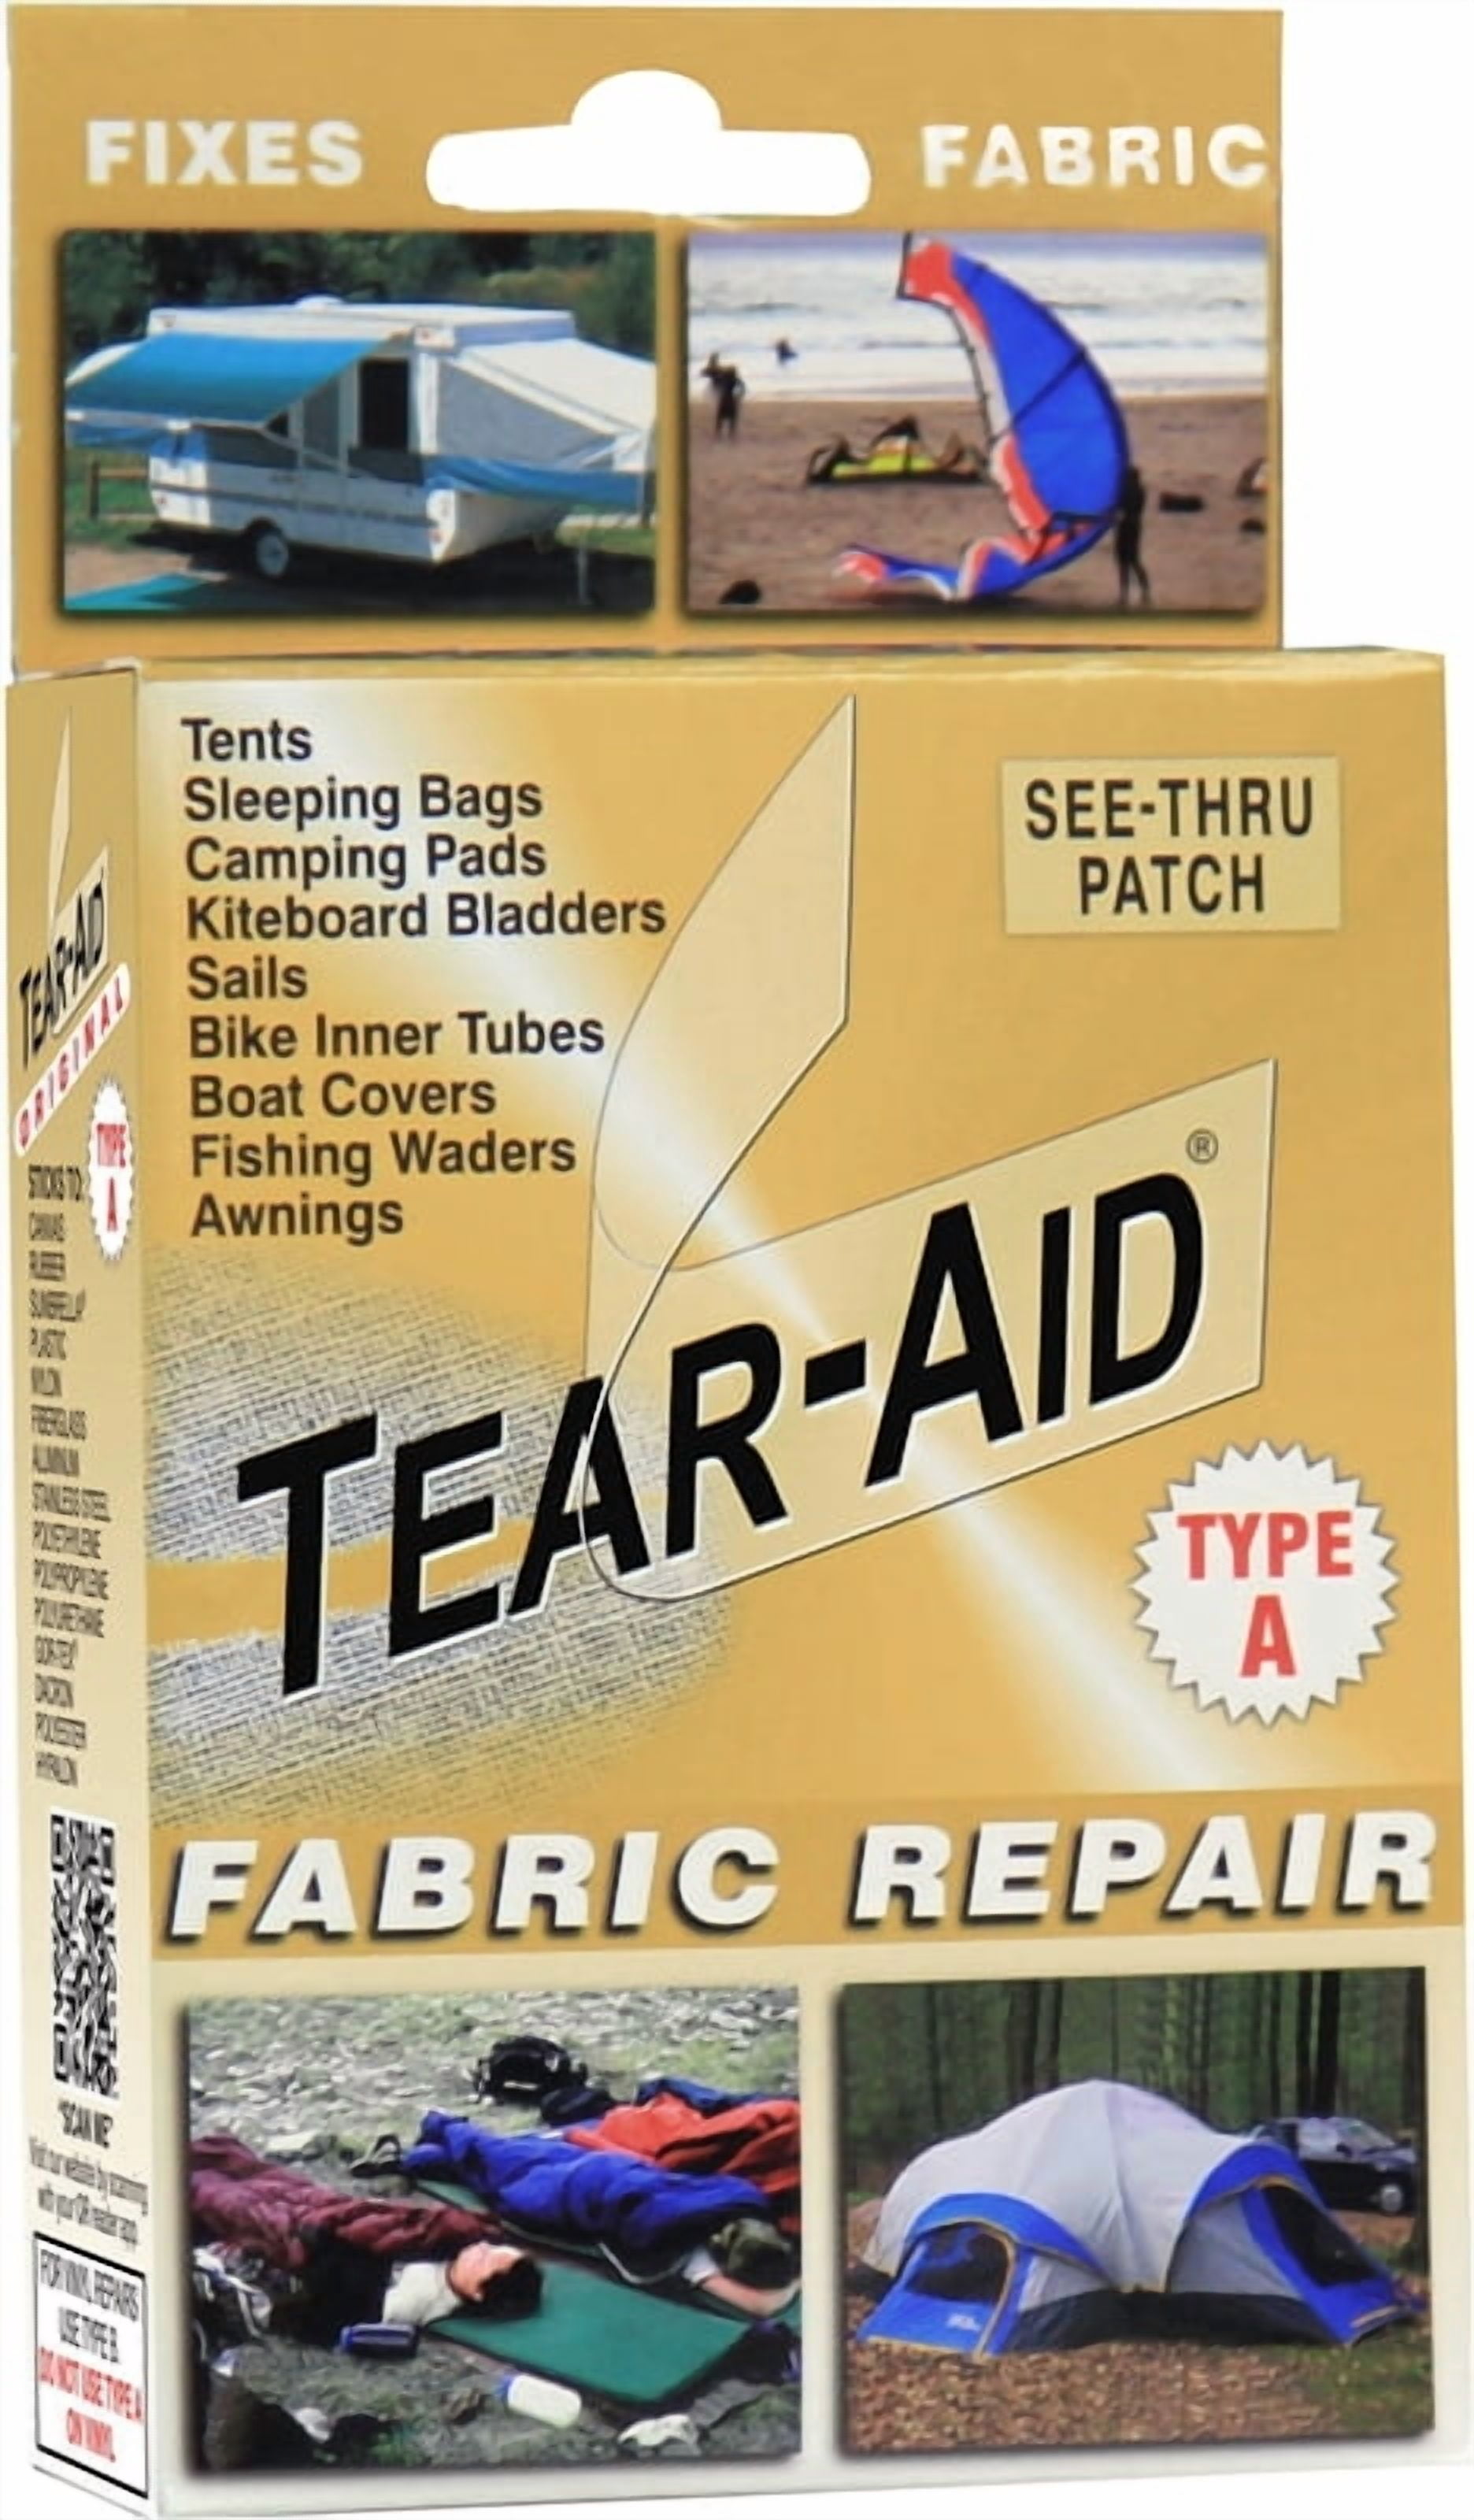
Patch kits include materials designed to cover and seal holes or tears in tents. They usually come with fabric patches and instructions.
Using a patch kit helps protect the tent from rain and wind while keeping it strong.
- Fabric patches matching your tent’s material
- Pre-cut or customizable sizes
- Instructions for proper use
- Sometimes adhesive backing included
Adhesives And Tapes
Adhesives and tapes hold the patch firmly to the tent fabric. They help keep the repair waterproof and secure.
Choose adhesives and tapes made for outdoor use. They resist water and stay sticky in different weather.
- Waterproof fabric glue
- Double-sided tent repair tape
- Strong, flexible sealing tape
- Quick-drying adhesives
Sewing Supplies
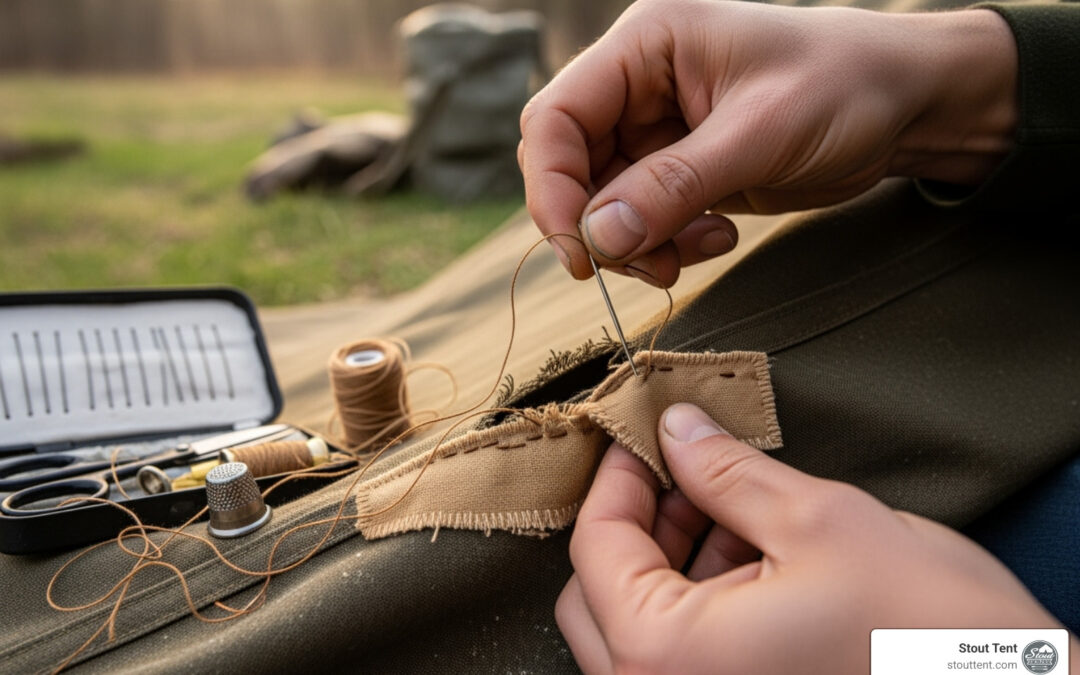
Sewing supplies are useful for a stronger and longer-lasting repair. They allow you to stitch the rip before adding patches.
Use durable thread and needles that can work through thick tent fabric without breaking.
- Heavy-duty needle
- Strong polyester or nylon thread
- Thimble for pushing needle
- Small scissors to trim threads
Prepare The Tent Surface
Fixing a rip in your tent starts with preparing the surface. Getting the area ready helps the repair last longer.
Cleaning and drying the surface are key steps before applying any patch or adhesive.
Clean The Area
Remove dirt, dust, and debris from the rip and the surrounding fabric. This helps the patch stick better.
Use a soft cloth or brush with mild soap and water. Gently scrub the area without damaging the fabric.
- Use mild soap, not harsh chemicals
- Wipe away loose dirt and dust
- Clean at least 2 inches around the rip
- Avoid soaking the fabric too much
Dry Completely
Let the tent fabric dry fully before repairing. Wet fabric prevents glue from sticking properly.
Air dry the area in a shaded spot. Avoid direct sunlight to protect the fabric from damage.
- Dry for several hours or overnight
- Do not use heat sources like hair dryers
- Ensure both sides of the fabric are dry
Quick Fixes For Small Tears
Small tears in your tent can cause problems if not fixed fast. Fixing them quickly helps keep you dry and safe. Two easy methods work well for small rips.
Using repair tape and applying seam sealer are simple ways to fix small holes. Both methods need few tools and take little time.
Using Repair Tape
Repair tape is a quick way to cover small tears. It sticks well to tent fabric and stops water from coming in. You can carry repair tape on trips for fast fixes.
- Clean the area around the tear with a cloth
- Cut a piece of repair tape larger than the tear
- Peel off the tape backing carefully
- Press the tape firmly over the tear
- Make sure edges are sealed tight
- Let the tape set for a few hours before use
Applying Seam Sealer
Seam sealer works well for small tears and weak spots. It seals tiny holes and strengthens fabric seams. Use it on dry fabric for best results.
| Seam Sealer Application Steps | Tips |
| Clean and dry the tear area | Use a soft brush or cloth |
| Apply seam sealer evenly over the tear | Cover edges well |
| Let it dry for several hours | Keep tent flat and still |
| Repeat if needed for better seal | Check for leaks before camping |
Repairing Large Rips
Large rips in tents can cause big problems if not fixed. Repairing them quickly helps keep your tent strong and dry.
There are two main ways to fix large rips: sewing and using fabric patches. Both can make your tent ready to use again.
Sewing Techniques
Sewing is a strong way to fix large rips in tents. Use a needle and heavy-duty thread made for outdoor gear.
Start by cleaning the torn area. Align the edges of the rip before stitching. Use small, tight stitches to hold the fabric well.
- Use a curved needle for thick fabric
- Sew in a back-and-forth pattern for strength
- Double stitch over the rip for extra support
- Tie knots securely at the start and end
Applying Fabric Patches
Fabric patches work well for covering large rips. Use patches made from similar tent material for best results.
Clean the area around the rip. Cut the patch larger than the tear. Use strong adhesive or sew the patch on for long-lasting repair.
- Place the patch on inside or outside of the tent
- Use waterproof glue if not sewing
- Press the patch firmly to remove air bubbles
- Let glue dry fully before using the tent
Credit: www.walmart.com
Fixing Seam Damage
A rip in your tent’s seam can cause leaks and make your tent weak. Fixing seam damage quickly keeps your tent safe and dry.
You can repair seam damage by re-stitching or using seam tape. Both ways help stop water and wind from entering.
Re-stitching Seams
Re-stitching is a good way to fix torn seams. You need a strong needle and thread made for outdoor fabrics.
Make small, tight stitches along the ripped seam. Keep your stitches close so the seam is strong again.
- Use polyester or nylon thread for strength
- Choose a needle that fits your fabric thickness
- Work slowly to keep stitches even
- Double knot the thread to secure the repair
Seam Tape Application
Seam tape adds extra protection to repaired seams. It blocks water from leaking through small holes.
Clean the seam area well before applying tape. Use a heat source like an iron to bond the tape firmly.
- Cut seam tape slightly longer than the rip
- Place tape over the seam on the inside
- Use low heat to melt the adhesive
- Press firmly to ensure full contact
- Let the tape cool before using the tent
Waterproofing After Repair
Fixing a rip in your tent is not enough to keep it dry. You must waterproof the area after repair. This will stop water from leaking through the patch. Proper waterproofing keeps you safe and dry during rain.
There are different ways to waterproof your tent repair. Two common methods are using seam sealers and spray-on waterproofing. Each method works in a special way to protect your tent fabric.
Using Seam Sealers
Seam sealers are liquids that you apply over stitched or repaired areas. They fill tiny holes and gaps that water can enter. Seam sealers dry clear and keep fabric flexible. Use them on both inside and outside of the tent for best results.
- Clean the area around the repair well before applying.
- Use a brush or applicator to spread the sealer evenly.
- Allow the sealer to dry fully, usually for 24 hours.
- Apply a second coat if needed for extra protection.
Spray-on Waterproofing
Spray-on waterproofing products create a thin, water-resistant layer on your tent. They are easy to use and cover large areas quickly. This method works well for tents with repaired rips that need extra water protection.
| Step | Action |
| 1 | Clean the tent fabric and let it dry. |
| 2 | Shake the spray can well before use. |
| 3 | Hold the can 6 to 8 inches from the surface. |
| 4 | Spray a light, even coat over the repaired area. |
| 5 | Let the tent dry completely before packing. |
Credit: stouttent.com
Tips To Prevent Future Rips
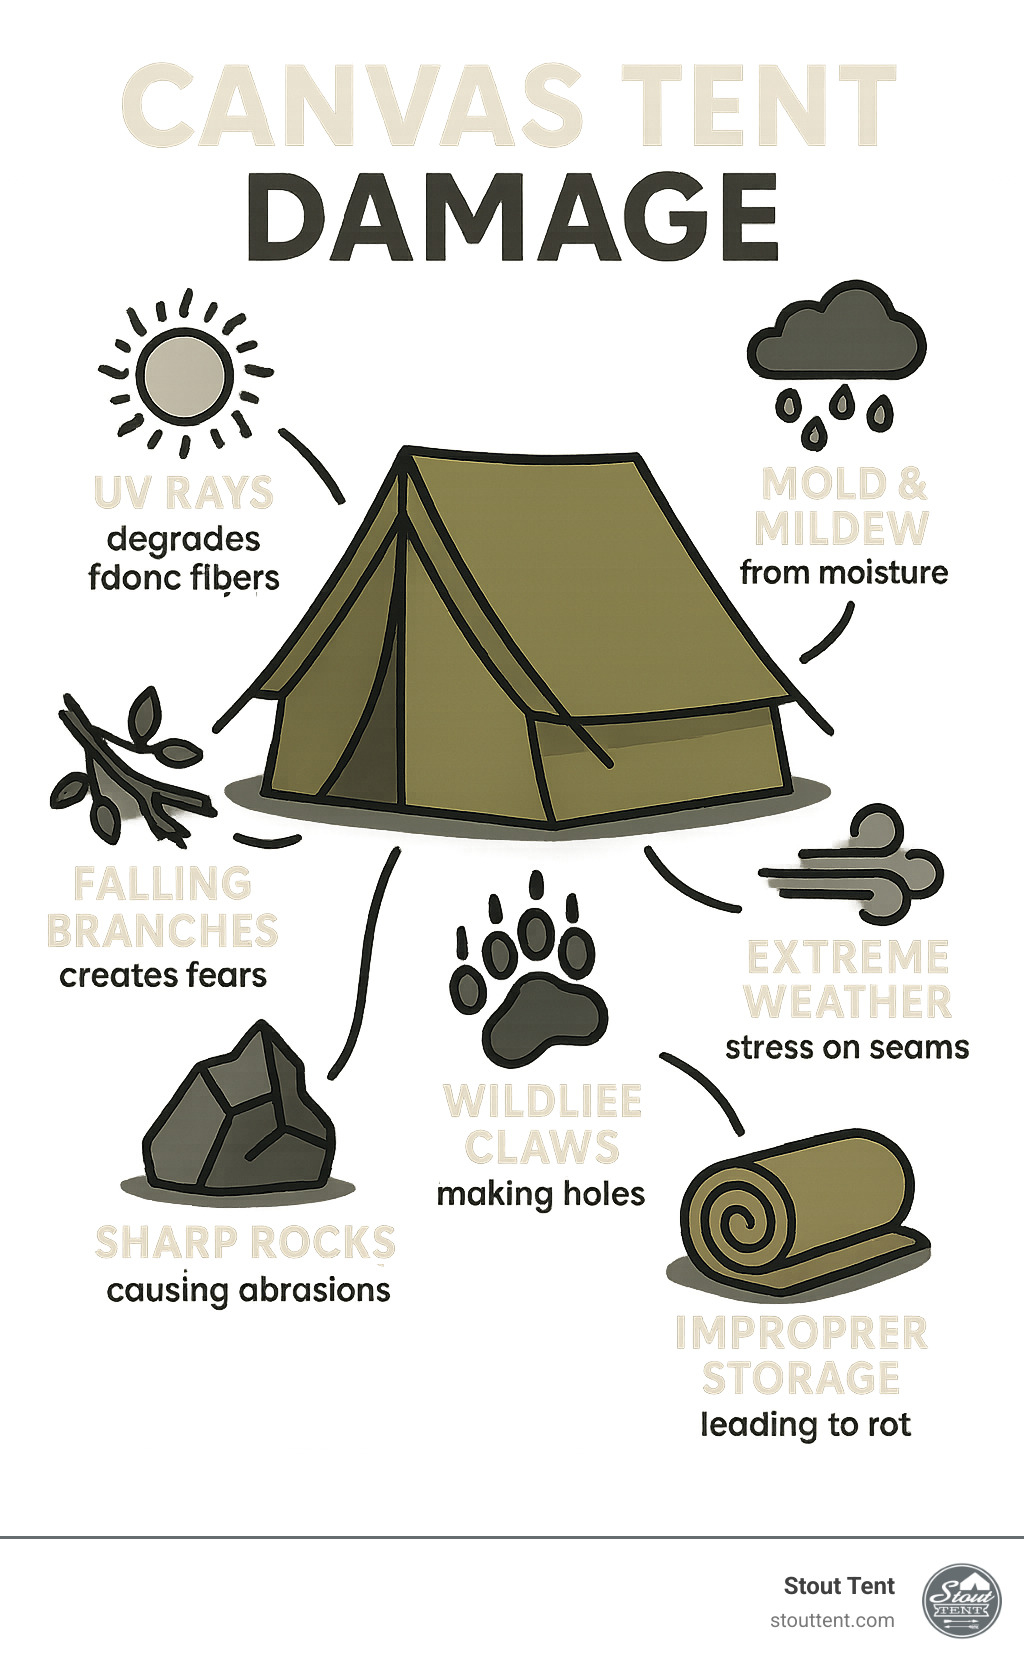
Fixing a rip in your tent is important, but preventing new tears saves more time. Taking care of your tent properly helps it last longer. Follow simple tips to keep your tent strong and safe from damage.
Setting up your tent correctly and keeping it clean both protect the fabric. These actions reduce wear and stop small rips from becoming big problems.
Proper Tent Setup
Setting your tent up the right way lowers the chance of tears. Avoid placing your tent on sharp or rough ground. Use a groundsheet to protect the tent floor and keep moisture out.
- Clear the area of sticks, rocks, and debris before pitching the tent.
- Use stakes to keep the tent tight and stable during wind or rain.
- Do not pull the tent fabric too hard to avoid stress on seams.
- Keep the tent away from campfires and sharp objects.
Care And Maintenance
Cleaning and storing your tent properly keeps the fabric strong. Dirt and moisture can weaken the material and cause damage over time. Dry your tent before packing it away.
| Care Tip | Reason |
| Dry tent completely before storage | Prevents mold and fabric breakdown |
| Clean dirt off tent regularly | Stops abrasion and fabric wear |
| Store tent loosely in a cool, dry place | Avoids fabric creases and damage |
| Check for small tears and fix promptly | Prevents rips from getting bigger |
Frequently Asked Questions
How Do I Quickly Repair A Rip In My Tent?
Clean the rip area first. Use tent repair tape or a patch kit. Apply the patch smoothly to avoid wrinkles. Let it dry before use. This quick fix prevents water leaks and further damage.
What Materials Are Best For Fixing Tent Tears?
Use waterproof tent repair tape or fabric patches. Seam sealer glue is effective for small holes. Choose materials compatible with your tent fabric. These ensure a durable and weatherproof repair.
Can I Sew A Rip In My Tent?
Yes, sewing is possible for large tears. Use a needle and strong, weather-resistant thread. Stitch carefully to avoid worsening the rip. Reinforce with a patch on both sides for extra strength.
How To Prevent Tent Rips In Future Trips?
Avoid sharp objects near the tent. Set up on smooth, clear ground. Regularly inspect and maintain your tent fabric. Proper storage also helps prevent wear and tear.
Conclusion
Repairing a rip in your tent is easier than it seems. Start by gathering all necessary tools and materials. Clean the damaged area carefully. Use patches and adhesive for a strong fix. Always let the repaired area dry fully. Check your repair before your next adventure.
This ensures your tent stays strong against weather. Regular tent inspections help catch small issues early. Practice these steps for a quick and effective repair. With care, your tent can last many adventures. Enjoy your outdoor experiences with confidence and safety.
Happy camping!