A rip in your tent can turn a perfect camping trip into a stressful situation. But don’t worry—you don’t need to toss your gear or buy a new tent just yet.
Knowing how to repair a tent rip quickly and effectively can save your adventure and keep you dry and comfortable. In this guide, you’ll discover simple, step-by-step methods to fix tears like a pro, even if you’ve never done it before.
Ready to protect your tent and enjoy your time outdoors without worry? Let’s dive in and get your tent back in top shape.
Common Tent Rip Causes
Tents are essential for camping trips, but they can rip easily. Understanding the causes helps prevent damage.
This guide explores the common reasons for tent rips and how to avoid them.
Wear And Tear
Tents face harsh weather and frequent use. Over time, this can weaken fabric and seams.
Regularly check your tent for any signs of wear. Small tears can become big problems.
Sharp Objects
Sharp objects can puncture tent fabric. Stones and branches are common culprits.
Clear the ground before setting up your tent. This prevents damage from beneath.
Improper Setup
Setting up a tent incorrectly can strain the fabric. Poles should fit well without force.
Follow the instructions carefully. Proper setup ensures even tension and a stable tent.
- Check for twists in the fabric
- Avoid pulling too tightly on the seams
- Ensure poles are not bent
Credit: www.walmart.com
Essential Repair Tools
Fixing a tent rip needs the right tools. Using proper supplies helps make strong repairs.
Having these tools ready saves time and keeps your tent safe for use.
Repair Kits
Repair kits have all basic items for fixing tears. They are easy to carry on trips.
Kits often include patches, glue, and instructions. They help patch holes quickly and well.
- Waterproof patches to cover holes
- Special glue for strong bonds
- Small scissors or cutters
- Instructions for easy use
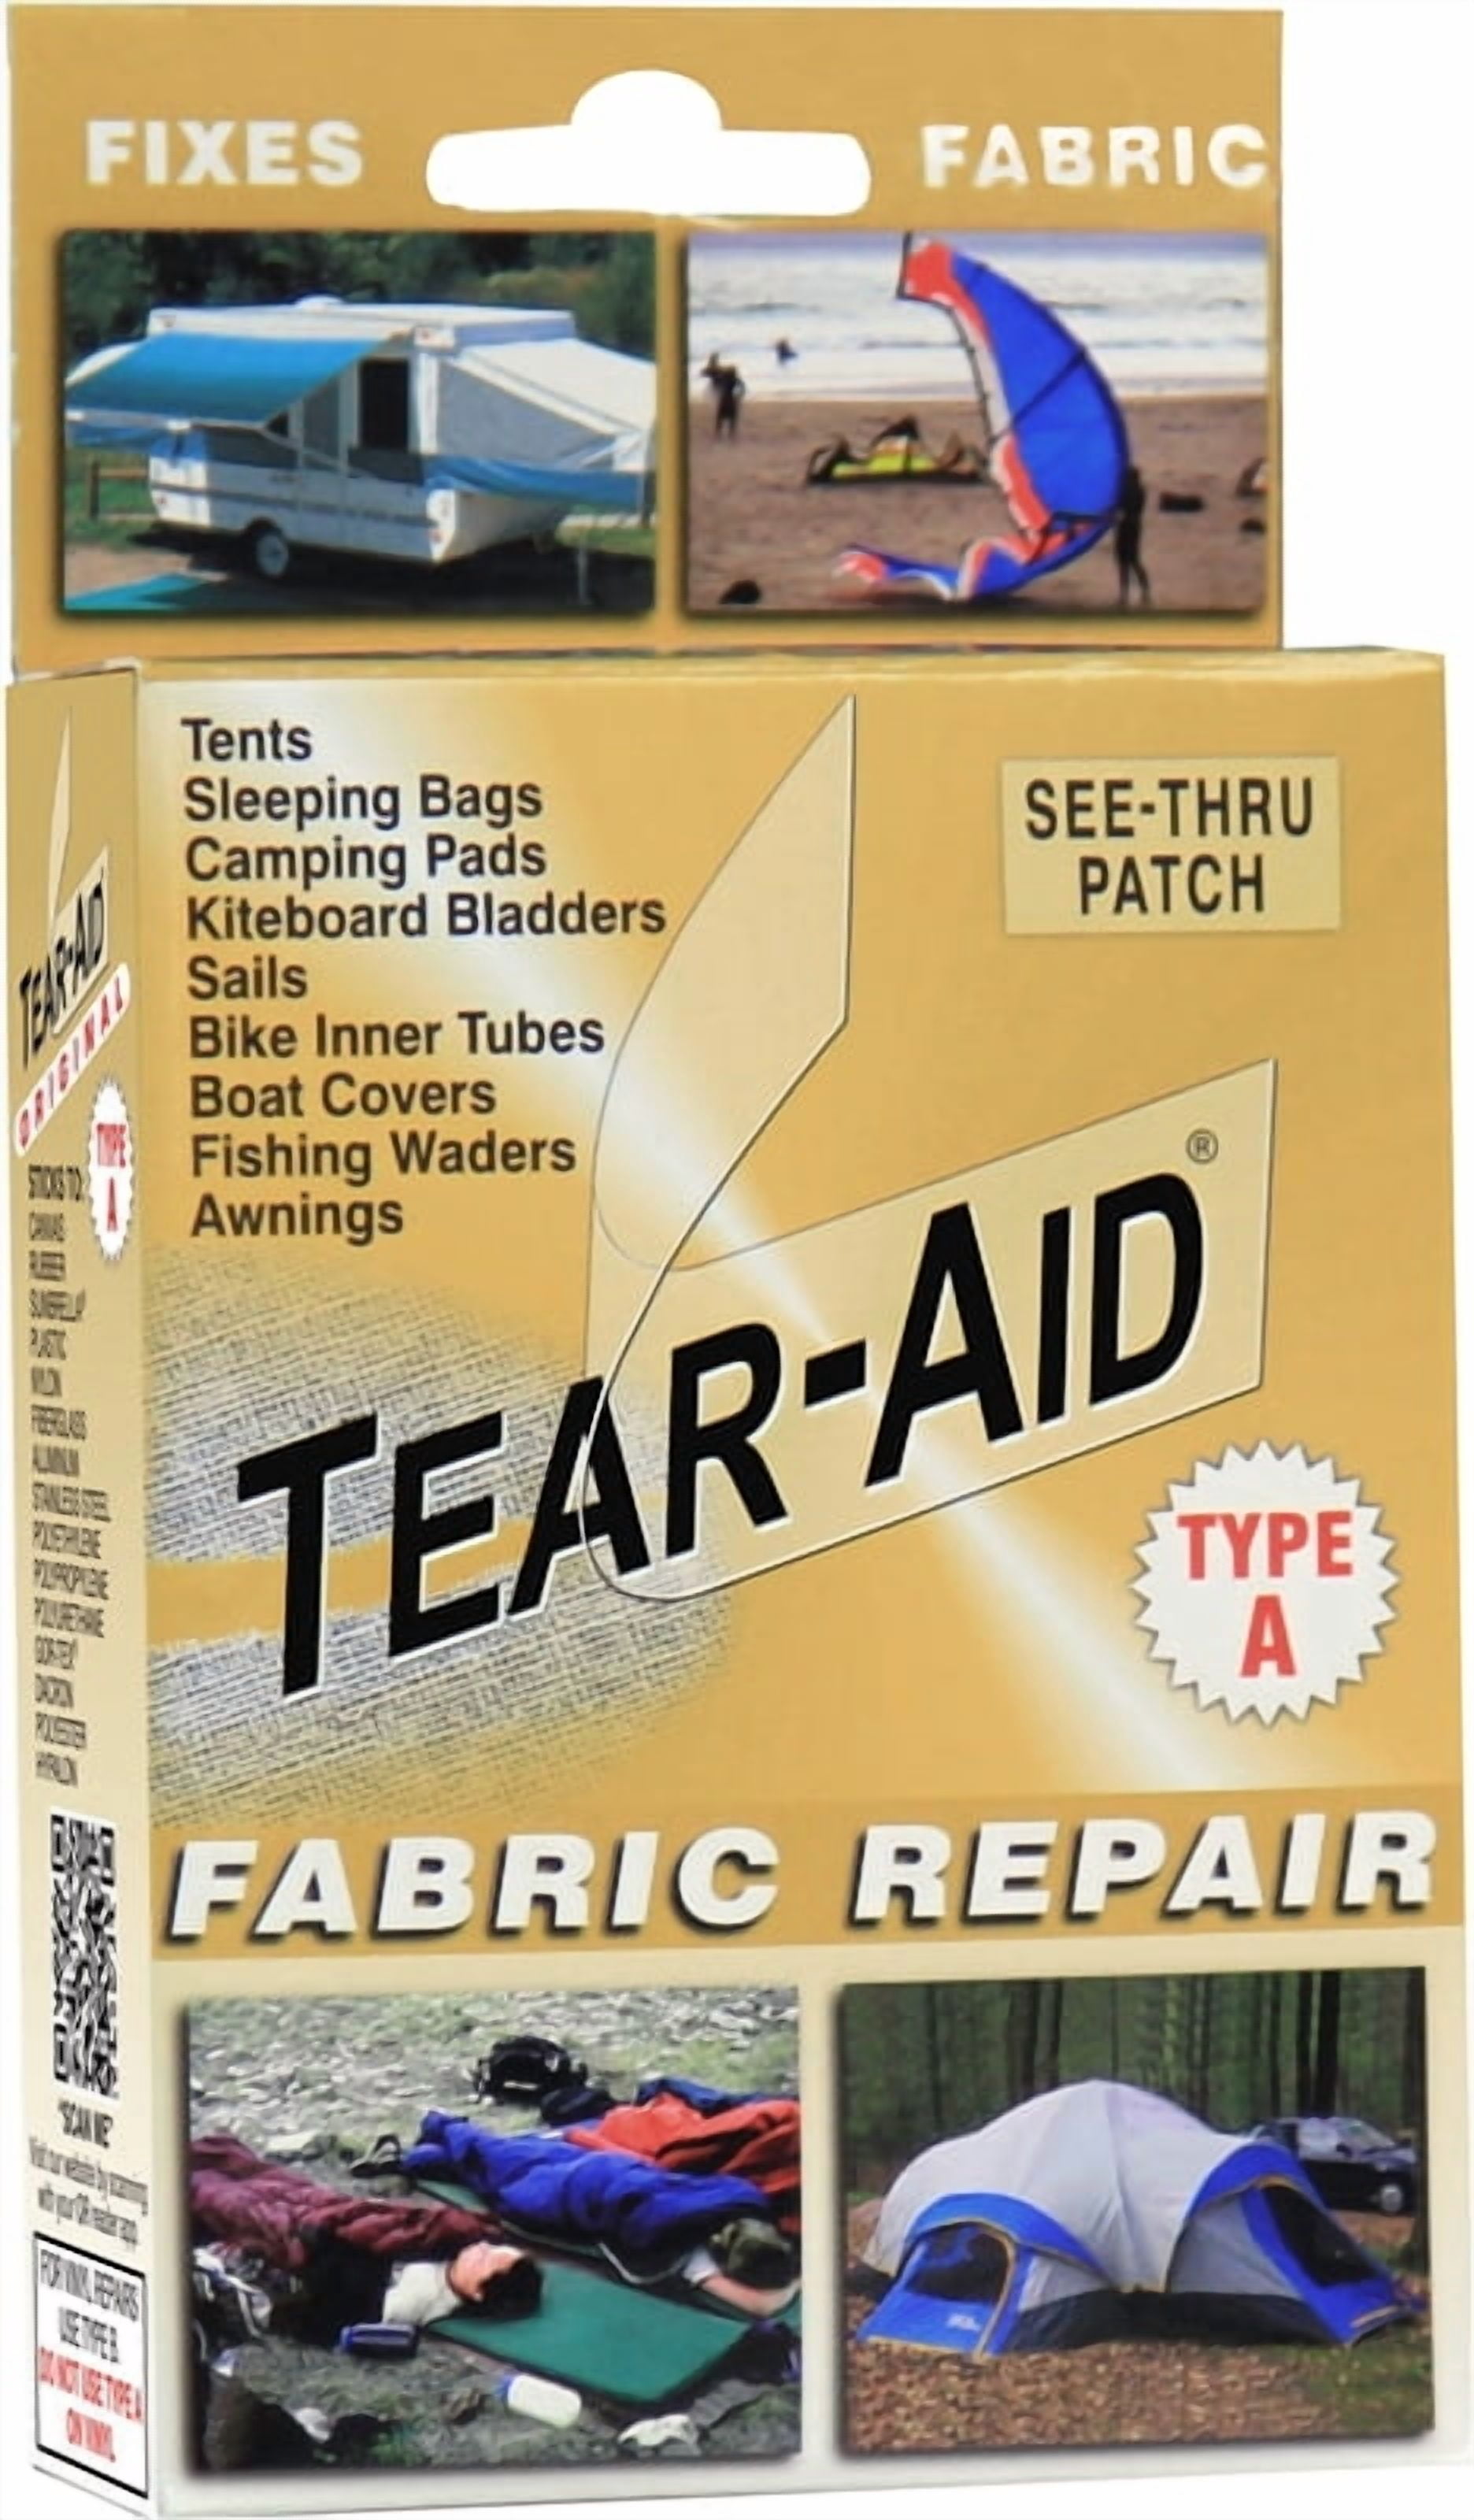
Adhesive Tapes
Adhesive tapes stick well to tent fabric. They fix small rips without sewing.
Choose tape made for outdoor use. It should resist water and sun damage.
- Waterproof repair tape
- Fabric tape for flexible hold
- Clear tape to keep tent color
- Easy tear or cut options
Sewing Supplies
Sewing tools help fix big tears or weak spots. Use strong thread and needles for tents.
Bring a curved needle for thick fabric. Polyester thread works best for outdoor gear.
- Heavy-duty thread (polyester or nylon)
- Curved or strong needles
- Thimble to push needles through fabric
- Small scissors for thread cutting
Quick Patch Methods
Tent rips can spoil your outdoor fun. Fixing small tears quickly helps keep you dry and safe.
These patch methods work fast and need only a few tools. You can fix your tent even on a trip.
Using Tent Tape
Tent tape is sticky and made for fabric. It works well on small holes and tears.
Clean the area around the rip. Cut a piece of tape larger than the tear. Press it firmly on the tent.
- Dry the tent fabric before applying tape
- Use rounded edges on tape to prevent peeling
- Apply tape inside and outside for extra strength
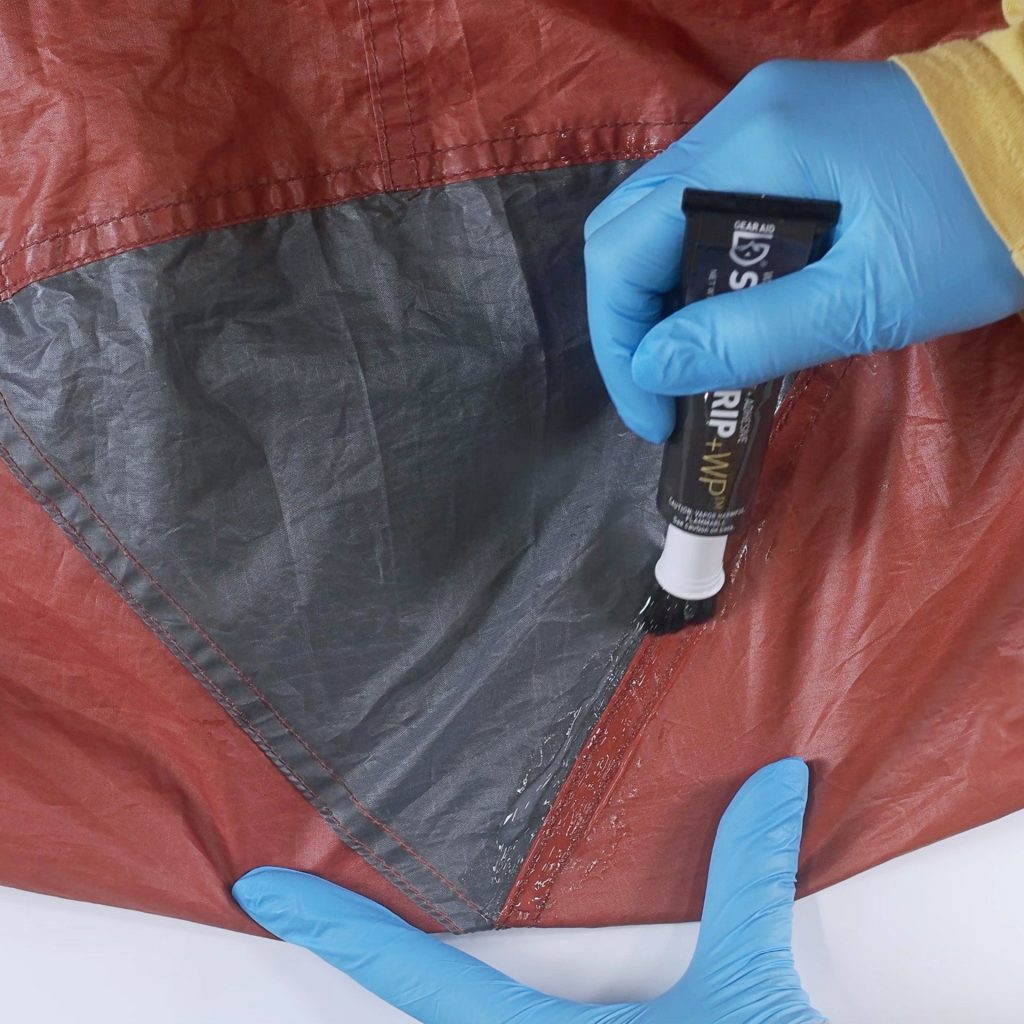
Applying Seam Sealer
Seam sealer is a liquid that seals small holes and stitches. It stops water from leaking.
Clean the rip and dry it well. Brush the sealer on the rip and let it dry completely before use.
- Use a small brush for precise application
- Apply multiple coats for larger rips
- Allow at least 24 hours drying time
Iron-on Patches
Iron-on patches stick to fabric using heat. They are strong and good for bigger tears.
Place the patch over the rip inside the tent. Use an iron to heat the patch for a few seconds. Let it cool before using the tent.
- Set iron to low heat without steam
- Keep the patch in place while ironing
- Check patch edges for secure bonding
Sewing Rips By Hand
Sewing rips by hand is a useful skill for fixing tents. It helps prevent water leaks and keeps your tent strong.
This guide covers picking the right thread, stitch techniques, and how to make repairs last longer.
Choosing The Right Thread
Use a thread that matches your tent’s fabric and can handle outdoor conditions. Polyester thread is strong and resists moisture well.
- Pick a thread color close to your tent fabric.
- Use heavy-duty polyester or nylon thread.
- Avoid cotton thread as it breaks easily.
- Choose a thread thickness that fits your needle size.
Stitch Techniques
Different stitches work better for different types of rips. Use strong, tight stitches to keep the fabric together.
| Stitch Type | Description | Best For |
| Running Stitch | Simple straight stitch | Small rips and quick fixes |
| Backstitch | Strong stitch that overlaps | Large rips and heavy fabric |
| Whip Stitch | Stitches around edges | Joining torn edges |
Reinforcing The Repair
Reinforce your repair to make it last longer. Add extra support around the rip to avoid new tears.
Try these tips for better reinforcement:
- Use a patch of fabric over the stitched rip.
- Apply waterproof seam sealer after sewing.
- Sew slowly and tighten each stitch firmly.
- Check the repair regularly for wear.
Using Adhesive Patches
Fixing a tent rip quickly keeps you safe and dry. Adhesive patches are easy to use and work well for small tears.
These patches stick to the fabric and stop holes from getting bigger. You can carry them on camping trips for fast repairs.
Preparing The Surface
Clean the area around the rip. Dirt and moisture stop the patch from sticking properly.
Use a damp cloth to wipe the fabric. Let it dry fully before adding the patch.
- Remove loose threads or frayed fabric
- Clean with mild soap if needed
- Make sure the surface is dry
Applying The Patch
Cut the patch to cover the rip with a bit extra around the edges. Round corners help the patch stay on longer.
Peel off the backing and place the patch on the rip. Press down firmly to remove air bubbles.
- Cover the entire rip plus 1 inch extra
- Press the patch from center outwards
- Hold pressure for at least 30 seconds
Ensuring Durability
Let the patch bond without moving the tent for several hours. This helps the adhesive set well.
Avoid washing or stretching the patched area soon. Check the patch regularly for signs of peeling.
- Keep the tent dry after patching
- Store the tent in a cool, dry place
- Replace the patch if it starts to peel
Credit: medium.com
Preventing Future Damage
Fixing a torn tent is important. You also need to stop rips from happening again. Taking good care of your tent keeps it strong and long-lasting.
Simple habits help protect your tent. Follow these tips to avoid new damage and keep your tent safe.
Proper Tent Setup
Setting up your tent correctly reduces stress on the fabric. Choose a flat, clean area free from sharp objects. Avoid placing the tent under heavy branches or where strong winds hit directly.
Make sure to tighten all ropes and stakes properly. Loose tent parts can flap in the wind and cause tears. Use a groundsheet to protect the tent floor from rocks and sticks.
- Pick flat, clear ground
- Avoid sharp rocks and sticks
- Secure ropes and stakes tightly
- Use a groundsheet under the tent
- Keep tent away from heavy branches
Regular Maintenance
Check your tent often for small tears or holes. Fix these problems quickly to stop them from growing. Clean the tent after each trip to remove dirt and debris.
Dry the tent completely before storage. Moisture can weaken the fabric and cause mold. Use mild soap and water for cleaning, not harsh chemicals.
- Inspect tent for damage after use
- Patch small tears right away
- Clean with mild soap and water
- Dry tent fully before storing
- Avoid strong chemicals
Safe Storage Tips
Store your tent in a cool, dry place away from sunlight. Sunlight can weaken the fabric over time. Keep the tent loosely folded or rolled to avoid creases and stress points.
Avoid storing your tent in plastic bags for long periods. Use a breathable bag or cotton sack. This helps prevent moisture buildup and fabric damage.
- Keep tent in a dry, cool place
- Protect tent from direct sunlight
- Fold or roll loosely, no tight creases
- Use breathable storage bag
- Do not store damp tent

Credit: www.reddit.com
Frequently Asked Questions
How Do I Fix A Rip In My Tent Fabric?
To fix a rip, clean the area first. Use a tent repair tape or patch. Apply adhesive evenly and press firmly. Let it dry fully before use. This method prevents water leaks and extends tent life.
What Materials Are Best For Tent Rip Repairs?
Use waterproof repair tape or fabric patches made from nylon or polyester. These materials are durable and weather-resistant. They blend well with most tents. Avoid using regular tape as it may not last outdoors.
Can I Repair A Tent Rip Without Sewing?
Yes, you can use strong adhesive repair tape or iron-on patches. These options are quick and waterproof. Sewing is ideal for large tears, but tape works well for small rips. Always ensure the surface is clean before applying.
How Long Does A Tent Rip Repair Last?
A quality repair can last multiple camping seasons if done correctly. Proper cleaning and drying before repair improve durability. Avoid exposing the repaired area to harsh conditions immediately. Regularly check for wear and reapply patches as needed.
Conclusion
Fixing a tent rip can save your camping trip and gear. Small tears need quick attention to stop them from growing. Use simple tools like patches, tape, or sewing kits. Clean the area before starting the repair. Take your time to make the fix strong and tight.
Regular checks help catch rips early. A well-repaired tent keeps you safe and dry outdoors. Camping stays fun when your tent stays in good shape. Keep these tips in mind for your next adventure.