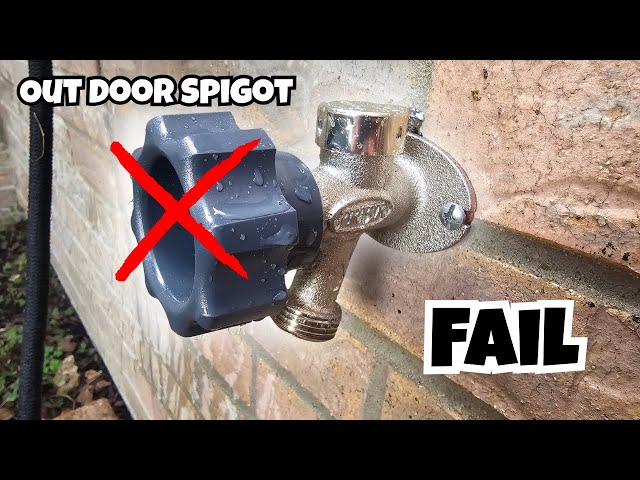
Is your garden hose faucet leaking or not working properly? Replacing it might seem tricky, but you can do it yourself with just a few simple steps.
Imagine saving money and avoiding the hassle of calling a plumber. In this guide, you’ll learn exactly how to replace your garden hose faucet quickly and easily. Keep reading to take control of your outdoor water setup and enjoy a hassle-free garden watering experience!

Credit: www.familyhandyman.com
Tools And Materials Needed
Replacing a garden hose faucet needs some basic tools and materials. Having the right items makes the job easier and faster.
Here is a list of what you will need to replace your garden hose faucet safely and correctly.
Adjustable Wrench
An adjustable wrench helps you loosen and tighten nuts and bolts. It fits different sizes, so you only need one tool.
- Choose a wrench with a comfortable grip
- Make sure it adjusts smoothly
- Check the size fits your faucet parts
Replacement Faucet
You need a new garden hose faucet that matches your old one. Check the size and threading to fit your hose.
Buy a faucet made of durable materials like brass for long-lasting use.
Teflon Tape
Teflon tape seals the threads on the faucet. It stops leaks by making a tight fit between parts.
- Wrap tape around faucet threads
- Use 2-3 layers for a good seal
- Wrap in the same direction as threading
Pipe Cutter Or Hacksaw
A pipe cutter or hacksaw is needed if you must cut old pipe or faucet parts. Choose the tool based on pipe material.
Use a pipe cutter for clean cuts on metal pipes. Use a hacksaw for plastic or if you don’t have a cutter.
Bucket Or Container
Keep a bucket or container nearby to catch any water left in the pipe. This prevents spills and messes.
Place it under the faucet before removing the old one to catch drips.
Rags Or Towels
Use rags or towels to clean the area and dry your hands. They also help wipe off any water spills.
Keep them handy to stay safe and work neatly during the faucet replacement.

Credit: m.youtube.com
Shutting Off The Water Supply
Before replacing a garden hose faucet, you must shut off the water supply. This step prevents water from flowing while you work. It keeps you safe and avoids water damage.
There are several ways to stop the water flow. You can use the main water valve or a local shut-off valve near the faucet. Knowing how to find and use these valves is important.
Locate The Main Water Shut-off Valve
The main water shut-off valve controls water to the entire house. It is often found near the water meter or where the main water line enters your home. Turn this valve clockwise to stop water flow.
Use The Local Shut-off Valve
Some homes have a shut-off valve near the garden hose faucet. This valve only stops water to that faucet. It is usually located on the pipe leading to the faucet. Turn it clockwise to close.
- Look for a small valve on the pipe under the faucet
- Turn the valve handle clockwise until it stops
- Test by turning on the faucet to check for water
Relieve Pressure And Drain Water
After shutting off the valve, open the faucet to drain any water left in the pipe. This step lowers pressure and stops drips. Keep the faucet open while you replace the hose faucet.
Removing The Old Faucet
Replacing a garden hose faucet may seem daunting. But, with the right steps, it’s straightforward.
This guide helps you remove the old faucet. You will learn how to handle stubborn fixtures too.
Loosening The Faucet
First, you need to loosen the faucet. This step is crucial for easy removal.
- Turn off the water supply to prevent leaks.
- Use a wrench to grip the faucet firmly.
- Gently turn the wrench counter-clockwise to loosen.
Handling Stubborn Fixtures
Some faucets can be difficult to remove. They may resist your initial attempts.
With these steps, you should be able to remove the old garden hose faucet easily.
Preparing The New Faucet
Replacing a garden hose faucet needs some careful preparation. Getting the new faucet ready makes the installation easier and prevents leaks.
Two important steps are choosing the right replacement and applying plumber’s tape. These ensure a good fit and a tight seal.
Choosing The Right Replacement
Select a faucet that fits your hose size and matches the water pressure needs. The material should resist rust and wear for longer use.
- Check the diameter of your current faucet or hose connection.
- Pick a faucet made of brass or stainless steel for durability.
- Choose a faucet with a sturdy handle for easy turning.
- Consider frost-resistant models if you live in cold areas.
Applying Plumber’s Tape
Plumber’s tape helps seal the threads of the faucet. This prevents water leaks after installation.
| Step | How to Apply Plumber’s Tape |
|---|---|
| 1 | Clean the faucet threads to remove dirt and old tape. |
| 2 | Hold the tape end on the threads and wrap clockwise. |
| 3 | Wrap 3 to 5 times tightly around the threads. |
| 4 | Press the tape into the threads and tear off the excess. |
Installing The New Faucet
Installing a new garden hose faucet is a simple task that anyone can do. It helps keep your water flow steady and prevents leaks.
Make sure you have the right tools and parts before starting the installation. This will make the process faster and easier.
Securing The Faucet
After placing the new faucet in position, tighten it carefully. Use a wrench but avoid over-tightening to prevent damage.
Wrap plumber’s tape around the threads before securing the faucet. This helps create a tight seal and stops water leaks.
- Clean the pipe threads before wrapping tape
- Wrap the tape clockwise around the threads
- Tighten the faucet with a wrench gently
- Check that the faucet is straight and stable
Testing For Leaks
Turn the water supply on slowly after installing the faucet. Watch closely for any drips or water escaping from the connection.
If you see leaks, tighten the faucet a little more. If leaks continue, turn off the water and add more plumber’s tape before trying again.
- Open the water supply slowly
- Look for water dripping near the faucet base
- Tighten the faucet if leaks appear
- Use more plumber’s tape if needed
Maintaining Your Garden Hose Faucet
Keeping your garden hose faucet in good shape helps avoid leaks and water waste. Regular care makes it last longer and work well.
Simple checks and fixes can stop big problems. You do not need special tools or skills to keep your faucet working smoothly.
Regular Inspection Tips
Look at your garden hose faucet often. Check for cracks, leaks, or rust. These signs show the faucet needs attention.
Turn the faucet on and off to feel if it works easily. Stiff handles or dripping water mean a repair is needed.
- Check faucet for cracks or damage
- Look for leaks around the handle and spout
- Test if the handle turns smoothly
- Inspect for rust or corrosion
- Ensure water flow is steady and strong
Preventing Future Issues
Protect your faucet from cold weather by draining water before winter. Frozen water inside can crack the faucet.
Use faucet covers to keep out dirt and damage. Replace old washers to stop drips and save water.
- Drain faucet before freezing weather
- Use covers to protect from dirt and cold
- Replace washers yearly to prevent leaks
- Tighten loose parts to avoid damage
- Keep area around faucet clean and clear

Credit: www.youtube.com
Frequently Asked Questions
How Do I Turn Off Water Before Replacing Faucet?
Locate the main water shutoff valve and turn it clockwise. This stops water flow to your garden hose faucet, preventing leaks during replacement.
What Tools Are Needed To Replace Garden Hose Faucet?
You need an adjustable wrench, plumber’s tape, screwdriver, and replacement faucet. These tools ensure a secure and leak-free installation.
How To Prevent Leaks After Installing New Faucet?
Wrap plumber’s tape around faucet threads before screwing it in. Tighten firmly but avoid overtightening to prevent damage and leaks.
How Long Does It Take To Replace A Garden Hose Faucet?
Replacing a garden hose faucet usually takes 20 to 30 minutes. It depends on your experience and the faucet’s condition.
Conclusion
Replacing a garden hose faucet is simpler than it seems. With basic tools and clear steps, anyone can do it. Take your time and follow safety tips closely. A new faucet stops leaks and saves water. Enjoy a smooth water flow for your garden tasks.
Regular checks help keep your faucet working well. Now, you can fix it yourself without waiting for help. Simple repairs bring big benefits. Give your garden the care it deserves.