
Replacing a gas cooktop might seem like a daunting task, but it doesn’t have to be. Imagine transforming your kitchen with a brand-new cooktop that makes cooking easier and more enjoyable.
You don’t need to be a professional to make this upgrade yourself. With the right guidance and tools, you can tackle this project confidently and efficiently. In this guide, you’ll discover simple, step-by-step instructions that will help you replace your gas cooktop without any hassle.
Let’s dive in and empower you with the knowledge to make your kitchen renovation a breeze. Your culinary adventures are about to get a whole lot more exciting!
Credit: karinearappliances.com
Preparing For The Replacement
Preparing for a gas cooktop replacement requires careful planning. Taking the right steps ensures a smooth and safe process. Proper preparation helps avoid accidents and saves time. Start by understanding what tools you need. Then, focus on safety to protect yourself. Finally, make sure the gas and power are off before you begin work.
Gathering Necessary Tools
Collect all tools before starting the project. This saves time and reduces interruptions. Common tools include:
- Adjustable wrench
- Screwdrivers (flathead and Phillips)
- Pipe thread sealant or tape
- Gas leak detector or soapy water
- Flashlight
- Work gloves
Having these ready helps the replacement go smoothly.
Ensuring Safety Precautions
Safety is the top priority during any gas appliance work. Wear gloves and eye protection. Work in a well-ventilated area. Avoid open flames or sparks near the cooktop. Keep a fire extinguisher nearby. Clear the workspace of clutter to move freely. Follow all manufacturer instructions carefully.
Turning Off Gas And Power
Shut off the gas supply at the main valve. This stops gas flow to the cooktop. Turn off the electrical power at the circuit breaker. Double-check that no gas or electricity reaches the cooktop. Use a gas leak detector to confirm no leaks exist. Never skip this step for your safety.

Credit: www.whirlpool.com
Removing The Old Gas Cooktop
Removing the old gas cooktop is the first step in installing a new one. This process needs careful handling to avoid damage or gas leaks. Follow each part with attention to safety and detail. Proper removal prepares the space for the new appliance and ensures no hazards remain.
Disconnecting Gas Supply
Turn off the gas valve to stop the flow. Use a wrench to loosen the gas connection carefully. Check for any signs of leaks or damage. Always work in a well-ventilated area. Keep a fire extinguisher nearby for safety. Never force any fittings to avoid breaking pipes.
Detaching Cooktop From Counter
Remove screws or clips securing the cooktop to the countertop. Gently lift the cooktop to avoid scratching surfaces. If sealed with caulk, carefully cut around the edges. Ask for help if the cooktop is heavy or awkward to handle. Clear the area under the cooktop for easy removal.
Handling The Old Appliance Safely
Place the old cooktop on a sturdy surface. Avoid dropping or banging the appliance. Disconnect any electrical cords before moving. Do not store near heat or flames. Consider recycling or donating the appliance if possible. Follow local rules for gas appliance disposal.
Installing The New Gas Cooktop
Installing the new gas cooktop requires careful attention to detail. Proper installation ensures safety and optimal performance. Follow these key steps to fit your new cooktop correctly and safely.
Positioning The Cooktop
Place the cooktop over the countertop cutout. Align it so the edges sit evenly on the surface. Check that there is enough space around for ventilation. Avoid gaps that allow debris to fall underneath. Make sure the cooktop is level to prevent spills.
Connecting Gas Line Securely
Turn off the main gas supply before starting. Use a flexible gas connector to attach the cooktop. Tighten connections firmly but avoid over-tightening. Apply gas-rated thread sealant or tape on threaded joints. Check for leaks by applying soapy water to connections and watching for bubbles.
Sealing And Securing The Appliance
Seal the edges of the cooktop with heat-resistant silicone. This prevents liquids from seeping below the countertop. Use mounting brackets or screws to fix the cooktop in place. Ensure the appliance does not move or shift during use. Double-check all seals and fittings before turning the gas back on.

Credit: www.youtube.com
Testing And Final Adjustments
After installing your new gas cooktop, testing and making final adjustments are crucial steps to ensure safety and performance. This phase helps you identify any issues before regular use and fine-tune the appliance for optimal cooking. Let’s walk through how to check for leaks, ignite burners safely, and calibrate flame settings effectively.
Checking For Gas Leaks
Gas leaks can be dangerous, so it’s important to test thoroughly. Mix a solution of dish soap and water, then apply it to the gas connections and joints using a sponge or spray bottle.
Look closely for bubbling, which indicates a leak. If you spot bubbles, tighten the connections carefully and retest until no bubbles appear.
Never use an open flame to check for leaks—soap solution is safer and just as effective. Have a fire extinguisher nearby just in case, and if you smell gas strongly, step away immediately and call your gas provider.
Igniting Burners Safely
Once you’re sure there are no leaks, it’s time to ignite the burners. Turn the knob to the light position while holding a lighter or match near the burner, or use the cooktop’s ignition system if it has one.
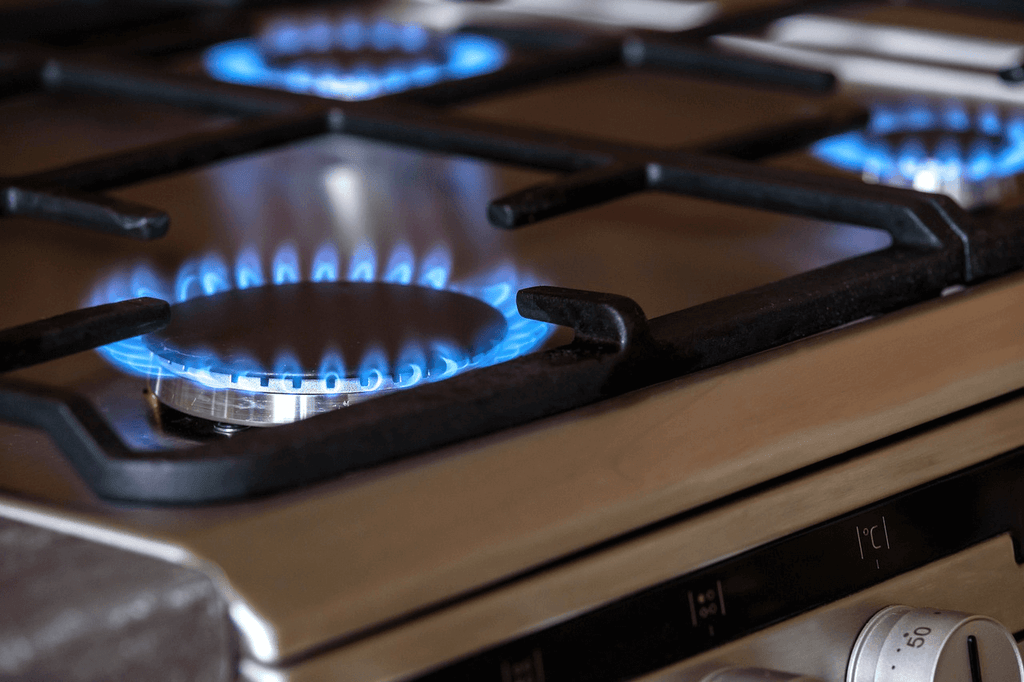
Listen and watch carefully as the burner lights. A steady blue flame indicates proper ignition, while yellow or flickering flames may signal air or gas flow issues.
Make sure all burners ignite quickly and without delay. If a burner doesn’t light or goes out frequently, double-check your connections and consult the manual for troubleshooting tips.
Calibrating Flame Settings
Flame calibration ensures your cooktop heats evenly and efficiently. Adjust the flame height so it’s neither too high nor too low—ideally, the flame should be about 1 to 1.5 inches tall.
Too large a flame wastes gas and can overheat cookware, while a flame that’s too small won’t cook properly. Use the adjustment screws or knobs under the burner to tweak the flame size.
Test different settings by cooking simple items like boiling water or frying an egg. This hands-on check helps you get the flame just right for your cooking style.
Maintenance Tips For Longevity
Keeping your gas cooktop in top shape extends its life and keeps your kitchen safe. Regular maintenance helps you avoid costly repairs and ensures your cooking stays efficient. Let’s look at simple yet effective tips that you can do to keep your cooktop working well for years.
Regular Cleaning Practices
Cleaning your cooktop after each use prevents buildup that can clog burners and affect flame quality. Use warm, soapy water and a soft cloth to wipe down surfaces. Avoid harsh chemicals that can damage finishes or leave residues.
Don’t forget to clean burner caps and grates separately. Soaking them in warm water loosens grease and debris. Scrub gently with a non-abrasive brush to keep gas flow unobstructed.
Have you noticed uneven flames or difficulty lighting burners? This often signals the need for a deeper clean. Regular attention here can save frustration during meal prep.
Routine Safety Checks
Check your gas connections and hoses for signs of wear or leaks regularly. A simple way to test for leaks is applying soapy water on connections and watching for bubbles. If you see bubbles, it’s time to tighten or replace parts.
Inspect burner flames—healthy flames are blue and steady. Yellow or flickering flames might mean incomplete combustion or a gas leak, which requires immediate attention.
Safety should never be overlooked. Do you keep a fire extinguisher nearby and know how to use it? Being prepared protects your home and family.
When To Call A Professional
Some issues need expert help—especially anything involving gas line repairs or persistent burner problems. If your cooktop doesn’t light properly after cleaning or you smell gas, stop using it and contact a professional immediately.
Attempting repairs without proper knowledge can be dangerous. Professionals have the tools and skills to diagnose and fix problems safely.
Investing in a yearly inspection by a qualified technician can catch hidden issues early. Would you rather prevent a problem or deal with an emergency?
Frequently Asked Questions
How Do I Safely Disconnect A Gas Cooktop?
Turn off the gas supply at the main valve. Disconnect the gas line using proper tools. Ensure no gas leaks before proceeding. Always work in a well-ventilated area and consider hiring a professional if unsure.
What Tools Are Needed To Replace A Gas Cooktop?
You’ll need a wrench, screwdriver, pipe thread sealant, and a gas leak detector. A level and utility knife may also help. Proper safety gear like gloves and goggles is recommended to protect yourself during installation.
Can I Replace A Gas Cooktop Myself?
Yes, if you have basic plumbing and electrical skills. Follow safety guidelines strictly and ensure the gas is turned off. If unsure, hire a licensed professional to avoid gas leaks or improper installation hazards.
How Do I Check For Gas Leaks After Installation?
Apply a soapy water solution to the gas connections. Turn on the gas supply and look for bubbles forming. Bubbles indicate a leak; tighten connections or call a professional immediately to ensure safety.
Conclusion
Replacing a gas cooktop can seem tough but is doable. Take your time and follow safety steps carefully. Turn off the gas and electricity before starting work. Use the right tools to avoid damage or injury. Check all connections twice to prevent leaks.
Testing your new cooktop ensures it works correctly. With patience, your kitchen will look fresh and work well. Enjoy cooking on your new, safe gas cooktop every day.