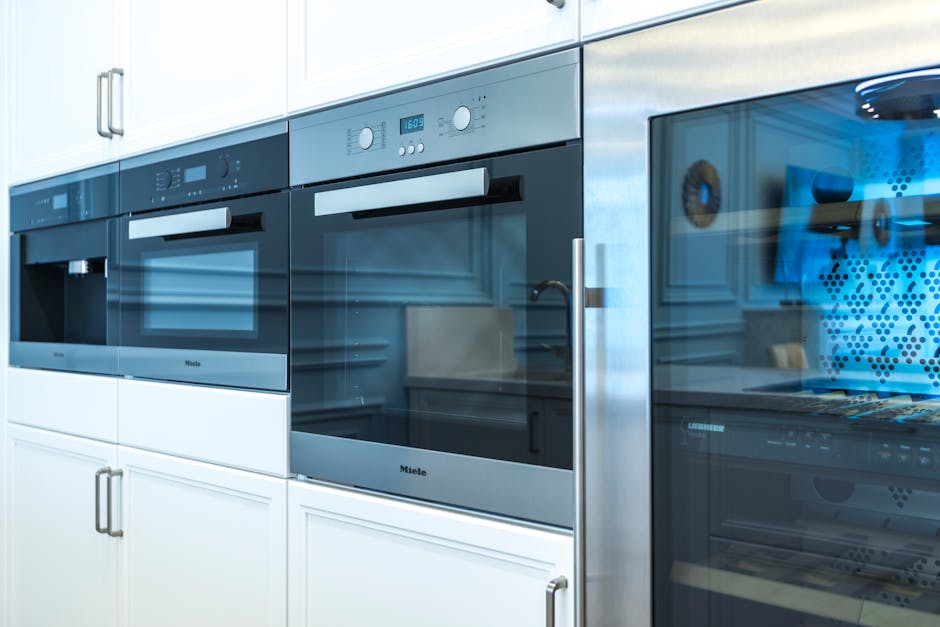
Are you tired of that bulky microwave taking up precious space in your kitchen? Imagine transforming your cooking area into a sleek, efficient space with a range hood that not only enhances your kitchen’s aesthetics but also improves air quality.
If you’re wondering how to make this switch effortlessly, you’re in the right place. This guide will walk you through the process step-by-step, ensuring you feel confident and excited about updating your kitchen. Discover how replacing your microwave with a range hood can elevate your cooking experience and make your kitchen the heart of your home.
Keep reading to learn the secrets of this transformation and unlock the full potential of your kitchen space.
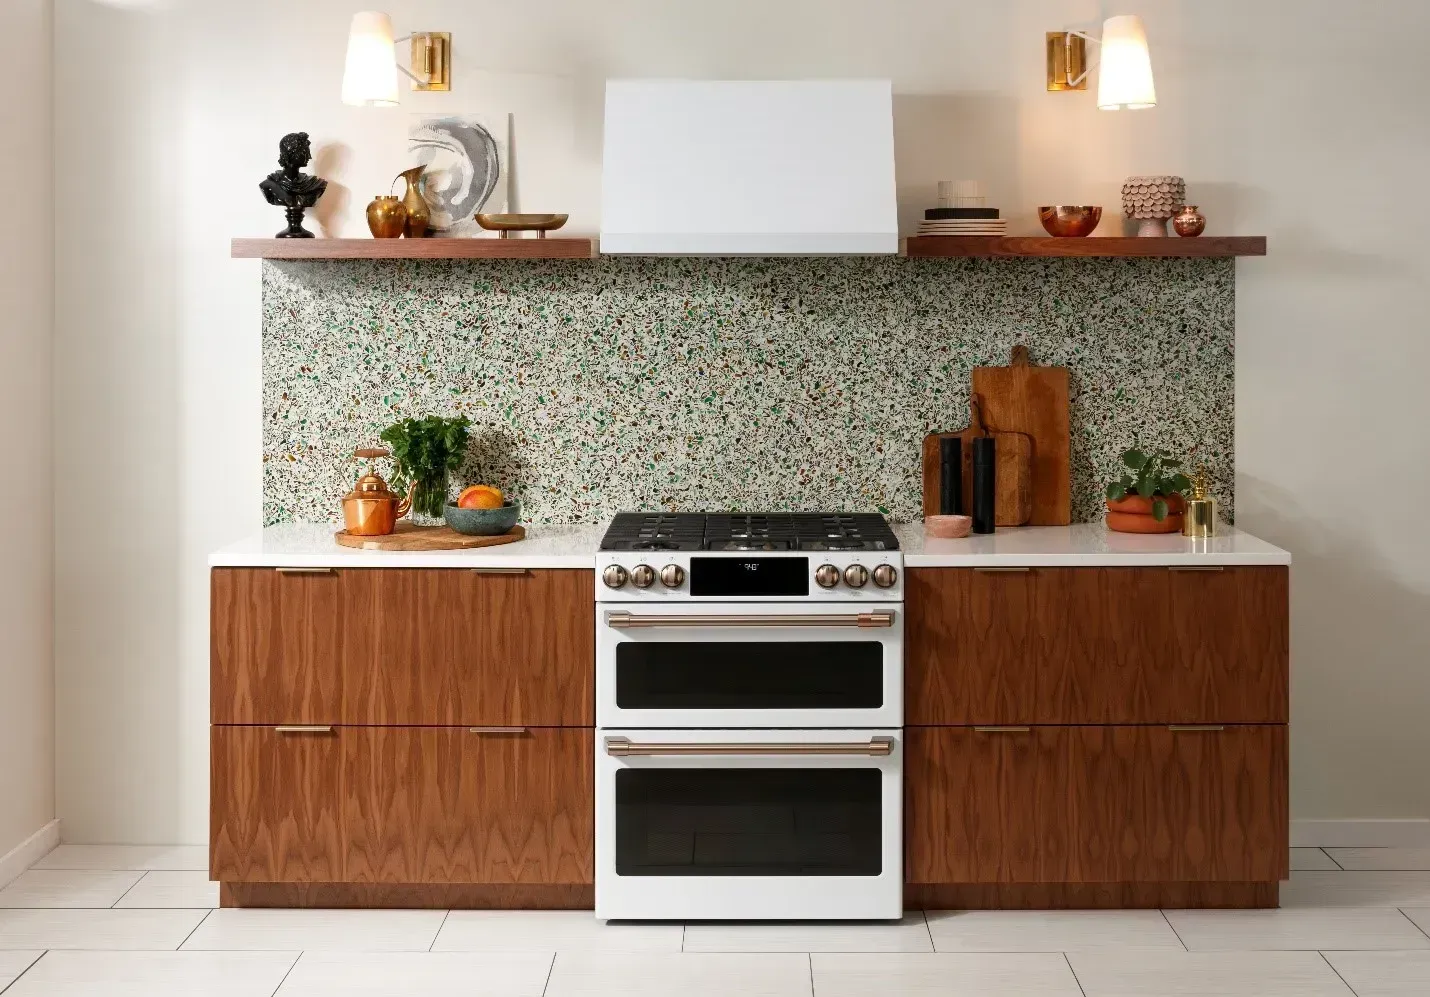
Credit: www.kellyshomecenter.com
Assessing Your Kitchen Setup
Replacing a microwave with a range hood involves careful planning. The kitchen setup must support the new appliance properly. Assessing space, electrical needs, and ventilation is essential. This ensures the range hood fits well and functions safely.
Measuring Space And Dimensions
Start by measuring the current microwave space. Note the width, height, and depth accurately. Compare these measurements with the range hood size. The range hood should fit without gaps or awkward spaces.
Consider cabinet clearance above and around the area. Check if the range hood height suits your cooking surface. Proper height helps capture smoke and steam efficiently.
Checking Electrical And Ventilation Requirements
Examine the electrical outlet near the microwave. The range hood needs a dedicated power source with the right voltage. Confirm the outlet can handle the new appliance load safely.
Inspect the ventilation system. A range hood requires proper ductwork to vent air outside. Note duct size, length, and direction for compatibility.
Ensure the vent opening matches the range hood’s exhaust size. This prevents air leaks and improves performance. If no duct exists, plan for installing one before replacing the microwave.

Credit: www.reddit.com
Choosing The Right Range Hood
Choosing the right range hood is crucial when replacing your microwave. It affects not only your kitchen’s look but also how well it handles smoke, steam, and odors. Picking the wrong one can lead to poor ventilation or a noisy cooking space. Let’s break down what to consider to find a range hood that fits your needs perfectly.
Types Of Range Hoods
Range hoods come in several types, each suited for different kitchen setups and cooking styles.
- Under-cabinet hoods:These fit beneath your cabinets and save space. They’re ideal if you want a clean, built-in look without major remodeling.
- Wall-mounted hoods:Attached directly to the wall, they often feature a chimney design. Great if you have open wall space and want a bold statement piece.
- Island hoods:Suspended above an island cooktop, these need strong ventilation and often come with powerful fans.
- Downdraft hoods:Installed behind the cooktop, they pull air downward. A good choice if overhead clearance is limited, but they usually have less power.
Which type fits your cooking habits and kitchen style best?
Selecting Based On Kitchen Layout
Your kitchen’s design plays a big role in what range hood will work best. Measure the space carefully, especially if you’re replacing a microwave that was above the stove.
Consider how your cabinets, walls, and ceiling height affect installation. For example, if your cabinets sit low, an under-cabinet hood might be ideal. On the other hand, if you have a high ceiling or open kitchen, a wall-mounted or island hood might suit better.
Think about airflow paths too. Does your kitchen vent directly outside or recirculate air? This will determine if you need a vented or ductless hood.
Considering Noise And Power
Range hoods vary widely in noise levels and suction power. A very powerful hood might seem like the obvious choice, but it could be too loud if you have an open-plan kitchen.
Look for models with noise ratings in sones; a lower number means quieter operation. Some hoods offer variable fan speeds so you can adjust power based on what you’re cooking.
Don’t ignore the fan’s capacity, measured in cubic feet per minute (CFM). For most home kitchens, 300 to 600 CFM is enough, but if you cook frequently with high heat, aim higher.
What’s more important to you: a quiet kitchen or maximum ventilation? Balancing these will make your cooking experience more comfortable.
Gathering Tools And Materials
Before you start swapping out your microwave for a range hood, gathering the right tools and materials sets the stage for a smooth and safe project. Having everything ready helps you avoid frustrating interruptions and keeps the process efficient. Let’s look at what you’ll need to have on hand before you begin.
Essential Tools List
- Power Drill:For removing screws and securing the range hood.
- Screwdrivers:Both Phillips and flathead types, to handle various screws.
- Measuring Tape:To measure spaces accurately and ensure the range hood fits perfectly.
- Stud Finder:To locate wall studs for securely mounting the hood.
- Utility Knife:Useful for cutting drywall or trimming insulation if needed.
- Wire Strippers:Essential for handling electrical connections safely and cleanly.
- Level:To make sure your range hood is perfectly straight.
- Adjustable Wrench:For tightening bolts and nuts during installation.
Missing one of these tools can turn a quick job into a drawn-out ordeal. Have you ever started a project only to realize you don’t have the right screwdriver? Avoid that hassle by checking your toolbox now.
Safety Gear Recommendations
- Safety Glasses:Protect your eyes from dust, debris, and unexpected sparks.
- Work Gloves:Shield your hands from sharp edges and rough materials.
- Dust Mask:Keeps you from inhaling dust particles, especially when cutting or drilling.
- Ear Protection:Consider earplugs or earmuffs if your power tools are loud.
Ignoring safety gear might save you a minute or two, but it risks injury that can stop your project entirely. Are you ready to protect yourself properly? Putting on safety gear is a small step that makes a big difference.
Removing The Microwave
Removing your microwave is the first real challenge when swapping it out for a range hood. It’s not just about pulling it off the wall; you need to handle the wiring and mounting carefully to avoid damage or injury. Taking the right steps here sets the tone for a smooth installation of your new range hood.
Unplugging And Detaching
Start by unplugging the microwave from the power outlet. If the cord is hidden behind a cabinet or wall, gently pull it out without forcing it. Sometimes, the microwave might be hardwired instead of plugged in, so be prepared to turn off the circuit breaker for safety.
Once the power is disconnected, check if there are any screws or clips holding the microwave in place. These are often found underneath or inside the microwave’s frame. Removing these carefully helps prevent any sudden falls or damage.
Handling Mounting Brackets
Microwaves are usually secured with mounting brackets attached to the wall or cabinet. These brackets can be tricky because they hold the appliance firmly, and you’ll want to keep them intact if you plan to reuse or sell the microwave.
After detaching the microwave, inspect the brackets to see how they’re fastened. You might need a screwdriver or drill to remove them, but sometimes they slide out with a little maneuvering. Have a helper hold the microwave while you work on the brackets—this makes the process safer and easier.
Installing The Range Hood
Installing a range hood in place of your microwave requires careful attention to detail to ensure safety and functionality. This part of the process involves securely mounting the hood, connecting the electrical wiring properly, and setting up the ventilation ducts for efficient airflow. Each step plays a crucial role in making your kitchen upgrade a success.
Mounting The Hood Securely
Start by measuring the exact spot where your range hood will go. Use a level to mark straight lines on the wall or under the cabinet to keep the hood even.
Securely attach the mounting bracket using heavy-duty screws. If you hit a stud, that’s great—screw into it for extra support.
Ask yourself: Is the hood firmly in place without any wobble? If not, double-check the mounting points before moving on.
Connecting Electrical Wiring
Turn off the power at the circuit breaker before handling any wiring. Safety first.
Match the wires from the range hood to the house wires—usually black to black (hot), white to white (neutral), and green or bare copper to ground.
Use wire nuts to connect them securely and wrap with electrical tape to prevent any shorts. Never guess the wiring; if unsure, consult an electrician to avoid hazards.
Setting Up Ventilation Ducts
Check if your kitchen already has a vent pipe or if you need to install a new duct. The duct should lead outside to remove smoke and odors effectively.
Use rigid metal ducting instead of flexible plastic for better airflow and durability. Secure all joints with foil tape, not duct tape, to prevent leaks.
Think about the duct’s path: Is it as short and straight as possible? Longer ducts reduce efficiency, so plan wisely to keep your kitchen air fresh.
Testing And Final Adjustments
After installing your new range hood, testing and final adjustments are essential. This phase ensures the appliance works properly and fits your kitchen needs. Careful checks prevent issues like poor ventilation or weak lighting later on.
Checking Functionality
Start by turning on the range hood. Listen for unusual noises from the fan or motor. Ensure the fan starts smoothly and runs without vibrations. Check if the exhaust vent removes air effectively.
Test all control buttons or switches. Make sure each speed setting activates correctly. Confirm the lights turn on and off as expected. Inspect the range hood for any loose parts or rattling.
Adjusting Fan Speed And Lighting
Adjust fan speed to match your cooking needs. Use low speed for light cooking and higher speeds for heavy smoke or steam. Observe how well the fan clears air at each setting.
Modify lighting intensity if your model allows. Position light bulbs or strips to brighten the cooking area evenly. Replace bulbs with recommended wattage to avoid overheating or dim light.
Maintenance Tips For Range Hoods
Maintaining your range hood is key to keeping your kitchen fresh and your cooking area safe. Without regular care, grease and dust can build up, reducing its efficiency and causing unpleasant odors. Simple maintenance tasks can extend the life of your range hood and improve its performance.
Cleaning Filters
Filters trap grease and particles, so they need regular cleaning to work well. Most filters can be removed and soaked in warm, soapy water. After soaking, scrub gently with a soft brush to remove stubborn grease.
Some filters are dishwasher safe, but check your range hood’s manual first. Cleaning filters every month keeps air flowing freely. Have you noticed your kitchen smelling stronger after cooking? Dirty filters might be the reason.
Routine Inspections
Inspect your range hood regularly for signs of wear or damage. Check the fan blades to ensure they spin freely without noise. Look for any loose screws or connections that could affect performance.
Test the lights and controls to confirm they’re working properly. Small issues caught early are easier and cheaper to fix. When was the last time you gave your range hood a thorough check? Taking a few minutes could save you from costly repairs later.

Credit: www.reddit.com
Frequently Asked Questions
How Do I Remove A Microwave Safely?
First, unplug the microwave and disconnect any venting ducts. Use a screwdriver to remove mounting screws. Carefully lift and detach the microwave from the wall or cabinet. Ensure no electrical wires are left connected before disposal.
What Tools Are Needed To Install A Range Hood?
You will need a drill, screwdriver, measuring tape, level, wire stripper, and duct tape. Also, have mounting brackets and screws ready. Proper tools ensure a secure and efficient installation of your new range hood.
Can I Use Existing Microwave Wiring For The Range Hood?
Yes, if the wiring meets the range hood’s power requirements. Verify voltage and amperage compatibility. Always follow local electrical codes. If unsure, consult a licensed electrician for safe connections.
How Do I Vent A Range Hood Outside?
Connect the range hood duct to an exterior vent using rigid or flexible ductwork. Seal all joints with foil tape to prevent leaks. Ensure the vent has a proper exterior cover to keep out pests and weather.
Conclusion
Replacing a microwave with a range hood can improve your kitchen’s airflow. It clears smoke, steam, and cooking smells quickly. Measure your space carefully before buying a new range hood. Follow the steps to remove the microwave safely. Connect the hood properly to the vent system.
A well-installed range hood keeps your kitchen fresh and clean. Take your time and double-check each step for best results. This upgrade makes cooking more pleasant and your kitchen more functional. Simple changes can bring big benefits.