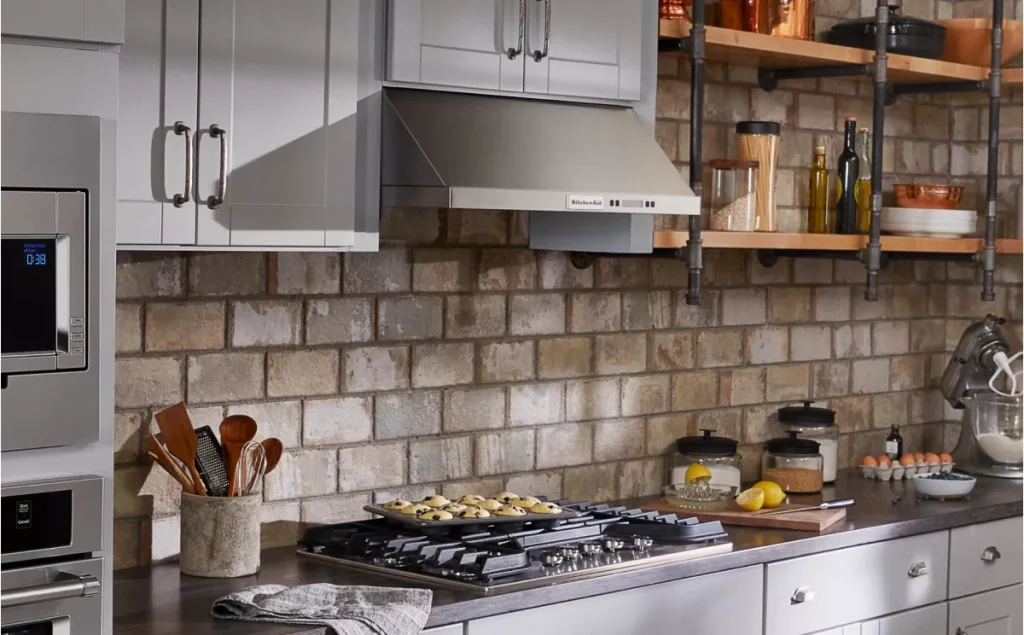
Replacing a range hood might seem like a daunting task, but it doesn’t have to be. Imagine having a kitchen that not only looks better but also functions more efficiently.
That’s what a new range hood can do for you. Are you tired of lingering cooking smells or that outdated, noisy fan? You’re not alone. Many homeowners like you are seeking a fresh start in their kitchen. This guide will walk you through each step of the process, turning what seems complicated into a simple, rewarding project.
Ready to enjoy a fresher, more inviting kitchen space? Keep reading to discover how you can replace your range hood quickly and easily.
Tools And Materials Needed
Replacing a range hood requires careful preparation, especially when it comes to gathering the right tools and materials. Having everything ready before you start can save you from frustrating delays and unexpected trips to the hardware store. Let’s break down exactly what you’ll need to make the process smooth and efficient.
Essential Tools
- Screwdriver Set:Both flathead and Phillips screwdrivers are necessary for removing and installing screws.
- Drill and Drill Bits:A drill helps make new holes or secure screws quickly, especially if your new hood has a different mounting pattern.
- Measuring Tape:Accurate measurements ensure your new range hood fits perfectly in place.
- Level:A level guarantees your hood is mounted straight, preventing any awkward angles or airflow issues.
- Wire Strippers:These come in handy if you need to connect or replace electrical wiring safely.
- Utility Knife:Useful for cutting duct tape, insulation, or trimming materials.
Choosing The Right Range Hood
Picking the correct range hood depends on your kitchen layout and cooking habits. Ask yourself: do you need a powerful vent for heavy cooking, or is a quieter model better suited for your space? Size matters too—measure the width of your stove to select a hood that offers full coverage.
Think about venting options as well. Do you have an existing duct, or will you need a ductless model with charcoal filters? Your choice affects installation complexity and overall performance.
Additional Supplies
- Mounting Brackets and Screws:Sometimes included with the hood, but check to ensure compatibility with your wall or cabinet type.
- Ducting Material:Flexible aluminum or rigid metal ducts are common; pick what fits your venting path best.
- Duct Tape and Metal Foil Tape:These seal duct joints tightly to prevent air leaks.
- Wire Connectors and Electrical Tape:Essential for safe and secure electrical connections.
- Safety Gear:Gloves and safety glasses protect your hands and eyes during installation.
Before you begin, double-check that you have all these tools and materials on hand. Missing even a small item can turn a quick project into a frustrating ordeal. Have you ever started a home project only to realize halfway through that you’re missing a critical tool? Avoid that by preparing thoroughly.

Credit: www.create-enjoy.com
Preparing For Removal
Preparing to remove your range hood is an essential stage that sets the tone for a smooth replacement process. Skipping proper preparation can lead to unexpected setbacks or even safety hazards. Taking the time to carefully prepare ensures you work efficiently and avoid common pitfalls.
Turning Off Power
Safety must come first. Before you touch any part of the range hood, locate your home’s circuit breaker and switch off the power to the kitchen or specifically to the hood’s circuit.
Double-check by trying to turn on the hood or using a voltage tester if you have one. This step prevents electric shocks and protects your tools from damage.
Clearing The Area
Clear the space around your range hood to give yourself plenty of room to work. Remove any items on the stovetop and countertops nearby.
Also, consider placing a drop cloth or old towel under the hood area to catch dust, debris, or screws that might fall during removal. This makes cleanup easier and keeps your kitchen floor safe from scratches.
Removing Filters And Covers
Most range hoods have removable filters and covers that you need to take out first. These parts can usually be popped out by pressing a latch or twisting them gently.
Removing filters and covers reduces the hood’s weight and gives you clear access to mounting screws or brackets. Keep these pieces in a safe spot—you might need them for reference or reuse later.
Removing The Old Range Hood
Removing the old range hood is the first step in installing a new one. This process needs care to avoid damage or injury. Follow these clear steps to take the old unit down safely and prepare for the new installation.
Disconnecting Electrical Wiring
Turn off the power to the range hood at the circuit breaker. Use a voltage tester to ensure no electricity flows to the wires. Locate the electrical box behind the hood. Unscrew the wire connectors and carefully separate the wires. Keep the wires away from metal parts to prevent shorts.
Detaching Vent Ducts
Check how the vent duct attaches to the hood. Most ducts use screws, clamps, or tape to hold them in place. Loosen or remove these fasteners. Gently pull the duct away from the hood. Cover the duct opening with tape or plastic to block dust and debris.
Taking Down The Unit
Find the screws or bolts securing the range hood to the wall or cabinet. Use a screwdriver or drill to remove them. Support the hood with one hand to prevent it from falling. Carefully pull the hood away from the wall and set it down safely. Check for any remaining brackets or fasteners and remove them.
Installing The New Range Hood
Installing the new range hood is a critical part of the replacement process. It involves securely attaching the unit, ensuring proper ventilation, and connecting the electrical components safely. Each step demands attention to detail to make sure your new hood functions efficiently and safely.
Mounting The New Unit
Start by positioning the new range hood where the old one was removed. Use a level to make sure it sits perfectly straight. Secure it with screws into the studs or wall anchors for firm support.
Pay close attention to the manufacturer’s instructions regarding the height above your cooktop. Too low, and it could interfere with cooking; too high, and it may not capture smoke effectively. If your wall is uneven, consider shimming behind the hood for a flush fit.
Connecting Ventilation
Next, connect the ductwork to the new hood’s vent outlet. Use metal tape to seal all joints tightly to prevent leaks. Avoid using screws inside the duct as they can catch grease and reduce airflow.
If your old ductwork doesn’t match the new hood’s outlet size, adapters are available to bridge the gap. You might also want to check the duct material—rigid metal ducts perform better than flexible ones.
Wiring The Electrical Components
Before working with wires, turn off the power at your circuit breaker to avoid shocks. Match the wires by color—usually black to black (live), white to white (neutral), and green or bare copper to ground.
Use wire nuts to secure the connections and wrap them with electrical tape for extra safety. If your new hood has additional features like lights or fans, test each function before finalizing the installation.
Testing And Finishing Touches
After installing your new range hood, it is important to test and finish the setup carefully. This step ensures the hood works correctly and looks good. Proper testing and finishing prevent future issues and keep your kitchen safe.
Powering On And Testing
Turn on the power to your range hood at the circuit breaker. Switch on the hood using its controls. Check the fan speeds to confirm they change smoothly. Test the light bulbs to see if they brighten properly. Listen for unusual noises like rattling or buzzing. Make sure the fan pulls air efficiently from the cooking area. If the hood has a vent, check outside to see if air flows out well.
Sealing And Securing
Look around the edges where the hood meets the wall or cabinet. Use silicone caulk to seal any gaps. This stops air leaks and prevents grease buildup. Tighten all screws and brackets to secure the hood firmly. Make sure it does not wobble or move when touched. Proper sealing and securing keep the hood stable and effective.
Cleaning Up
Remove any dust, debris, or fingerprints from the hood surface. Wipe down the filters according to the manufacturer’s instructions. Clean the surrounding wall or cabinet area to remove dust from installation. Dispose of old parts and packaging properly. Keeping the area clean maintains a fresh look and helps the hood last longer.
Credit: vimeo.com
Tips For A Smooth Upgrade
Upgrading your range hood can improve your kitchen’s air quality and style. Preparation helps the process go smoothly. Knowing key tips makes the upgrade easier and safer. Consider safety, avoid common errors, and understand when to get expert help. These steps protect your home and save time.
Safety Precautions
- Turn off power at the circuit breaker before starting.
- Wear gloves and safety glasses to protect hands and eyes.
- Check the wiring to ensure it meets local codes.
- Use a sturdy ladder for reaching high areas.
- Keep the work area clean and free of obstacles.
- Make sure the vent duct is clear and properly sealed.
Common Mistakes To Avoid
- Choosing a hood too large or too small for your stove.
- Ignoring the manufacturer’s installation instructions.
- Failing to secure the hood tightly to the wall or cabinet.
- Overlooking the need to replace or clean the vent duct.
- Not verifying proper electrical connections before powering on.
- Skipping the test run to check for noise or airflow issues.
When To Call A Professional
- Uncertain about electrical wiring or local building codes.
- Difficulty removing the old hood safely.
- Problems with vent duct installation or repairs.
- Need for custom fitting or modifications.
- Experience discomfort working on ladders or with tools.
- Want to ensure proper and safe installation.

Credit: www.youtube.com
Frequently Asked Questions
How Do I Safely Remove An Old Range Hood?
Turn off power at the circuit breaker. Disconnect the hood from the wall or ceiling. Unplug electrical wires carefully. Remove mounting screws and take down the old range hood safely.
What Tools Are Needed To Replace A Range Hood?
You’ll need a screwdriver, drill, wire stripper, tape measure, and level. Safety gloves and goggles are also recommended. These tools help ensure a smooth, secure installation process.
How Do I Connect The New Range Hood Wiring?
Match the wires by color: black to black, white to white, and green to ground. Use wire nuts to secure connections. Always turn off power before working on electrical wiring.
Can I Install A Range Hood Myself?
Yes, with basic tools and electrical knowledge, you can install a range hood. Follow manufacturer instructions carefully. If unsure, consult a professional for safety and compliance.
Conclusion
Replacing a range hood can improve kitchen air quality and comfort. Follow each step carefully to ensure safety and proper installation. Take your time and double-check connections and fittings. A well-installed range hood helps remove smoke and cooking odors. Enjoy a fresher kitchen with better ventilation.
This simple upgrade can make cooking more pleasant every day. Keep your tools ready and work with patience. You will feel proud of your handiwork once done.