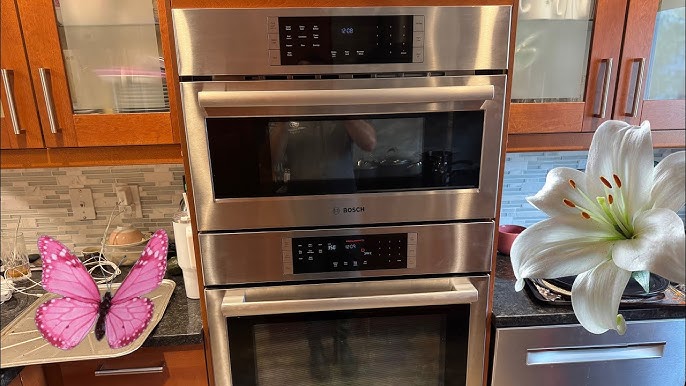
Thinking about how to replace a wall oven? You might feel overwhelmed at first, but it’s easier than you think.
Whether your old oven stopped working or you want a modern upgrade, this guide will walk you through every step. By the end, you’ll have the confidence to handle the project yourself, save money, and enjoy a fresh, efficient kitchen appliance.
Keep reading to discover simple tips and clear instructions that make replacing your wall oven a smooth and stress-free process.
Tools And Materials Needed
Replacing a wall oven requires the right tools and materials. Having everything ready makes the job easier and safer.
This guide covers essential tools, oven options, and safety gear you need for the replacement.
Essential Tools
Gather these tools before starting. They help you remove the old oven and install the new one.
- Screwdrivers (flathead and Phillips)
- Adjustable wrench
- Voltage tester
- Measuring tape
- Drill with bits
- Utility knife
- Wire strippers
- Level
- Flashlight
Replacement Oven Options
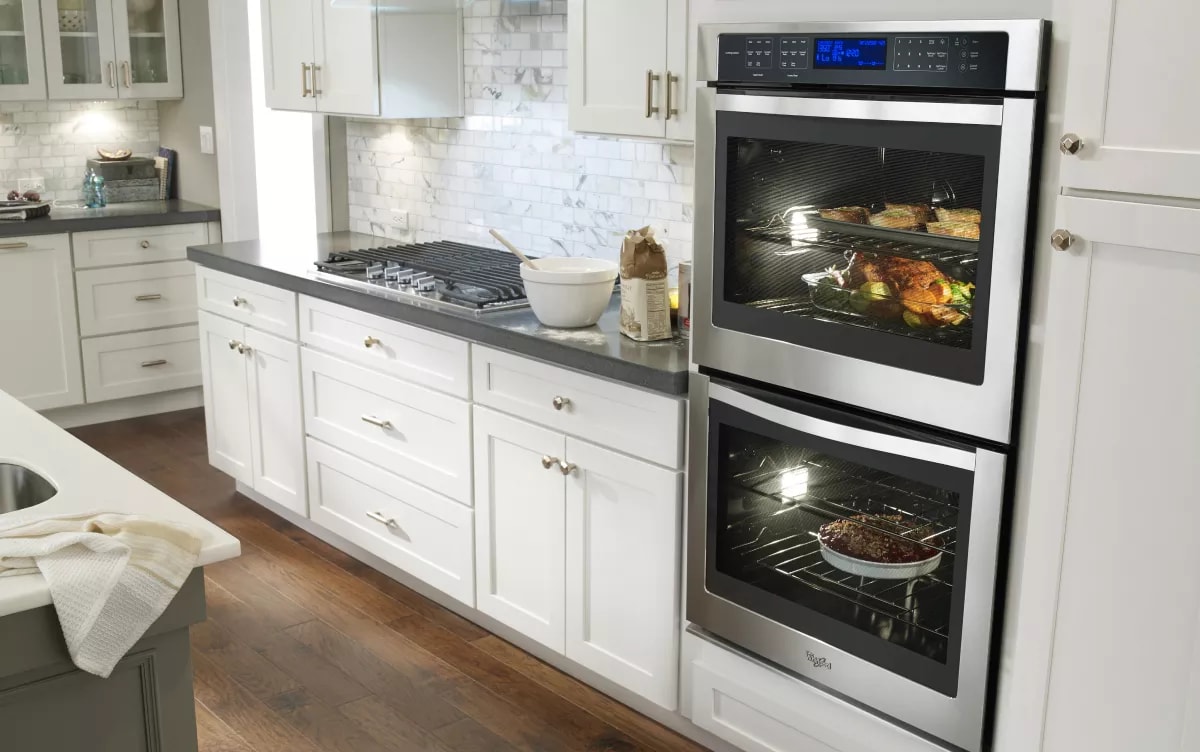
Choose an oven that fits your space and needs. Check the size, power source, and features before buying.
| Oven Type | Power Source | Typical Size (Width) |
| Single Wall Oven | Electric or Gas | 24 to 30 inches |
| Double Wall Oven | Electric or Gas | 27 to 30 inches |
| Convection Oven | Electric | 24 to 30 inches |
Safety Gear
Protect yourself with the right safety gear. Safety lowers risk of injury during the work.
- Work gloves to protect hands
- Safety goggles to shield eyes
- Dust mask to avoid inhaling particles
- Closed-toe shoes for foot protection
- Hearing protection if using loud tools
Credit: www.whirlpool.com
Preparing For Removal
Replacing a wall oven takes careful preparation. Getting ready helps keep the process safe and smooth.
Follow simple steps to prepare before you remove the oven from the wall.
Turn Off Power Supply
Safety is key when removing a wall oven. First, turn off the power to the oven at your home’s circuit breaker.
Make sure the power is off by checking if the oven lights or controls work before you start removing it.
Clear The Surrounding Area
Clear the space around the oven. Remove any items on counters or nearby shelves to avoid damage.
Make room for tools and the oven itself. This space helps you move safely while working.
- Clear countertops near the oven
- Move furniture away from the wall
- Keep children and pets out of the area
Remove Oven Door And Accessories
Take off the oven door and any removable parts before removal. This makes the oven lighter and easier to handle.
Check your oven’s manual for instructions on removing the door and accessories safely.
- Open the oven door fully
- Lift or unclip the door as instructed
- Remove racks, trays, and other accessories
- Store parts safely to avoid damage
Detaching The Old Oven
Removing a wall oven starts with detaching the old unit safely. Follow clear steps to avoid damage.
Turn off power before you begin. This keeps you safe during the removal process.
Disconnect Electrical Connections
First, switch off the circuit breaker that powers the oven. This stops electricity flow.
Next, remove the oven’s access panel. Locate the electrical wires inside and disconnect them carefully.
- Turn off the main power supply
- Unscrew the access panel at the back or bottom
- Use a voltage tester to confirm no power
- Disconnect the wires, noting their positions
Unscrew Mounting Brackets
Ovens are held in place by mounting brackets. Find and remove the screws that secure these brackets.
Use a screwdriver or drill to unscrew each bracket. Keep the screws in a safe place for later use.
- Locate mounting brackets around the oven frame
- Use the right screwdriver bit for the screws
- Remove all screws holding the brackets
- Keep screws for installing the new oven
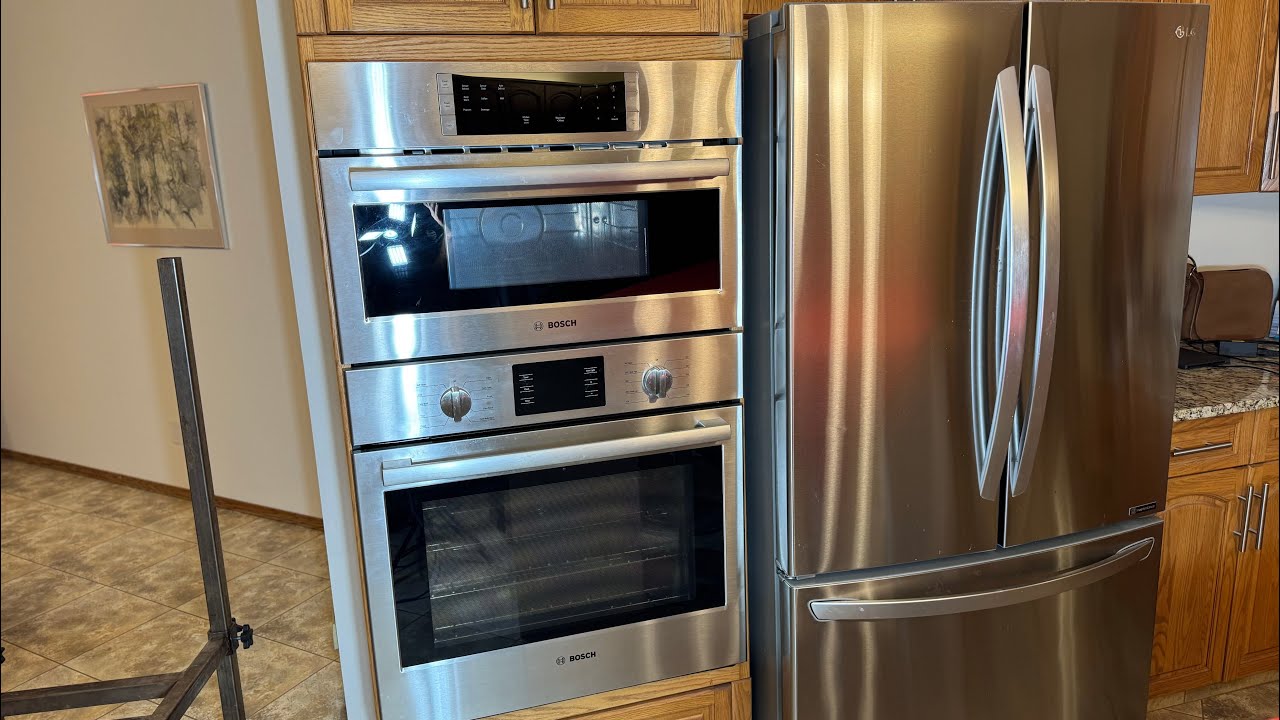
Carefully Remove The Oven
After disconnecting wires and screws, gently pull the oven out. Ask for help if it is heavy.
Move the oven away from the wall slowly. Set it down on a padded surface to avoid damage.
- Wear gloves to protect your hands
- Pull the oven straight out without tilting
- Use a second person for heavy or large ovens
- Place the oven safely on a soft surface
Credit: www.youtube.com
Installing The New Oven
Replacing a wall oven can seem daunting. With patience and the right steps, you can do it yourself.
Follow these sections to ensure a smooth installation of your new wall oven.
Check Dimensions And Fit
Before installing, it’s crucial to check if the new oven fits in the existing space.
- Measure the width, height, and depth of the opening.
- Compare with the oven’s dimensions listed in the manual.
- Ensure there is enough room for ventilation.
Connect Electrical Wiring
Safety is a priority when connecting electrical wiring. Always turn off the power at the circuit breaker.
Carefully follow the wiring instructions provided by the manufacturer. If unsure, consult a professional electrician.
Secure Oven With Mounting Brackets
Once the oven is in place, securing it ensures safety and stability.
Use the brackets provided to secure the oven. This prevents any movement during operation.
Ensure all screws are tightened properly to avoid any future issues.
Testing The New Oven
After installing a new wall oven, testing it is important to ensure safety and function. Follow these simple steps to make sure everything works as it should.
Testing includes restoring power, running an initial test, and checking the oven’s operation. Each step helps you confirm the oven is ready to use.
Restore Power
Before testing, turn the power back on to the oven. This usually means switching on the circuit breaker or plugging in the oven if it was unplugged.
- Locate the circuit breaker panel.
- Find the breaker switch for the oven.
- Flip the switch to the ON position.
- Check that the oven’s display or lights turn on.
Run Initial Test
Start the oven with a simple test to see if it heats up properly. Use the bake function at a low temperature first.
| Test Action | What to Check | Expected Result |
| Turn oven on | Display and lights | Oven powers on |
| Set temperature to 350°F | Heating elements | Oven starts heating |
| Wait 10 minutes | Oven temperature | Oven reaches set temperature |
| Turn oven off | Heating stops | Oven cools down |
Check For Proper Operation
After the initial test, check all oven functions for proper operation. This includes the timer, self-clean, and all heating modes.
- Test the timer to see if it counts down correctly.
- Run the broil function and watch for even heating.
- Use the self-clean feature and confirm it activates.
- Listen for unusual noises during operation.
Troubleshooting Common Issues
Replacing a wall oven can be tricky. Sometimes problems arise. Knowing common issues helps you fix them easily.
Here are solutions for power, fit, and performance problems. Follow these tips for a smoother installation process.
Power Problems
Check if the oven is getting power. A tripped breaker can stop electricity flow. Make sure the power cord is connected properly.
If the oven still won’t turn on, inspect the outlet. Use a multimeter to test for voltage. Call an electrician if unsure.
- Verify the circuit breaker is on
- Ensure the power cord is plugged in
- Test the outlet with a multimeter
Fit And Alignment
Measure the oven space before installation. A mismatch can cause gaps or squeezing. Adjust the brackets for a snug fit.
Align the oven with the cabinet. Ensure the door opens and closes freely. Misalignment can affect performance.
| Check Measurements | Proper Bracket Adjustment |
| Door Functionality | Cabinet Alignment |
Performance Concerns
If the oven heats unevenly, check the thermostat. A faulty thermostat causes temperature issues. Replace if necessary.
Check the oven’s seals for damage. A worn seal can cause heat loss. Replace the seal to maintain proper temperature.
- Inspect thermostat for faults
- Check seals for wear and tear
- Replace damaged parts promptly
Maintenance Tips For Longevity
Replacing a wall oven is a big task. Keeping it in good shape helps it last longer. Simple care steps can save money and time.
Regular upkeep keeps your oven working well. Follow these easy tips to maintain your wall oven after replacement.
Regular Cleaning
Clean your wall oven often to stop grease and food from building up. This keeps heat steady and prevents damage.
- Use a soft cloth and mild cleaner for the inside and outside.
- Remove racks and wash separately with warm, soapy water.
- Wipe spills right away to stop stains.
- Avoid harsh chemicals that can harm oven surfaces.
- Clean the oven door glass with a gentle scraper if needed.
Inspecting Seals And Components
Check seals and parts regularly. Damaged seals let heat escape, raising energy use and cooking time.
| Component | What to Check | Signs of Trouble |
| Door Seal | Cracks, tears, or stiffness | Heat escaping, uneven cooking |
| Heating Elements | Burn marks, breaks, or uneven glow | Longer cooking, cold spots |
| Control Knobs | Loose or broken knobs | Difficulty setting temperature |
| Ventilation | Blockages or dust buildup | Overheating, strange smells |
Scheduling Professional Check-ups
Have a technician inspect your oven every year. Experts find issues early and fix them safely.
- Schedule a yearly service for cleaning and testing parts.
- Ask the professional to check electrical connections and safety features.
- Keep a record of all maintenance and repairs.
- Follow their advice on parts replacement or upgrades.
Credit: www.searspartsdirect.com
Frequently Asked Questions
How Do I Safely Remove A Wall Oven?
First, turn off power at the circuit breaker. Disconnect electrical wiring and secure it. Unscrew and gently pull out the oven. Always follow manufacturer instructions and use proper tools for safety.
What Tools Are Needed To Replace A Wall Oven?
You will need a screwdriver, voltage tester, wire strippers, and a drill. A helper can assist with heavy lifting. Always check the new oven’s installation guide for any specific tools.
How Do I Connect Electrical Wiring For A Wall Oven?
Match wires by color: black to black, white to white, and green or bare copper to ground. Use wire nuts to secure connections. Turn power back on only after completing and double-checking all wiring.
Can I Install A Wall Oven Myself?
Yes, if you have basic electrical and carpentry skills. Ensure power is off before starting. Follow the oven’s installation manual carefully. Consider hiring a professional for complex wiring or if unsure.
Conclusion
Replacing a wall oven can seem tough at first. Take it step by step, and stay safe. Double-check all connections before turning the power back on. This helps avoid any problems or damage. With patience and care, you can update your kitchen easily.
Enjoy cooking with your new oven soon. Keep this guide handy for future repairs or upgrades. Your kitchen will look fresh, and your meals will taste great. Simple tasks can bring big changes. Ready to start?