
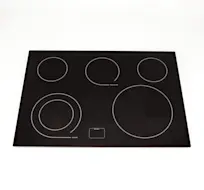
Replacing an electric cooktop might seem like a daunting task, but with the right guidance, you can handle it with ease. Imagine the satisfaction of transforming your kitchen with a sleek, new cooktop that not only enhances your cooking experience but also adds value to your home.
You don’t need to be a professional to tackle this project—just a bit of patience and the right steps will do the trick. In this guide, we’ll walk you through every detail, ensuring you have the confidence and know-how to complete the task successfully.
By the end of this article, you’ll be ready to say goodbye to your old cooktop and hello to a modern culinary setup. Are you ready to dive in and discover how simple it can be to upgrade your kitchen? Let’s get started!
Credit: www.searspartsdirect.com
Tools And Materials Needed
Replacing an electric cooktop needs careful preparation. Gathering the right tools and materials helps the job go smoothly. This section lists everything needed for a safe and effective replacement. Using proper tools protects you and your cooktop during the process.
Essential Tools
- Screwdrivers (flathead and Phillips)
- Voltage tester or multimeter
- Adjustable wrench
- Pliers
- Utility knife
- Flashlight or work light
- Wire stripper
- Measuring tape
- Level
Required Materials
- Replacement electric cooktop unit
- Electrical wire connectors (wire nuts)
- Heat-resistant tape
- New mounting brackets (if not included)
- Electrical tape
- Owner’s manual or installation guide
- Safety gloves
Preparing For The Replacement
Preparing for the replacement of your electric cooktop is a crucial phase that sets the tone for a smooth and safe installation. Taking the right steps before you start can save you from unexpected issues and help you avoid costly mistakes. Let’s focus on the essential preparations that ensure you’re ready to tackle this project confidently.
Safety Precautions
Safety must be your top priority. Electric cooktops connect directly to your home’s electrical system, which means risks of shocks or short circuits if handled improperly.
Wear insulated gloves and use tools with non-conductive handles to protect yourself. Keep a fire extinguisher nearby just in case something goes wrong.
Ask yourself: Have you reviewed the cooktop’s manual and your home’s electrical layout? Understanding these details helps prevent accidents.
Turning Off Power
Before touching any wires or connections, switch off the power supply to the cooktop at your circuit breaker panel. This step is non-negotiable and can’t be skipped.
Use a voltage tester to double-check that the power is truly off. This extra verification step is one I learned to appreciate after a close call during my first DIY replacement.
Never assume that the power is off just because the cooktop isn’t working. Always confirm with the right tools.
Clearing The Workspace
Clear the area around your cooktop completely to give yourself ample room to work. Remove any kitchenware, cleaning supplies, or clutter from nearby counters.
Good lighting is essential. If your kitchen light isn’t bright enough, bring in a portable lamp or flashlight to avoid mistakes in tight spaces.
Think about your comfort too—place a cushioned mat on the floor if you’ll be kneeling or bending for a while. An organized and comfortable workspace makes a big difference.
Removing The Old Cooktop
Removing the old cooktop is a crucial step in replacing your electric cooktop. It requires careful attention to safety and detail to avoid damage or injury. Taking your time during this phase ensures a smooth transition to your new appliance.
Disconnecting Power Connections
Before you start, make sure the power to your cooktop is completely turned off. Locate your home’s circuit breaker and switch off the breaker that controls the cooktop’s electricity. Double-check by trying to turn on the cooktop or using a voltage tester to confirm no power is flowing.
If your cooktop is hardwired, you’ll need to remove the access panel to reach the wiring. Carefully disconnect the wires, noting their positions or taking a photo for reference during installation. Safety goggles and insulated gloves are helpful here to protect against accidental shocks.
Detaching The Cooktop
Once the power is off, look for screws or brackets holding the cooktop in place. These are often located underneath the countertop or along the cooktop’s edges. Use the appropriate screwdriver to remove them, and keep these screws safe—they might be needed for the new unit.
Gently lift the cooktop from the countertop. If it feels stuck, check for adhesive or caulking around the edges. A plastic putty knife can help loosen any seal without scratching your countertop. Remember, rushing here can damage your kitchen surface.
Handling The Old Unit Safely
Your old cooktop may be bulky and heavy, so plan how you’ll carry it out. Enlist a helper if possible to avoid strain or accidents. If you have a granite or glass surface, be especially cautious to avoid dropping or bumping the unit.
Decide if you will recycle, donate, or dispose of the old cooktop. Many local waste centers have special programs for appliance recycling. Asking yourself, “What’s the best way to handle this old unit without harming the environment?” can guide your choice.
Installing The New Cooktop
Installing a new electric cooktop is the moment where all your preparation comes together. This phase requires attention to detail to ensure safety and functionality. Let’s walk through the key parts of setting up your new cooktop properly.
Positioning The New Cooktop
Start by carefully placing the cooktop into the countertop opening. Make sure it fits snugly without forcing it. If you notice any gaps, use a silicone sealant around the edges to prevent spills from leaking below.
Check that the cooktop sits level. An uneven surface can cause burners to heat inconsistently or pots to wobble, which can be frustrating during cooking. Have you checked your countertop’s flatness before this step?
Connecting Electrical Wiring
Turn off the power supply at the circuit breaker before handling any wiring. Electrical connections must match your cooktop’s requirements exactly—this often means connecting wires by color: black to black, white to white, and green or bare copper to ground.
If your wiring setup looks different or confusing, don’t hesitate to consult the cooktop’s manual or call an electrician. Incorrect wiring is a common mistake that can cause serious issues or damage your new appliance.
Securing The Cooktop In Place
Once wiring is connected, secure the cooktop to the countertop using the brackets or screws provided. These fasteners keep the unit stable during use and prevent it from shifting when you lean on it.
Double-check all attachments are tight but avoid over-tightening, which can crack the cooktop or damage the countertop. Are you confident that your cooktop won’t move once it’s secured?
Testing The New Cooktop
Testing your new electric cooktop is a crucial step to ensure it operates safely and efficiently. This phase helps you confirm that all components function correctly before you start cooking. Let’s walk through how to restore power, check each burner, and handle common issues that might arise during testing.
Restoring Power
After installation, the first thing you need to do is restore power to your cooktop. Head to your home’s electrical panel and switch the breaker back on that controls the cooktop circuit. If you’re unsure which breaker it is, look for labels or test by flipping them one at a time.
Once the power is back, check if the cooktop’s indicator lights turn on or if the digital display lights up. This quick check confirms your unit is receiving electricity. If nothing happens, double-check your wiring connections or the breaker again.
Checking All Burners
Turn on each burner one at a time to verify they heat up properly. Watch for a steady glow or hear a faint buzzing sound, which indicates the burner is working. Pay attention to how quickly each burner heats—does it warm up evenly or show cold spots?
Some burners have different heat settings, so try adjusting the temperature to see if the control knobs respond correctly. Testing all burners helps you identify any that might have connection issues or faulty elements before you start cooking meals.
Troubleshooting Common Issues
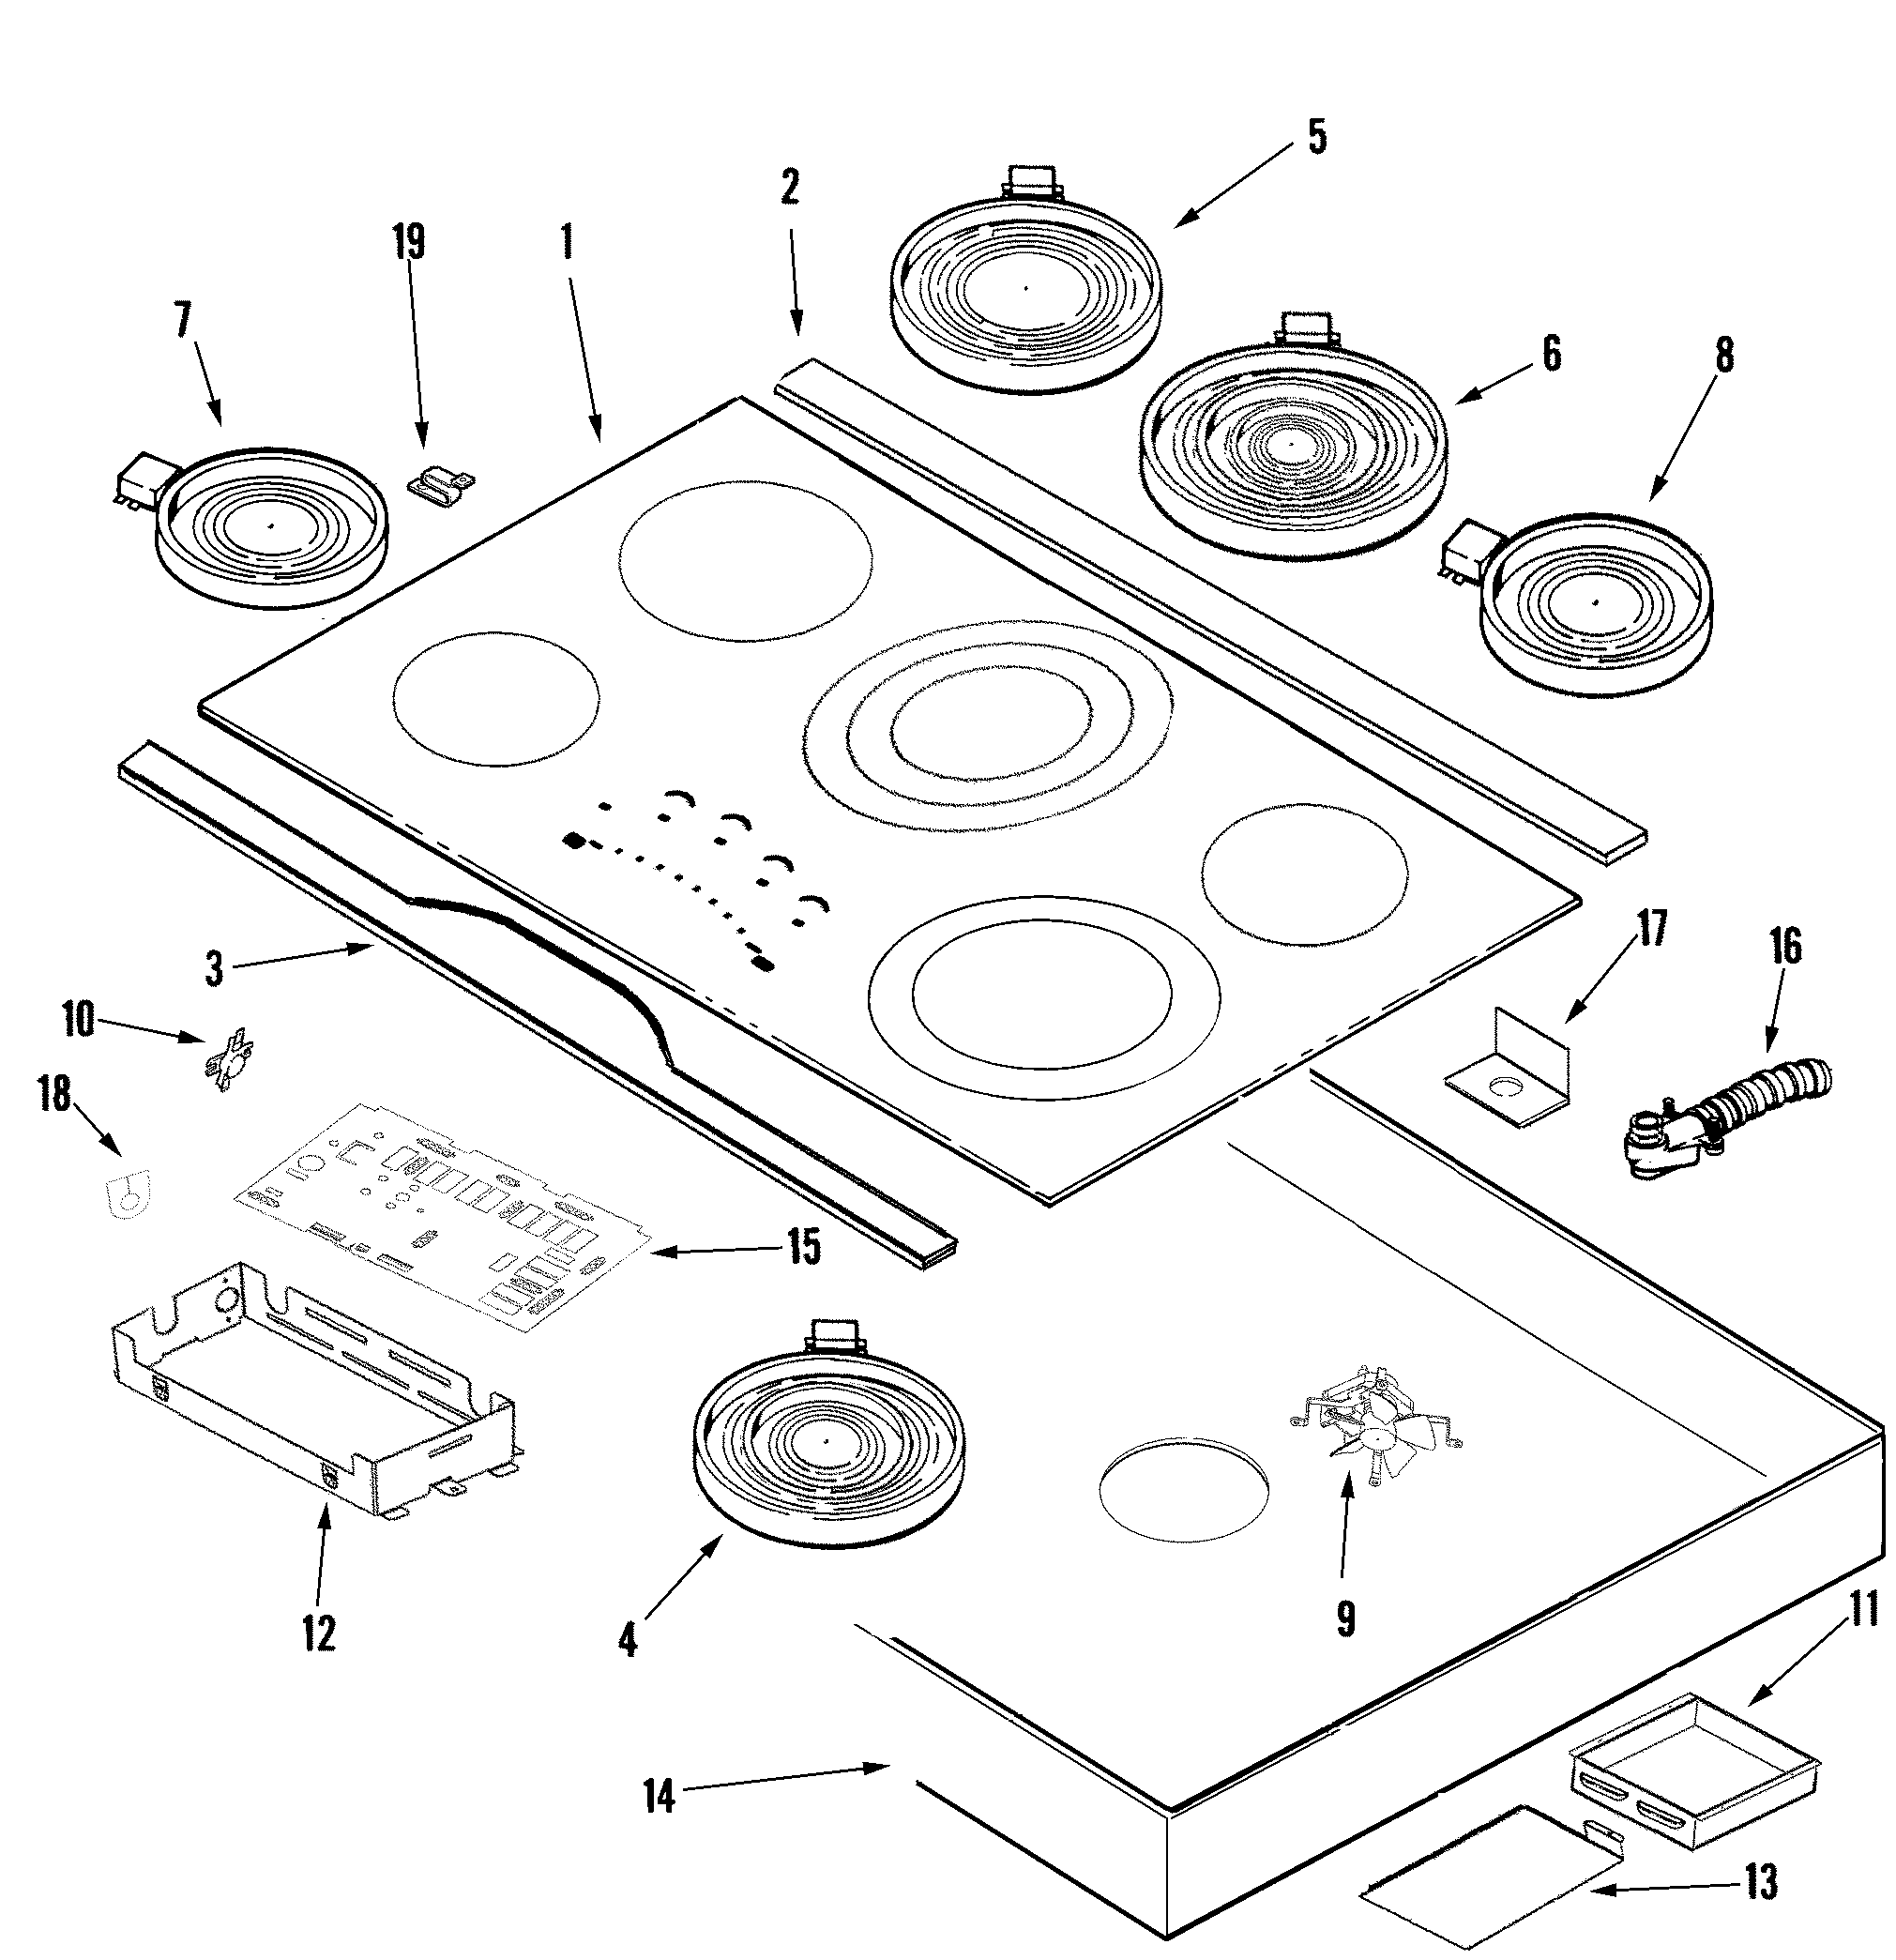
If a burner doesn’t heat up or the cooktop fails to power on, don’t panic. Start by confirming the cooktop is properly plugged in and the circuit breaker is on. Loose wiring or a blown fuse are common culprits you can inspect.
Sometimes, a burner element may be defective or not seated correctly. Try removing and reseating it if possible, and check for visible damage. If you face persistent issues, consulting the cooktop’s manual or customer support can save you time and frustration.
Credit: appliantology.org
Maintenance Tips For Longevity
Proper care helps your electric cooktop last longer and work better. Small habits can prevent damage and keep it looking new. Follow simple maintenance tips to avoid costly repairs and enjoy smooth cooking every day.
Cleaning Recommendations
Clean the cooktop after each use to stop buildup. Use a soft cloth and mild cleaner made for glass or ceramic surfaces. Avoid harsh scrubbing pads that can scratch the surface.
- Wipe spills quickly to prevent stains.
- Use a scraper designed for cooktops to remove burnt food.
- Never pour water directly on the cooktop when hot.
- Dry the surface thoroughly after cleaning.
Regular Inspection
Check the cooktop often for cracks or loose parts. Inspect the heating elements for any signs of wear or damage. Look under the cooktop for dust or debris that may block vents.
- Test all burners to ensure they heat evenly.
- Listen for unusual sounds that could mean a problem.
- Schedule professional checkups every year or two.
Avoiding Common Mistakes
Do not drag heavy pots across the cooktop surface. Avoid placing hot pans on the control panel. Never use the cooktop as extra counter space for sharp objects or heavy items.
- Turn off burners immediately after cooking.
- Use cookware with flat, smooth bottoms to protect the surface.
- Do not use abrasive cleaners or metal scouring pads.

Credit: www.youtube.com
Frequently Asked Questions
How Do I Safely Disconnect An Electric Cooktop?
First, turn off the power at the circuit breaker. Then, carefully disconnect the wiring from the cooktop. Use a voltage tester to ensure no electricity flows before handling wires. Always follow manufacturer instructions and wear safety gloves during this process.
What Tools Are Needed To Replace An Electric Cooktop?
You’ll need a screwdriver, voltage tester, wire stripper, and possibly a wrench. Having electrical tape and a flashlight is helpful. Always prepare tools before starting to ensure a smooth replacement process.
How Do I Measure For A New Electric Cooktop?
Measure the length, width, and depth of the existing cooktop opening. Check manufacturer guidelines for minimum clearance requirements. Accurate measurements ensure the new cooktop fits perfectly without gaps or installation issues.
Can I Replace An Electric Cooktop Myself?
Yes, with basic electrical knowledge and safety precautions, you can replace it. Always turn off power, follow instructions, and use proper tools. However, consult a professional if unsure about electrical work to avoid hazards.
Conclusion
Replacing an electric cooktop can save time and money. Follow each step carefully to avoid mistakes. Always turn off power before starting the work. Take your time to connect wires correctly and securely. Testing the new cooktop ensures it works properly and safely.
A well-done replacement improves kitchen function and look. Trust yourself to handle the task with patience. Enjoy cooking on your new, efficient cooktop every day.