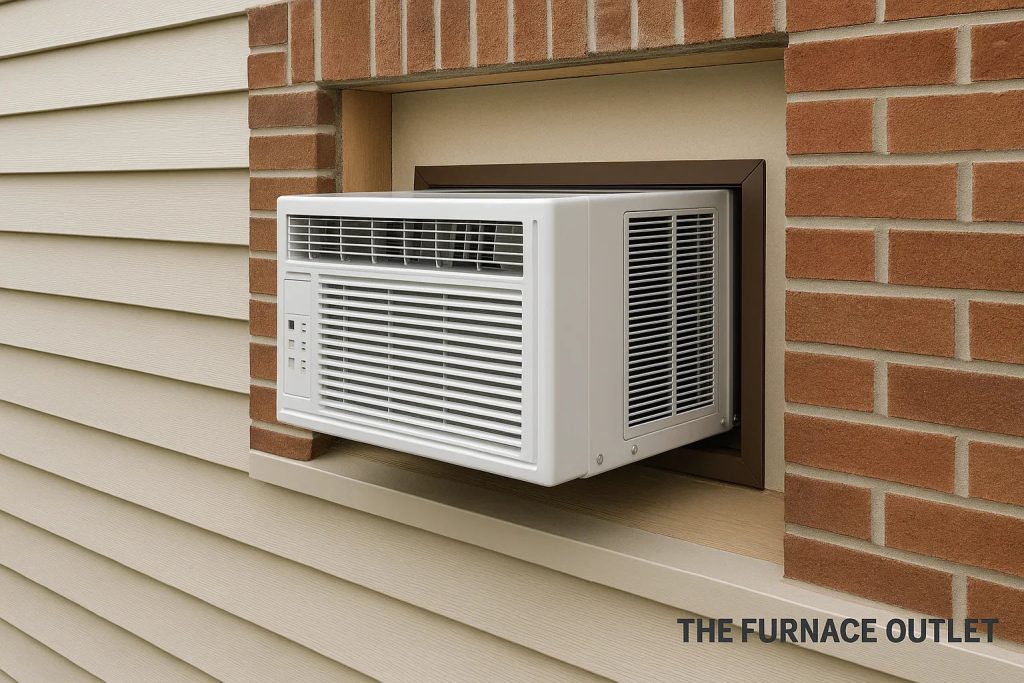
Is your in-wall air conditioner no longer cooling like it used to? Replacing it might sound complicated, but it doesn’t have to be.
You can save money and avoid the hassle of calling a professional by doing it yourself. In this guide, you’ll discover simple, step-by-step instructions to replace your unit safely and quickly. By the end, you’ll feel confident tackling this project and enjoy a cooler, more comfortable space.
Ready to get started? Let’s dive in!

Credit: www.reddit.com
Signs You Need A Replacement
In-wall air conditioners can last many years, but they do wear out. Knowing the signs of trouble can save you time and money.
If your air conditioner is old or not cooling well, it might be time to replace it. Look for clear signs before deciding.
Common Air Conditioner Issues
Some problems happen often with in-wall air conditioners. These issues can reduce comfort and increase bills.
- The unit does not cool the room properly.
- Strange noises come from the air conditioner.
- Water leaks inside the wall or near the unit.
- Airflow is weak or uneven across the room.
- Foul or musty odors come from the vents.
- The unit turns on and off frequently.
These issues may mean the air conditioner needs repair or replacement soon.
When Repairs Aren’t Enough
Sometimes repairs fix problems temporarily but do not solve the root cause. Older units can break down again quickly.
Consider replacing your air conditioner if:
- Repairs cost more than half the price of a new unit.
- The unit breaks down often in a short time.
- Energy bills rise despite maintenance.
- The unit is over 10 years old.
- Parts are hard to find or expensive.
A new air conditioner will be more efficient and reliable than an old one.
Choosing The Right Unit
Replacing an in-wall air conditioner needs careful thought. Picking the right unit helps keep your room cool and saves energy.
You should know about size, energy use, and types of units before buying. This guide will help you choose well.
Sizing Your Air Conditioner
Choose an air conditioner size that fits your room. A unit too small will not cool well. A unit too big wastes energy.
Measure your room’s square feet to find the right size. Most units list their cooling power in BTUs.
- Up to 150 sq ft: 5,000 BTUs
- 150 to 250 sq ft: 6,000–8,000 BTUs
- 250 to 350 sq ft: 8,000–10,000 BTUs
- 350 to 450 sq ft: 10,000–12,000 BTUs
Energy Efficiency Ratings
Energy efficiency ratings show how much power the unit uses. A more efficient unit saves money on electricity bills.
Look for units with a high EER (Energy Efficiency Ratio). The higher the EER, the better the unit uses energy.
- EER of 10 or above is good
- Look for the Energy Star label
- Efficient units lower your power costs
Types Of In-wall Units
There are different in-wall air conditioners to fit your needs. Choose one based on your room and preferences.
- Basic units cool the room and are easy to install
- Units with heat pumps offer heating and cooling
- Some models have smart controls for easier use
Gathering Tools And Materials
Replacing an in-wall air conditioner needs the right tools and materials. Preparing these first saves time and effort.
Gather everything before you start. This helps the work go smoothly and safely.
Essential Tools List
Use the correct tools to remove and install the air conditioner. This keeps the process safe and easy.
- Screwdriver set (flat and Phillips heads)
- Utility knife for cutting sealant or insulation
- Measuring tape to check dimensions
- Level to ensure the unit sits straight
- Putty knife to remove old caulk
- Wire strippers for electrical connections
- Drill with drill bits for screws and anchors
- Replacement screws and mounting brackets
Safety Equipment
Wear safety gear to protect yourself during the replacement. Safety is very important when working with electrical devices.
| Safety Item | Purpose |
| Safety goggles | Protect eyes from dust and debris |
| Work gloves | Protect hands from cuts and sharp edges |
| Dust mask | Prevent inhaling dust and particles |
| Non-slip shoes | Keep stable on ladders or slippery surfaces |
| Electrical tester | Check if power is off before handling wires |

Credit: airgreen.ca
Preparing For Removal
Replacing an in-wall air conditioner needs careful preparation. Getting ready helps you work safely and easily.
Before you start, you must turn off power and clear the area around the unit.
Turning Off Power
Always turn off power to the air conditioner before removal. This stops electrical shocks and accidents.
Find the circuit breaker that controls the air conditioner. Switch it off and double-check that the power is off.
- Locate your home’s electrical panel.
- Identify the breaker for the air conditioner.
- Switch the breaker to the off position.
- Test the unit to confirm no power is running.
Clearing The Area
Remove furniture and items near the air conditioner. This gives you space to work and stops damage to your things.
Clear the floor below and around the unit. Keep tools and parts nearby but not in the way.
- Move chairs, tables, and decorations away.
- Lay down a cloth or sheet to catch dust.
- Keep a step ladder ready if needed.
- Arrange your tools within reach.
Removing The Old Unit
Removing an in-wall air conditioner is the first step to install a new one. You need to be careful to avoid damage to the wall or electrical parts.
This guide will help you safely remove the old unit from your wall.
Disconnecting Electrical Components
Before you remove the air conditioner, turn off the power at the circuit breaker. This stops any risk of electric shock.
Next, locate the electrical wires connected to the unit. Carefully disconnect them using a screwdriver or wire cutters if needed.
- Turn off the main power supply
- Remove the cover to access wiring
- Unscrew wire connectors or terminals
- Separate the wires safely
Taking Out The Unit Safely
After disconnecting the wires, check if the unit is held in place by screws or brackets. Remove these with the right tools.
Pull the air conditioner out slowly to avoid damage to the wall or the unit. You may need help if the unit is heavy.
- Remove mounting screws or brackets
- Hold the unit firmly with both hands
- Pull straight out from the wall
- Ask for help if the unit is heavy
Installing The New Air Conditioner
Replacing an in-wall air conditioner needs careful installation. This guide covers key steps to set up your new unit safely and efficiently.
Follow the instructions below for positioning, wiring, and sealing your air conditioner.
Positioning And Securing The Unit
Place the air conditioner into the wall opening carefully. Make sure it fits snugly and is level. Use screws to secure the unit firmly into the frame.
- Check that the unit sits flush with the wall.
- Align mounting brackets with wall studs.
- Use a screwdriver to tighten all screws evenly.
- Ensure no gaps remain around the edges.
Connecting Electrical Wiring
Turn off power at the circuit breaker before wiring. Connect the air conditioner’s wires to the home’s electrical supply following the color codes.
| Wire Color | Connection | Note |
|---|---|---|
| Black | Live (Hot) | Connect to live wire from power source |
| White | Neutral | Connect to neutral wire |
| Green or Bare | Ground | Connect to grounding wire or screw |
Use wire nuts to secure connections. Double-check that wires are tight and safely tucked inside the electrical box.
Sealing And Insulating
Seal gaps around the air conditioner with weatherproof caulk or foam. This stops air leaks and improves energy efficiency.
- Apply caulk on all edges inside and outside.
- Use foam insulation strips to fill larger gaps.
- Check for drafts after installation.
- Replace weather stripping if old or damaged.
Testing And Adjustments
After installing your in-wall air conditioner, testing it carefully is important. This process ensures it works safely and efficiently. You will also need to make some adjustments for best performance.
This guide covers powering on the unit, checking for leaks and noise, and adjusting the settings.
Powering On The Unit
Start by plugging in the air conditioner and turning on the power switch. Watch for the display or indicator lights to confirm the unit is receiving power.
Listen for the fan and compressor starting up. If the unit does not turn on, check your electrical connections and circuit breaker.
Checking For Leaks And Noise
Inspect the unit for any water leaks around the edges or below the unit. Leaks can cause damage to your wall and reduce cooling efficiency.
- Look for water dripping or pooling near the unit
- Listen for unusual noises like rattling or buzzing
- Check for air blowing from unintended gaps
- Ensure the unit is firmly mounted and not vibrating
If you find leaks or noise, tighten screws and seals. Replace damaged insulation or weatherstripping as needed.
Adjusting Settings
Use the control panel or remote to set your preferred temperature and fan speed. Adjust the mode to cool, fan-only, or dehumidify as needed.
| Setting | Purpose | Recommended Use |
| Temperature | Controls cooling level | Set between 72°F and 78°F for comfort |
| Fan Speed | Controls airflow | Use high for quick cooling, low for quiet operation |
| Mode | Changes operation type | Cool for cold air, Fan for air movement only |
Make small changes and wait a few minutes to see effects. Adjust again for best comfort and efficiency.

Credit: thelenmechanical.com
Maintenance Tips For Longevity
Replacing an in-wall air conditioner is a good time to learn about maintenance. Proper care helps your unit last longer and work better.
Simple maintenance tasks can prevent big problems. This guide covers cleaning, seasonal checks, and when to call a professional.
Regular Cleaning
Keep your air conditioner clean to improve airflow and efficiency. Dust and dirt can clog filters and reduce cooling power.
Clean the filter every month during use. Wash it with warm water and mild soap, then dry before reinstalling.
- Remove dust from vents and grilles
- Wipe the exterior with a damp cloth
- Check for mold or mildew and clean if found
Seasonal Checks
Inspect your air conditioner before each cooling season. Look for signs of wear or damage to avoid breakdowns.
Check electrical connections and tighten any loose wires. Make sure the unit fits securely in the wall opening.
- Test the thermostat for accuracy
- Clear debris around the unit outside
- Check for leaks or unusual noises
When To Call A Professional
Some problems need expert help. Calling a professional can save time and avoid damage.
Hire a technician if your unit leaks water, makes loud noises, or does not cool properly. Avoid trying to fix electrical parts yourself.
- Refrigerant recharge or leak repairs
- Electrical or wiring issues
- Unusual smells or smoke
- Major mechanical failures
Frequently Asked Questions
How Do I Remove An In-wall Air Conditioner Safely?
Turn off the power to the unit before starting. Remove the front panel and disconnect wiring. Unscrew mounting brackets carefully. Gently slide out the unit. Wear gloves to protect your hands and avoid damage to the wall or unit during removal.
What Tools Are Needed To Replace An In-wall Ac?
You need a screwdriver, pliers, a voltage tester, and a level. Also, have a putty knife and sealant for finishing touches. These tools ensure safe removal, proper installation, and a secure fit of the new air conditioner.
How Do I Measure For A Replacement In-wall Ac?
Measure the height, width, and depth of the existing unit. Check the wall opening dimensions for compatibility. Accurate measurements help you choose the right size unit, ensuring easy installation and efficient cooling.
Can I Install An In-wall Ac Without Professional Help?
Yes, if you have basic electrical and handyman skills. Follow the manufacturer’s instructions carefully. Ensure power is off and wiring is correct. However, complex wiring or structural work may require a professional to avoid risks.
Conclusion
Replacing an in-wall air conditioner can save money and improve comfort. Follow each step carefully for best results. Check measurements and power connections before installing the new unit. Take your time to avoid mistakes and damage. Enjoy a cooler home with your new air conditioner.
Simple tasks can feel rewarding when done right. Stay safe and call a professional if unsure. You now have the knowledge to replace your air conditioner.