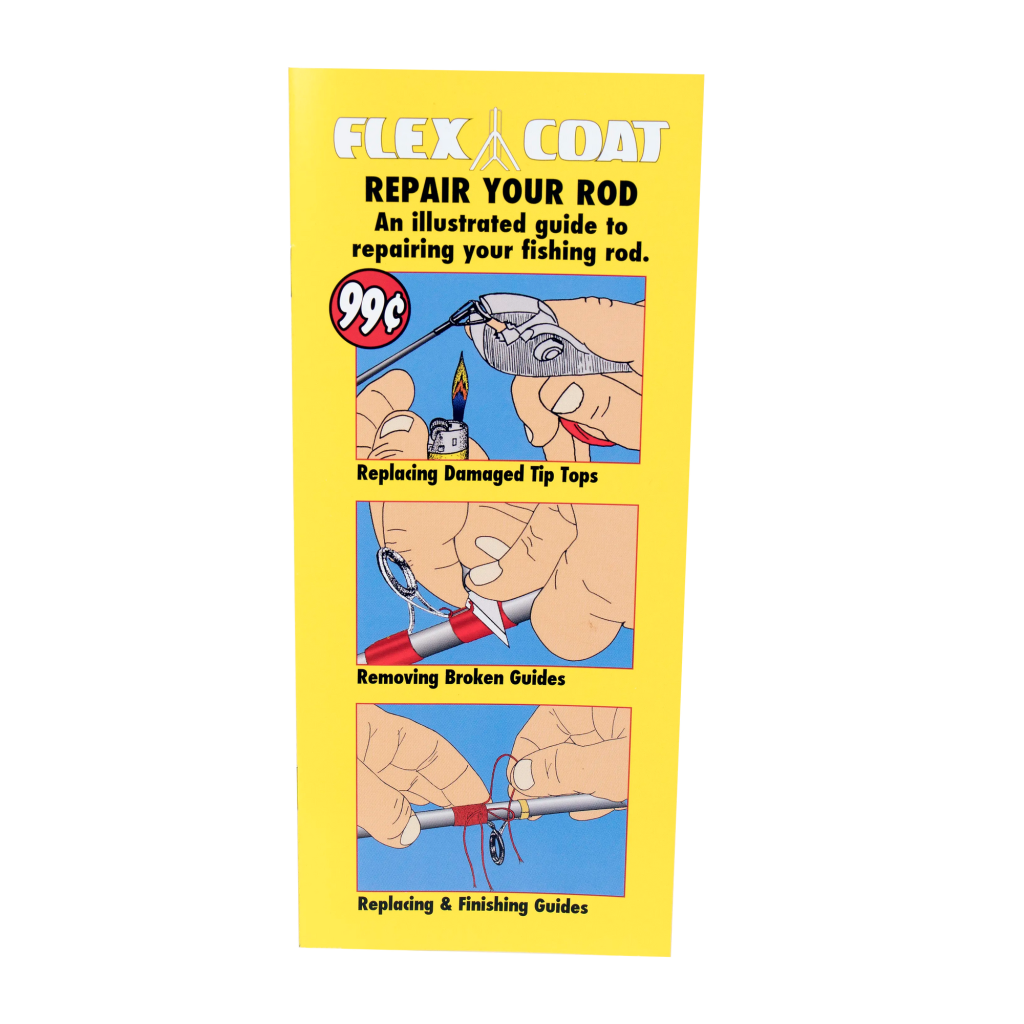
Have you ever been out fishing when suddenly your rod guide breaks or slips out of place? It’s frustrating, right?
But before you think about buying a new rod, there’s a simple fix you can do yourself. Replacing a fishing rod guide might sound tricky, but with the right steps, you can have your rod ready to catch fish again in no time.
In this guide, you’ll learn exactly how to replace your fishing rod guide quickly and easily, saving you money and downtime. Keep reading, and you’ll be back on the water with confidence before you know it.
Tools Needed
Replacing a fishing rod guide needs the right tools for good results.
Using proper tools helps you work safely and save time.
Essential Repair Tools
You need tools to remove old guides and attach new ones firmly.
- Heat source, like a lighter or heat gun
- Small knife or razor blade
- Fine sandpaper or emery cloth
- Thread for wrapping guides
- Epoxy or rod finish glue
- Tweezers or small pliers
- Brush for applying epoxy
Choosing Replacement Guides
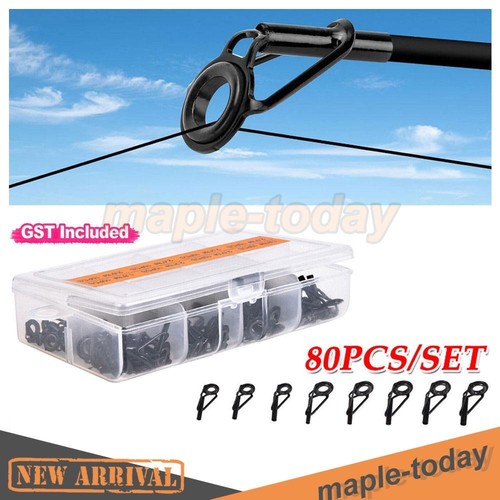
Pick guides that match your rod’s length and strength needs.
| Guide Type | Use | Material |
| Tip Top | End of rod | Ceramic or metal |
| Snake Guides | Main rod body | Stainless steel or titanium |
| Stripper Guide | Near reel seat | Wide frame metal |

Credit: www.youtube.com
Removing Old Guides
Removing old guides from a fishing rod is an important step before installing new ones. It helps keep the rod in good shape and ready for fishing.
This process requires care and the right tools to avoid damage to the rod blank. Follow the steps below to safely remove the old guides.
Softening The Thread
The guides are held in place with thread wrapped tightly around the rod. This thread is coated with a hard finish that needs softening before removal.
Use a heat source like a lighter or heat gun to warm the thread. This softens the finish and makes the thread easier to cut and remove.
- Hold the heat source a few inches from the thread.
- Move the heat evenly around the guide area.
- Do not overheat to avoid rod damage.
- Test the thread softness carefully with a blade.
Cutting And Cleaning
After softening, carefully cut the thread using a sharp blade or razor. Remove all thread pieces to clear the guide.
| Tool | Use | Tip |
| Sharp blade | Cut thread precisely | Work slowly to avoid scratching rod |
| Fine sandpaper | Remove leftover finish | Use light pressure |
| Cleaning cloth | Wipe rod clean | Use rubbing alcohol for best results |
Take your time to clean the rod surface. This prepares it for a smooth and secure new guide installation.
Preparing The Rod
Replacing a fishing rod guide is a simple task. First, you need to prepare the rod properly.
This ensures the new guide fits well and functions correctly. Let’s start by sanding and cleaning.
Sanding The Area
Sanding removes any rough edges where the old guide was. This helps the new guide fit smoothly.
Use fine-grit sandpaper for this process. Be gentle to avoid damaging the rod.
- Wrap sandpaper around the area
- Sand lightly in circular motions
- Check for smoothness regularly
Cleaning Residue
After sanding, clean the area to remove dust and old adhesive residue. A clean surface is important for a strong bond.
Use a soft cloth dampened with rubbing alcohol. This will ensure the area is free of contaminants.
- Apply rubbing alcohol to a cloth
- Wipe the sanded area thoroughly
- Let it dry completely before proceeding
Attaching New Guides
Replacing fishing rod guides helps keep your rod working well. Attaching new guides is a key step in this repair.
This guide shows how to place new guides and wrap the thread properly for a strong hold.
Positioning The Guide
Place the new guide in the same spot as the old one. Use the rod’s line to check alignment.
Make sure the guide sits straight and points toward the rod tip. This helps the line flow smoothly.
- Match the guide size to the rod section
- Align guides in a straight line along the rod
- Keep guides evenly spaced for balance
Wrapping The Thread
Start wrapping the thread tightly at the guide foot base. Keep wraps close and neat for a strong bond.
Wrap from one side to the other, covering the guide foot completely. Tie off the thread securely at the end.
- Use nylon or polyester thread for durability
- Keep tension consistent to avoid loose wraps
- Seal the thread with epoxy for protection
Securing The Wrap
Securing the wrap is important when replacing a fishing rod guide. It keeps the guide stable and strong. Proper wrapping prevents damage and helps the rod last longer.
Use tight, even wraps around the guide foot and rod blank. This holds the guide in place and creates a clean finish.
Applying Epoxy
After wrapping the guide, apply epoxy to protect the thread. Epoxy seals the wrap and makes it waterproof. Use a small brush to spread epoxy evenly.
Cover all thread areas without flooding the wrap. A thin, smooth coat works best. Avoid bubbles by brushing gently in one direction.
Curing Time Tips
Let the epoxy cure fully before using the rod. The curing time usually takes 24 hours. Keep the rod in a dust-free, warm place during this time.
- Place the rod horizontally to avoid drips
- Turn the rod slowly to keep epoxy even
- Avoid touching the wrap until cured
- Check for sticky spots before use
Credit: www.bing.com
Final Checks
After replacing the fishing rod guide, it is important to do final checks. These checks help ensure the guide is secure and works well.
Pay close attention to the guide’s position and strength. This will help avoid problems during fishing.
Inspecting Alignment
Look closely at the guide to see if it lines up with the other guides on the rod. Proper alignment helps the line flow smoothly.
A misaligned guide can cause the fishing line to catch or wear out faster. Make sure it is straight and follows the rod’s curve.
- Check from the tip of the rod to the handle
- See if the guide rings form a straight line
- Adjust the guide if it looks off-center
- Use light to spot any misalignment
Testing Strength
Test the strength of the new guide by gently pulling on it. The guide must stay firmly attached to the rod.
If the guide moves or feels loose, it needs to be fixed. A strong guide will last longer and handle the fishing line better.
- Pull the guide gently in different directions
- Check if the wrapping and glue hold well
- Look for any cracks or weak spots
- Make sure the guide does not wobble
Credit: yourrightscount.com
Frequently Asked Questions
How Do I Know When To Replace A Fishing Rod Guide?
Replace guides when they show cracks, rust, or grooves. Damaged guides can harm your fishing line and reduce casting efficiency. Regularly inspect your rod guides for wear and tear to maintain optimal performance.
What Tools Are Needed To Replace A Fishing Rod Guide?
You need a heat source, cutting tool, thread, epoxy, and a rod drying jig. These tools help remove the old guide and securely attach the new one. Proper tools ensure a strong, lasting repair.
Can I Replace Fishing Rod Guides Myself?
Yes, replacing guides is a DIY task with patience and care. Follow step-by-step instructions, use the right tools, and work in a well-lit space. This saves money and extends your rod’s life.
How Long Does It Take To Replace A Fishing Rod Guide?
Replacing a guide usually takes 30 to 60 minutes. Time depends on your experience and the rod’s condition. Allow extra time for drying epoxy to ensure a secure fit.
Conclusion
Replacing a fishing rod guide is easier than it seems. With the right tools and steps, you can fix your rod quickly. This saves money and keeps your gear in good shape. Take your time and follow each step carefully.
Soon, you will enjoy fishing with a strong, reliable rod. Practice makes perfect. Don’t be afraid to try again if needed. Happy fishing!