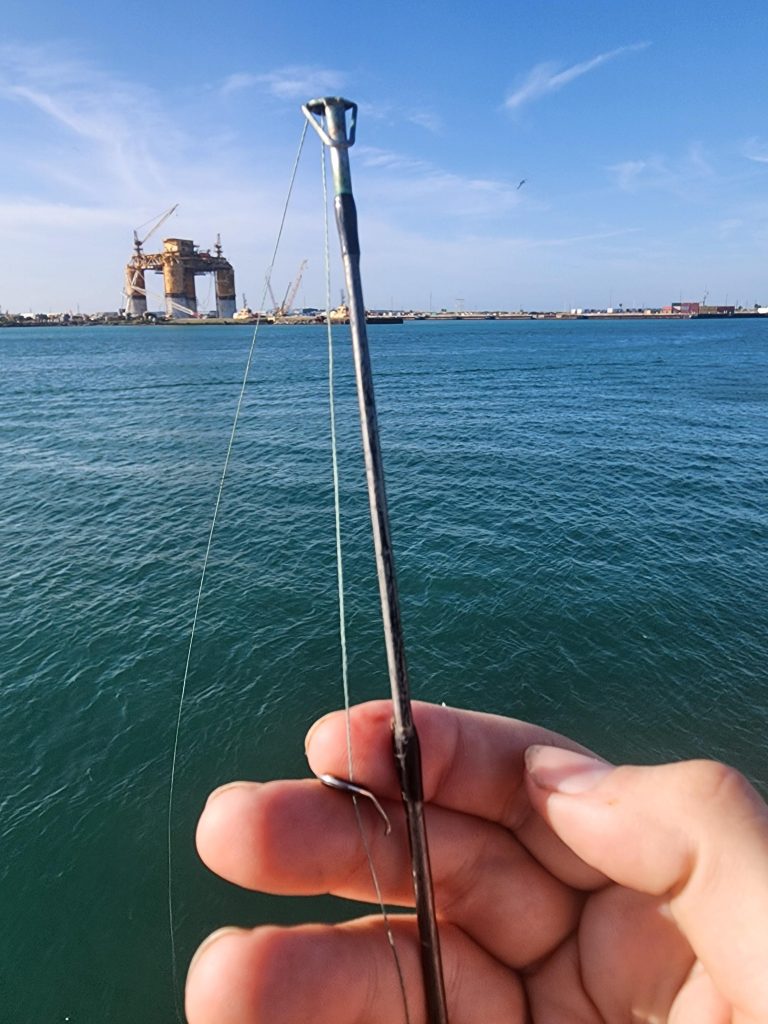
Have you ever felt the frustration of a damaged fishing rod guide just when you’re ready to cast? A broken or worn-out guide can ruin your fishing experience, making your line tangle or break.
But don’t worry—you don’t have to replace the whole rod or spend a fortune on repairs. You’ll learn simple, step-by-step techniques to replace your fishing rod guide quickly and effectively. By the end, you’ll have the confidence to fix your rod yourself and get back to enjoying your time on the water.
Keep reading to discover how easy it can be!
Tools Needed
Replacing a fishing rod guide needs some basic tools. Having the right tools makes the job easier and faster.
Here are the tools you need to replace a fishing rod guide properly.
Essential Equipment
You must have these tools to remove and install a new guide on your fishing rod. They help you work safely and accurately.
- Replacement fishing rod guide
- Small screwdriver or knife
- Heat source like a lighter or heat gun
- Thread for wrapping the guide
- Rod finish or clear epoxy
- Small brush for applying finish
- Scissors or thread cutter
Optional Supplies
These supplies can make the job smoother but are not required. You can use them if you want better results or easier handling.
- Masking tape to protect the rod
- Magnifying glass for detailed work
- Fine sandpaper to smooth wraps
- Small clamp to hold the guide in place
- Rubbing alcohol for cleaning the rod
Identify Damaged Guides
Fishing rod guides help control the line during casting and retrieving. Over time, guides can wear out or break. Knowing how to spot damage can save your rod and improve fishing.
Check your guides regularly for any signs of damage. Early detection helps you fix problems before they get worse.
Signs Of Wear
Look closely at each guide for scratches, cracks, or rust. These can harm your fishing line or cause it to break.
- Scratches or grooves on the guide rings
- Cracks in the guide frame or ring
- Rust or corrosion on metal parts
- Loose or bent guide frames
- Missing or broken inserts inside the guides
If you notice any of these signs, it is time to replace the guide. Damaged guides reduce casting distance and may damage your fishing line.
Choosing Replacement Guides
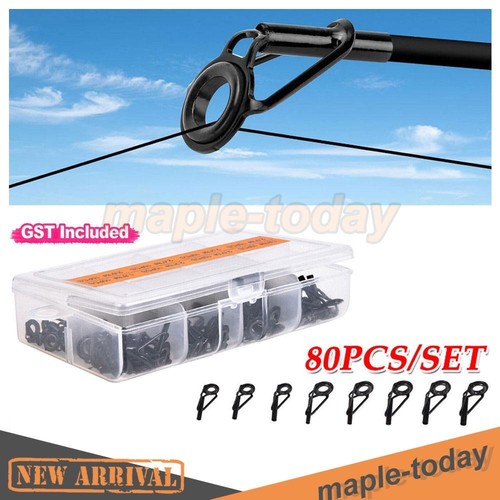
Pick replacement guides that match your rod’s size and type. The wrong size can affect your rod’s performance.
- Measure the diameter of the old guide ring
- Choose guides made from durable materials like stainless steel
- Match the number of guides to your original setup
- Consider the guide style that fits your fishing style
Buying the right guides ensures your rod works smoothly and lasts longer after repair.
Remove Old Guides
Replacing fishing rod guides starts with removing the old ones. This step needs care to avoid damaging the rod. Proper removal makes the new guide installation easier.
Focus on removing the thread wraps and cleaning the rod surface. These tasks prepare the rod for new guides and ensure a good fit.
Cutting Thread Wraps
Use a sharp blade to cut the thread wraps that hold the old guide. Cut carefully to avoid cutting the rod blank. Work slowly and remove small sections at a time.
After cutting, gently peel away the thread. If the thread is tight, use tweezers to pull it off without pulling the rod surface.
- Use a new, sharp hobby knife or razor blade
- Make shallow cuts to avoid rod damage
- Remove thread slowly and carefully
- Use tweezers for tight thread sections
Cleaning The Rod Surface
Remove any leftover glue and thread bits from the rod. Use rubbing alcohol or acetone on a cloth to clean the surface. This helps the new guide stick well.
Wipe the rod gently until it feels smooth. Avoid using harsh tools that can scratch the rod blank.
- Use rubbing alcohol or acetone
- Apply with a soft cloth
- Remove all glue and thread residue
- Do not scratch the rod surface
Position New Guides
Replacing fishing rod guides needs careful positioning. Placing guides right keeps the rod balanced and working well.
Follow simple steps to position new guides properly on your fishing rod.
Aligning Properly
Make sure the new guides line up with the old ones. This keeps the fishing line straight and strong.
Look down the rod from the handle to the tip. Check if all guides form a straight line.
- Place the first guide near the handle as a reference
- Align each new guide so the ring faces the same direction
- Keep the guides evenly spaced along the rod
- Use a marker to mark the exact spots for each guide
Securing Before Wrapping
Hold each guide firmly on the rod before wrapping thread around it. This stops the guide from moving out of place.
Use tape or a clamp to keep the guide steady. Check alignment again before you start wrapping.
- Apply a small drop of glue to hold the guide temporarily
- Wrap thread tightly around the guide foot and rod
- Keep the thread wraps close and neat for strength
- Check guide position after wrapping but before finishing
Wrap The Guides
Wrapping the guides is a key step in replacing a fishing rod guide. It holds the guide firmly in place and protects the rod.
Good wrapping also adds to the rod’s strength and helps the line move smoothly.
Thread Wrapping Techniques
Start by securing the thread near the guide foot. Use tight, even wraps to cover the guide base. Overlap each wrap slightly for full coverage.
- Keep the thread tight but not too tight to break.
- Wrap from the guide foot toward the rod tip.
- Use a small brush to apply glue between wraps.
- Finish with several tight wraps to lock the guide.
Maintaining Tension
Keep the thread under steady tension throughout wrapping. Loose thread can cause weak spots that break easily.
| Tension Level | Effect on Wrap |
|---|---|
| Too Loose | Wrap slips, weak hold |
| Too Tight | Thread breaks, rod damage |
| Just Right | Strong, even wrap |
Credit: yourrightscount.com
Apply Epoxy Finish
Applying an epoxy finish protects your fishing rod guide. It keeps the guide secure and stops damage from water.
Use the right epoxy mix and apply it carefully. This will give your fishing rod a strong and smooth finish.
Mixing Epoxy
Mix the epoxy resin and hardener in the correct ratio. Stir slowly to avoid air bubbles. Use a clean container and stick for mixing.
- Measure equal parts of resin and hardener
- Mix slowly for about 2 minutes
- Check for a clear, even color
- Avoid whipping air into the mixture
- Use epoxy within 10 minutes of mixing
Coating And Curing
Apply the epoxy with a small brush over the guide wrap. Cover evenly but do not use too much. Let it cure in a dust-free place.
| Stage | Time | Temperature | Notes |
|---|---|---|---|
| Initial Cure | 4-6 hours | 70°F (21°C) | Epoxy becomes tacky but firm |
| Full Cure | 24-48 hours | 70°F (21°C) | Hard and durable finish |
| Post Cure | Optional 48 hours | Higher temperature (80-90°F) | Improves strength and clarity |
Test The Repair
After replacing the fishing rod guide, testing the repair is important. This ensures the guide is properly fixed and ready for use.
Testing helps avoid damage during fishing. It checks the guide’s alignment and strength for durability.
Checking Guide Alignment
Make sure the new guide lines up with the other guides on the rod. Misalignment can cause line friction and breakage.
- Look along the rod from the handle to the tip.
- Check if the new guide sits straight with the others.
- Adjust the guide carefully if it is off-center.
- Spin the reel and watch the line pass through all guides.
- Ensure the line moves smoothly without catching.
Ensuring Durability
Test the strength of the new guide and its bond to the rod. Durability ensures the guide lasts through fishing trips.
| Test Method | What to Check | Expected Result |
| Light Tug | Guide Attachment | Guide does not move or loosen |
| Line Pull | Guide Strength | Guide holds line without bending |
| Rod Flex | Guide Stability | Guide stays fixed during rod bending |

Credit: www.amazon.ca
Tips For Longevity
Replacing a fishing rod guide helps keep your rod in top shape. Taking care of it extends its life. Small efforts make a big difference.
Learn simple ways to maintain your fishing rod and avoid common mistakes. These tips will help your guides last longer.
Regular Maintenance
Check your rod guides often for cracks and rust. Clean them gently after each use. Use a soft cloth and mild soap. Dry them well before storing.
- Inspect guides for damage before fishing
- Remove dirt and salt with fresh water
- Use a soft brush to clean inside the guides
- Apply a light coat of oil to metal parts
- Store the rod in a dry, cool place
Avoiding Common Mistakes
Some errors can shorten the life of your rod guides. Avoid rough handling and heavy impacts. Do not use the rod to pull heavy objects.
| Mistake | Effect | How to Avoid |
| Using wrong line size | Guide wear | Match line size to guide specs |
| Skipping cleaning | Corrosion | Clean after every fishing trip |
| Hammering guides during replacement | Damage to rod | Use proper tools and gentle force |
| Ignoring damaged guides | Rod breakage | Replace guides promptly |

Credit: flexcoat.com
Frequently Asked Questions
How Do You Remove A Broken Rod Guide?
To remove a broken rod guide, gently heat the guide using a lighter. This softens the adhesive. Carefully slide the guide off the rod. Use pliers for better grip. Ensure not to overheat the rod, which can cause damage.
What Tools Are Needed To Replace A Rod Guide?
You’ll need a lighter, pliers, rod glue, and thread. These tools help in safely removing the old guide. They also assist in securing the new guide onto the rod. Ensure all tools are within reach before starting the repair process.
Why Is It Important To Replace A Damaged Guide?
A damaged guide can cause line abrasion, affecting casting performance. It can also lead to line breakage. Replacing it ensures smoother casting and increases the rod’s lifespan. Regular maintenance keeps your fishing gear in top condition.
Can I Replace A Fishing Rod Guide Myself?
Yes, you can replace it yourself with the right tools. Follow step-by-step instructions carefully for successful replacement. Ensure you have all necessary materials before starting. DIY replacement can save time and money.
Conclusion
Replacing a fishing rod guide takes patience and care. Follow each step slowly to avoid mistakes. Choose the right guide size for your rod. Use the proper tools to make the job easier. Check your work to ensure the guide is secure.
A well-repaired rod performs better on every fishing trip. Keep practicing to improve your skills over time. Your fishing experience will feel more enjoyable and smooth. Try it yourself and see the difference it makes.